Moving the electrical service panel… again.

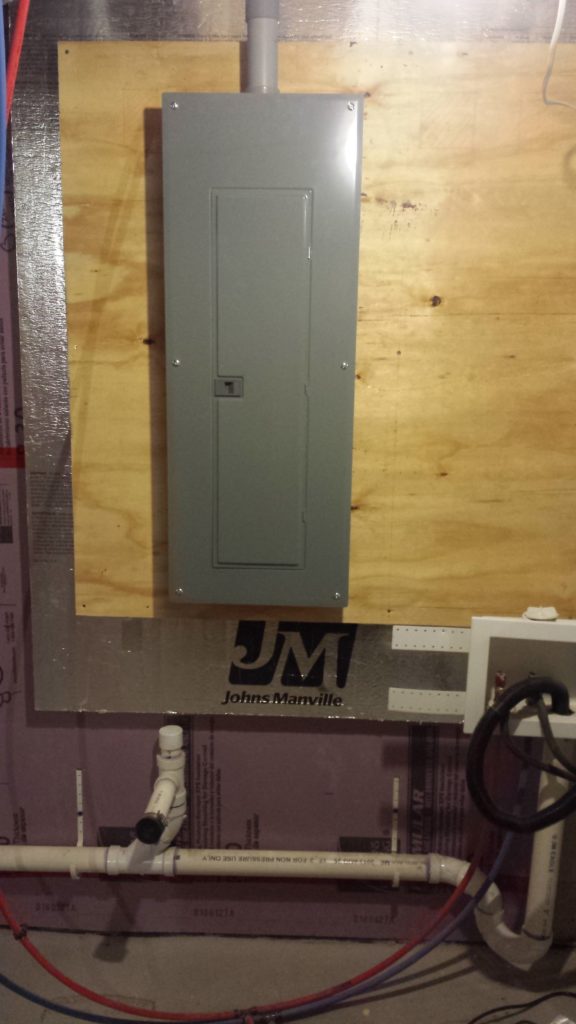
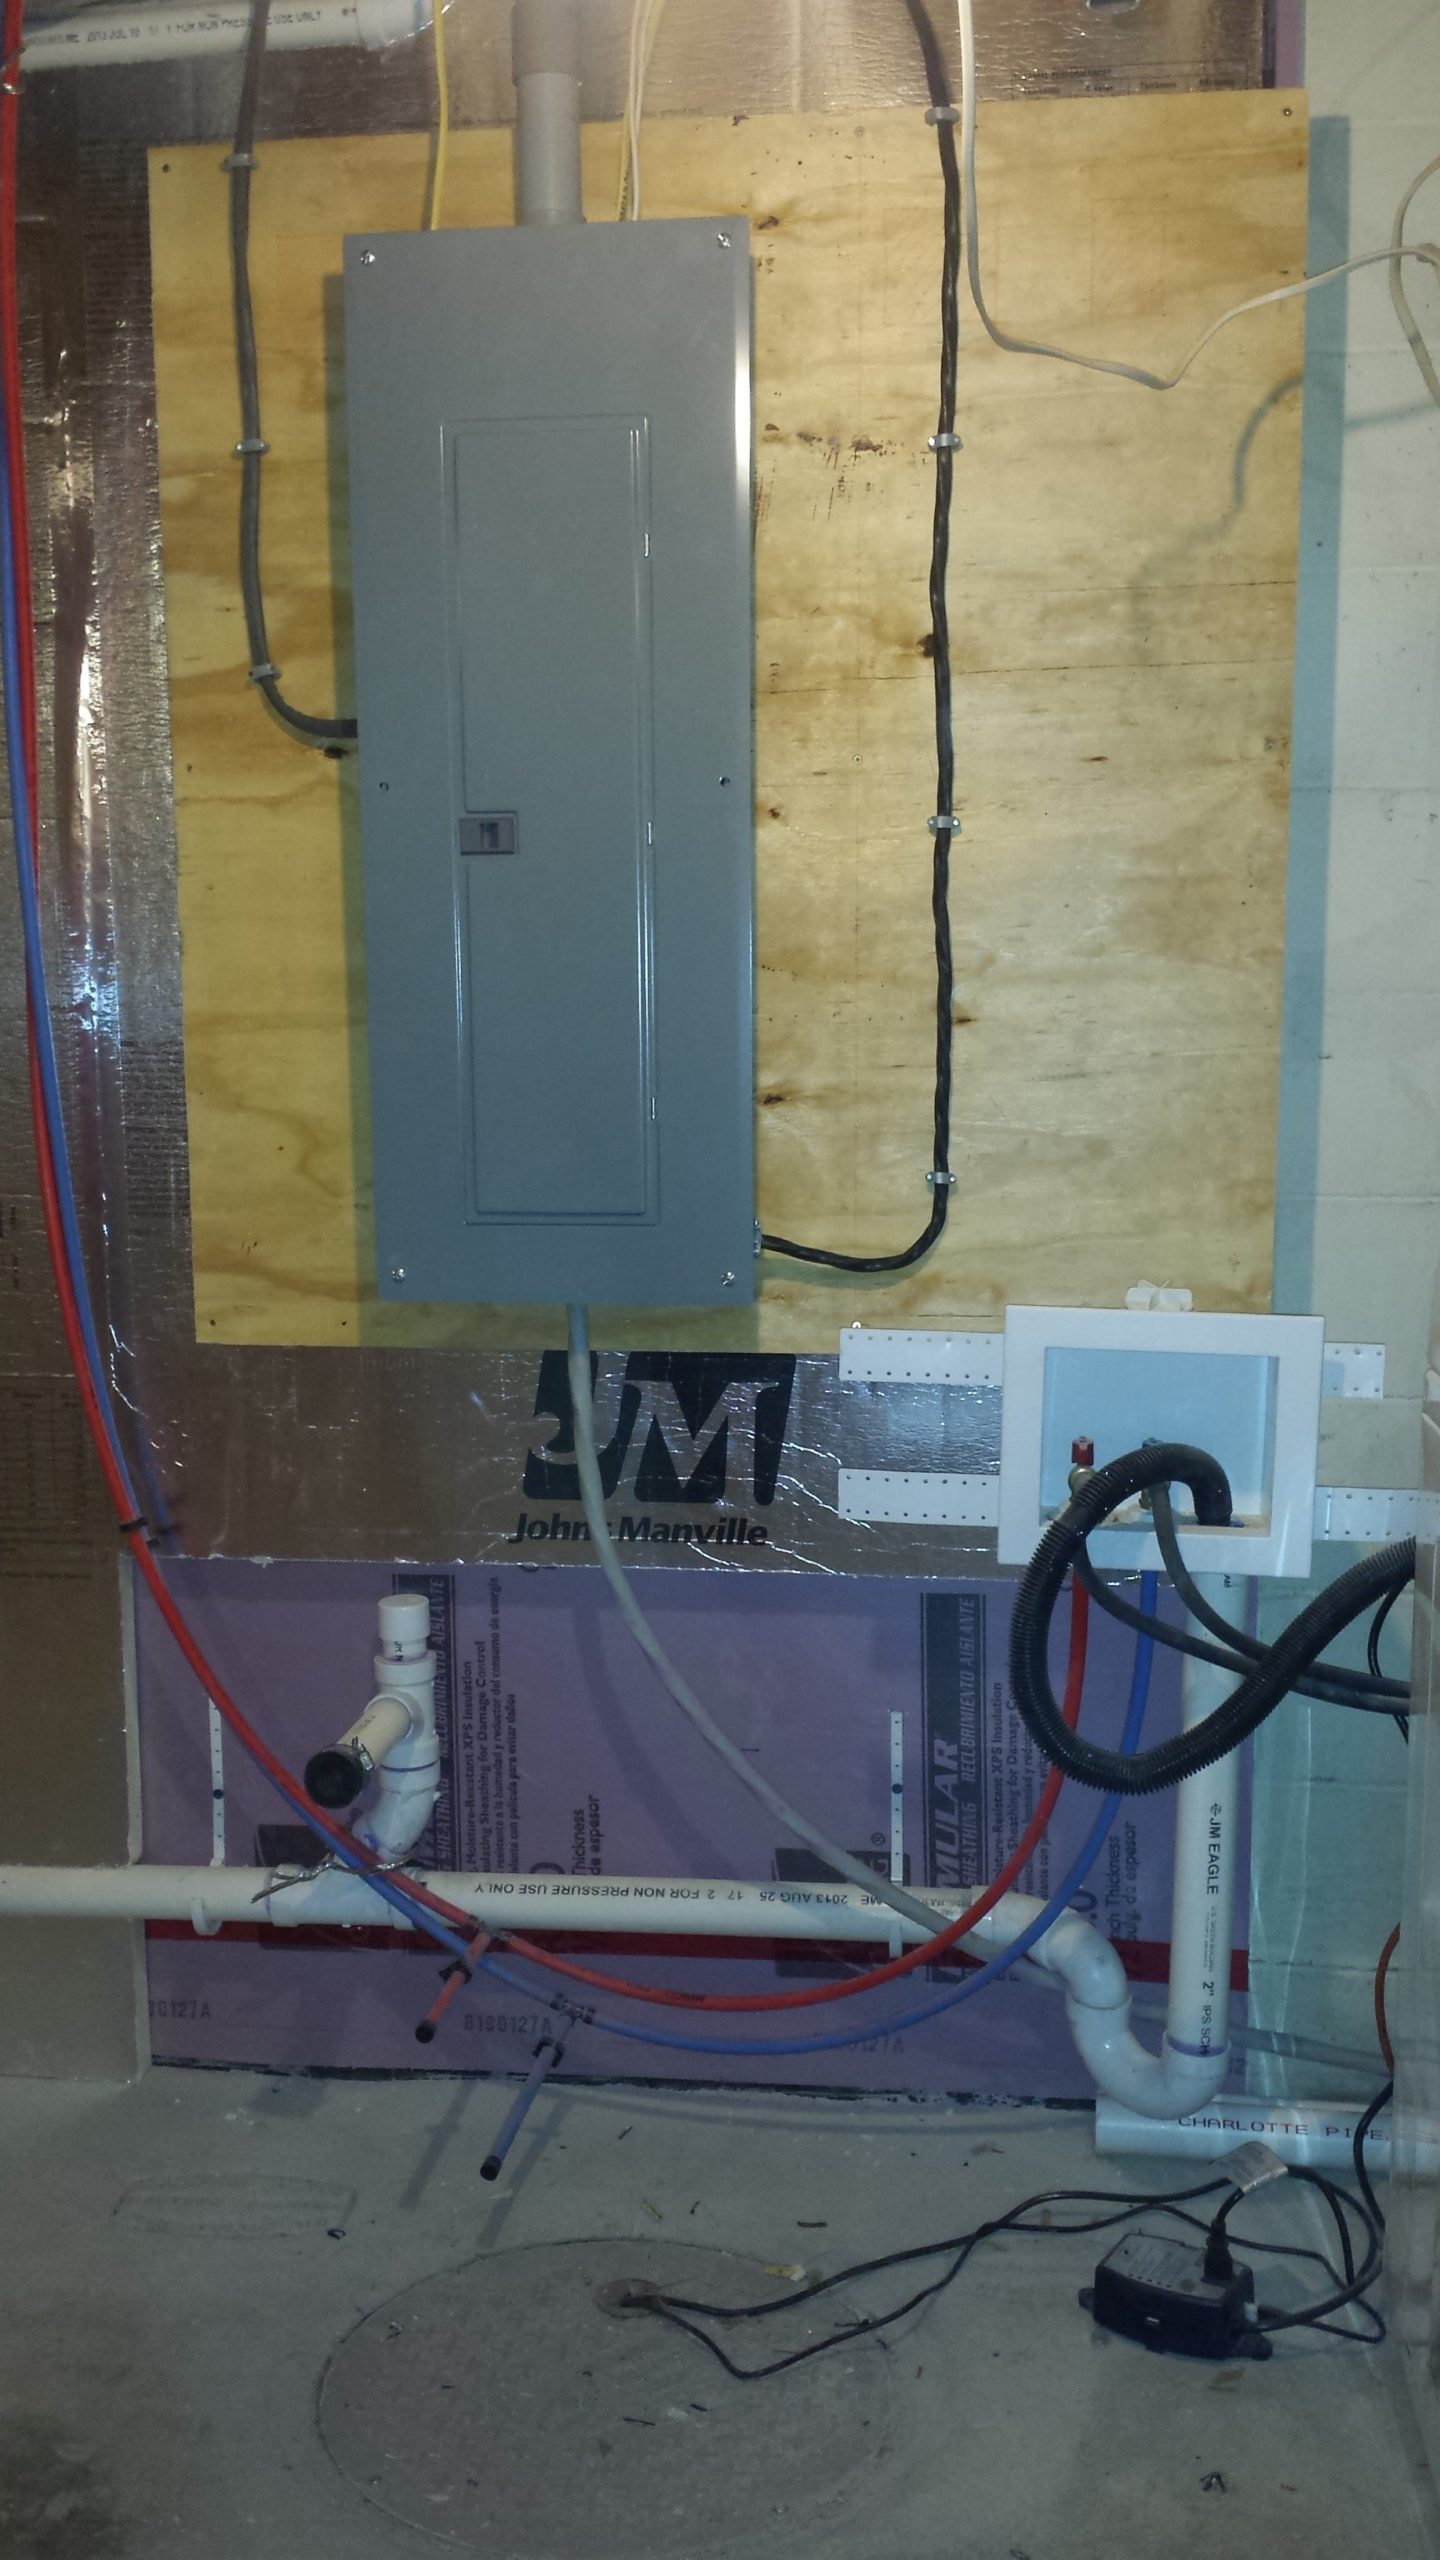
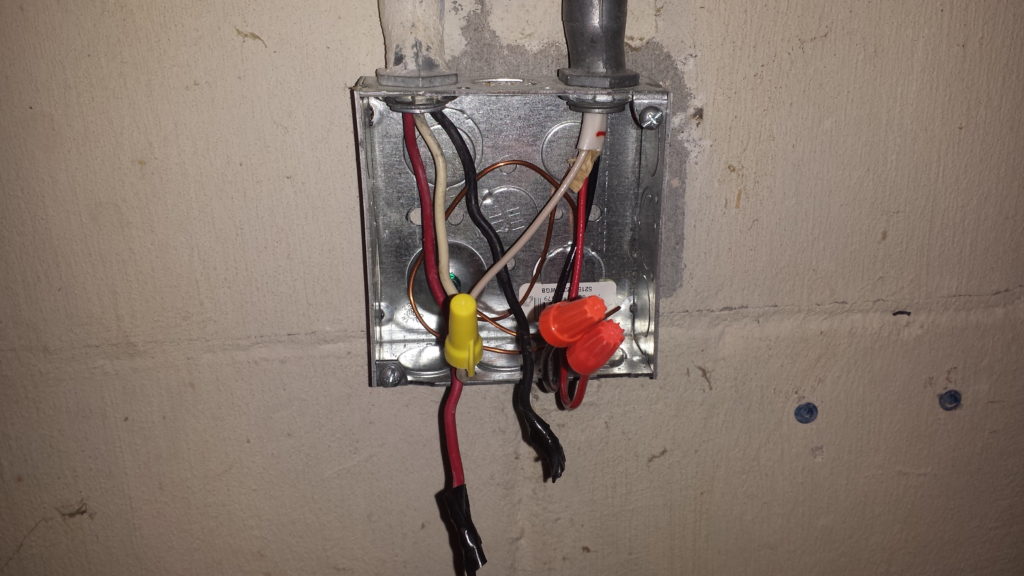
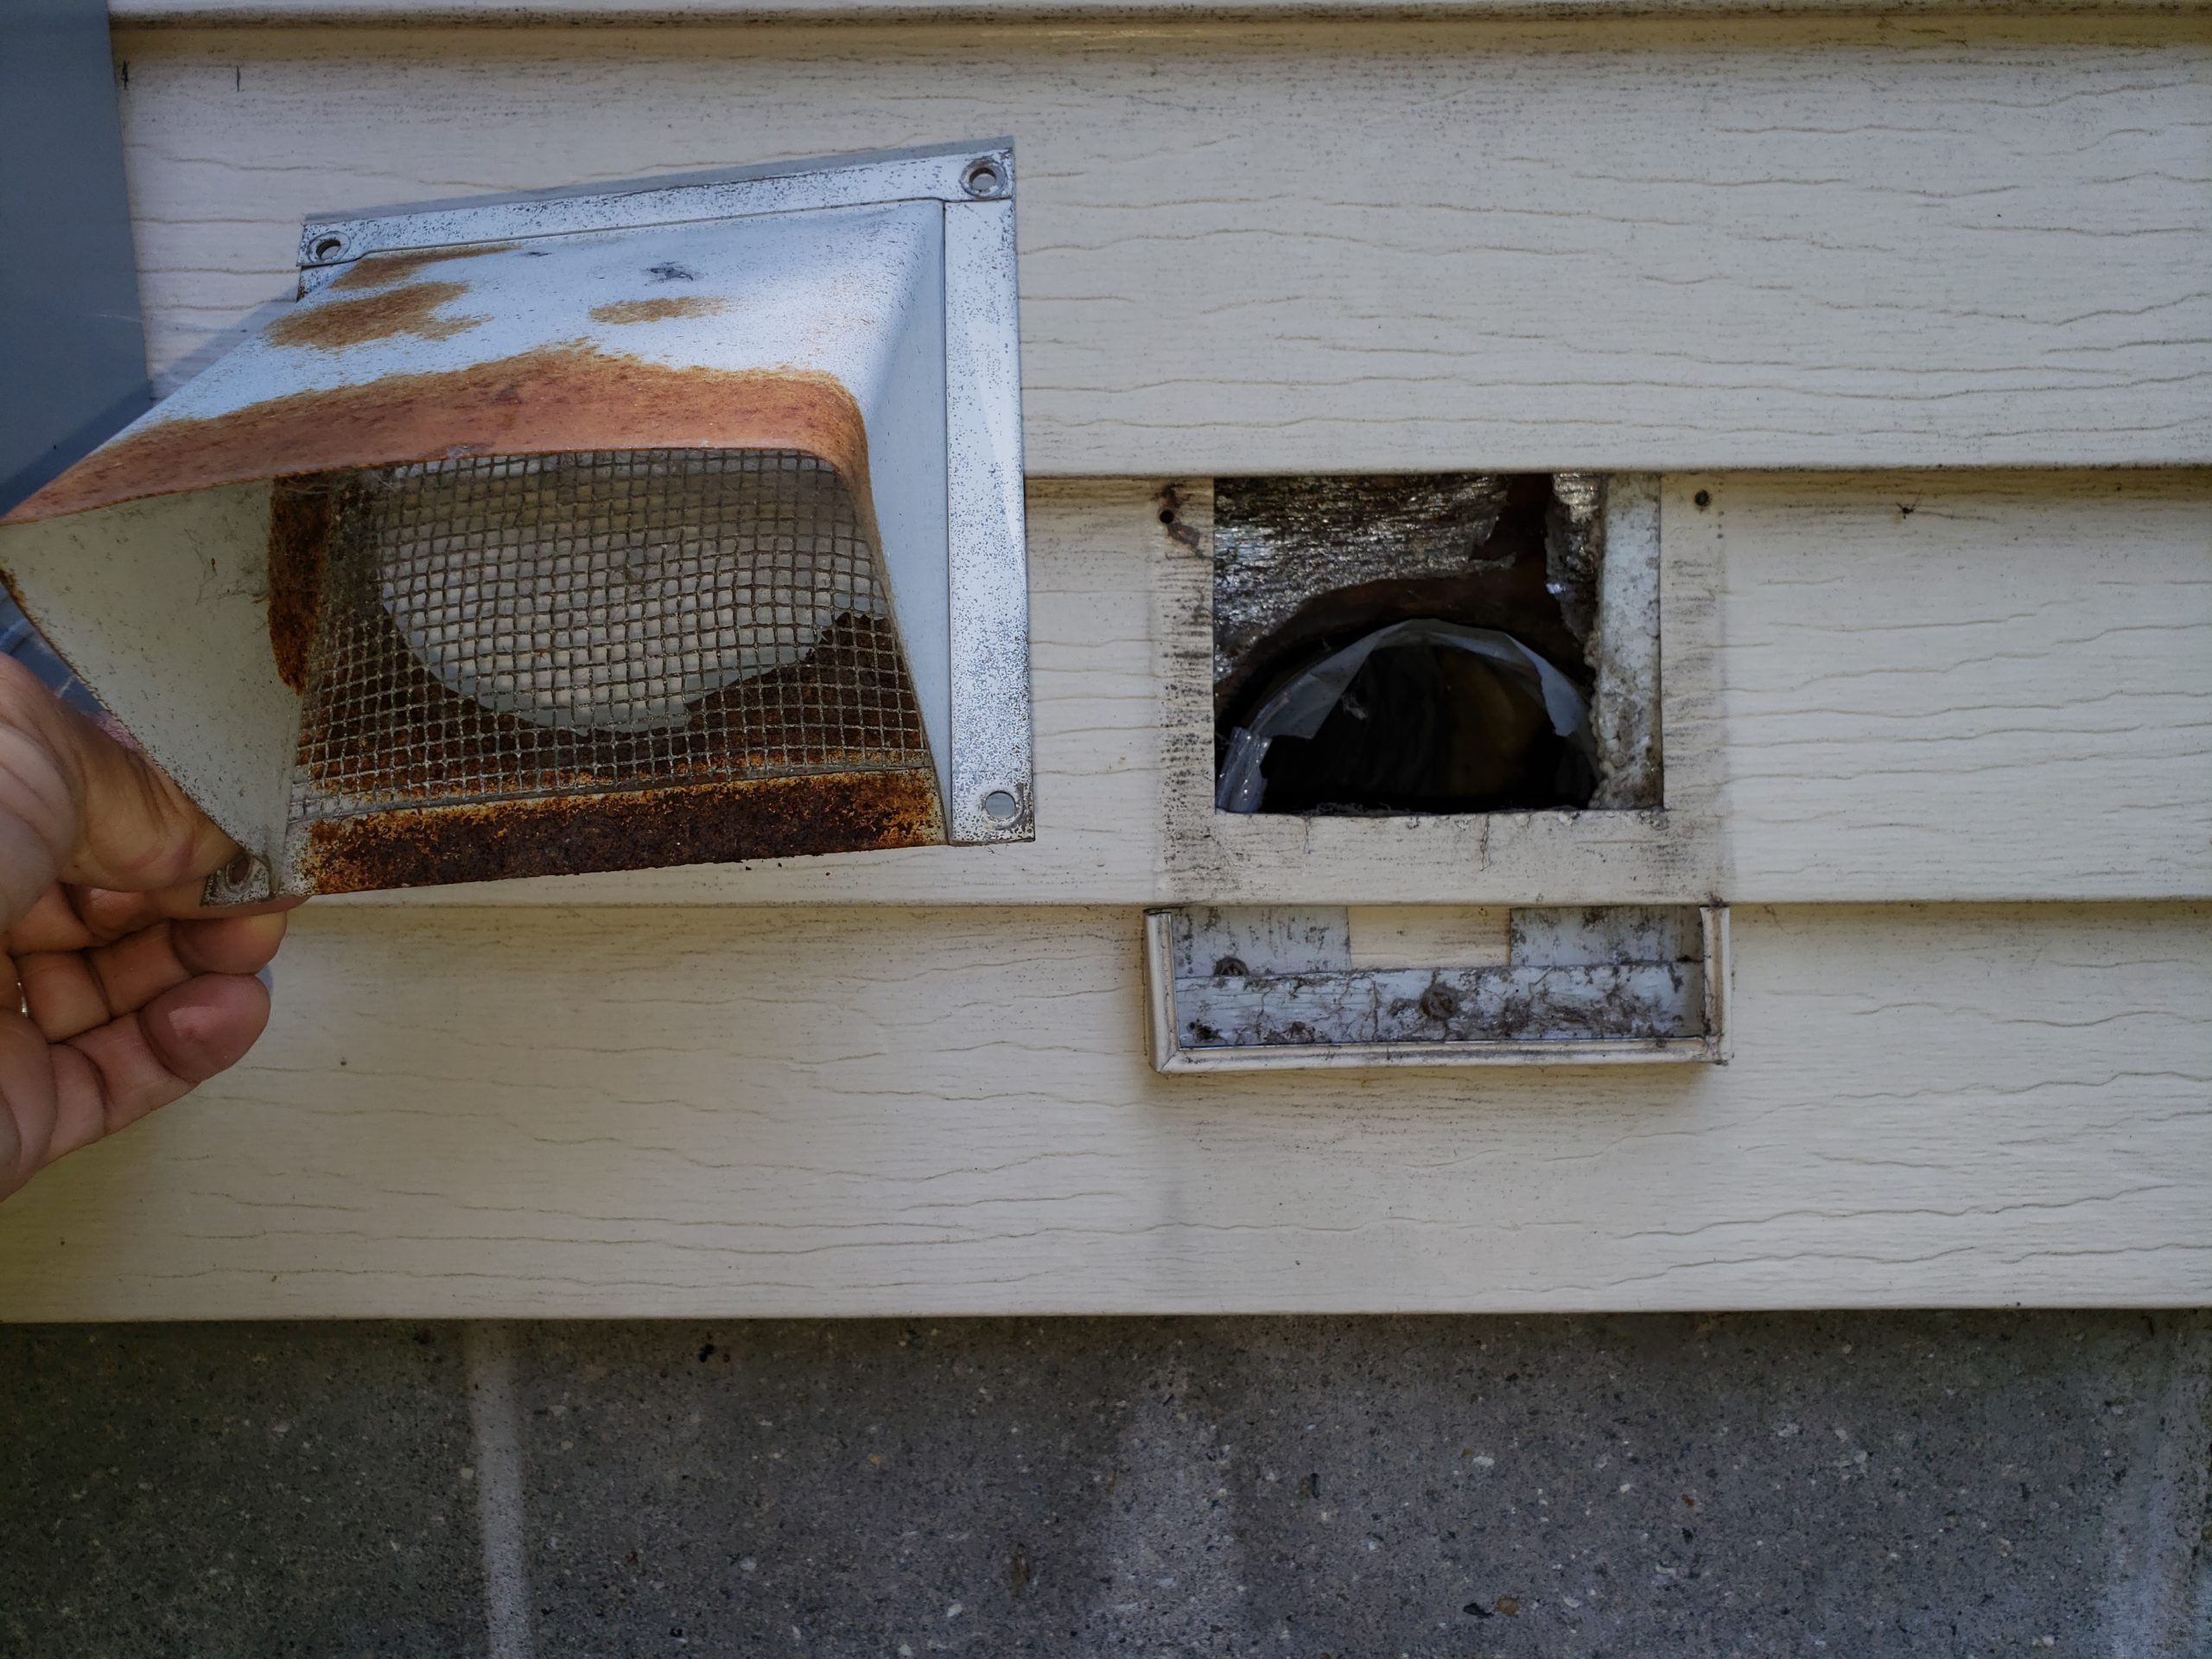
Is it crazy to move a service panel? Yes. But since we already have everything exposed, and we’re laying out the basement from scratch, why not rethink it? We had already moved the service panel from a closet to a bedroom. This time, we’re going to move it to the laundry room, near the furnace and other mechanicals on a different side of the house. Luckily, we won’t need to run new wires for this.

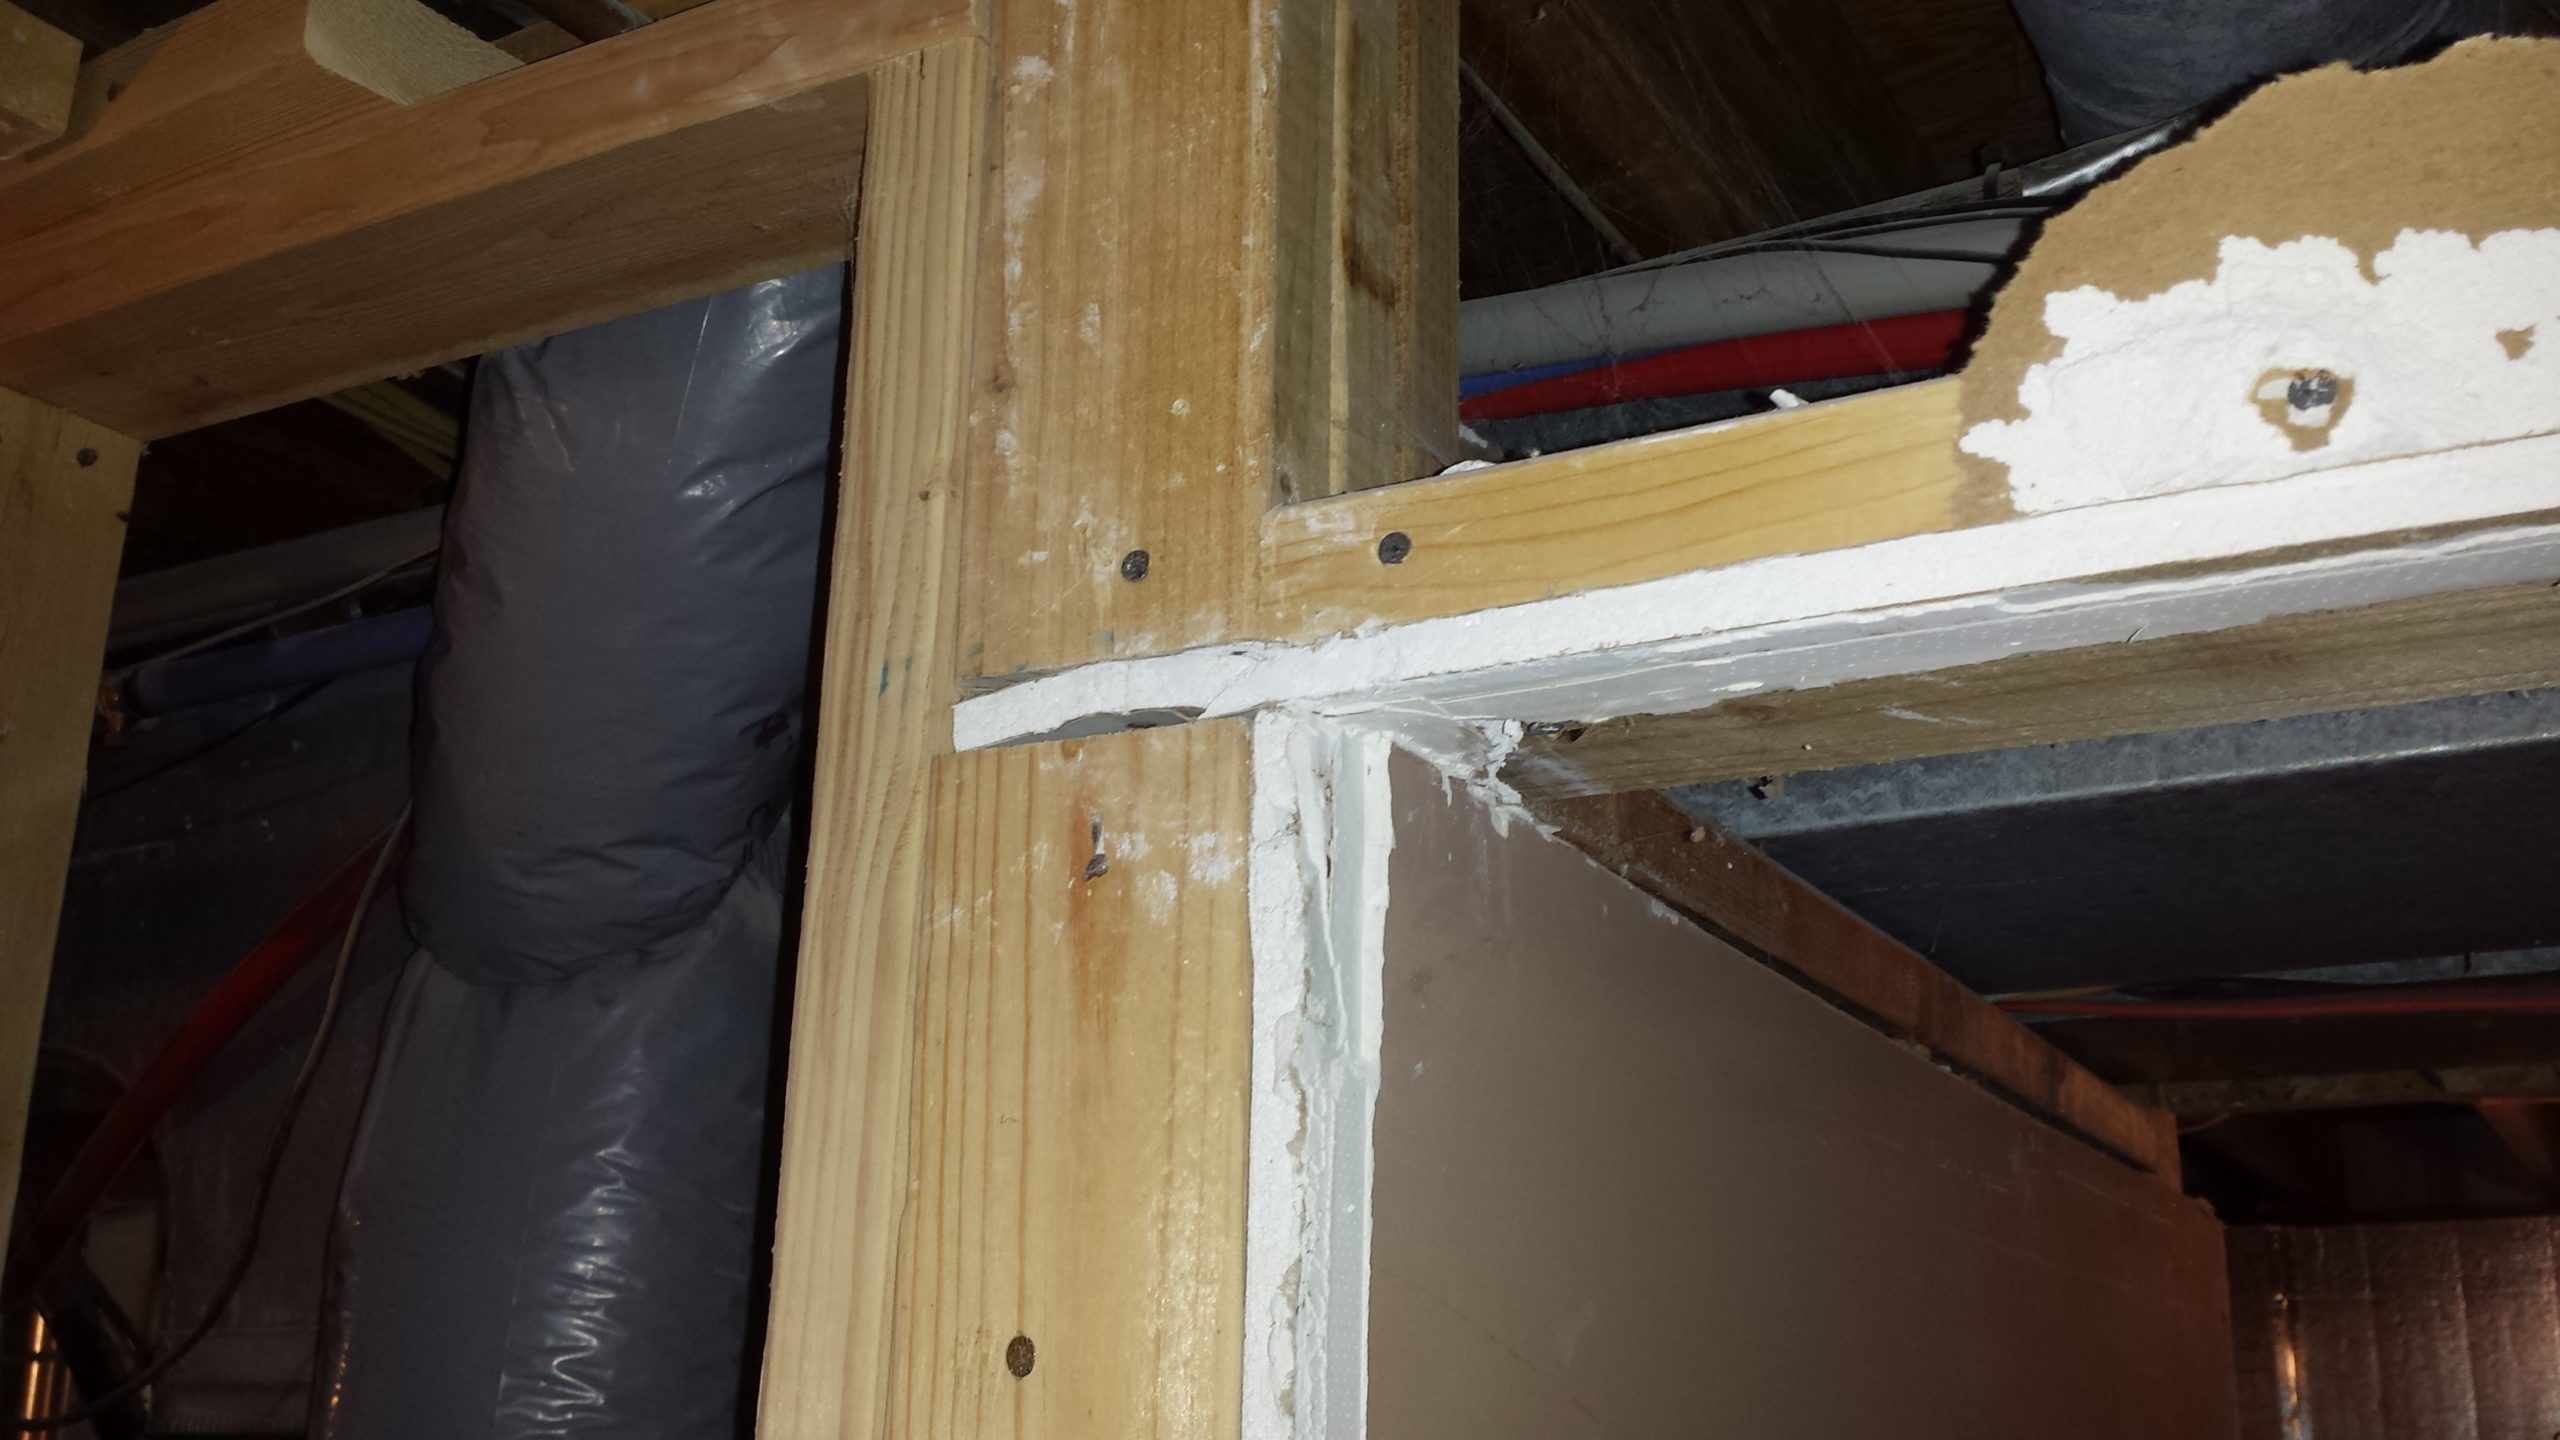
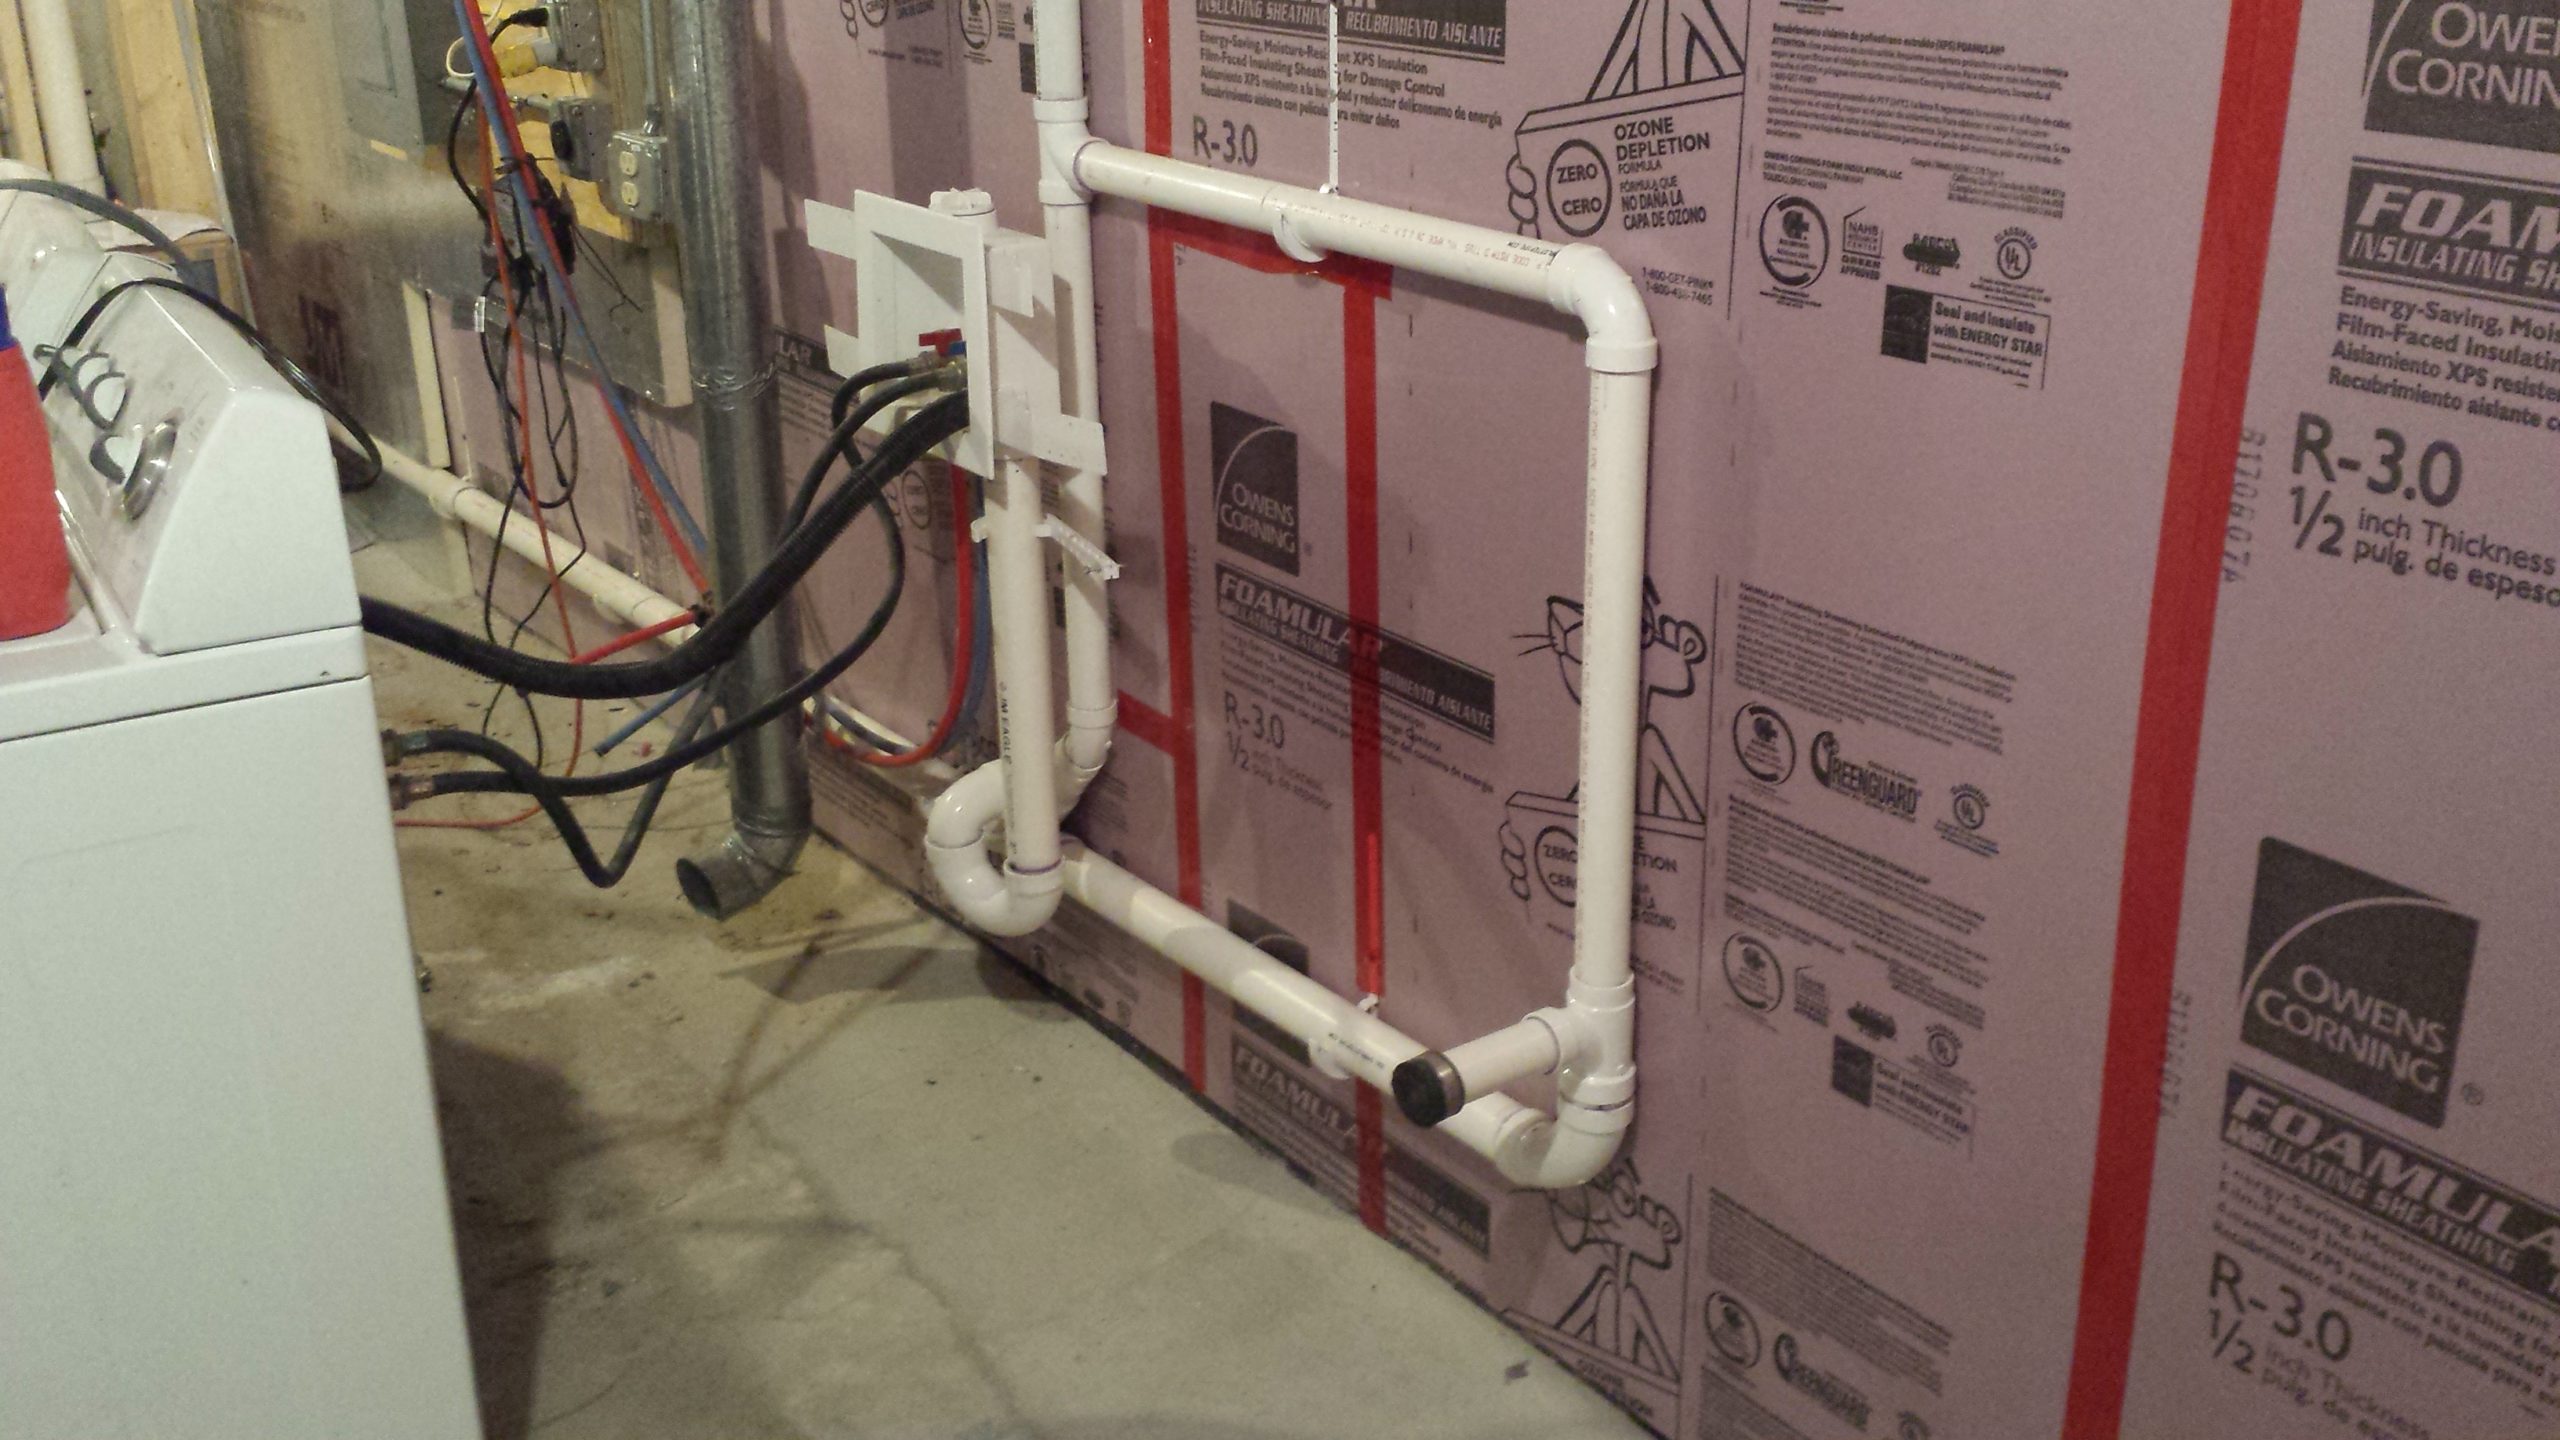
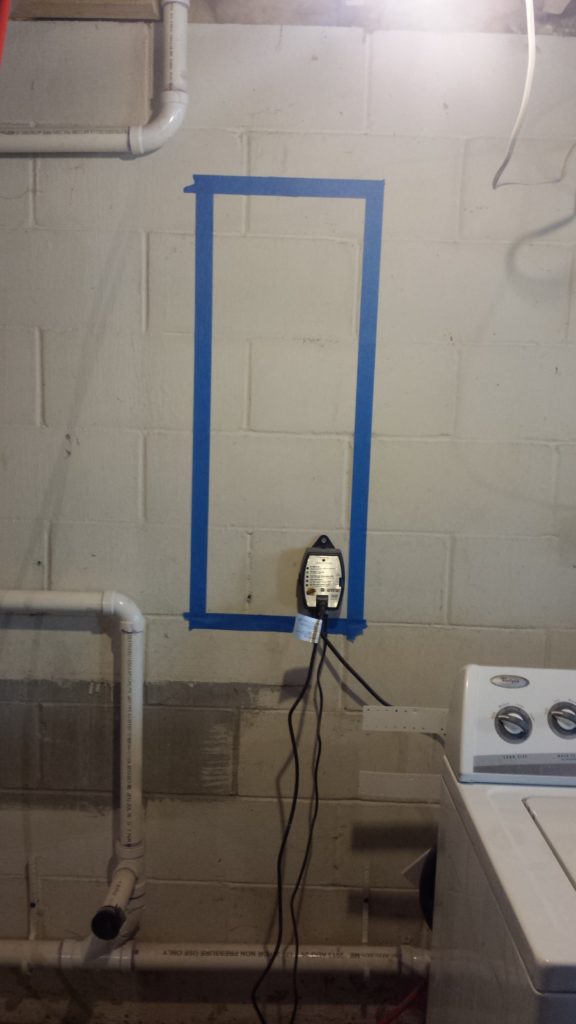
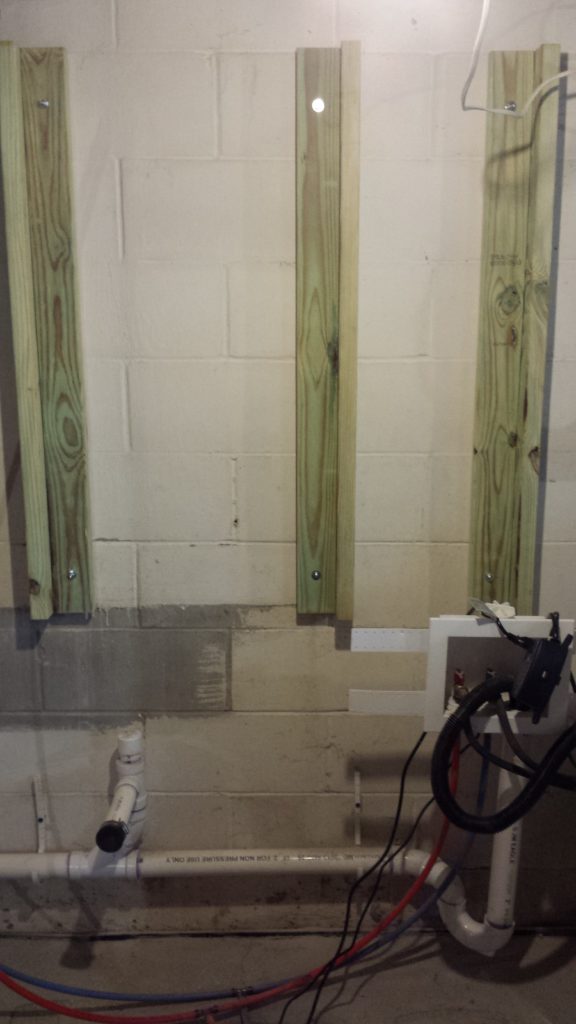
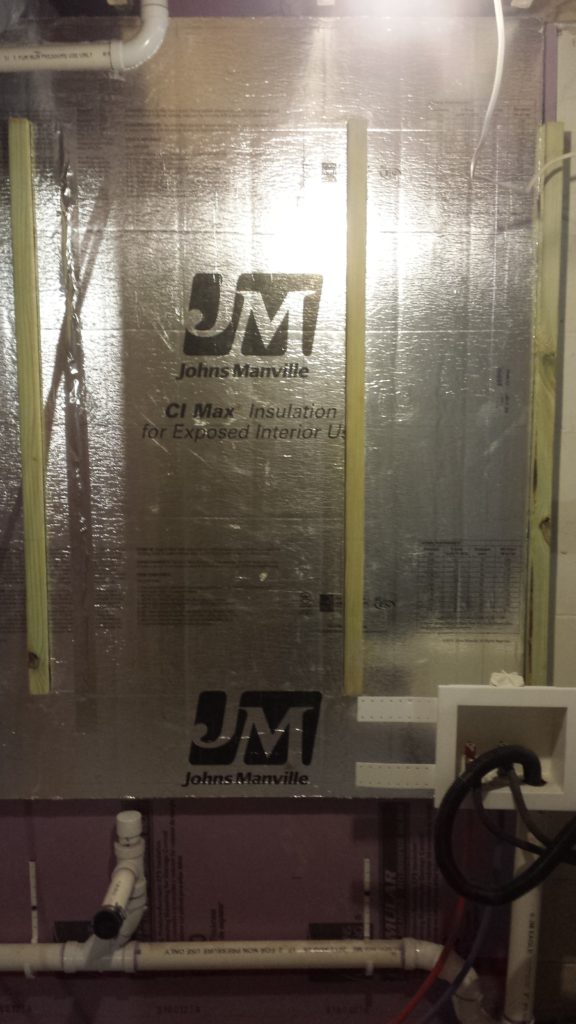
I start by picking an ideal spot on the basement wall and marking it off with tape. Then I anchor some framing to the wall and carefully insulate around it.

Tape marks the location of a future electrical service panel on a basement wall.
Framing for a pair of electrical service panels is anchored to a basement wall.
Insulation is added to a basement wall around some framing for a pair of electrical service panels.
Fire resistant insulation is added to a basement wall around some framing for a pair of electrical service panels.

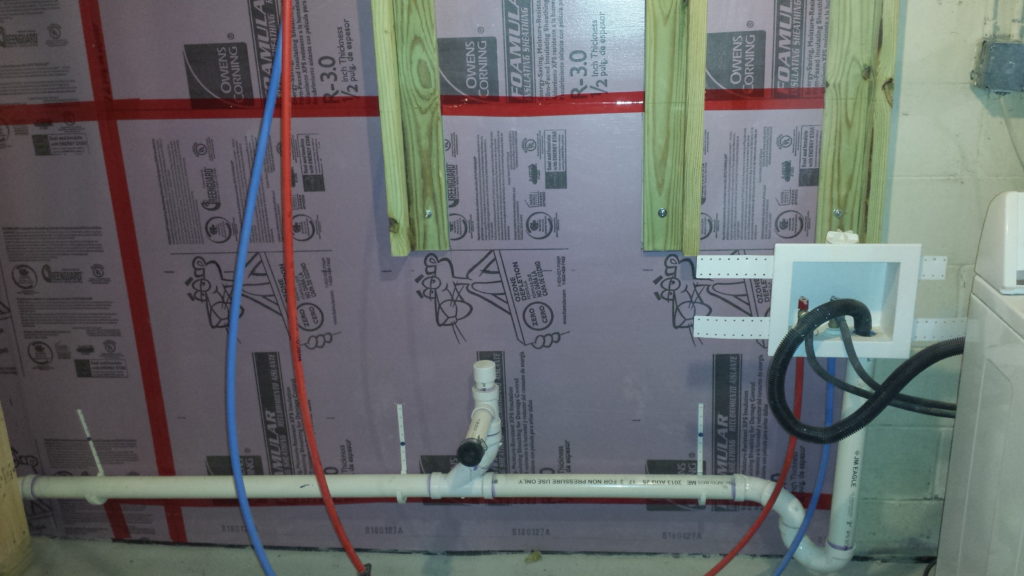
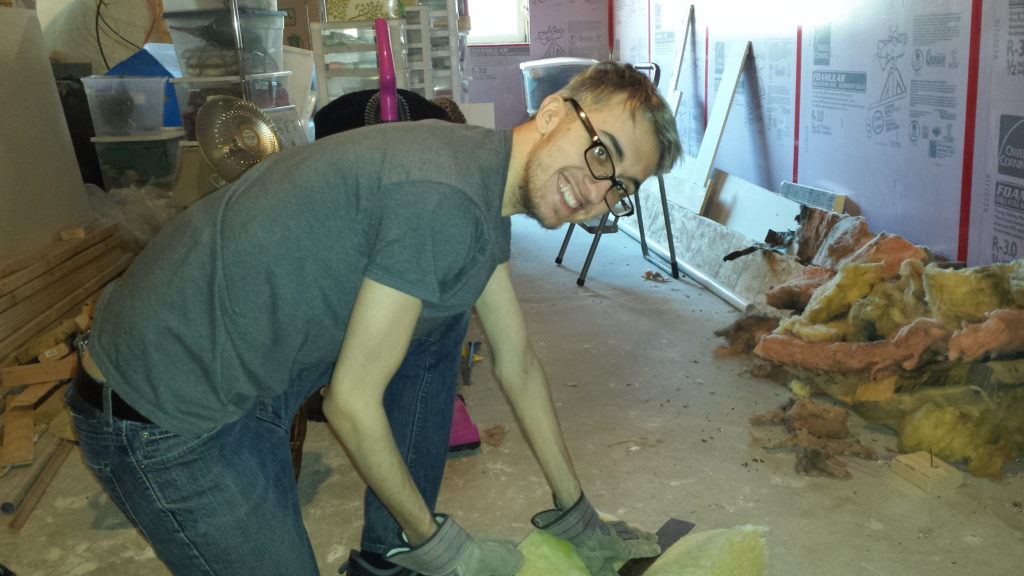
Meanwhile, Harry help cut some additional insulation.

Harry measures and cuts some insulation for the basement.

Temporary power added to new service panel

My electrician rigs up some temporary power to the new electric service panel by daisy-chaining off the old one. From here, he can begin moving the circuits and breakers one by one. As you can see, some of the laundry plumbing is in the way. This will have to be moved to its final location.

Roughed in electric service panel in a basement with temporary power connected.

Circuits migrating, insulation added

My electrician continues the migrating the electrical circuits. I continue adding foamboard insulation to the outer walls.

This framing sucks

It’s the most basic rule of American carpentry framing: Studs must be spaced evenly 16″ on center. It’s really simple when the wall measures exactly 8 feet. You also want that framing tightly fastened to something. The idiots who flipped our house didn’t even do that much right.

A stud wall with studs that aren't evenly spaced 16 inches apart.

Nothing says “I took a shortcut” like framing over drywall. That’s exactly what the flippers did at the end of this stud wall. On the backside of this wall is the mechanical closet where the furnace and water heater are. The drywall has some mold damage, so I decide to partially demolish the lousy parts of this wall and rebuild it later.

A house flipper did sloppy carpentry by framing over existing drywall.
Black mold formed on drywall that was near a water heater.

Another Bagster hauled away

Just when I think there’s no more demolition to be done, there’s always another Bagster to fill up. It’s fun watching them lifted up, though.

A Waste Management truck hoists a Bagster up to be hauled away.

Electrician decides not to fix existing problems

Today my electrician disappointed me. I hired him to move my electrical service panel, which he did. As for all of the other electrical problems in the house, he simply refused to fix them. He said they’re too hard to find, and not worth his time.

One such problem has to do with a circuit that runs through this junction box. It’s huge circuit that powers most of the house including lights, outlets, the refrigerator, the washing machine, the garage door opener, and more. Somehow, both ends of the circuit are on separate breakers. Removing the connection at this junction box doesn’t break the circuit. Instead, it causes a “free neutral”. When that happens, the lights in the house blink on and off. You can’t make this stuff up.

Junction box with wiring my electrician refuses to fix.

I asked him what it would take to fix the problem. He wouldn’t give me a bid, saying the problem could be hidden anywhere, like in the attic. I tried to reason with him, saying that the entire basement is exposed, and the attic has very safe lighting and rat runs. He simply said “I don’t do attics” and wouldn’t even look.

Unfortunately, untangling this mess means I’m going to have to hire another electrician, or find a way to do the job myself.

Tricky to insulate around the pipes!

These drain and vent pipes are attached directly to the basement wall. I need to insulate that wall with foamboard insulation. This means carefully cutting out pink foamboard shapes that exactly match the pipe hangers and fitting them into place. Then I’ll have to do this again for with the fire-resistant foil-faced foamboard, but this time I’ll have to insulate around the pipes themselves… very complex shapes. What a painstaking job. No contractor would do this kind of work, but I’ll feel better knowing that wall is thoroughly insulated.

Foamboard insulation cut to match the shape of pipe hangers on a basement wall.

A breath of fresh air

Readings around the furnace suggest that something is wrong with the fresh air intake. The duct is just a flexible hose, so I thought it might be pinched somewhere.

A furnace flexible fresh air intake is shown kinked in a few places.
A flexible fresh air intake hangs from a basement ceiling, sagging in the middle.

I discovered that the fresh air duct was not really attached to the outside of the house. Instead, it was simply resting in front of the rim joist in front of the exterior vent. The vent collar was missing, so there was nothing for the duct to attach to. That’s like breathing through a snorkel that’s only touching your lips. What’s more, the vent only lined up with half of the hole in the rim joist. That’s like breathing with only one nostril. At minimum, I’ll have to replace the rusty exterior intake vent in order to fix this.

A flexible fresh air intake where it meets the rim joist of a house.
A rusted fresh air intake, removed from the exterior of a house.

My plumber also returns to move my laundry drain pipes to their final location. He only moves the drains, so he’ll have to come back and do the water pipes later. I ask him to leave some of the venting disconnected while I finish insulating the basement wall.