Amáda has finished painting every room. I’m installing the trim I cut and marked earlier. Doing the job right means not skipping any steps. We’re carefully priming and painting each piece of trim with multiple coats.
Predatory Remodeling
Fraudulent house flippers conceal building problems, passing them on to unsuspecting buyers. Victims take on major financial burdens, and recovery may be impossible.
Final hardware installed
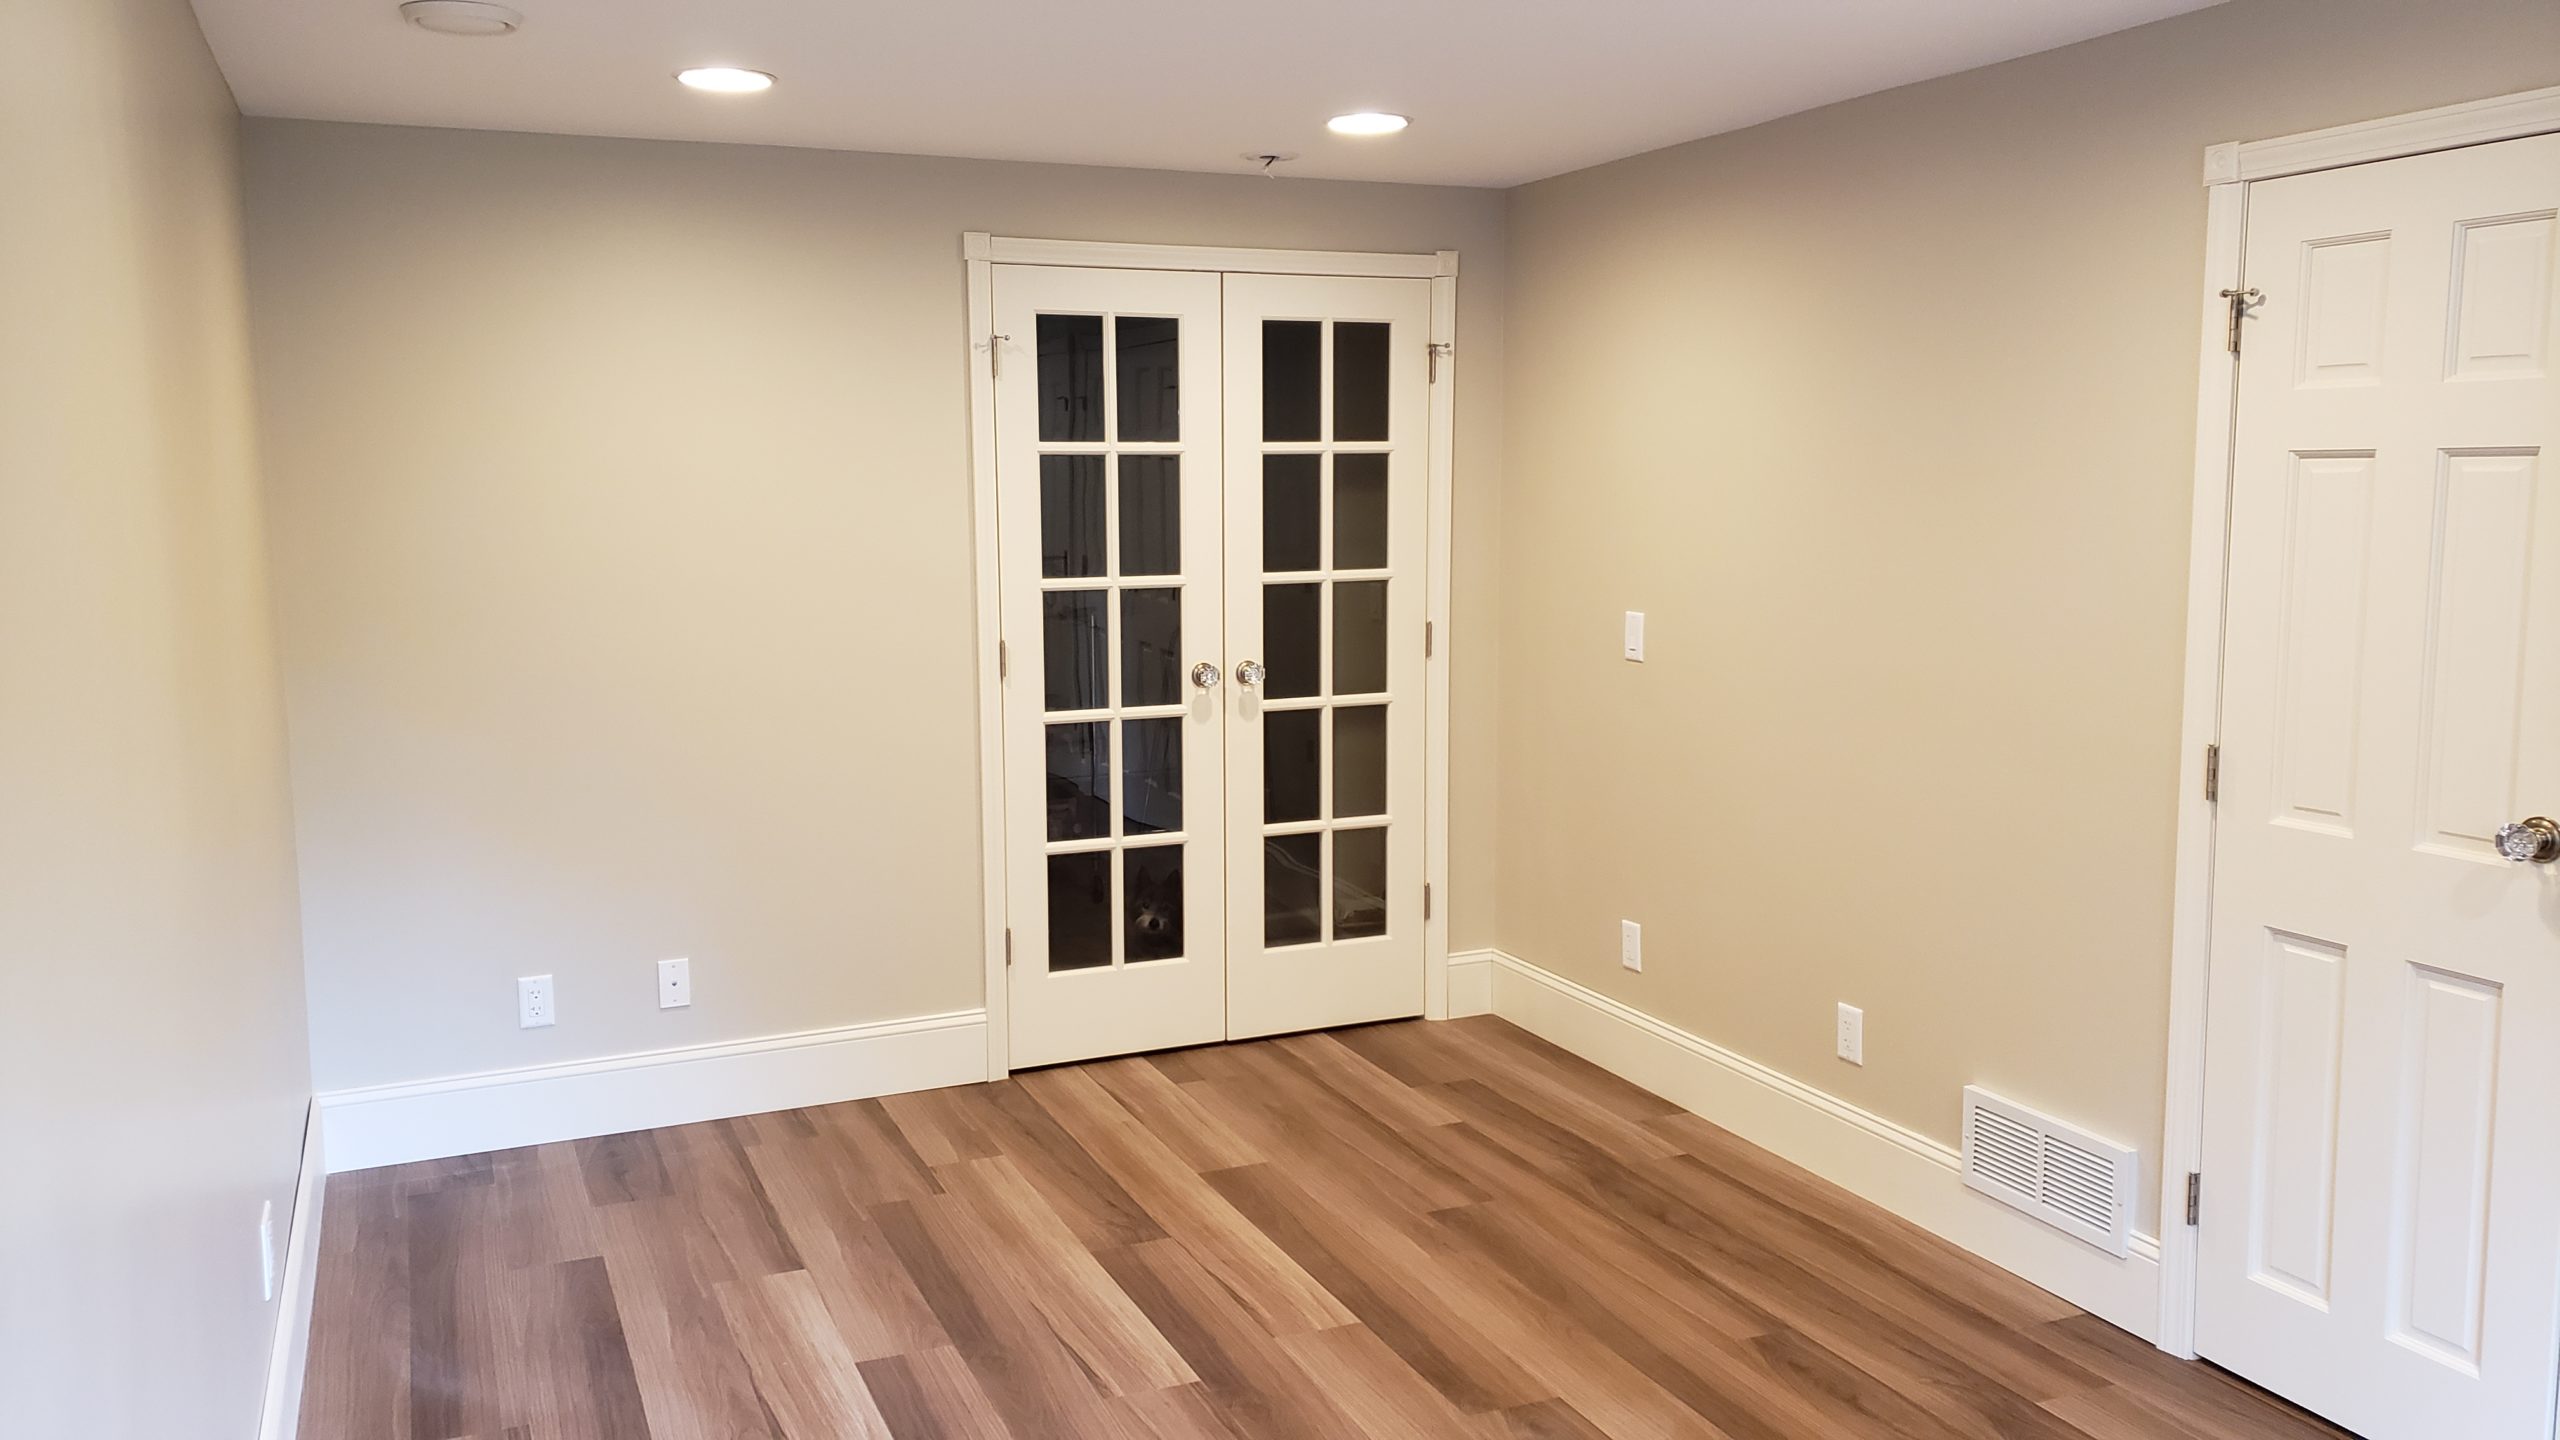
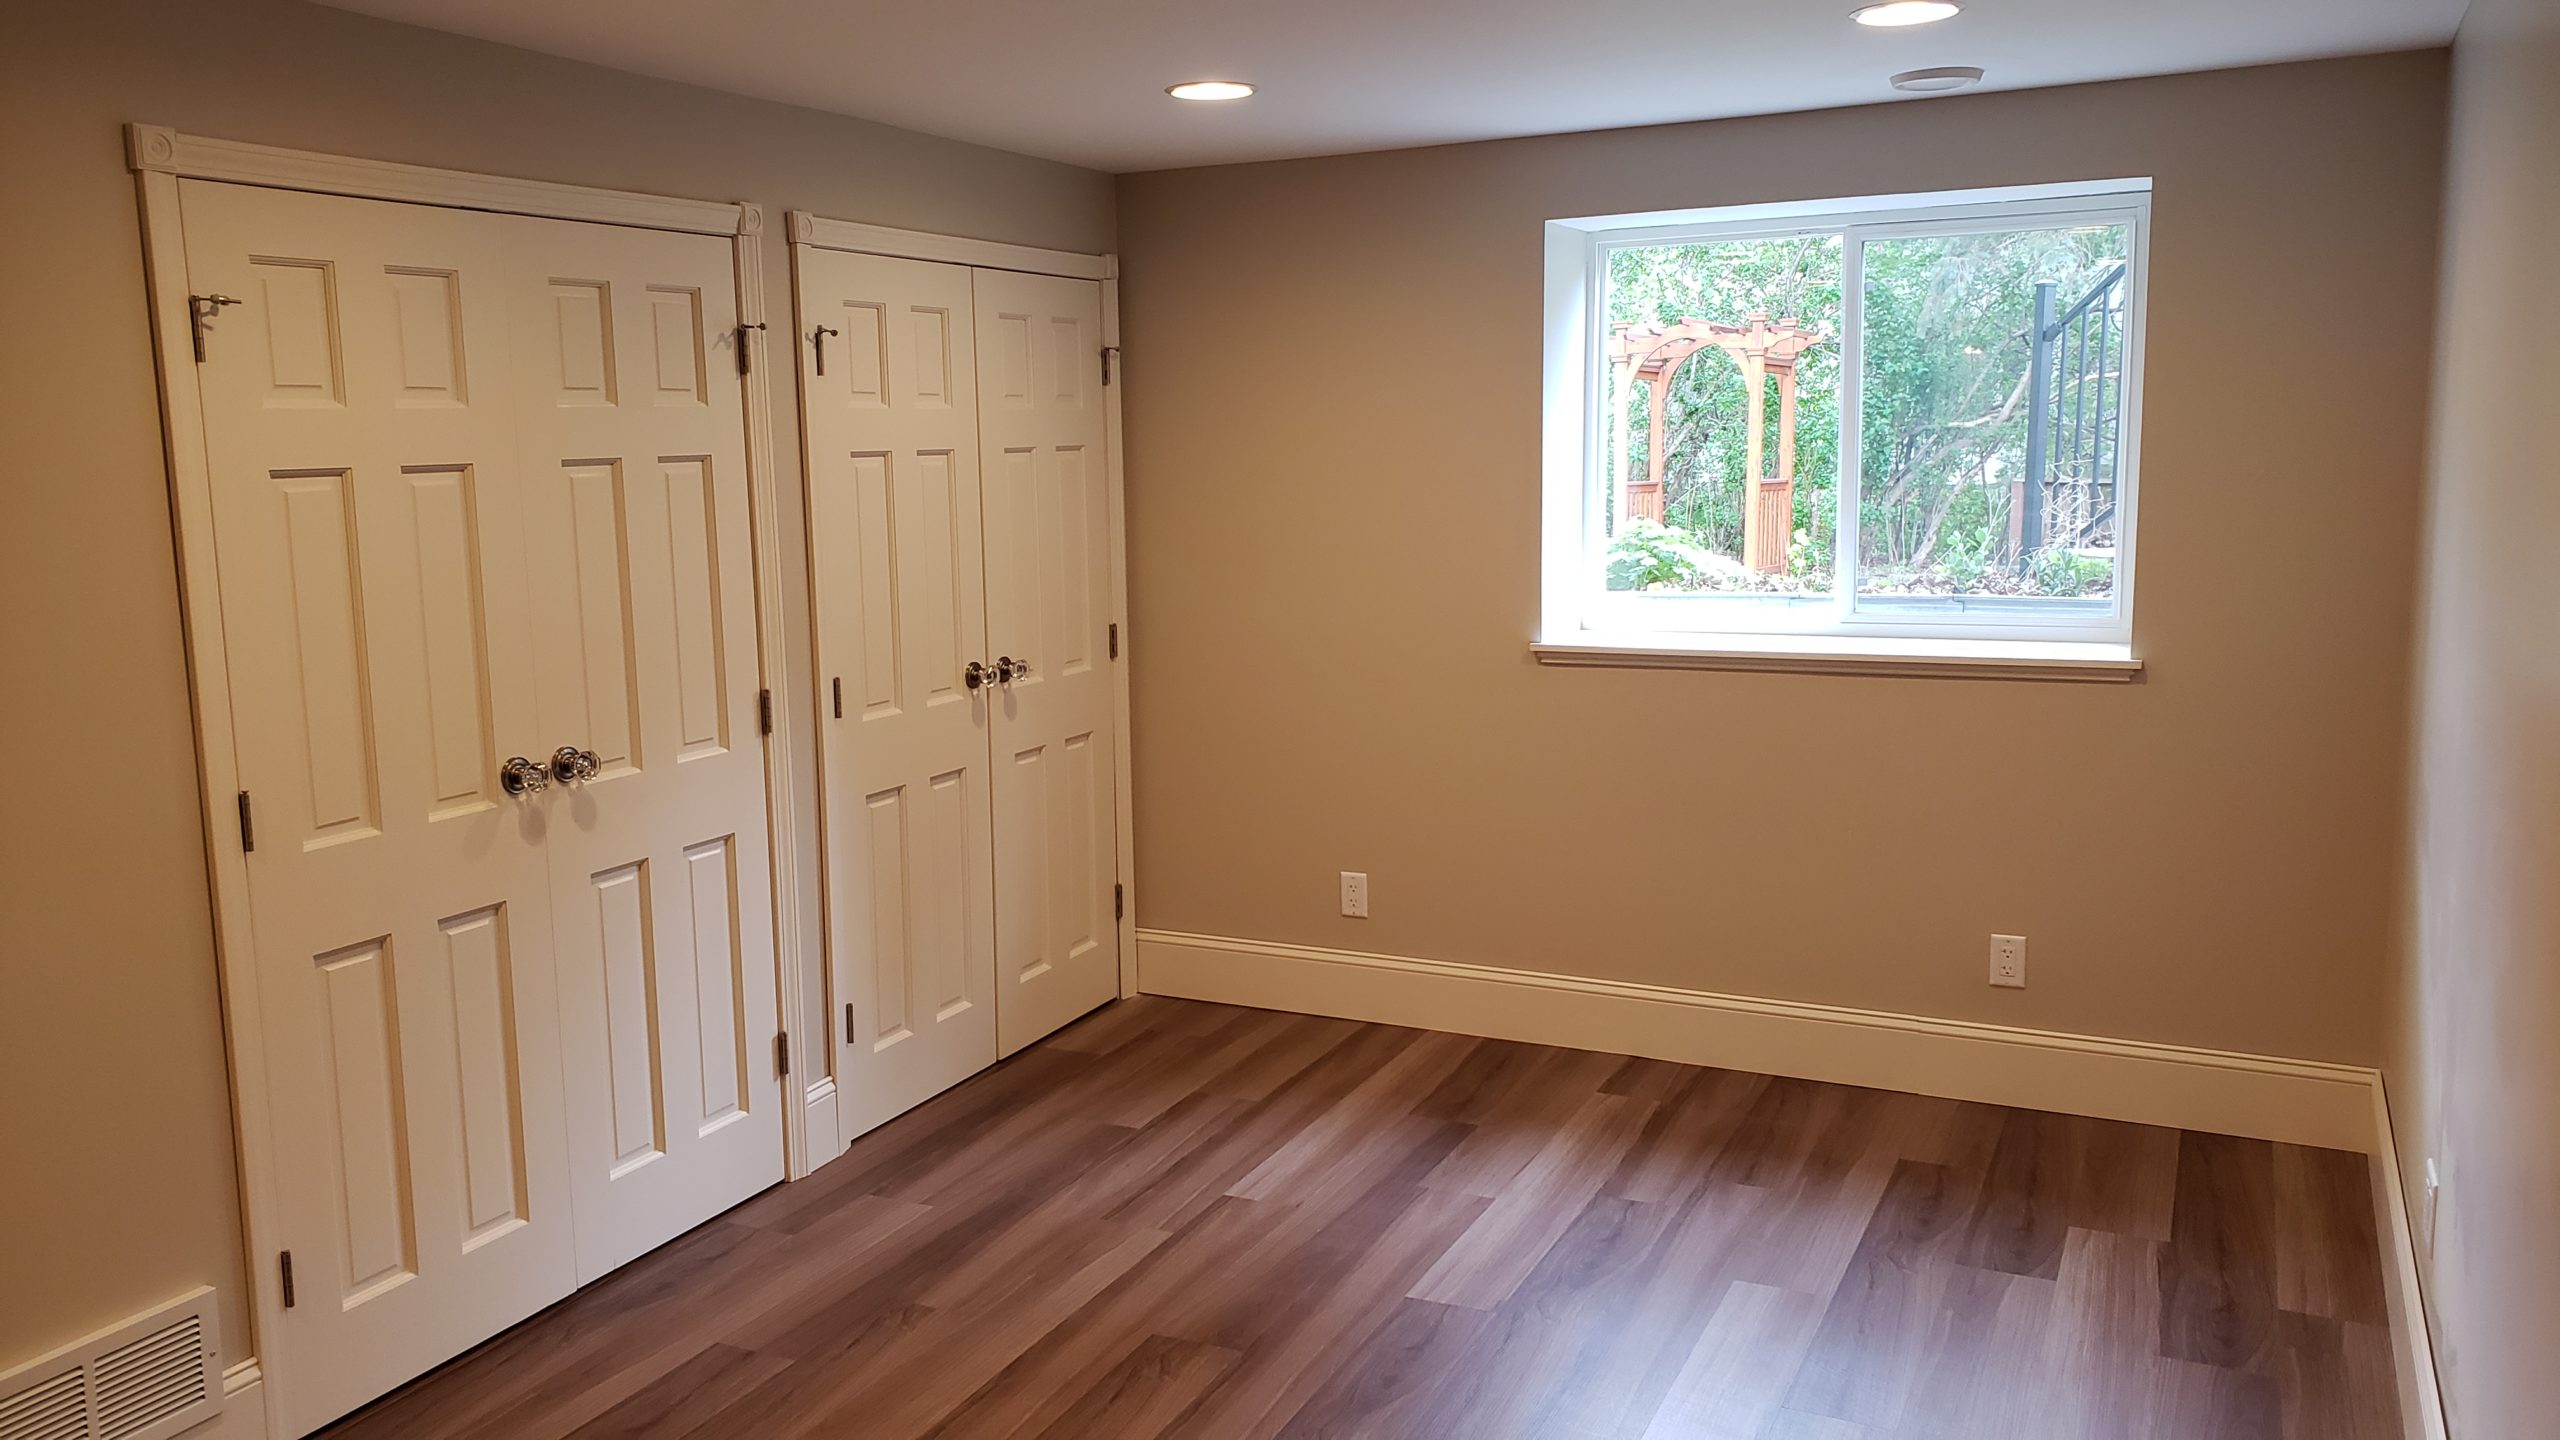
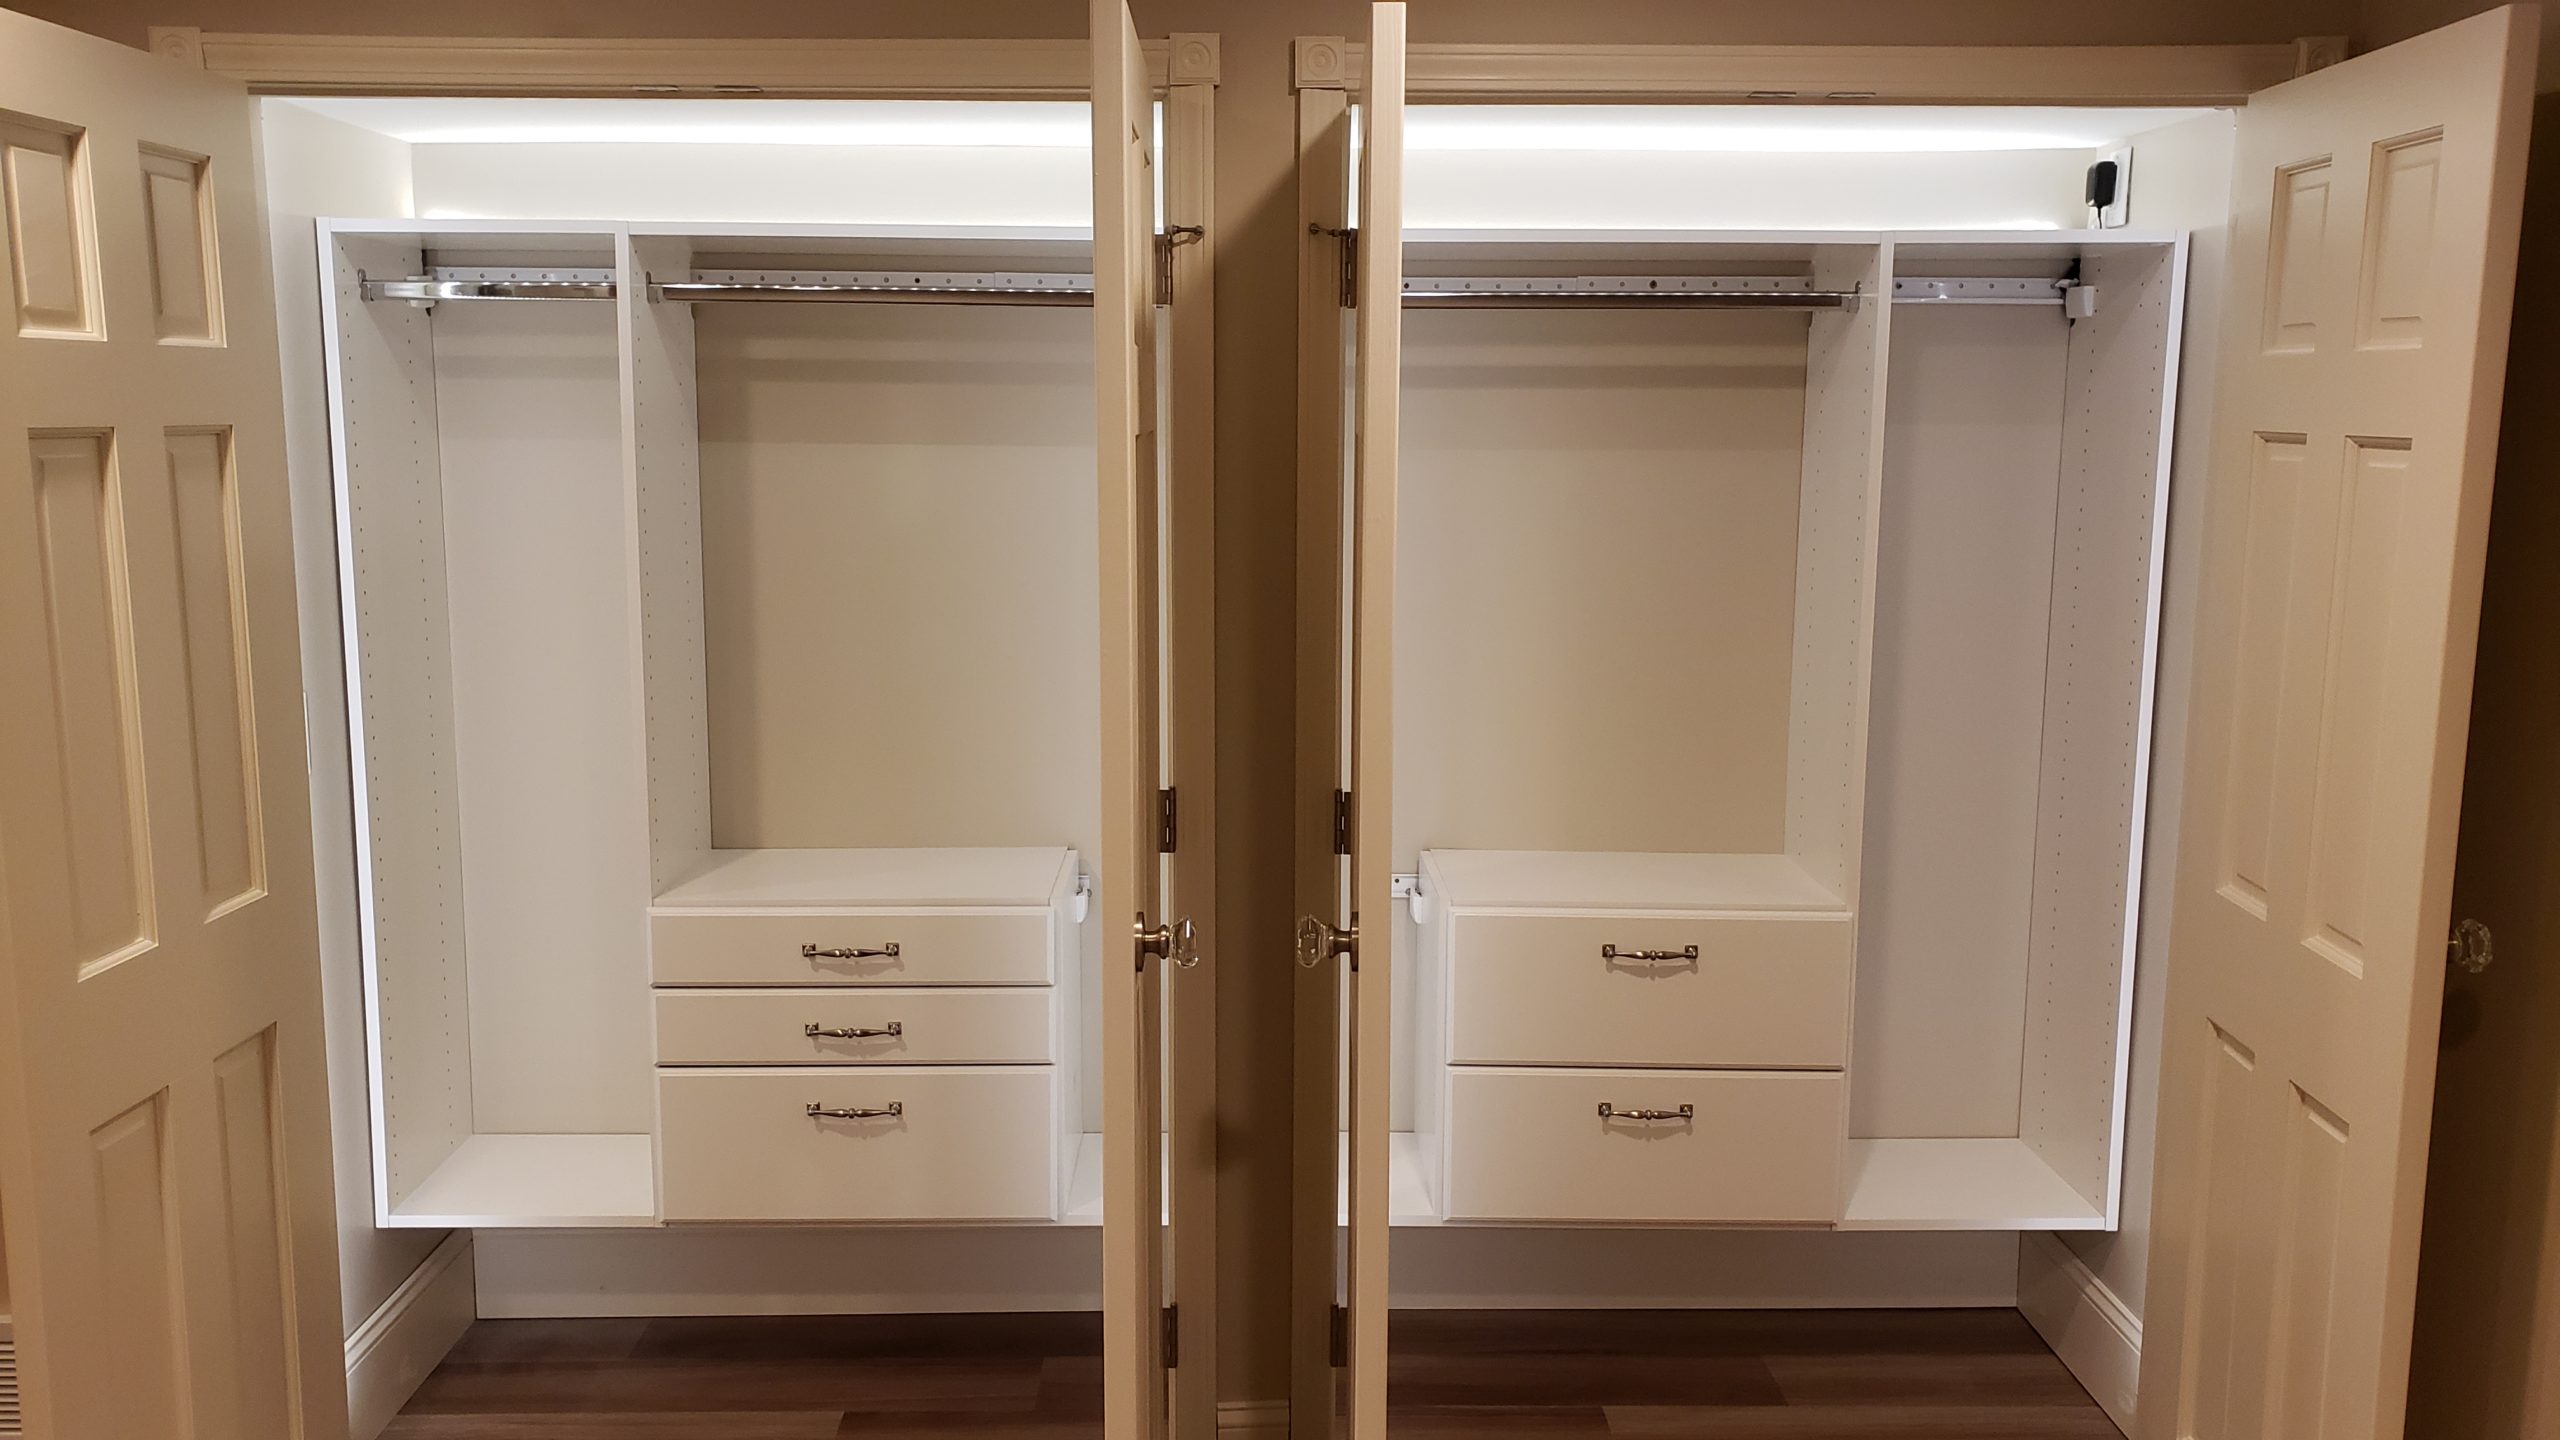
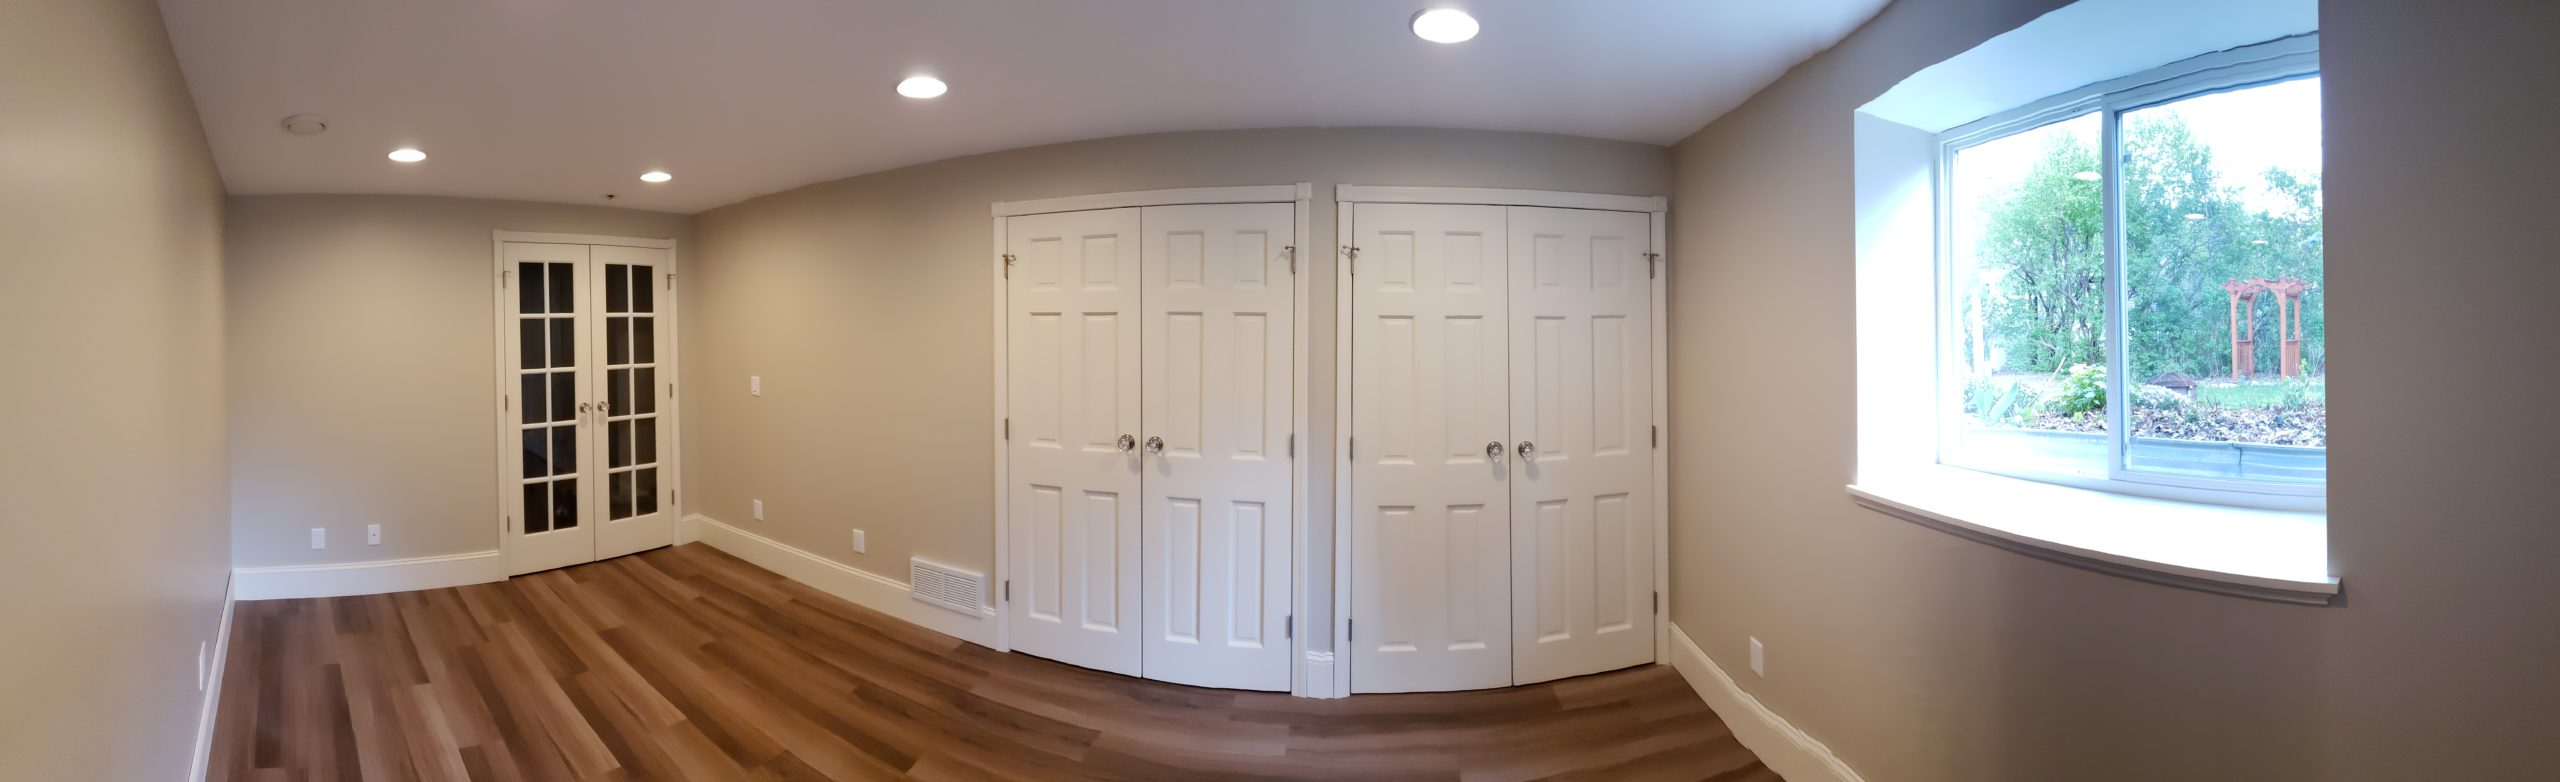
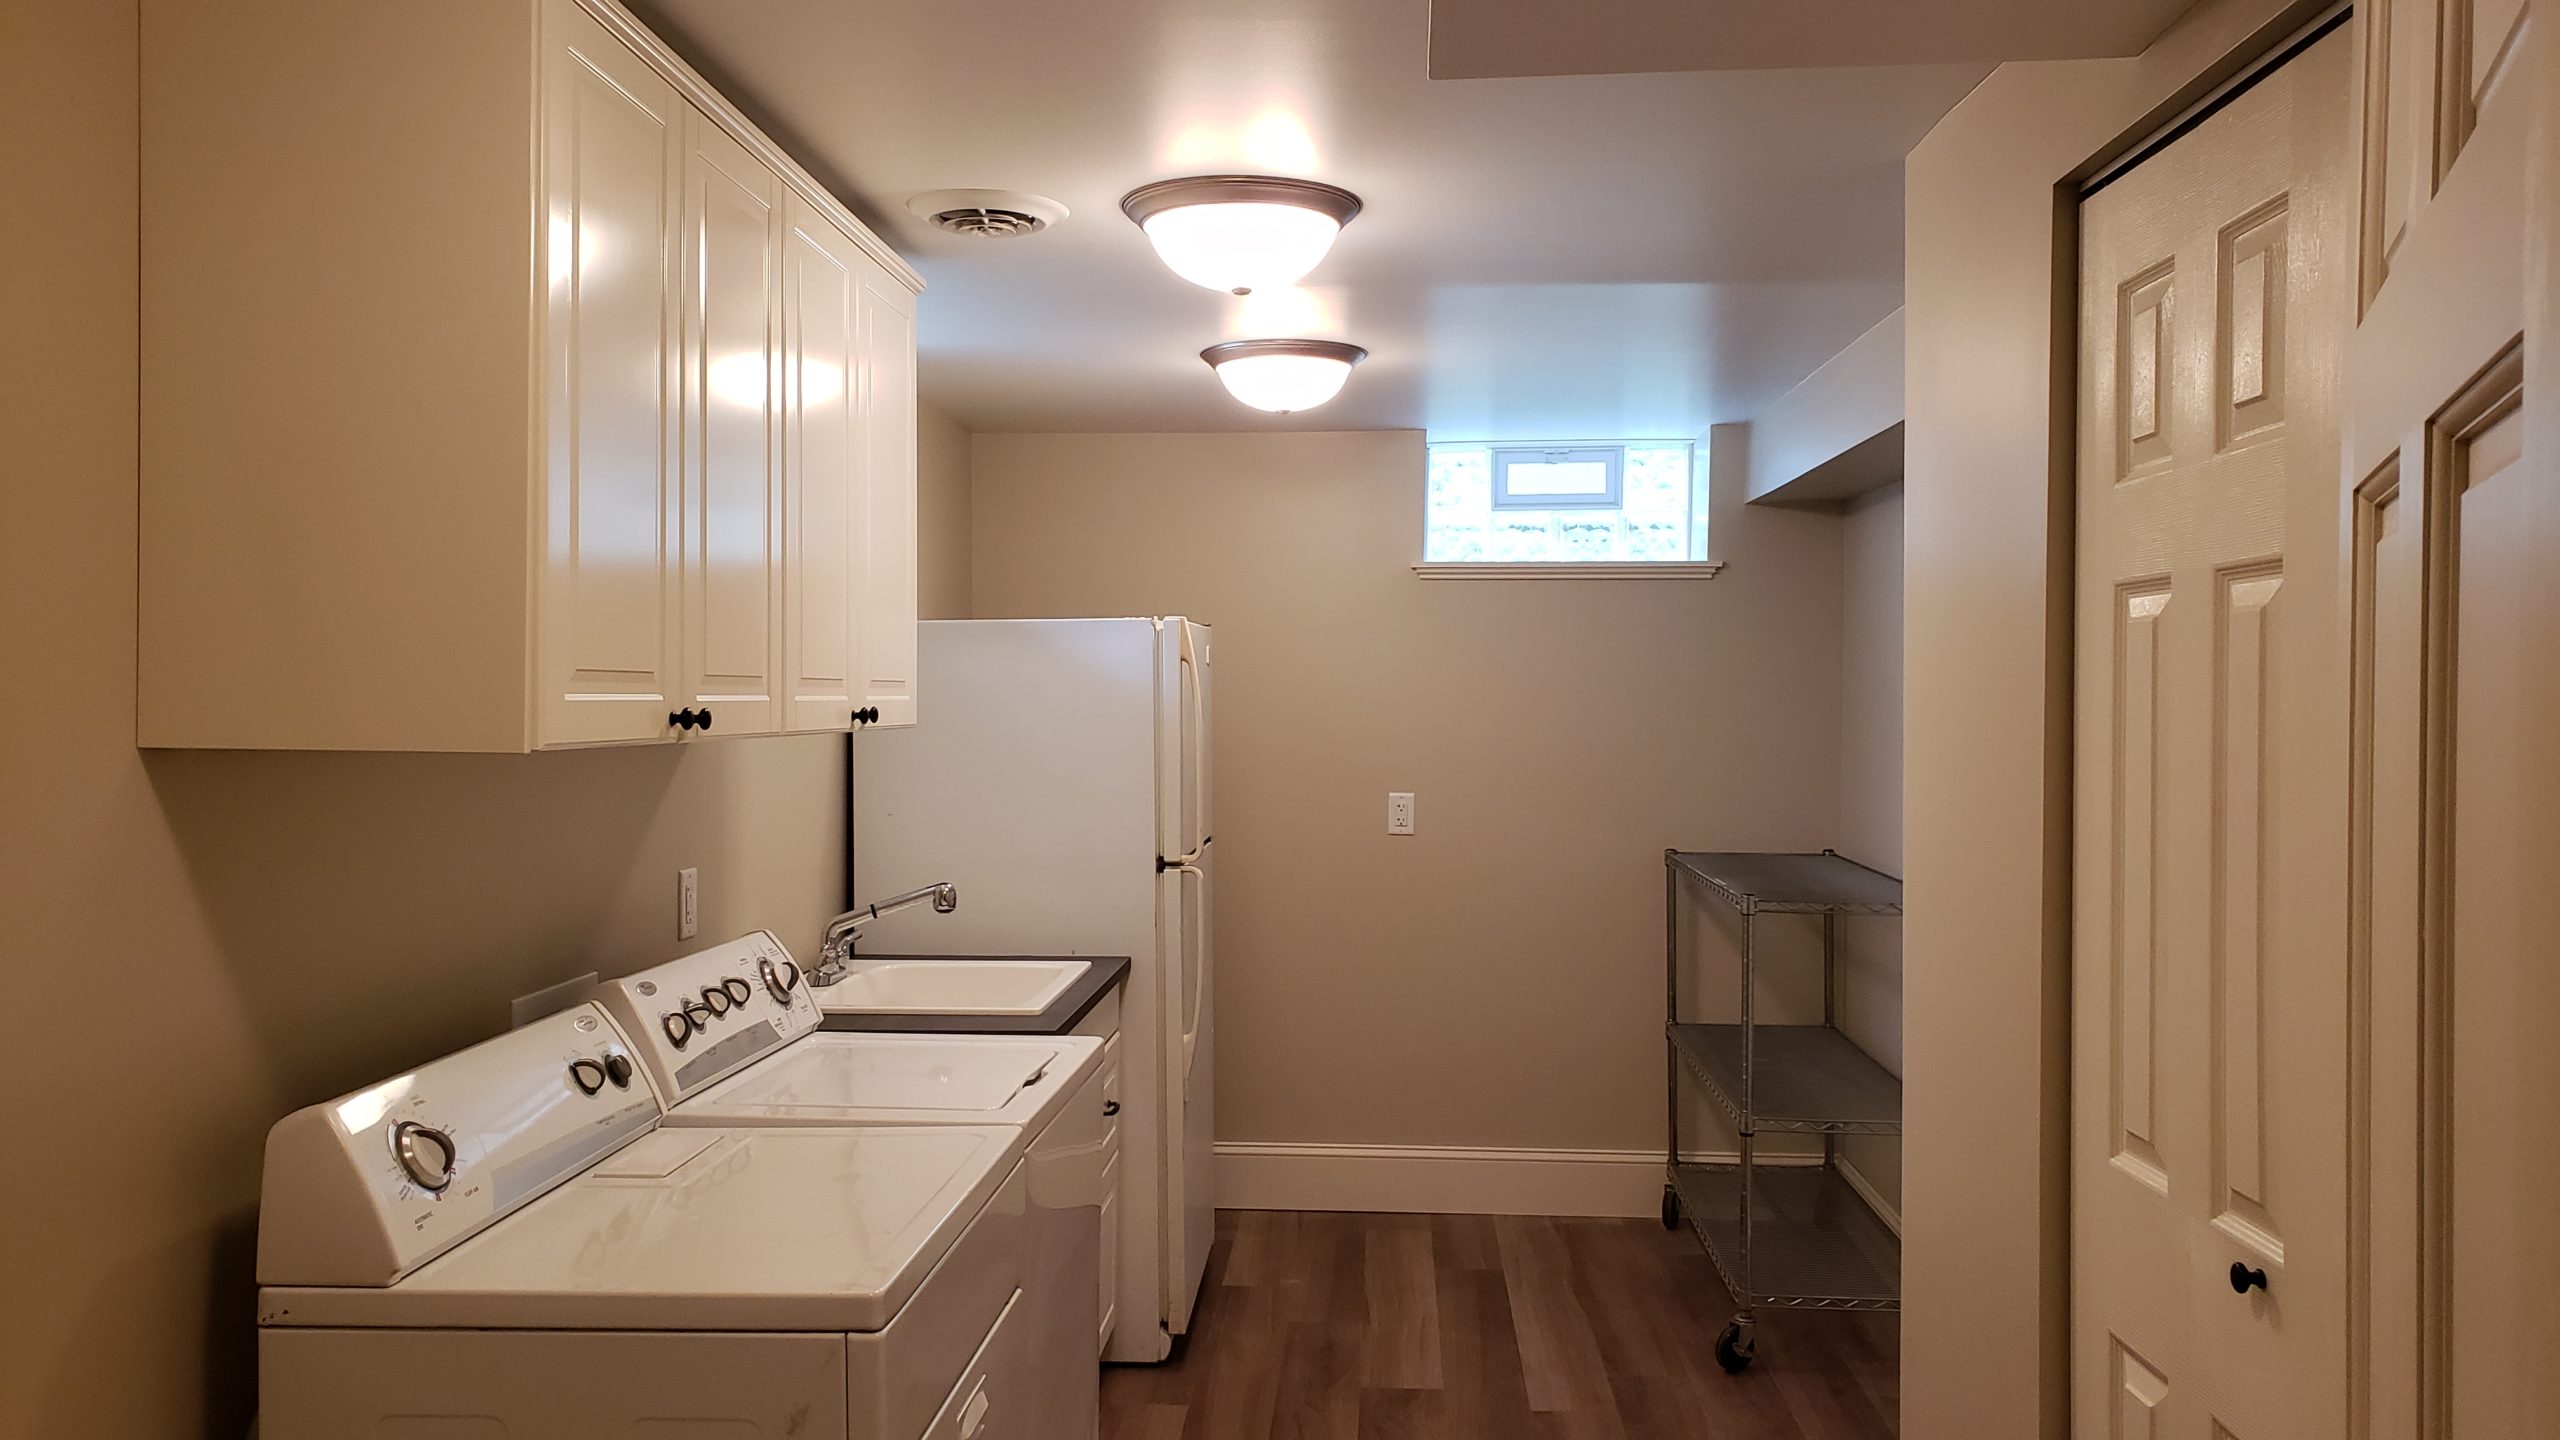
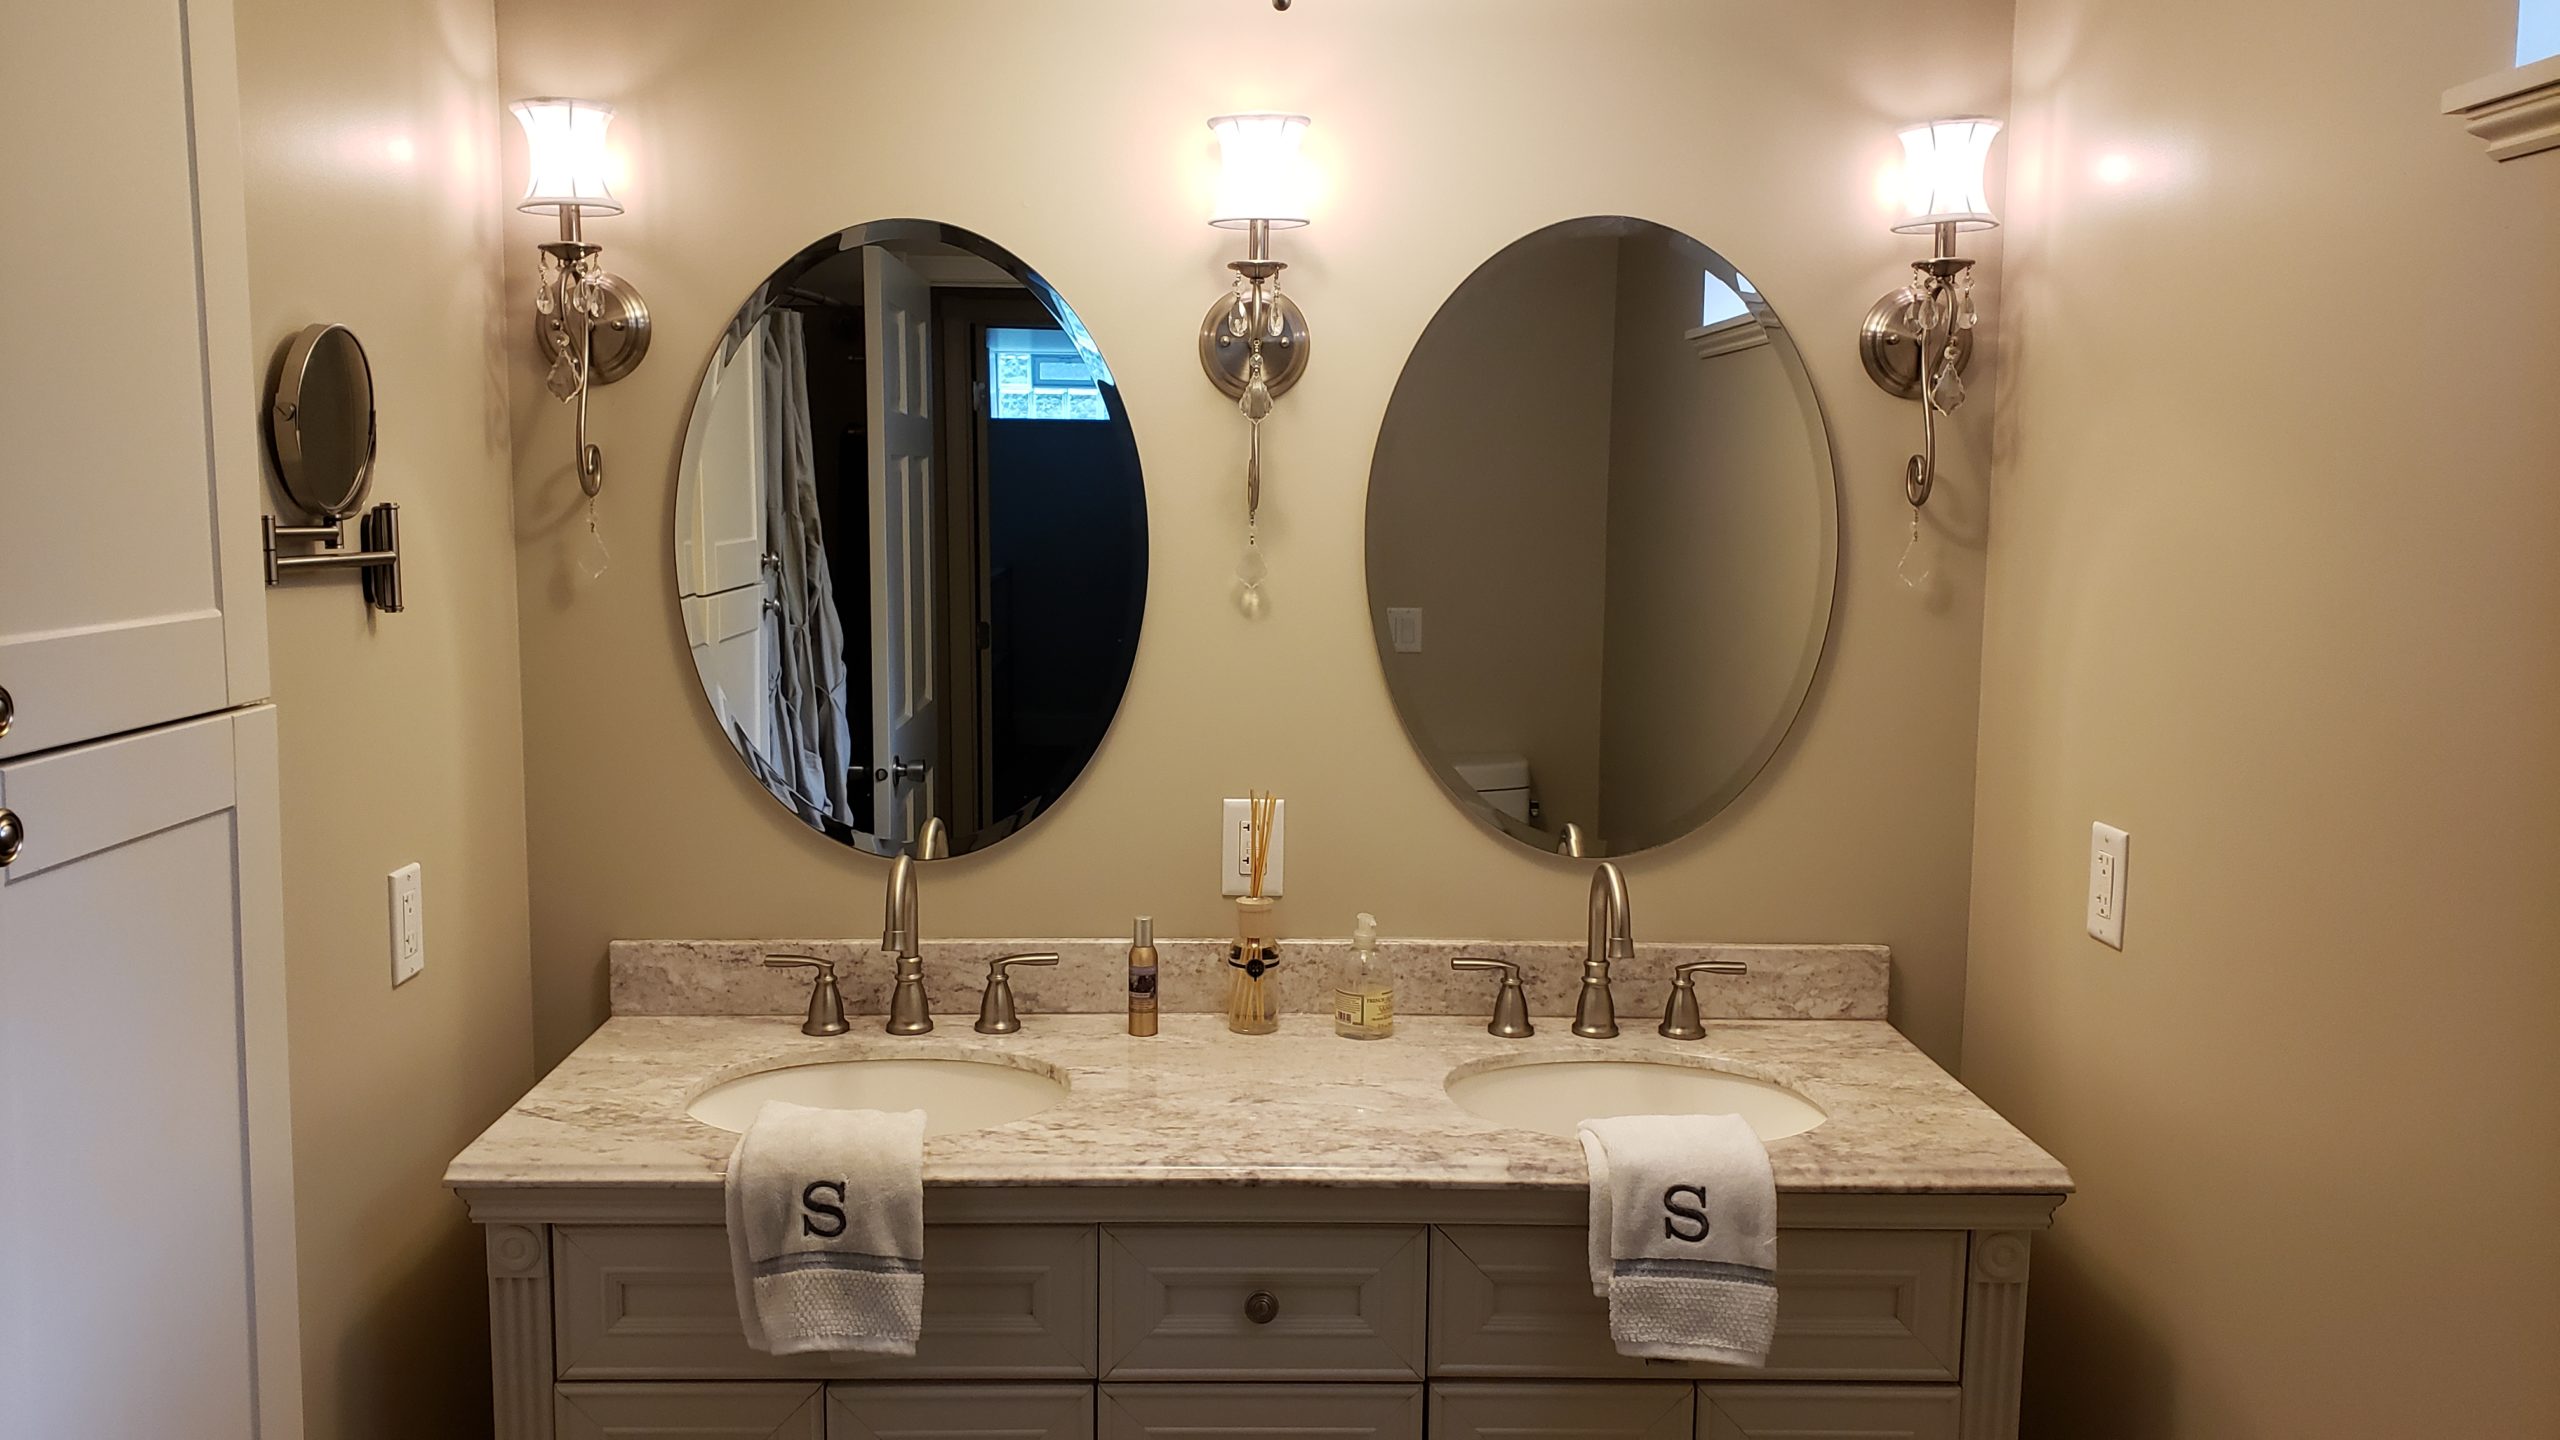
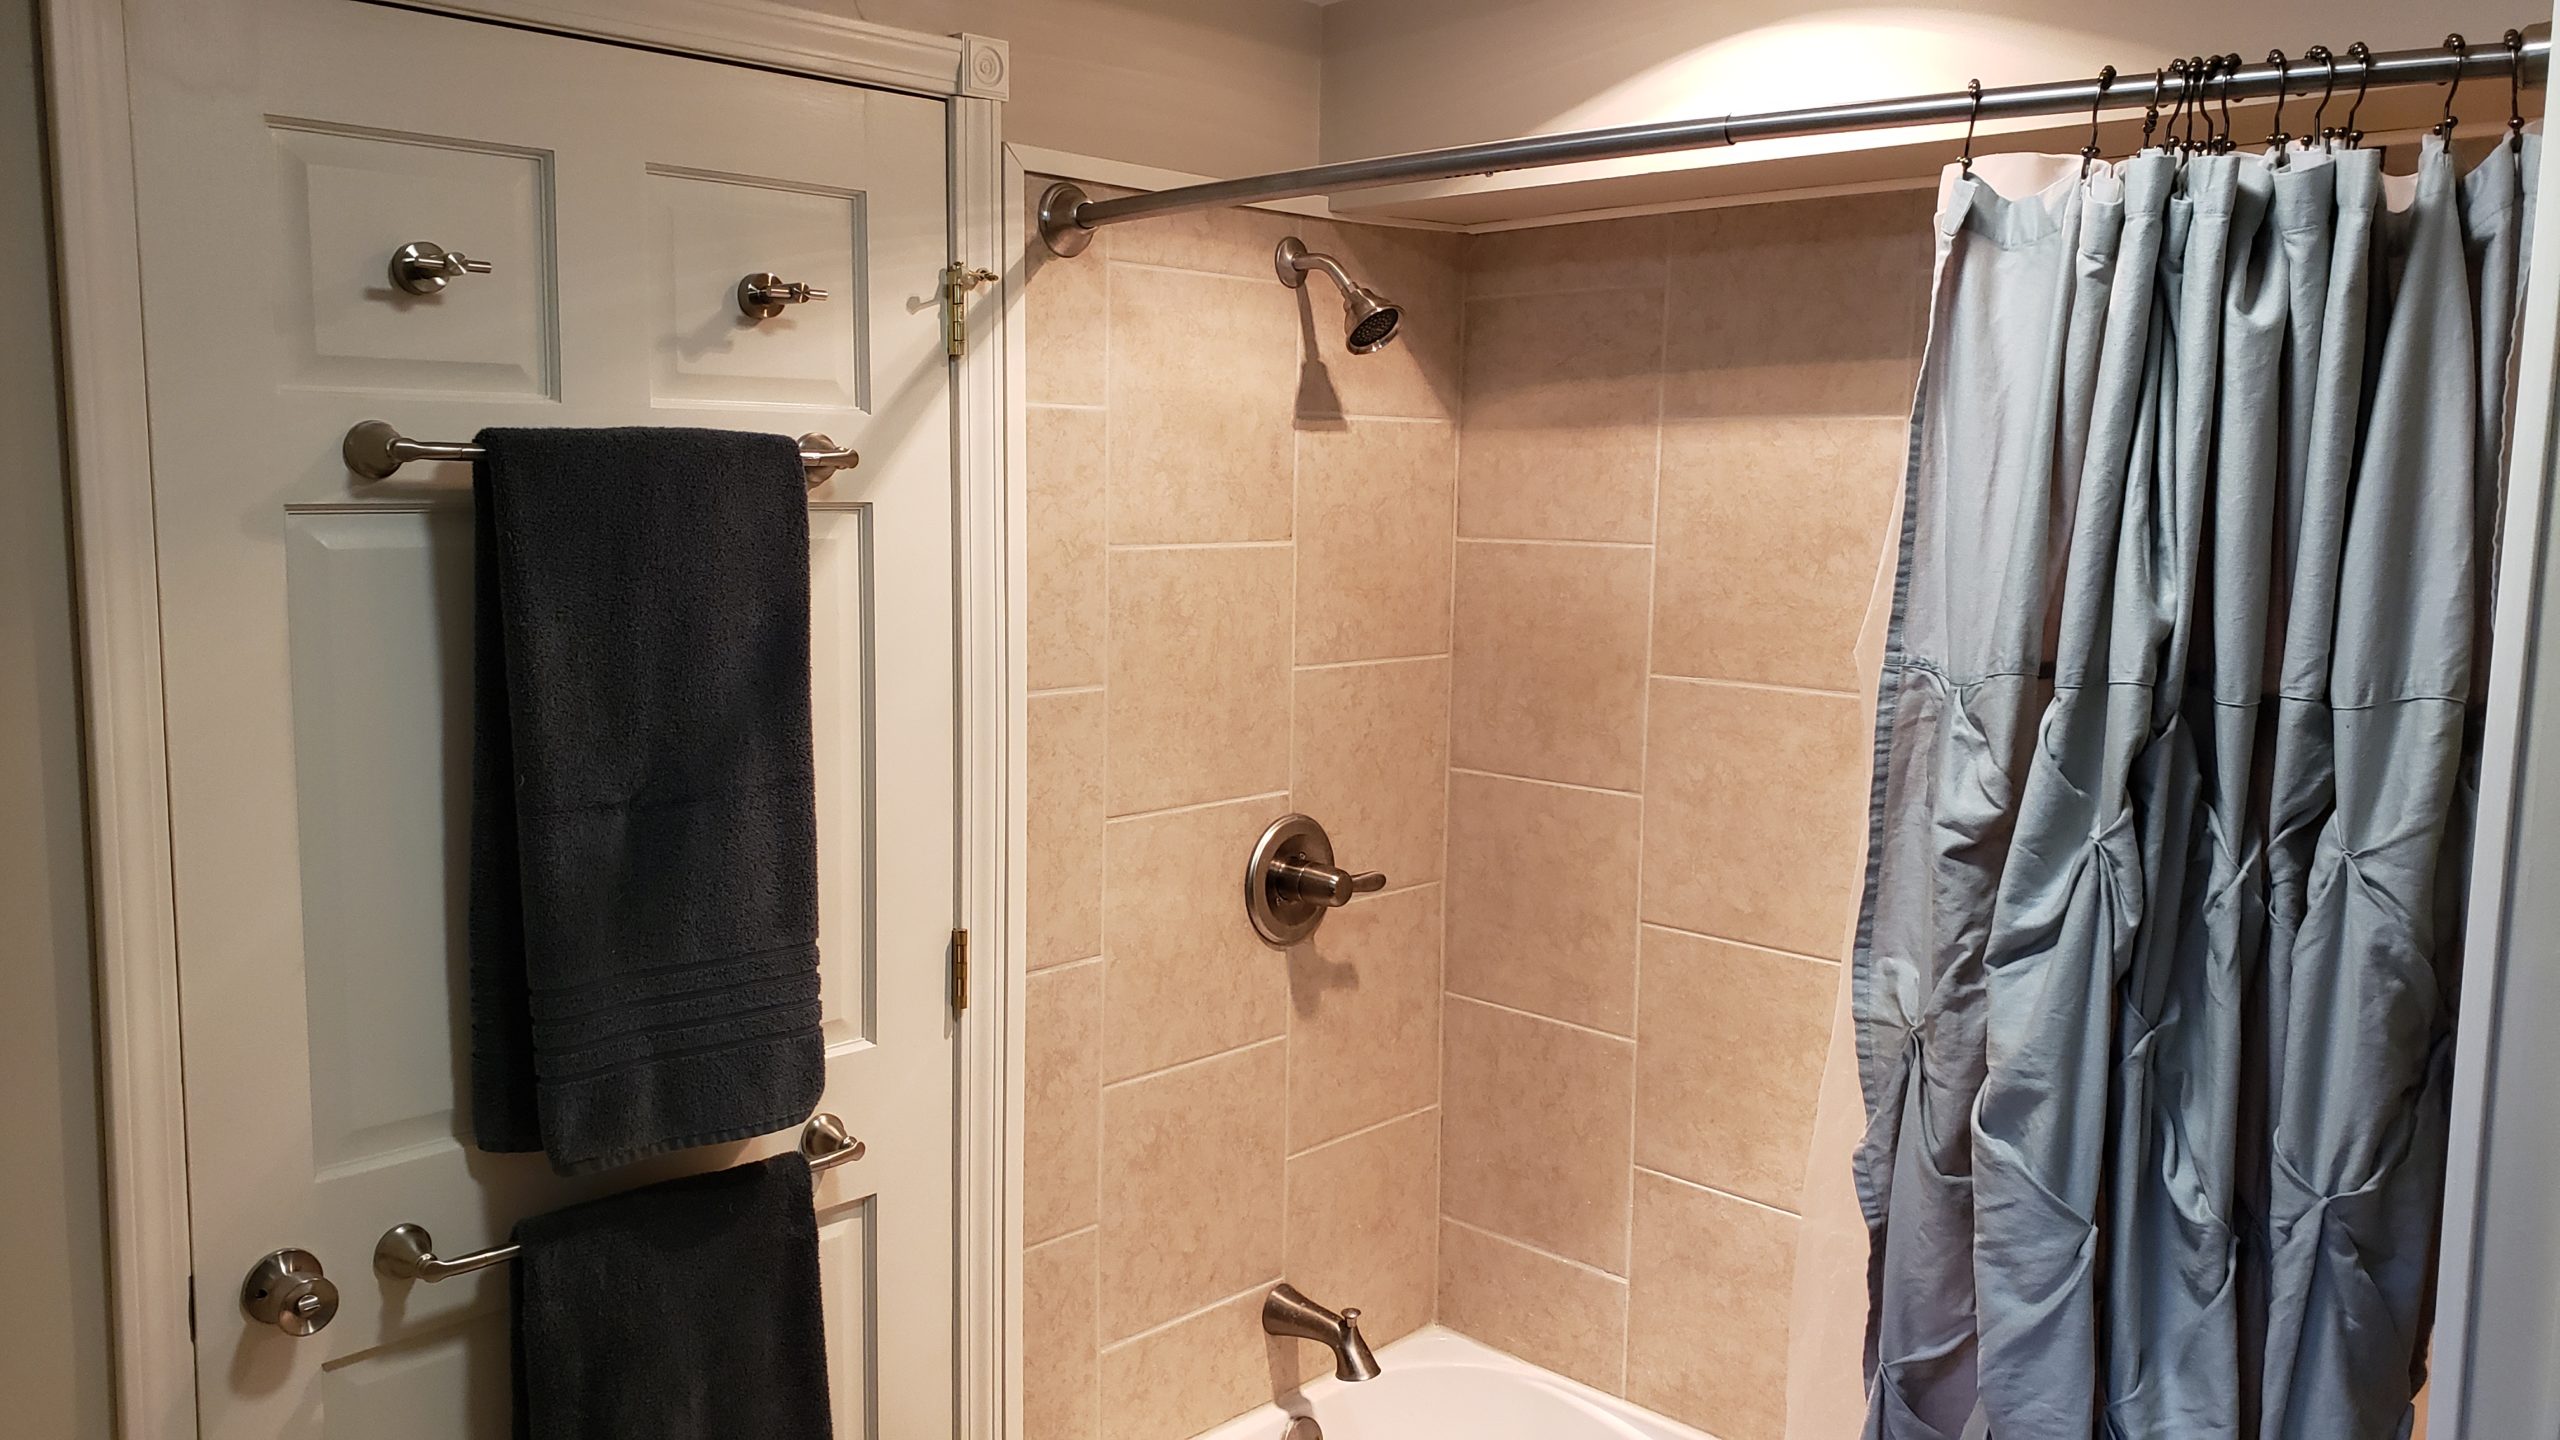
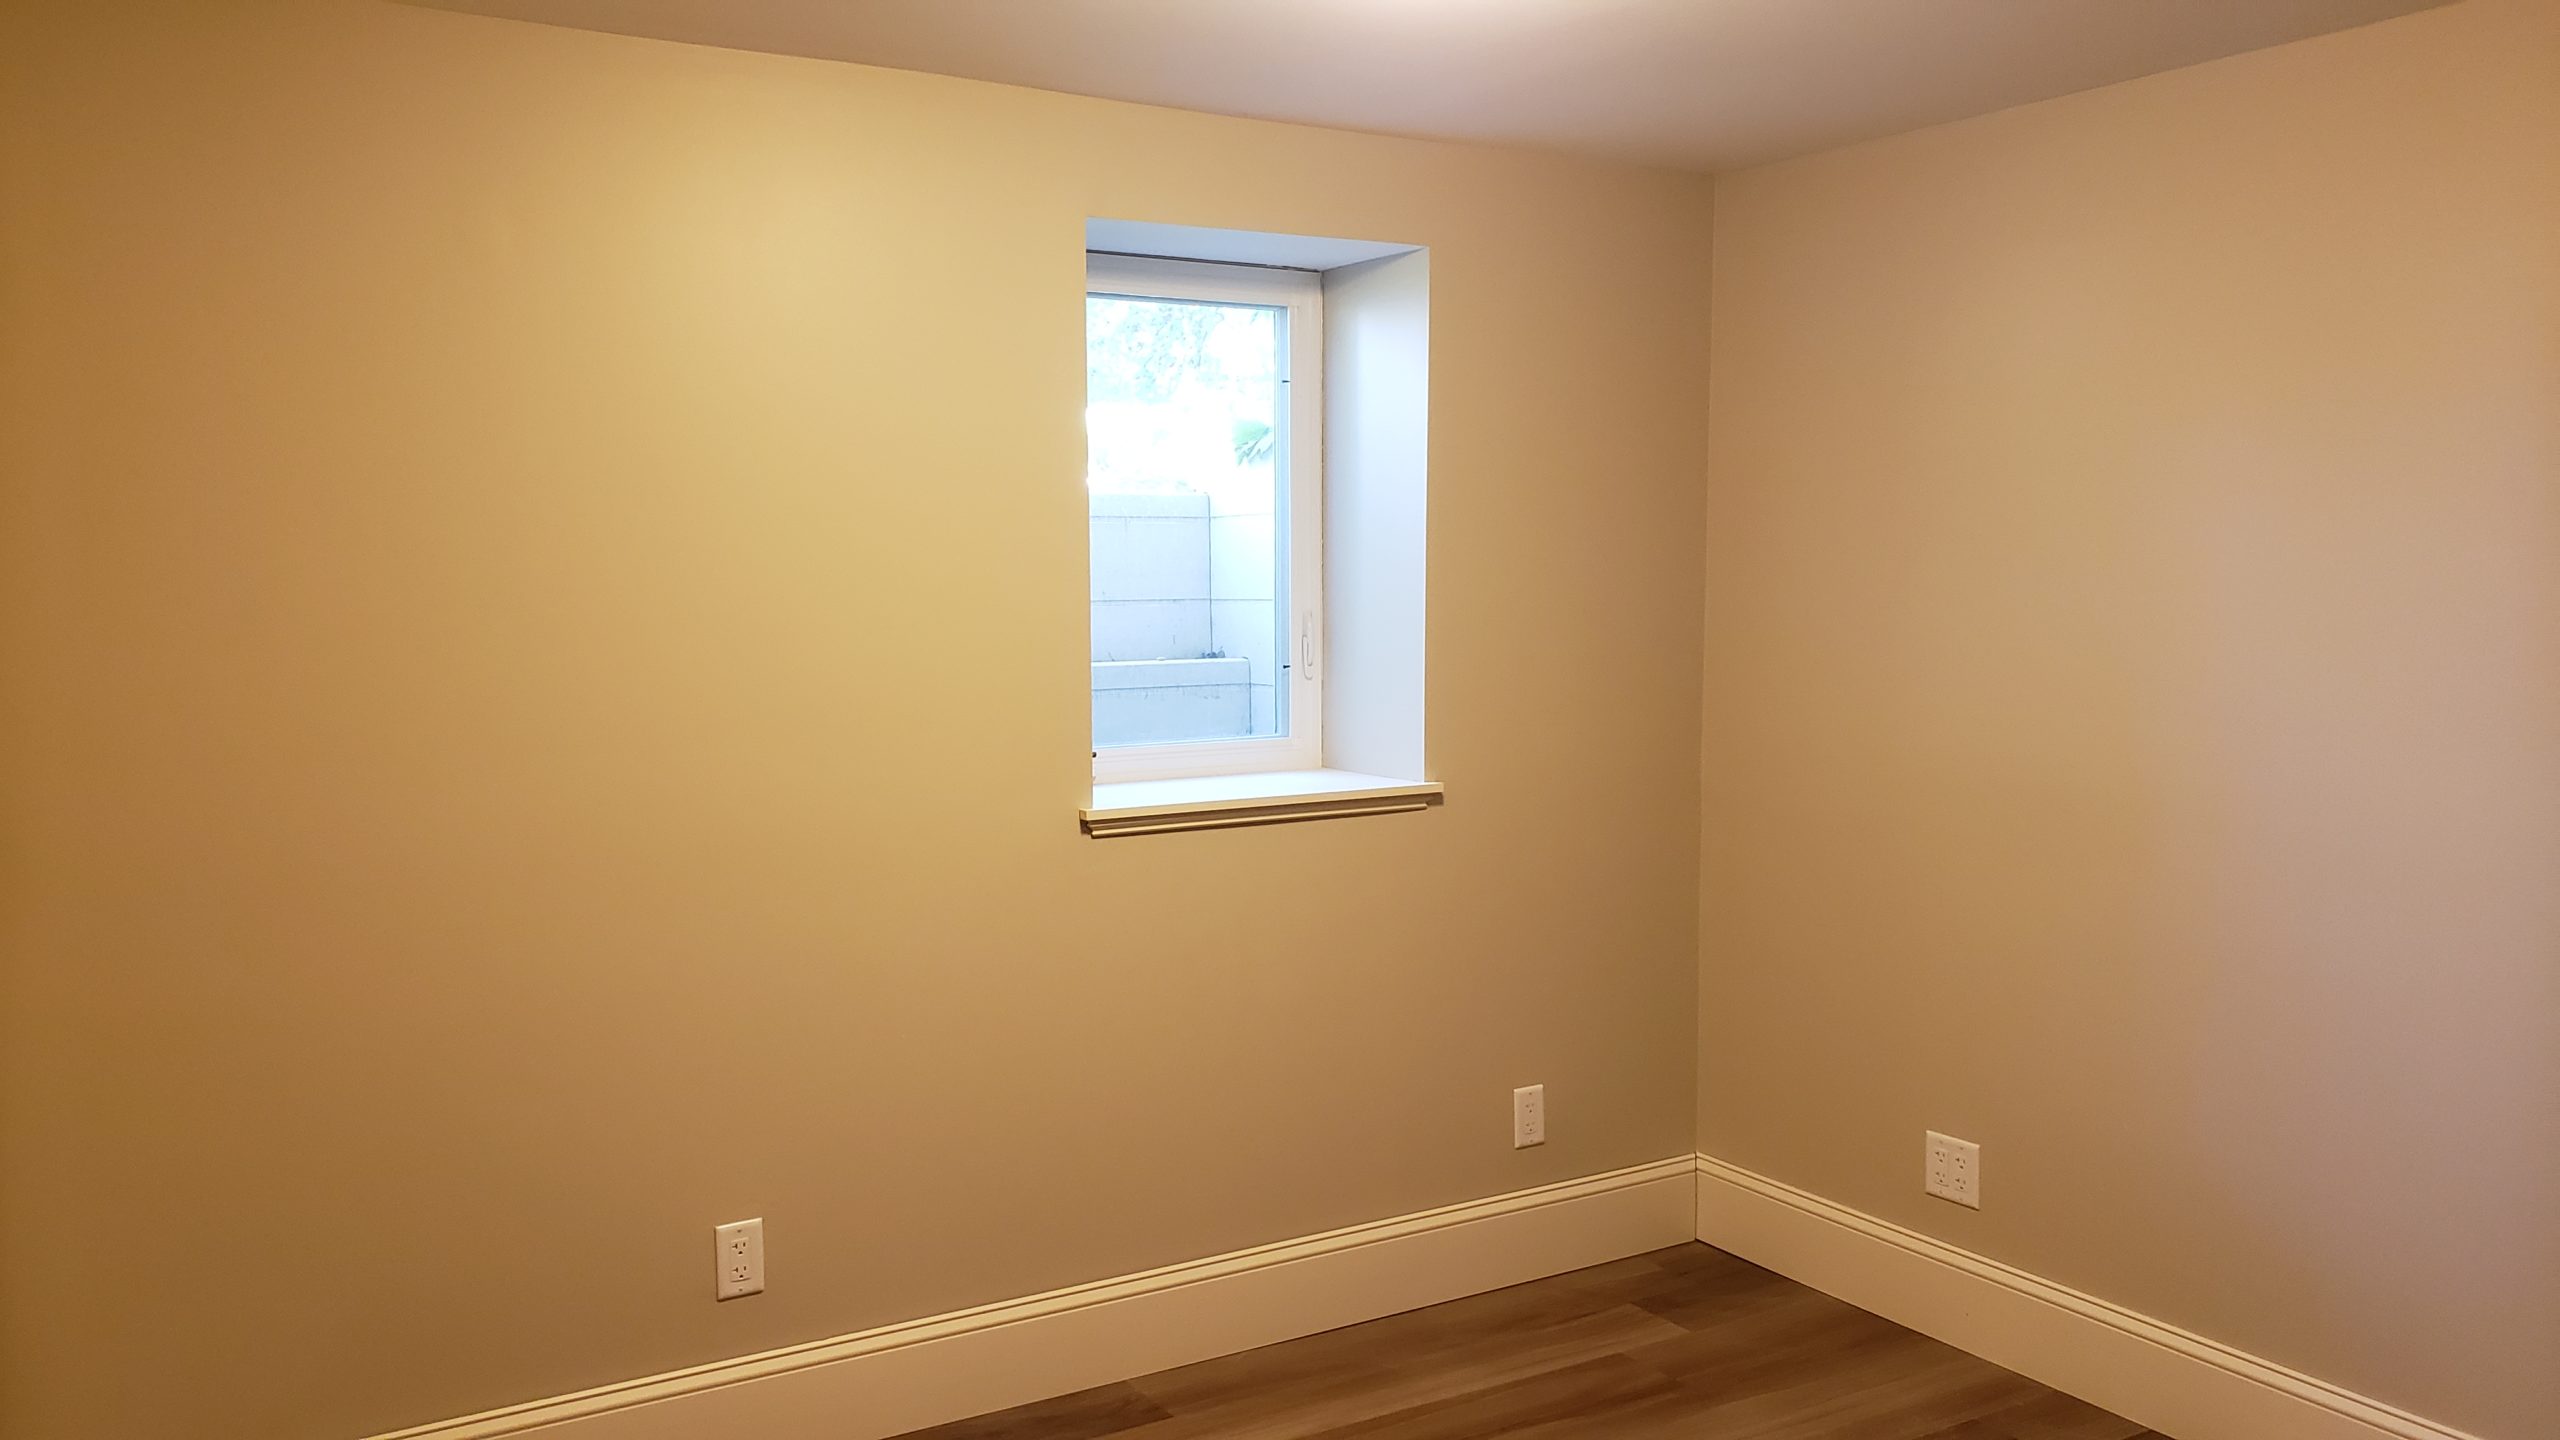
I install the final hardware pieces around the finished basement, including door knobs, vent grilles, light trim kits, switch plate covers, and more. In the bathroom, I install a toilet paper holder and towel holders. I hang bi-fold doors in the laundry room and bedroom. I also install some last minute trim and touch up paint in a few areas.
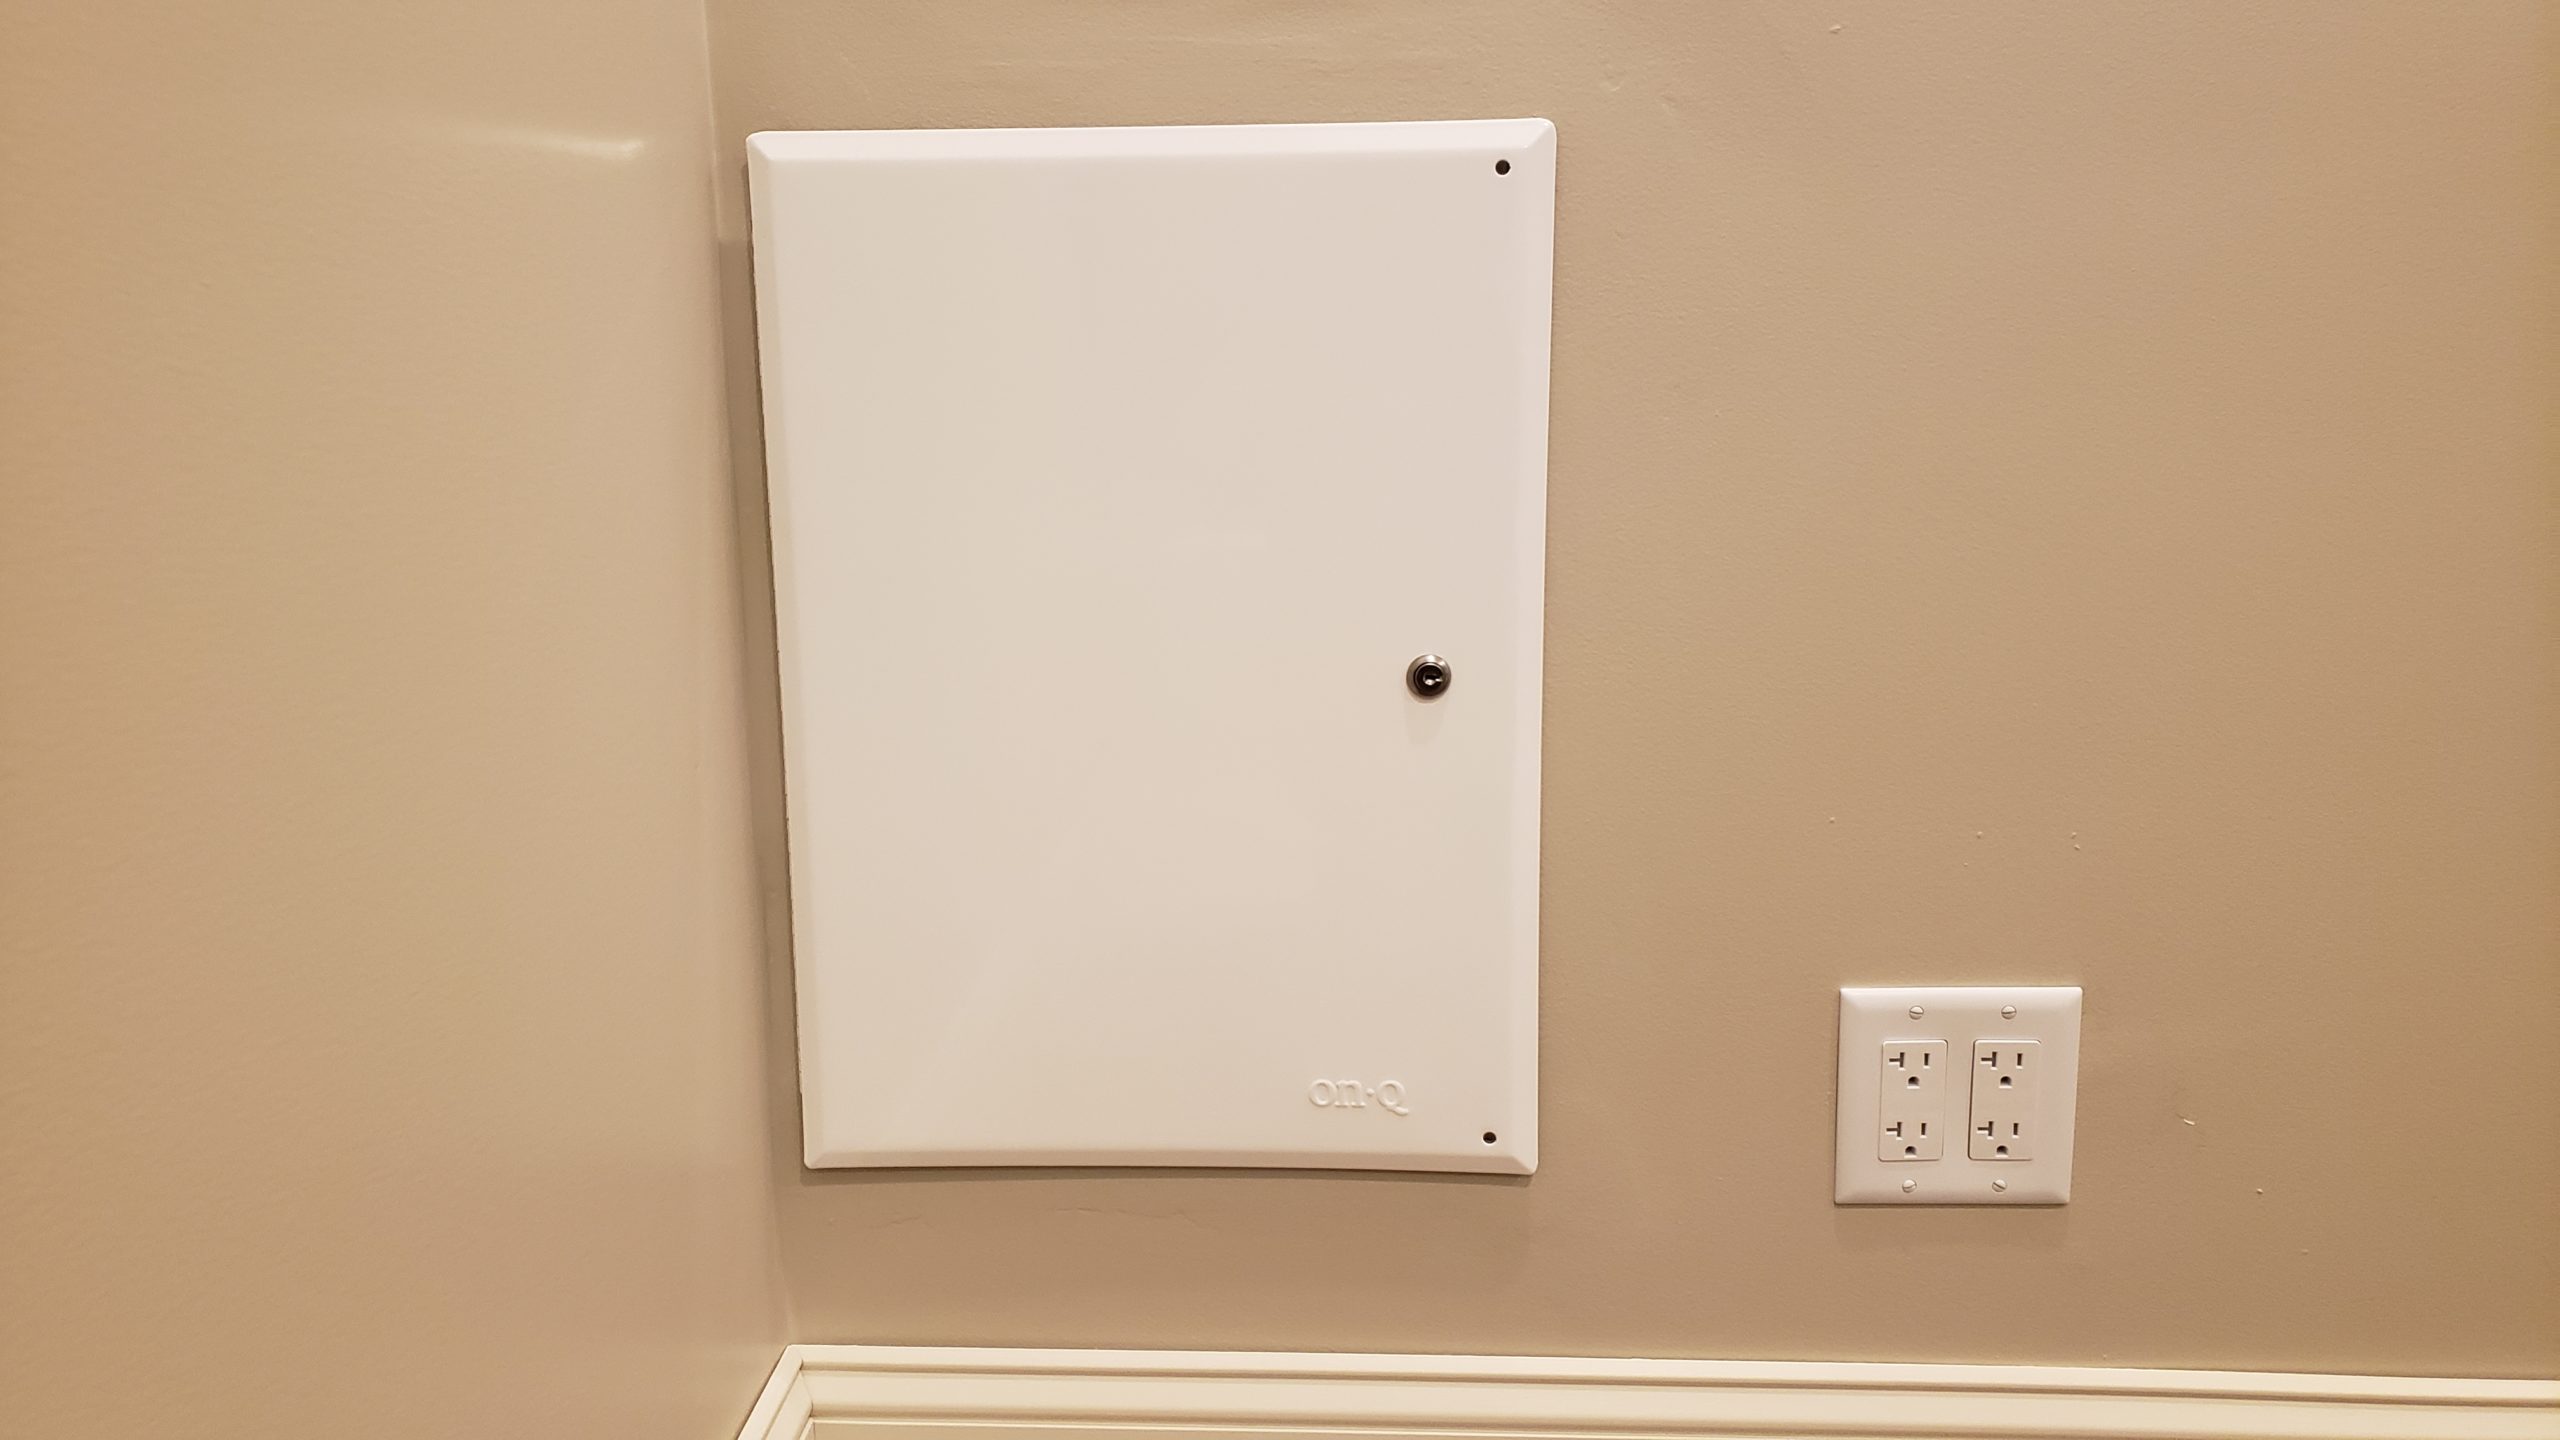
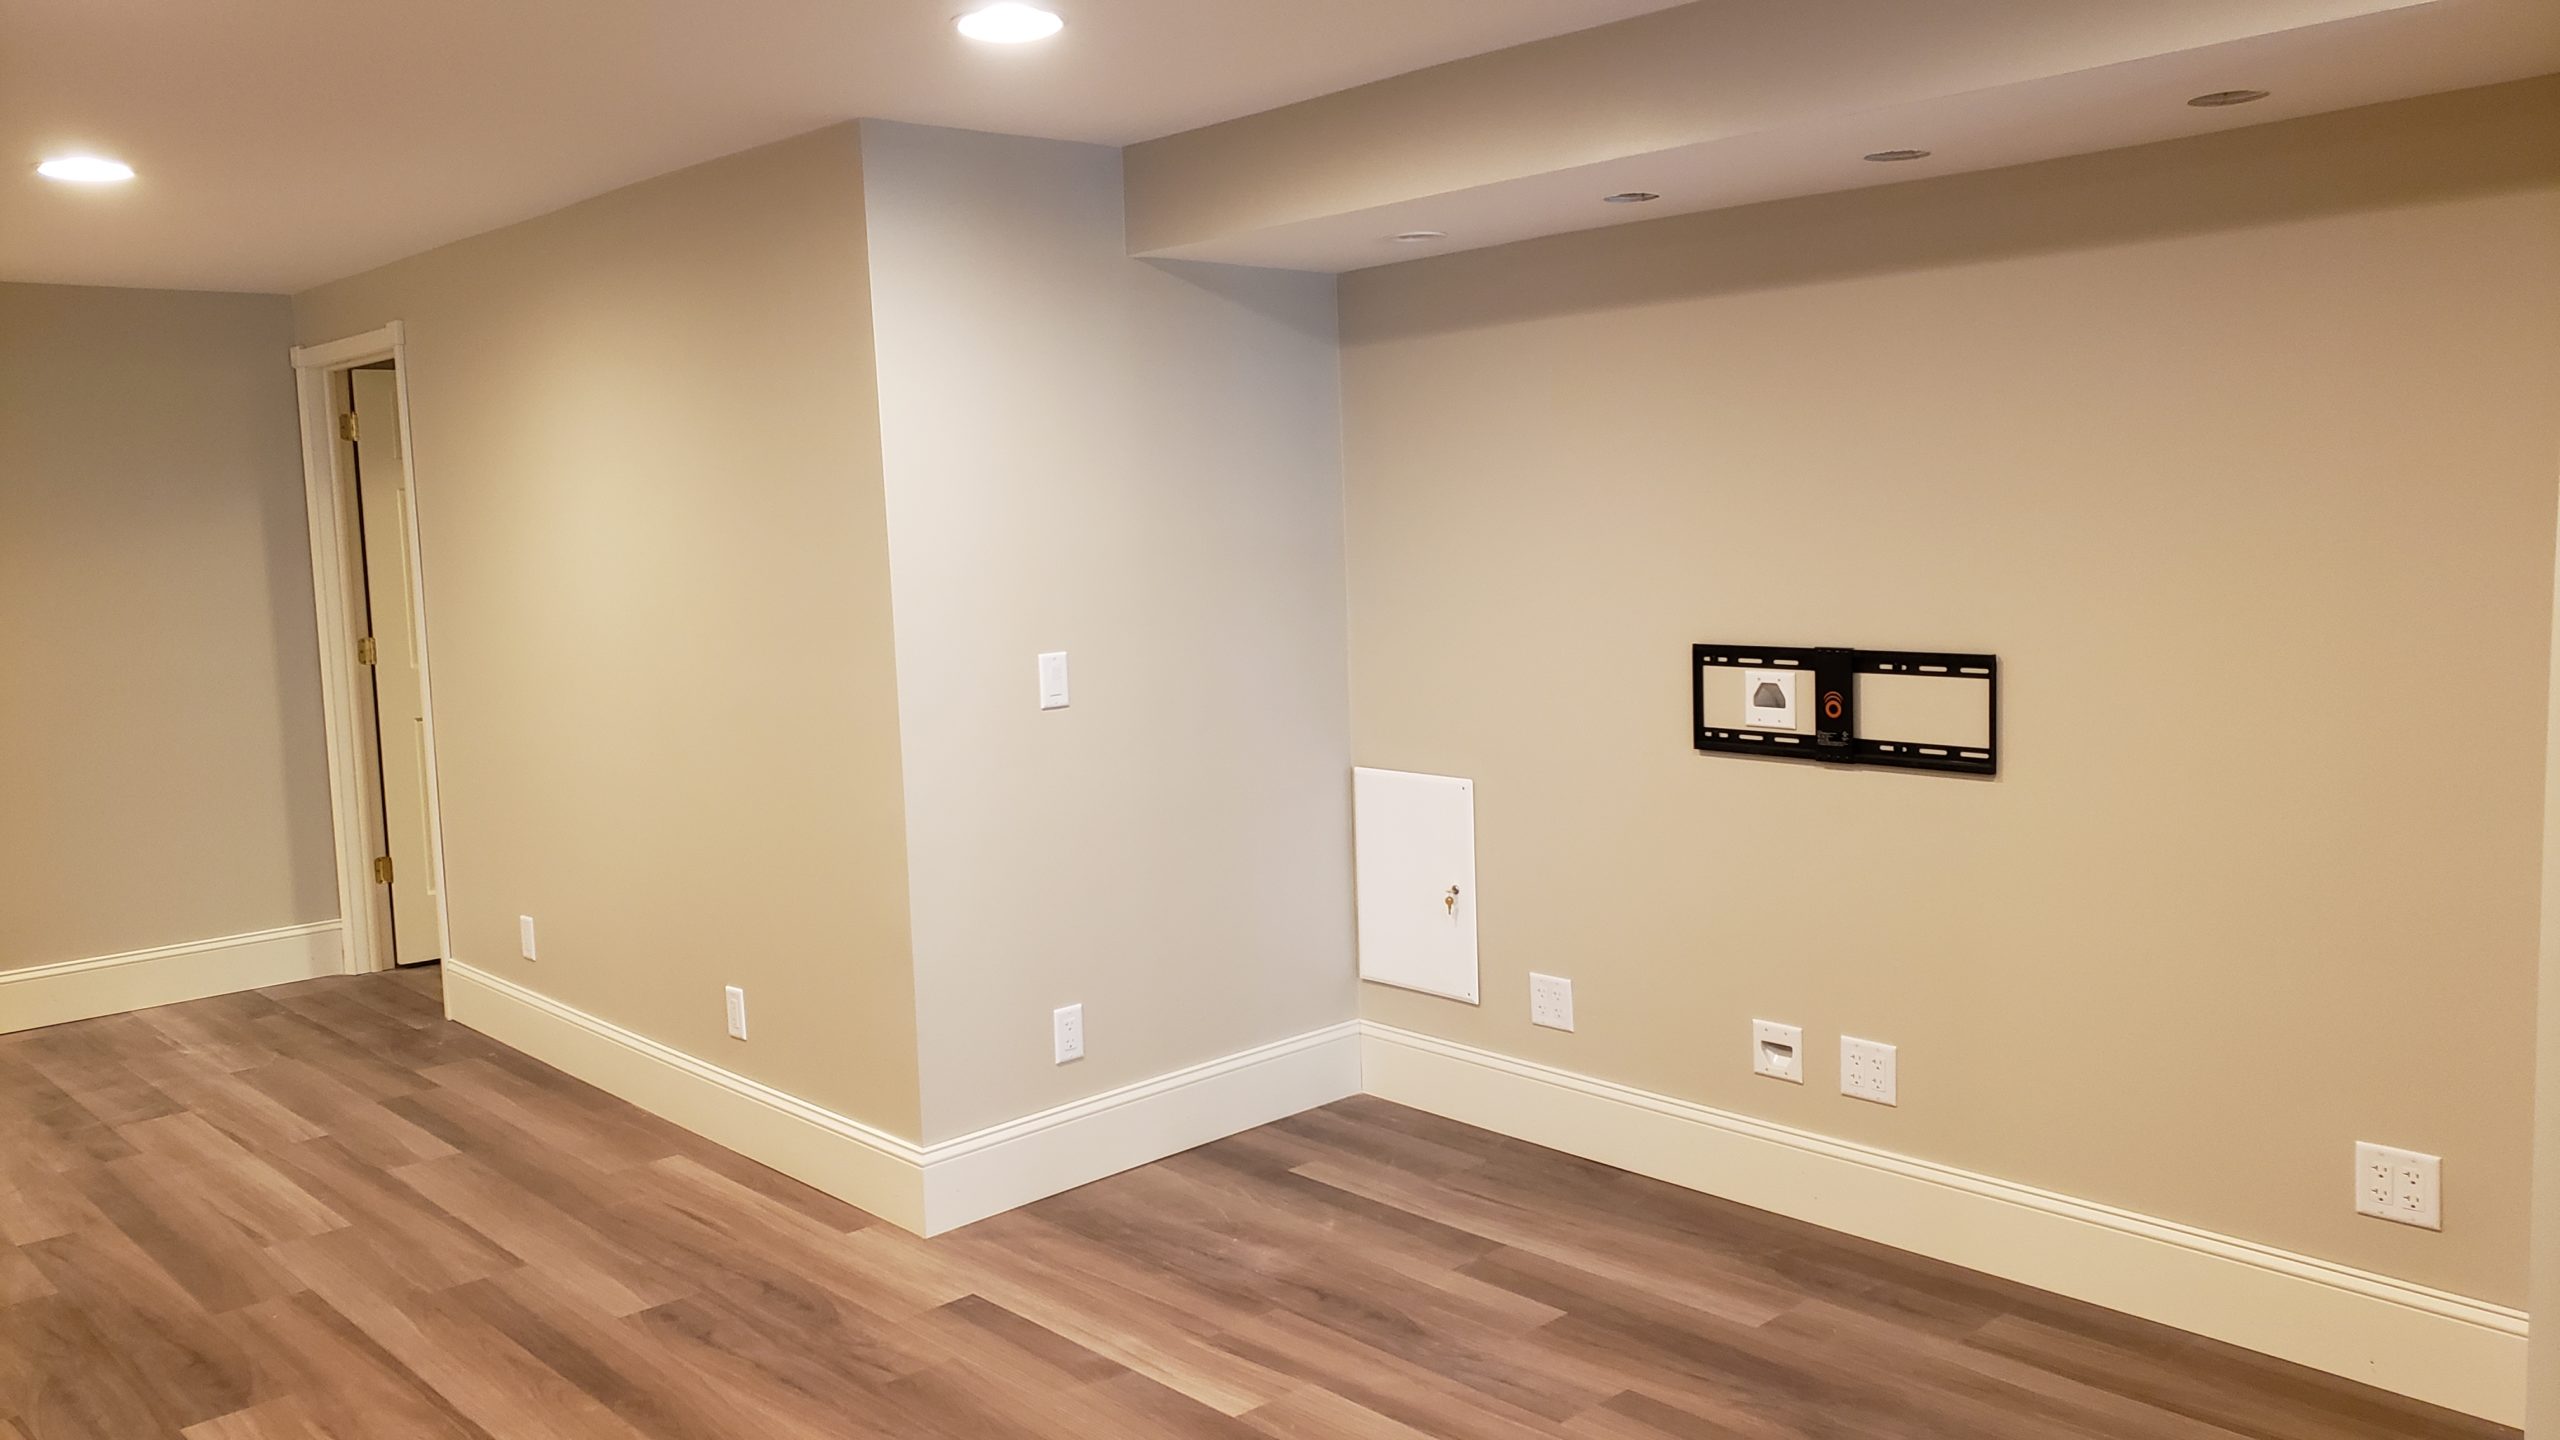
Structured media panel finished
Today I completed the structured media enclosure. Over the last 6 years we’ve had to rebuild half of house, so we took the opportunity to upgrade our household telephone, cable, and CAT6 networks. Everything is patched from this panel.

6 years later, it’s finally DONE.
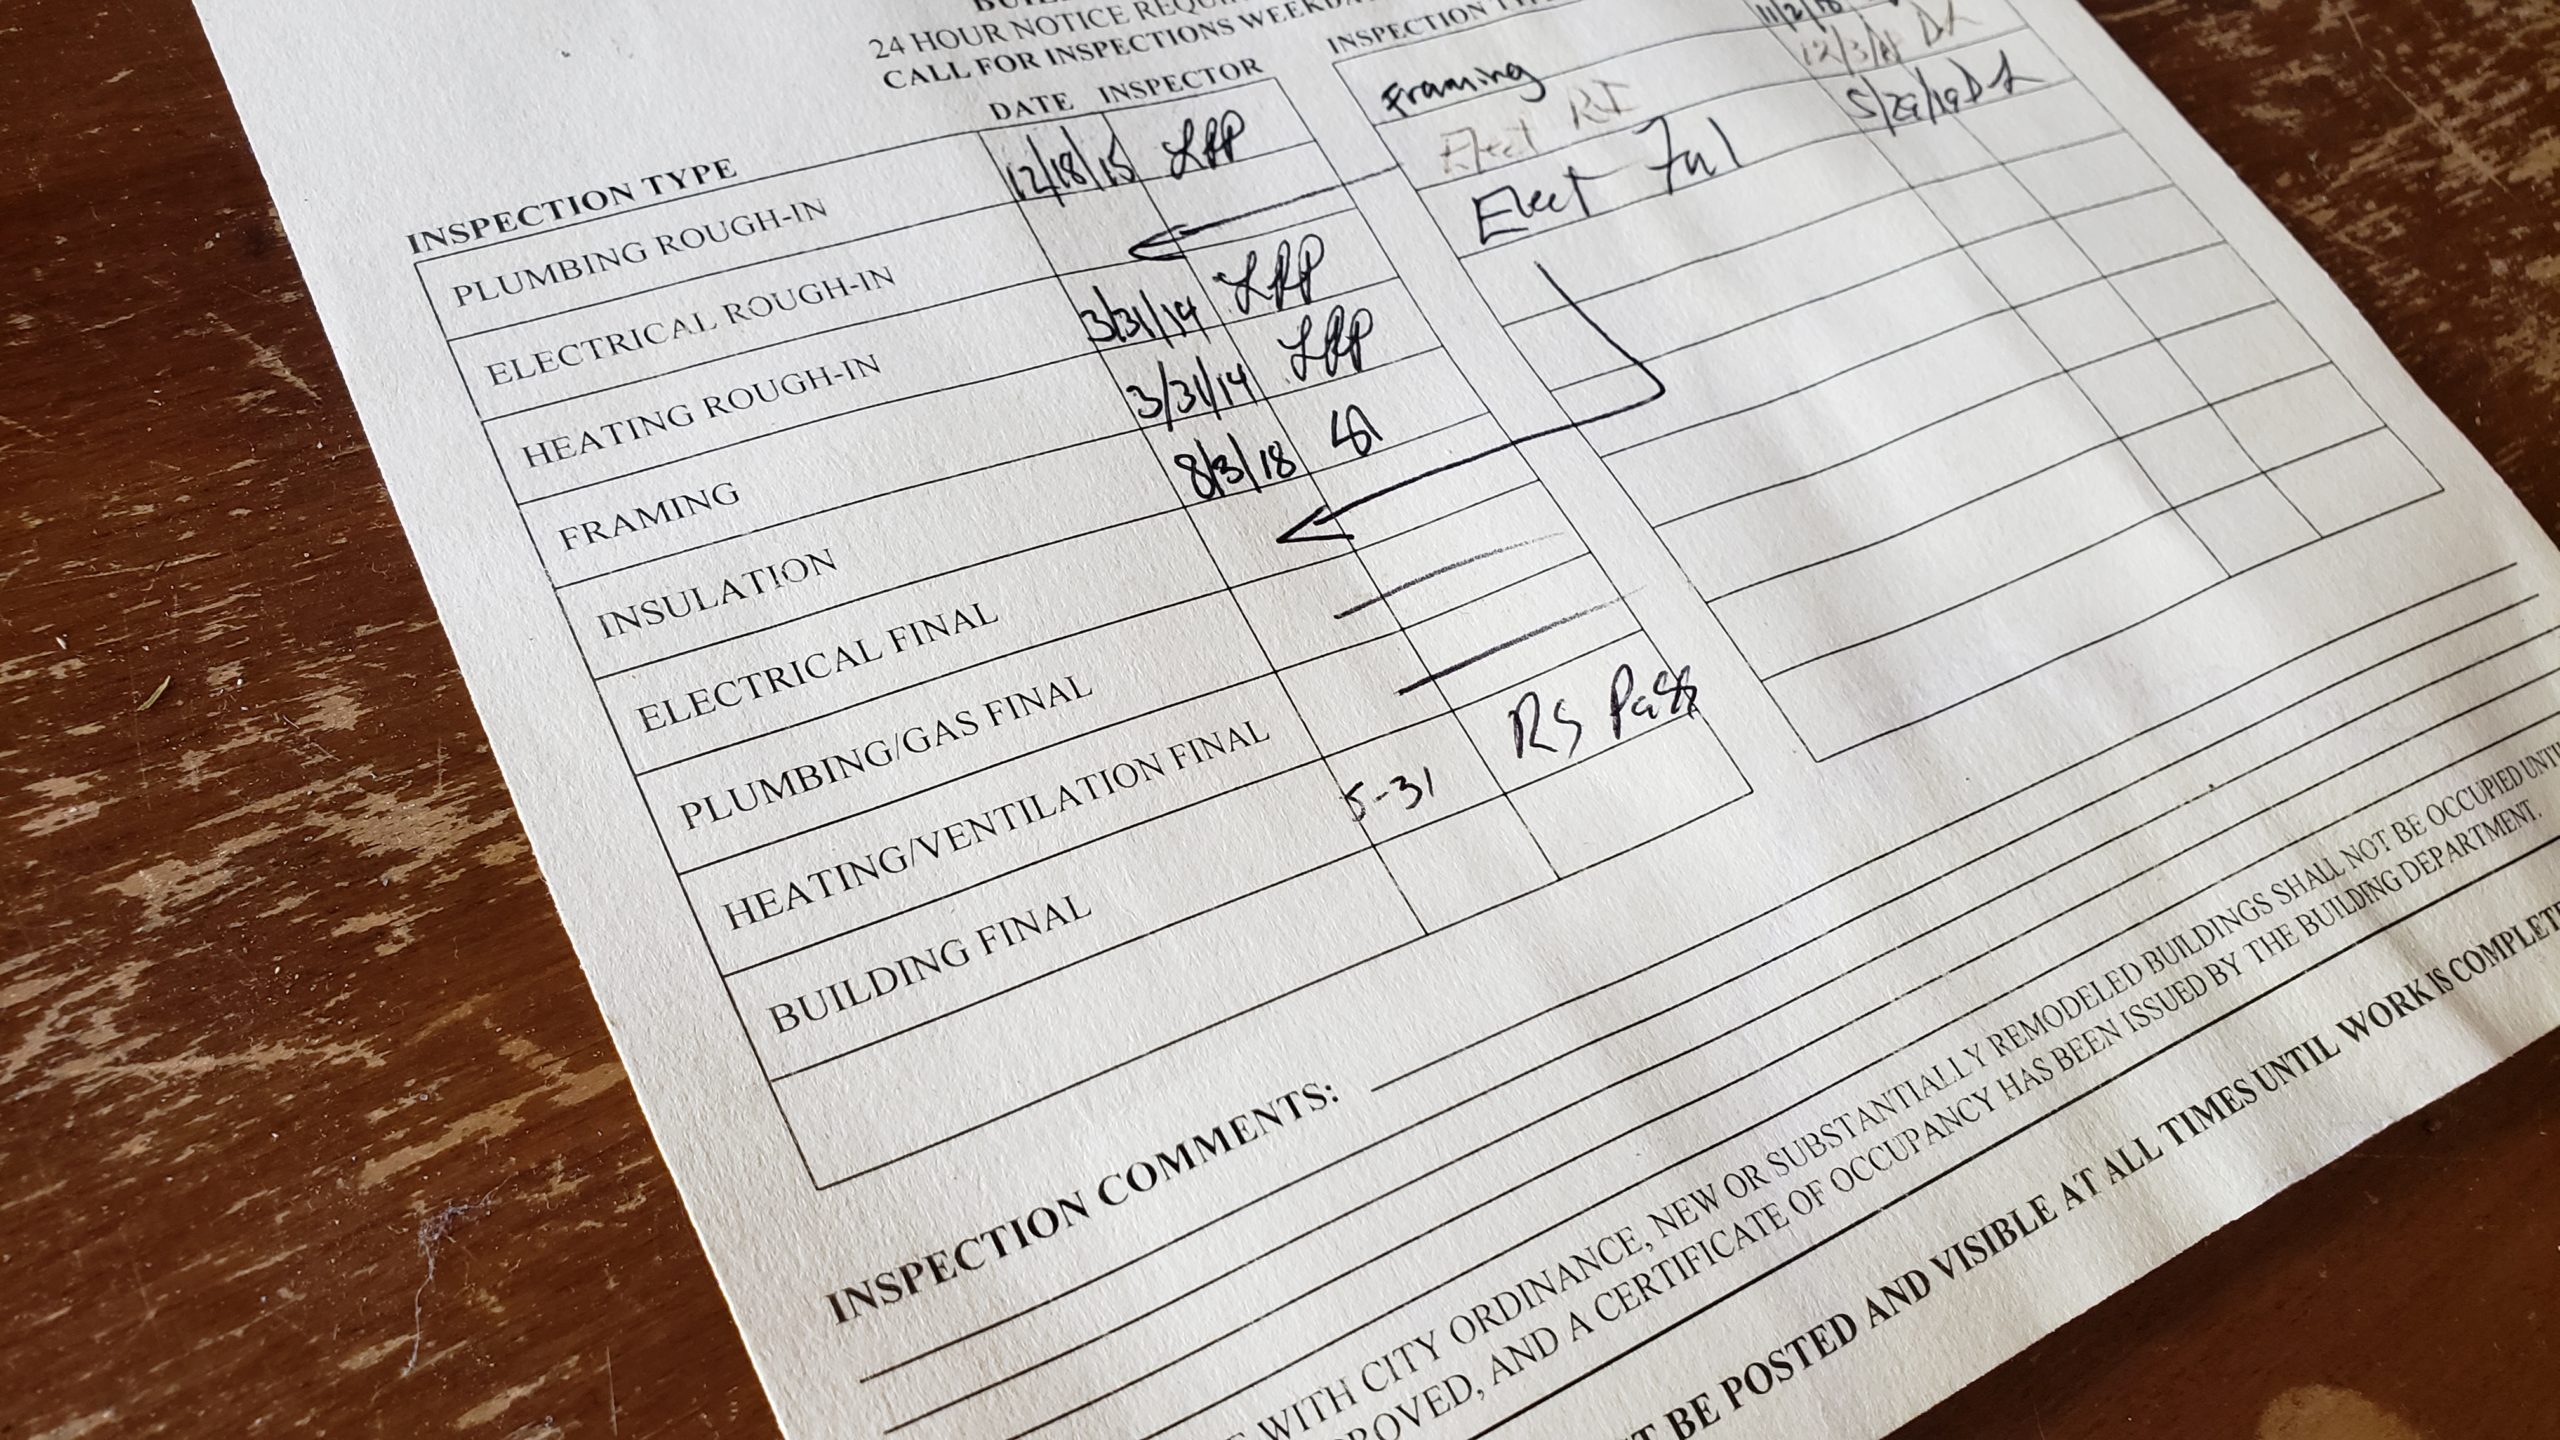
A flipper swindled us, resulting in over $100,000 in house repairs. We spent years undoing his predatory remodeling, rebuilding the house ourselves, and blogging every step of the way. Debt, depression, and therapy will continue for years to come. But today the reconstruction project passed its final inspection from the city building official. I can’t stop sobbing. It’s done. The ordeal is officially done.


Now, we can move back into the lower level, knowing that it is correct, complete, and there are no more hidden problems hidden by a flipper. This signed building permit is the proof that this awful ordeal is finally done and over with.
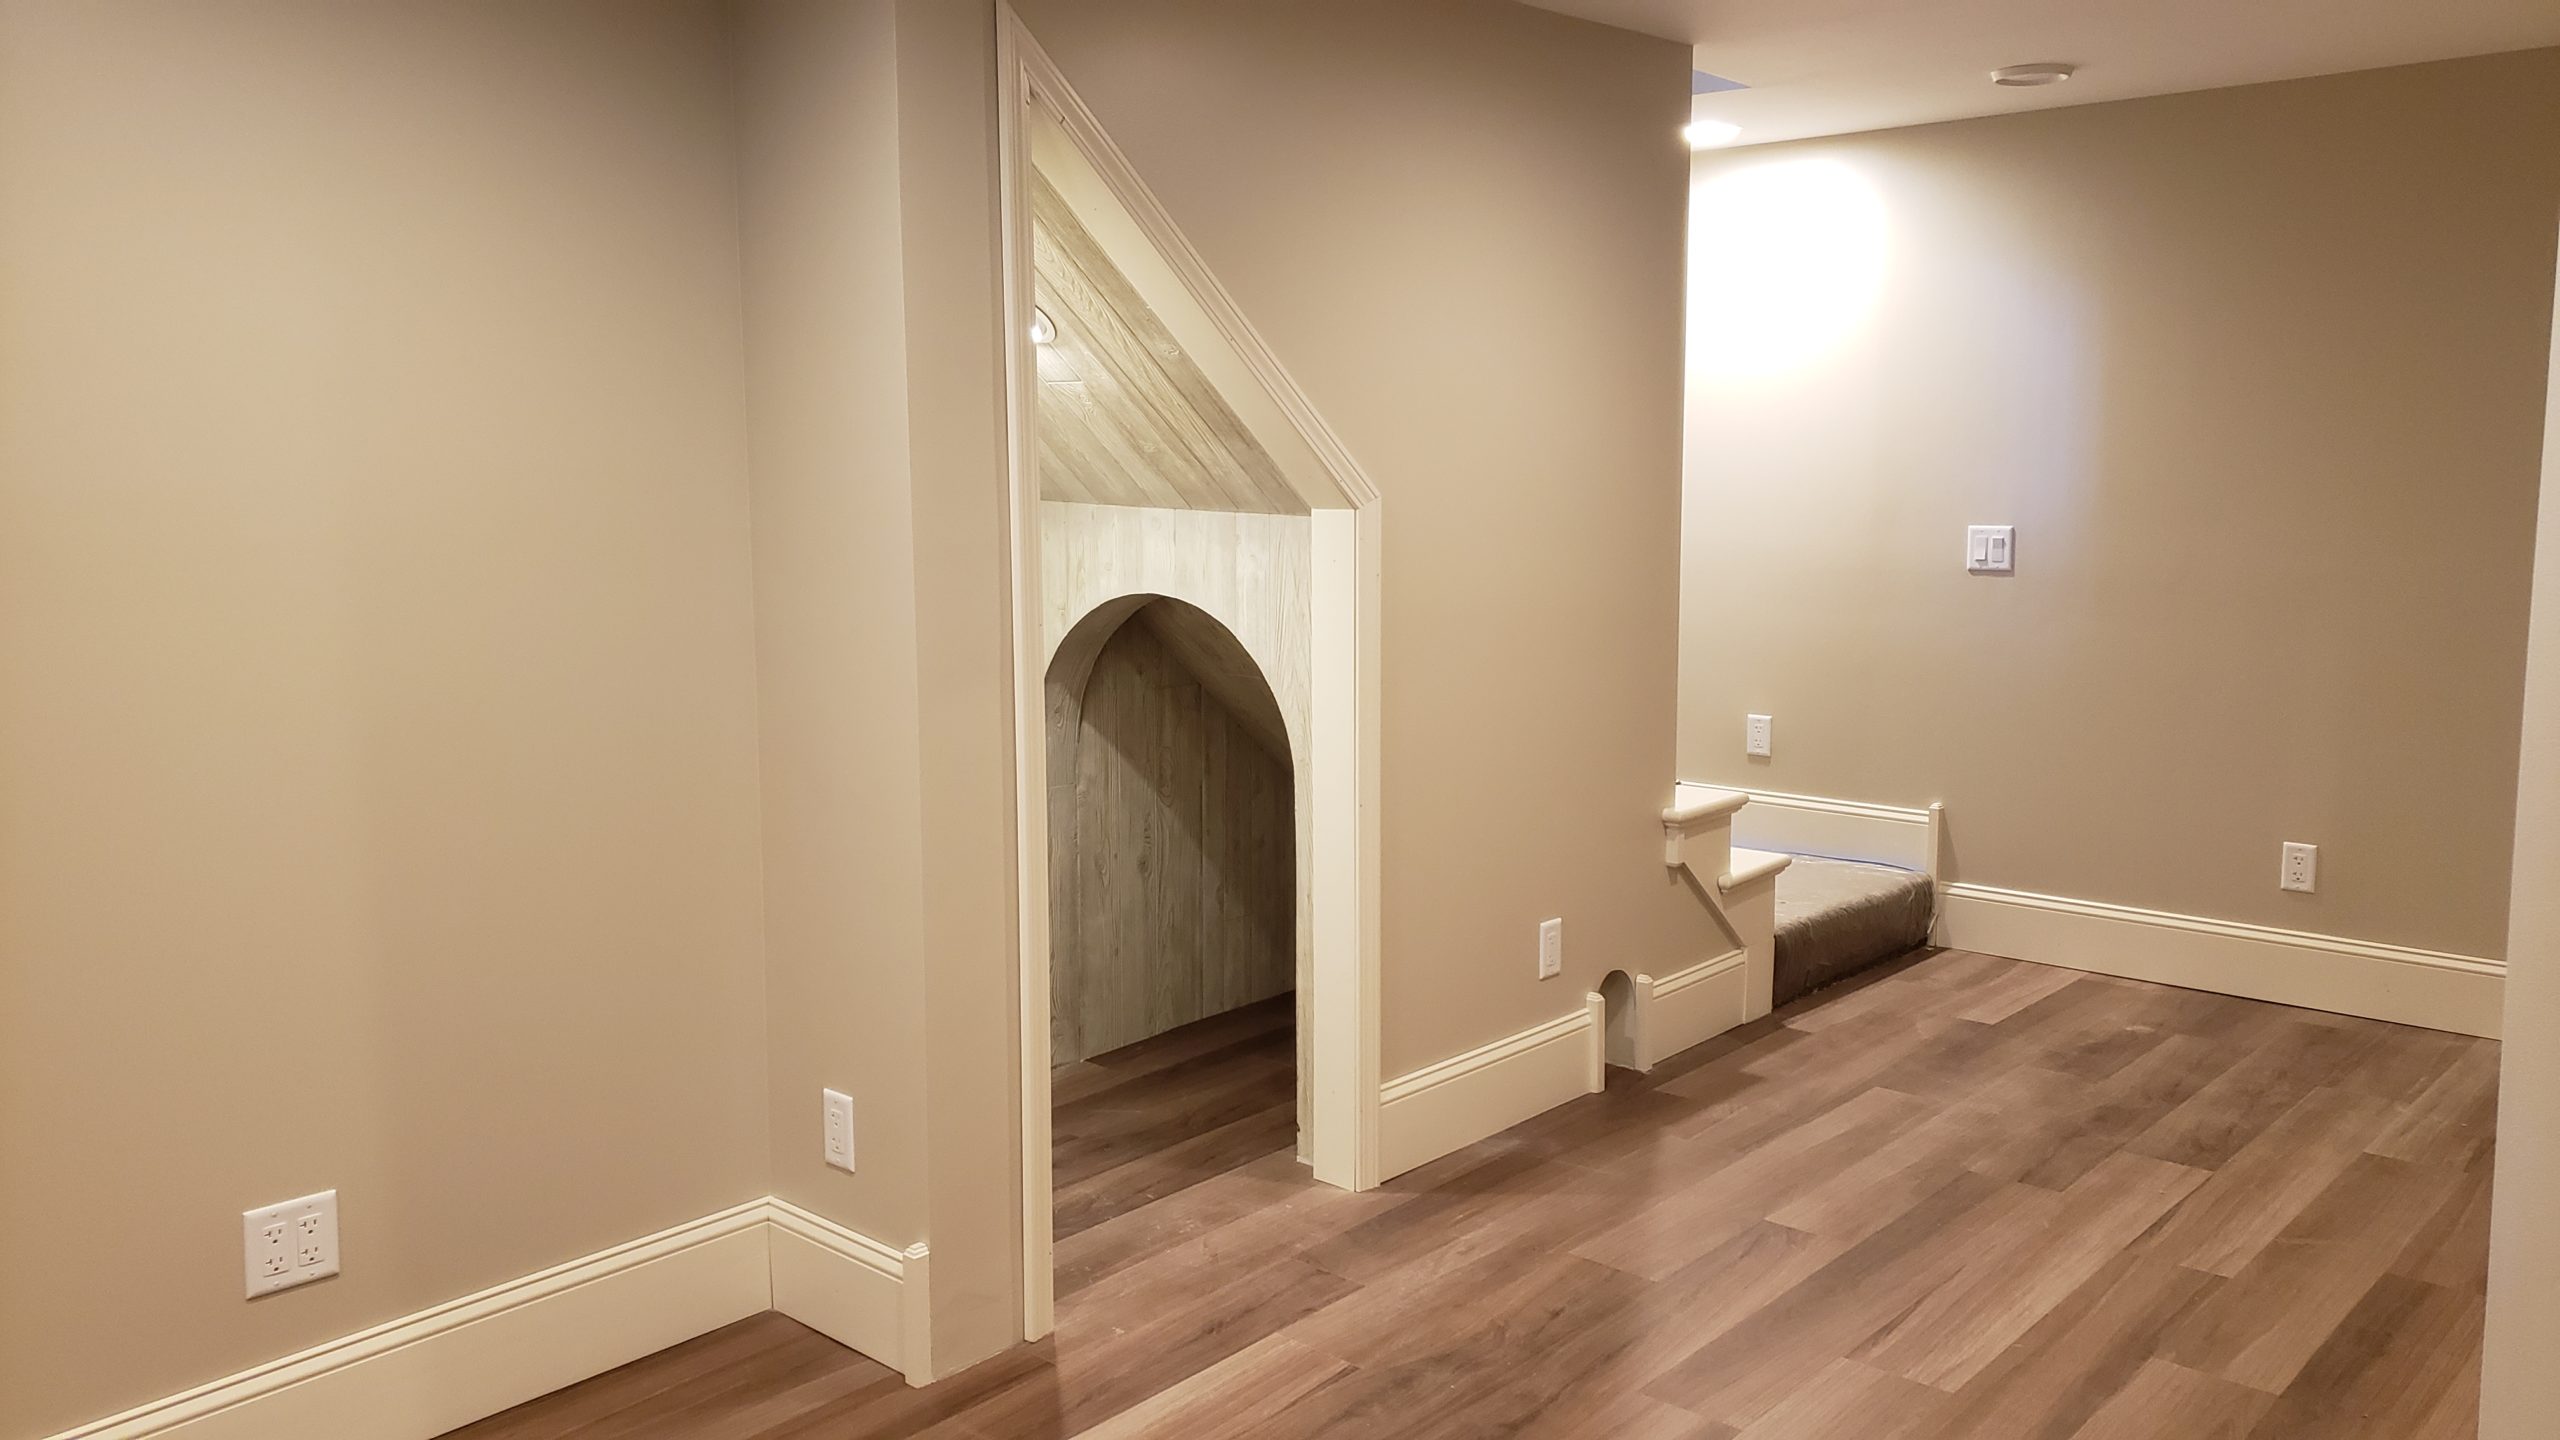
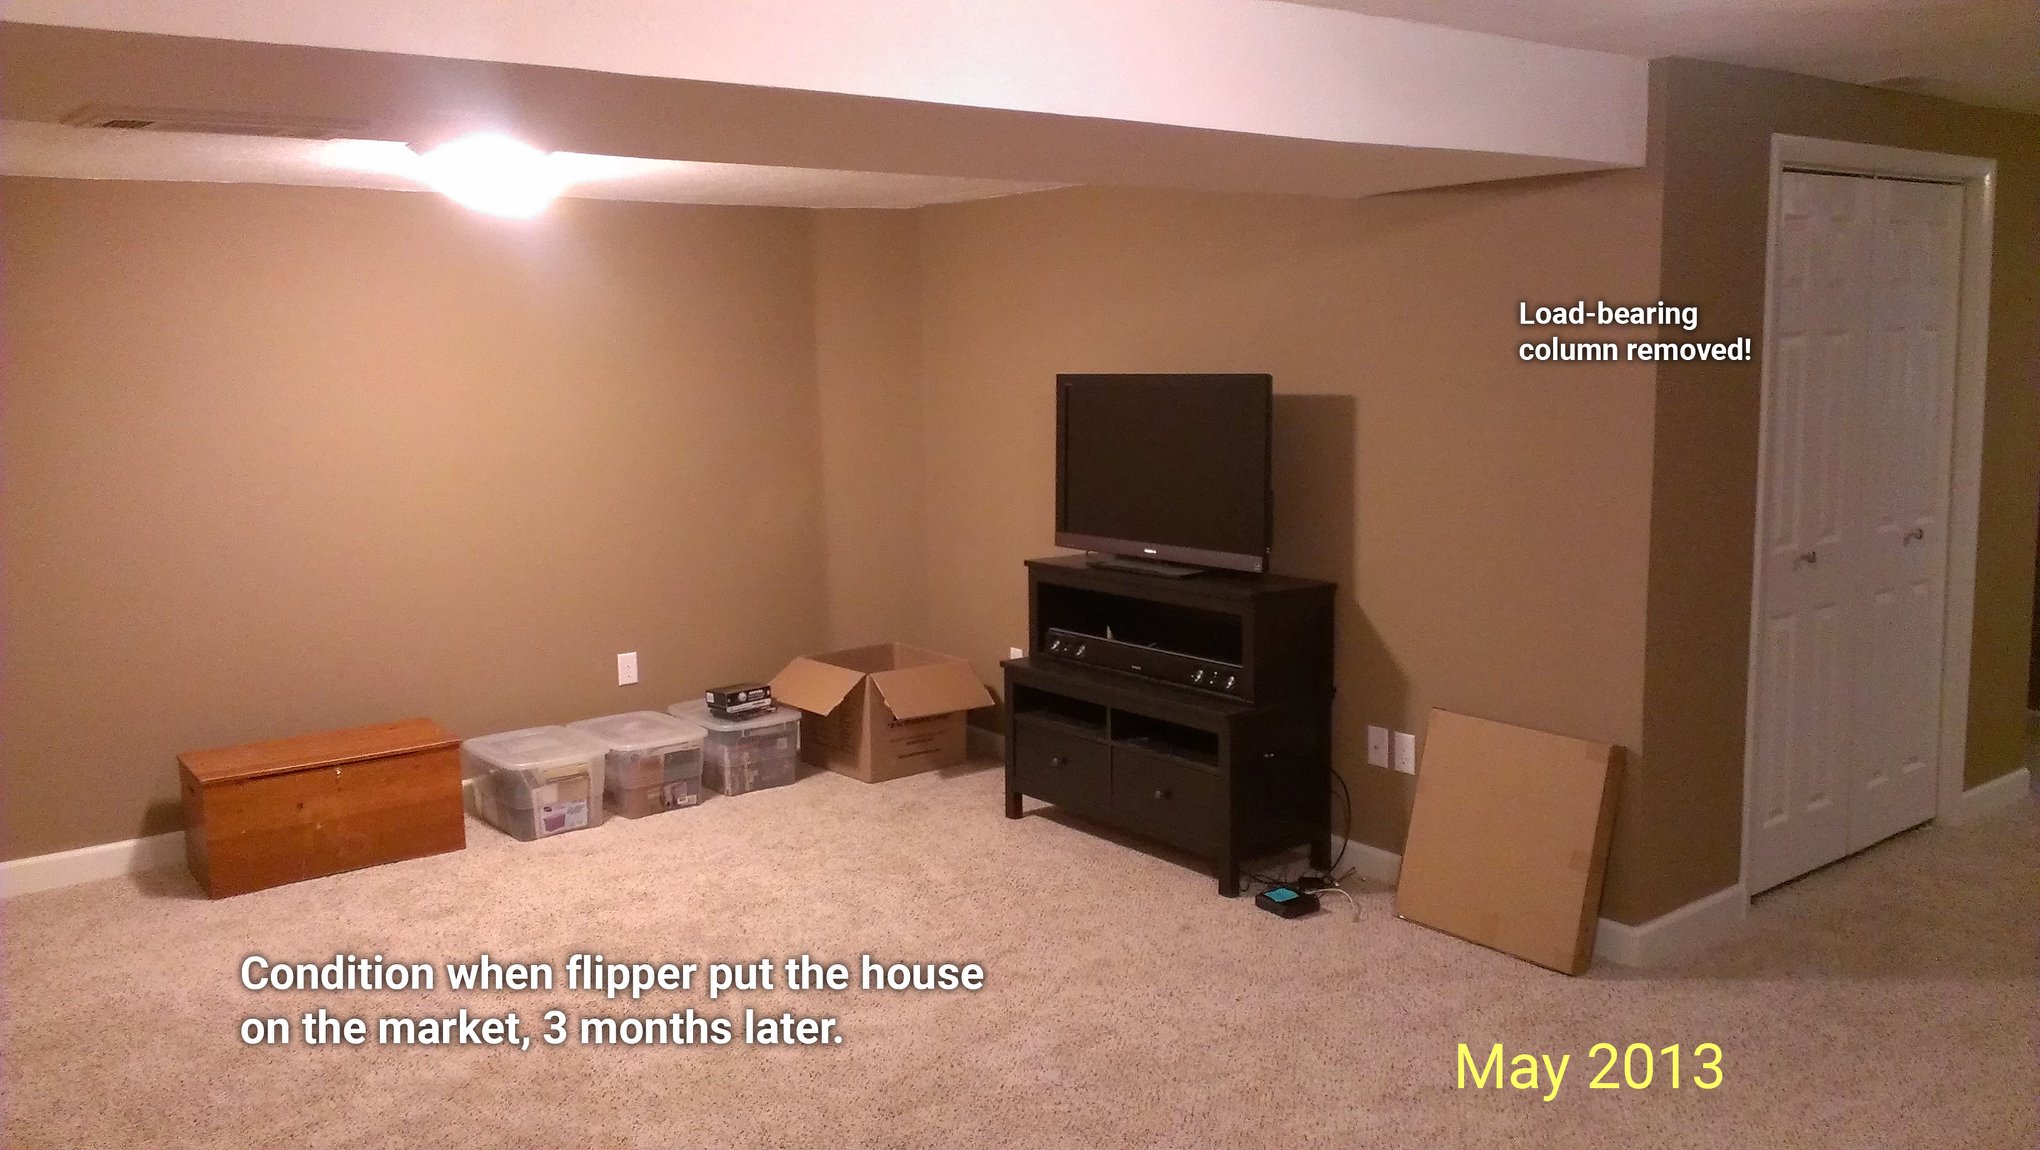
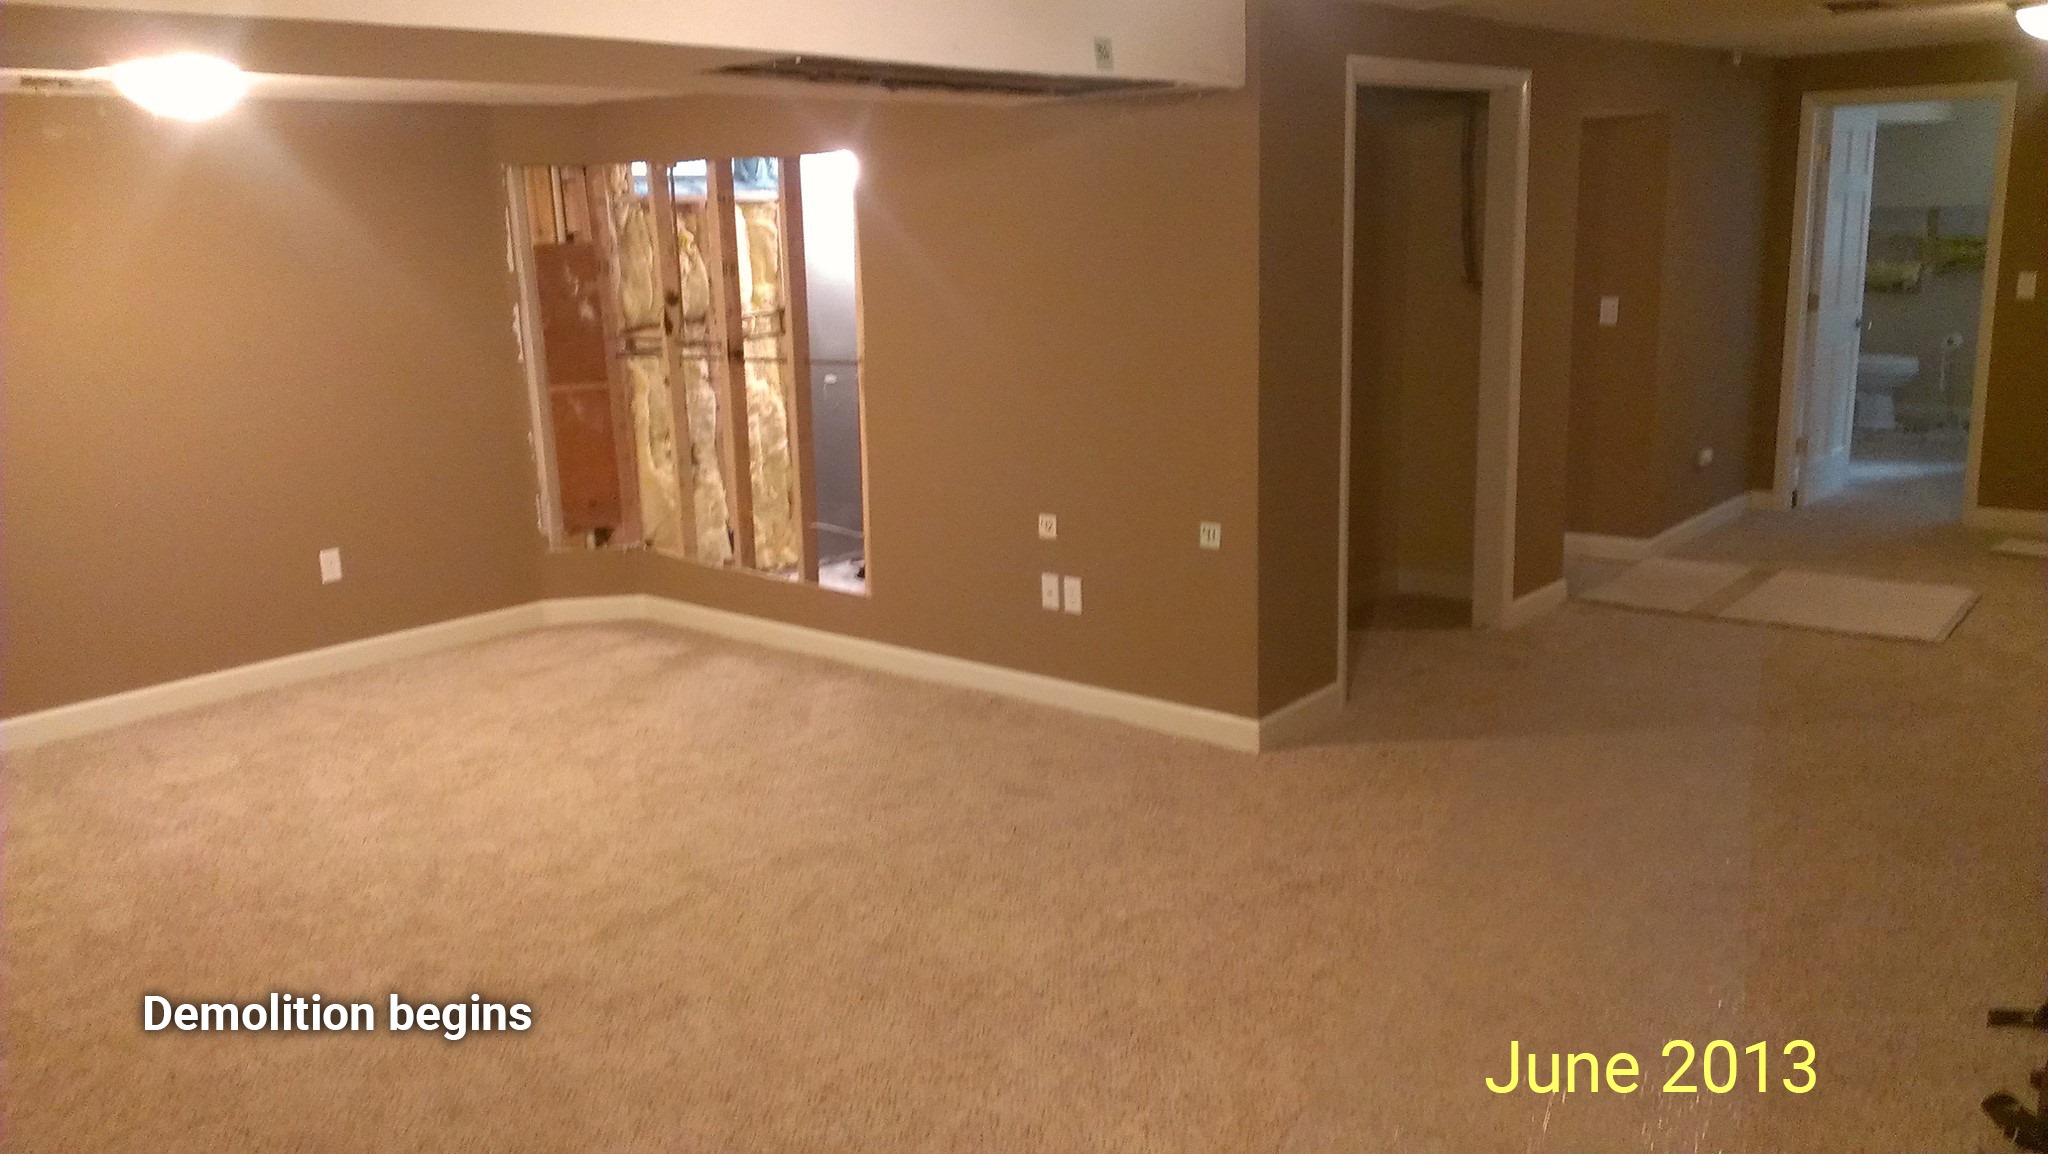
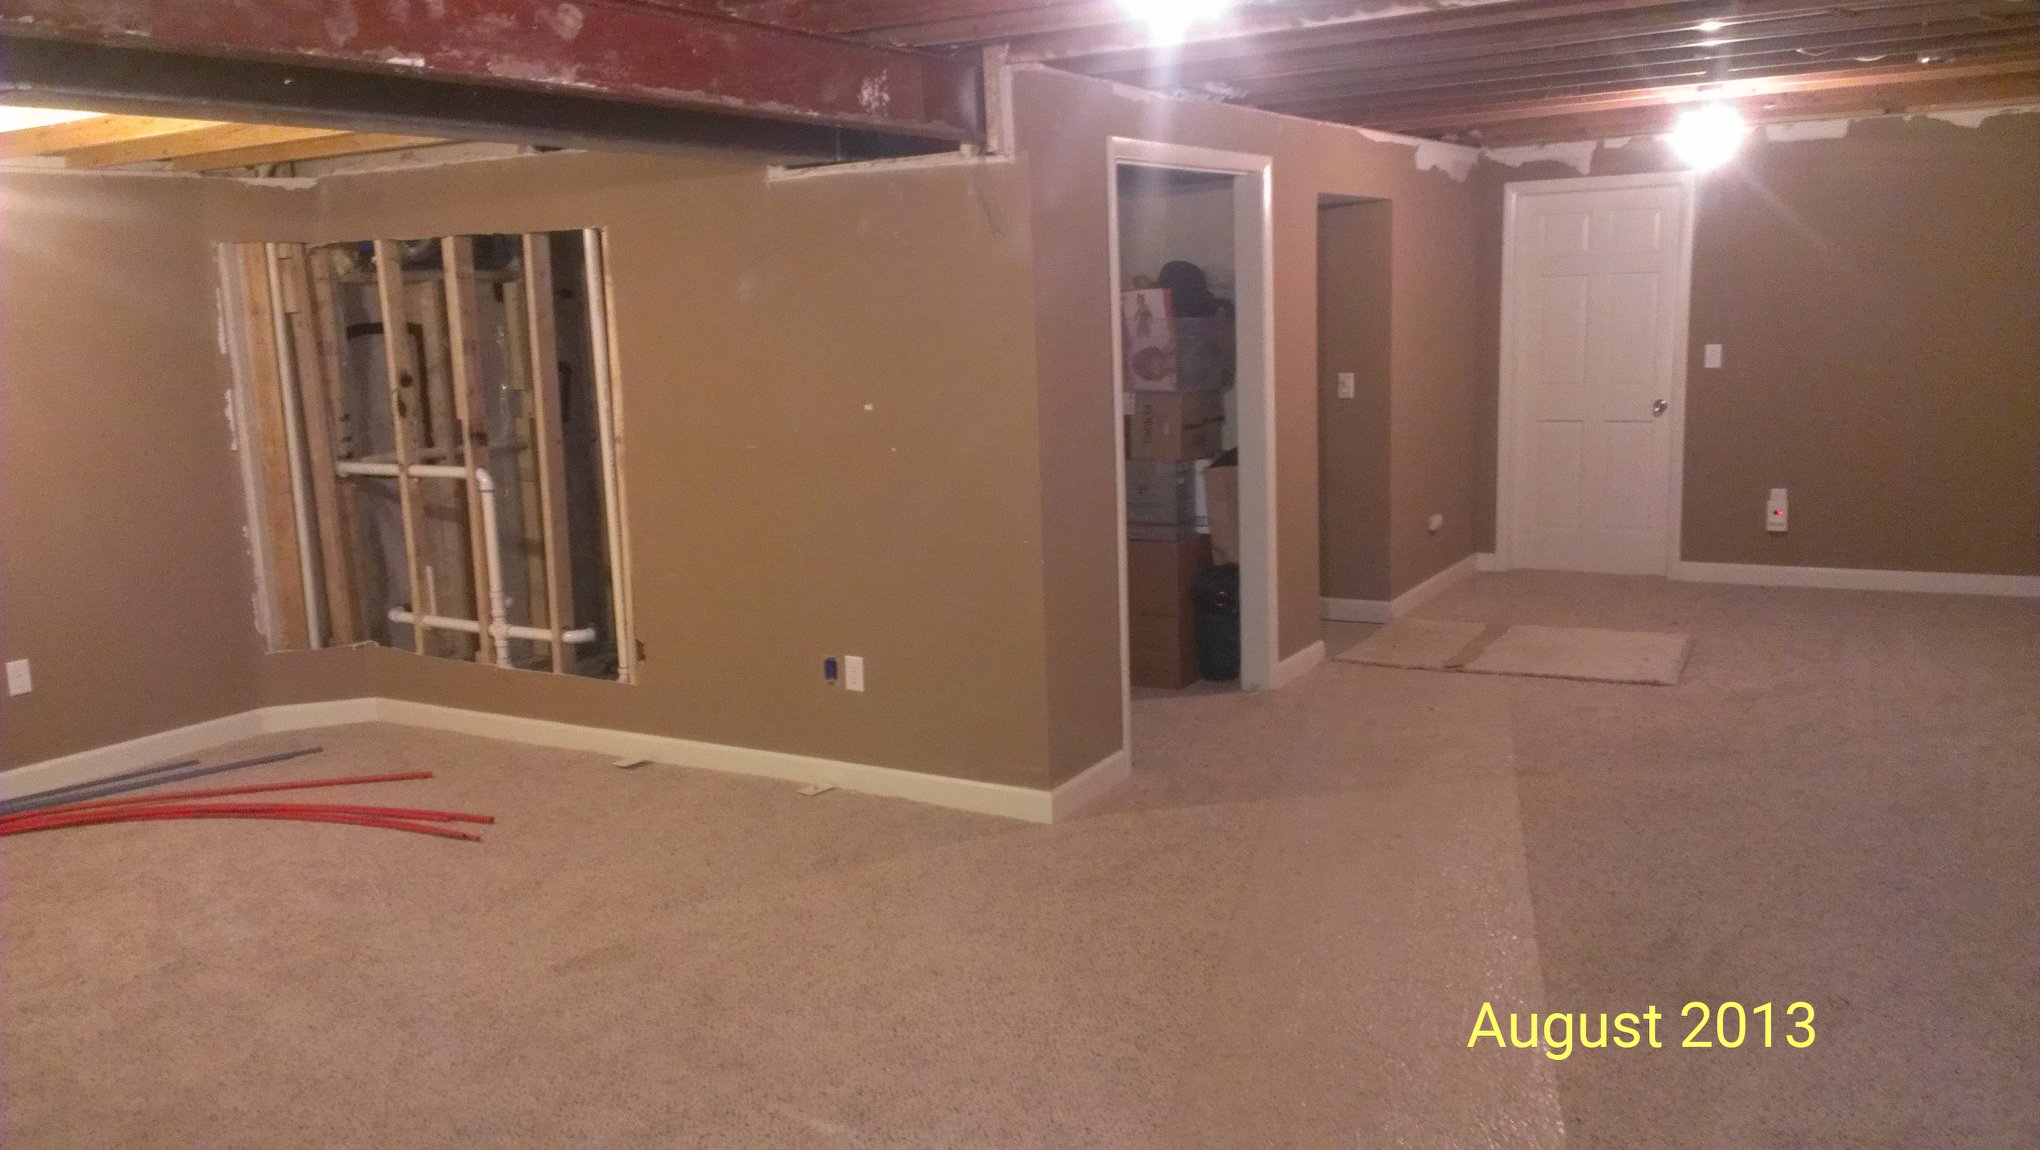
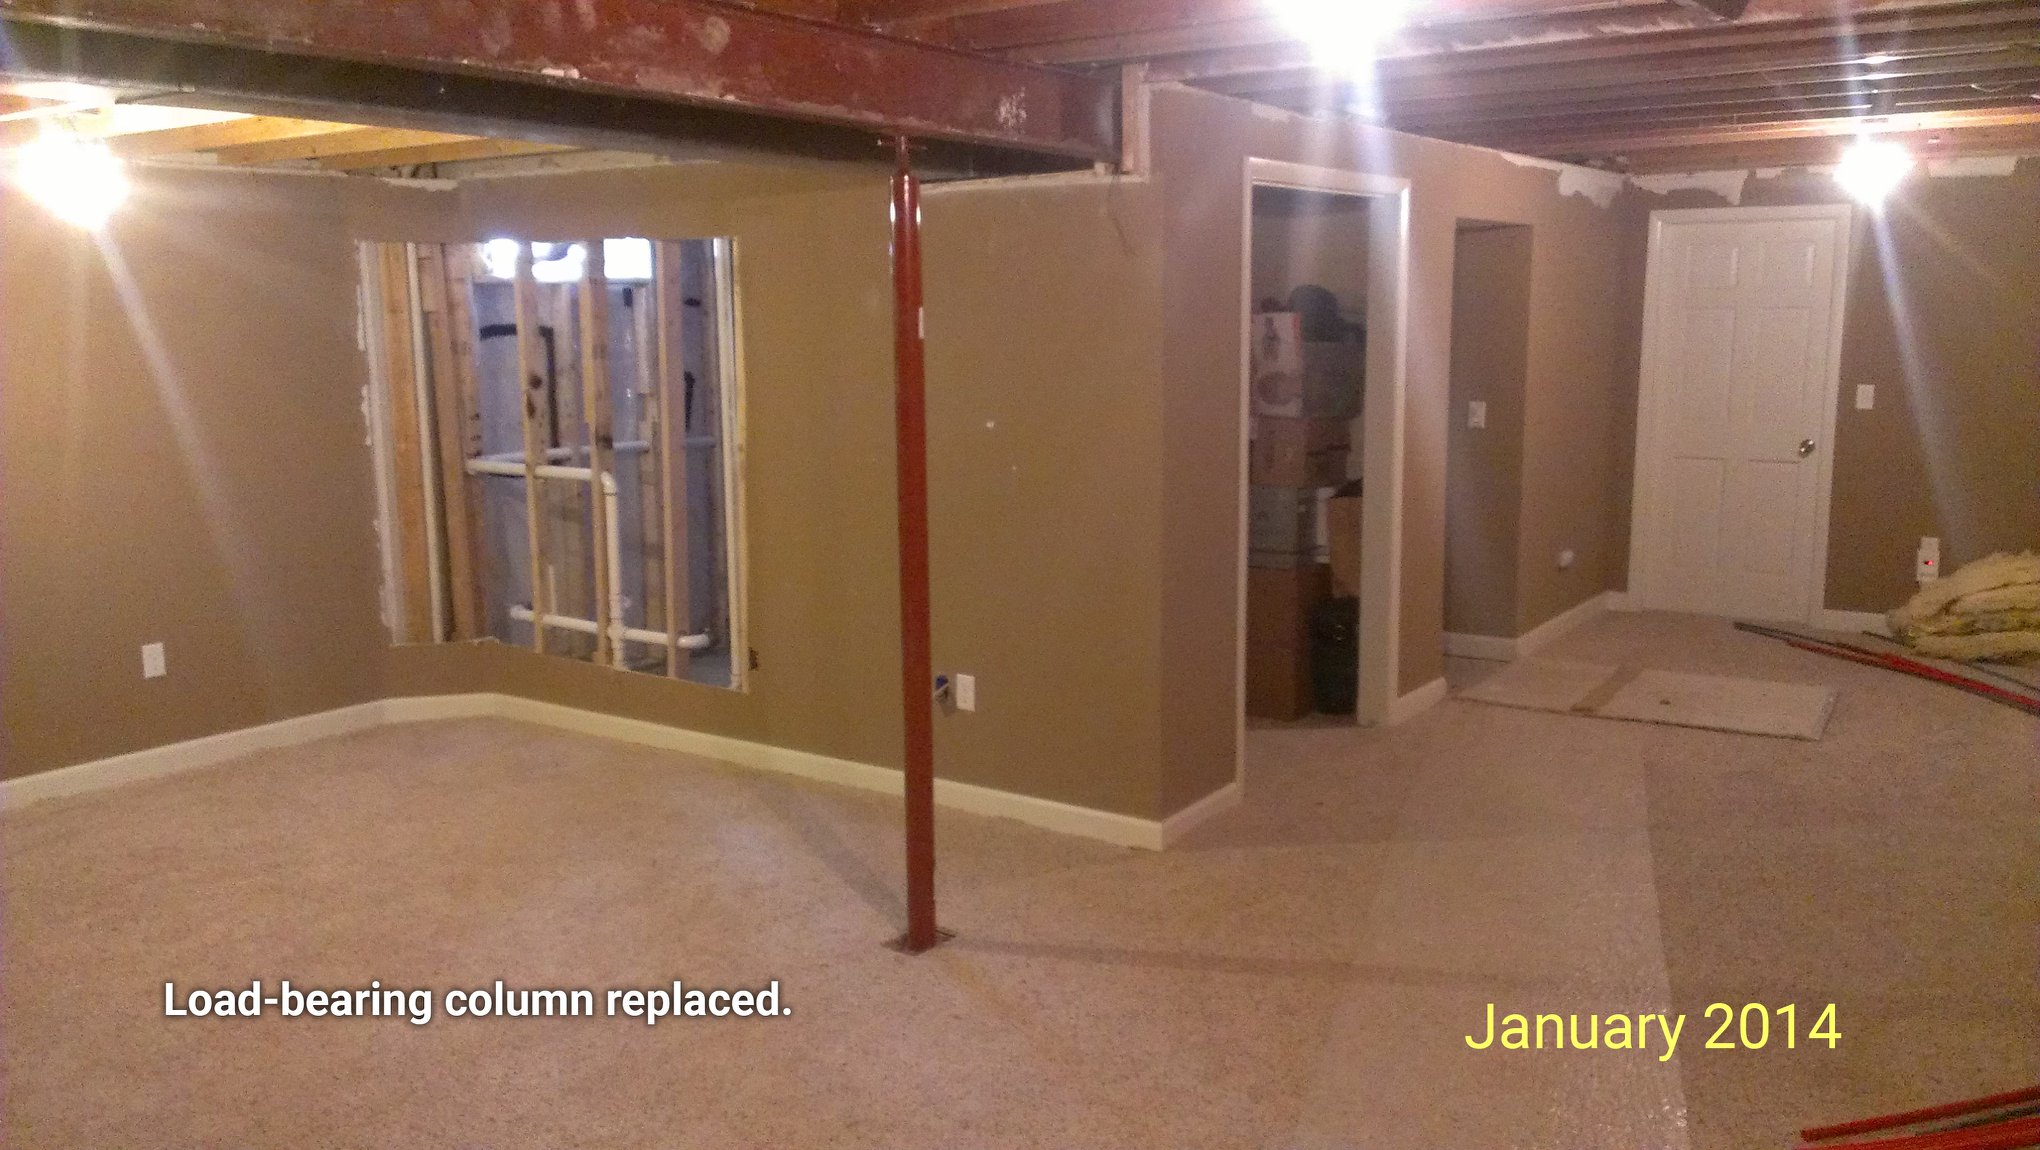
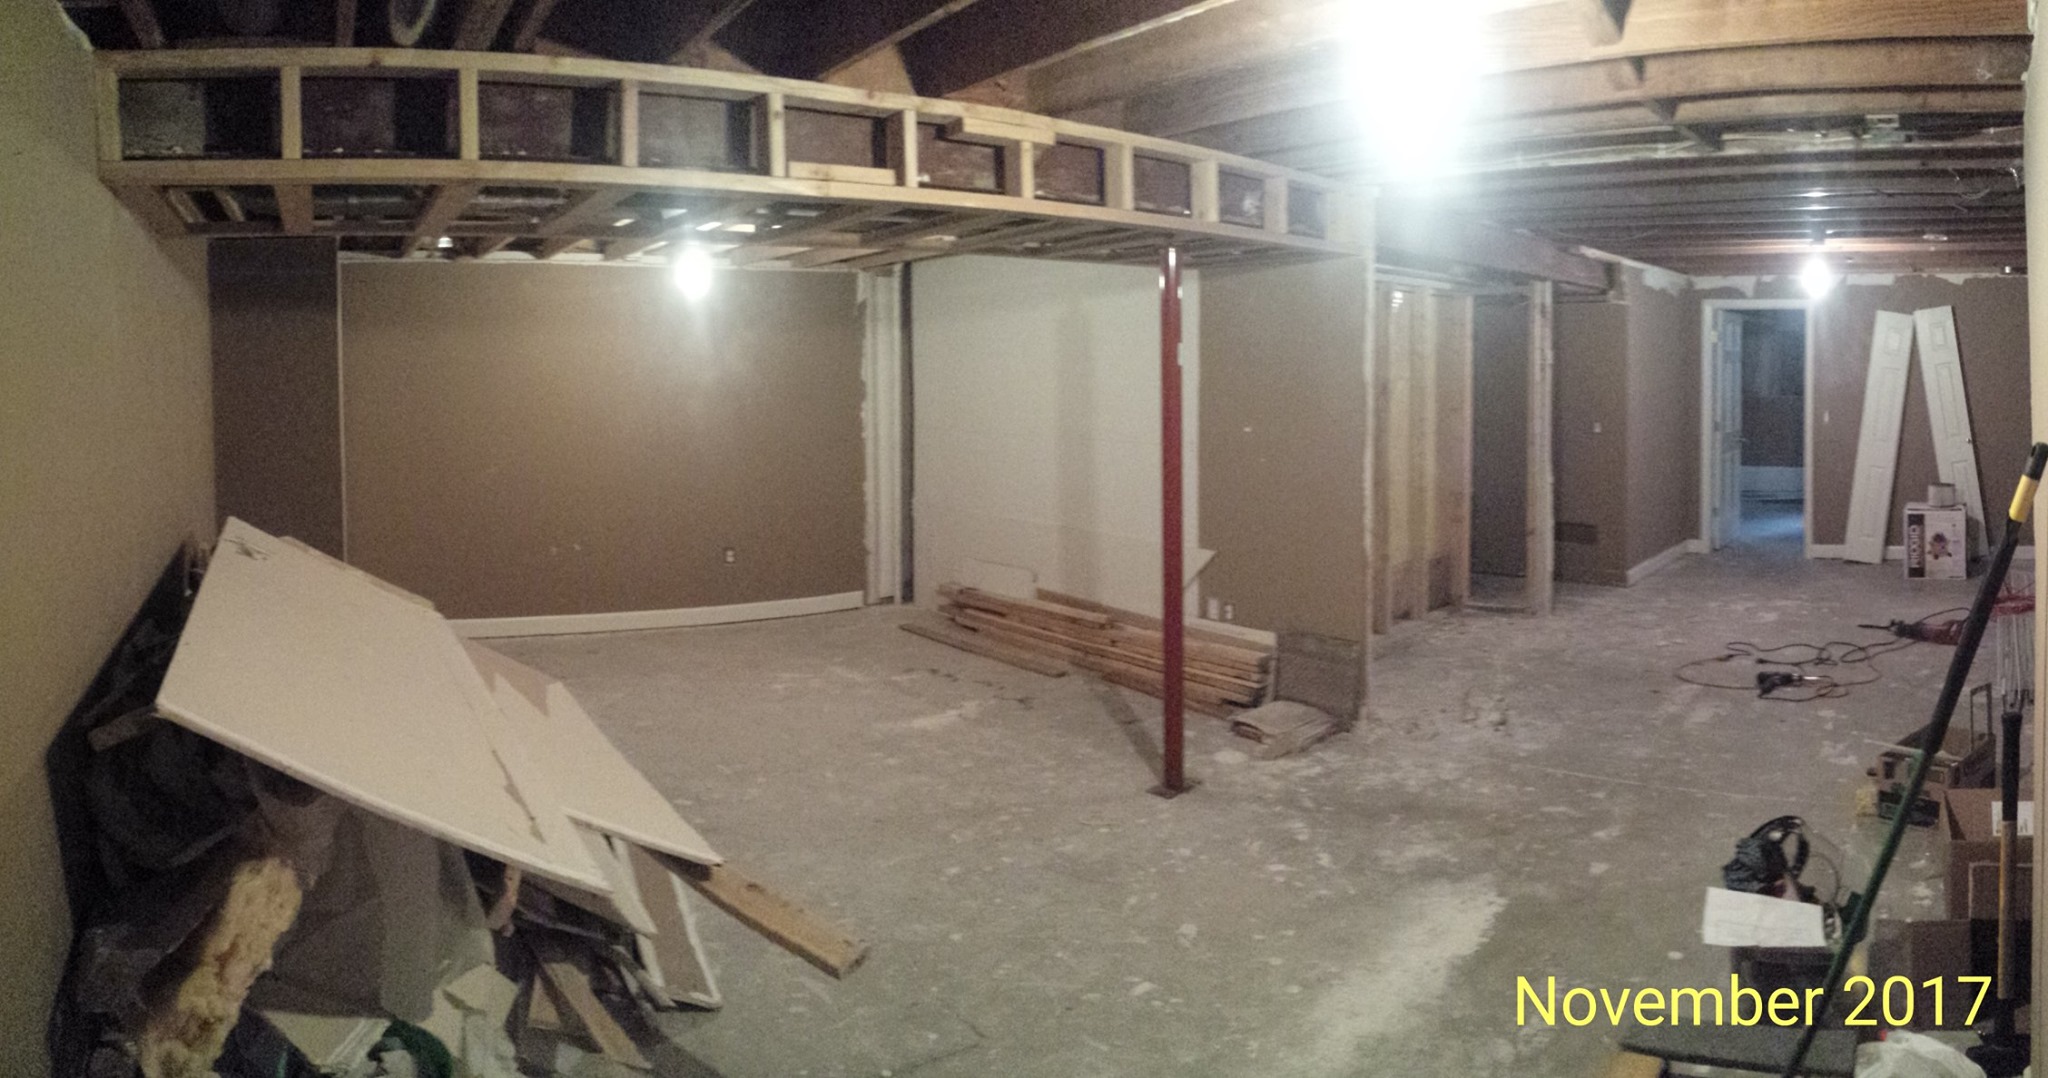
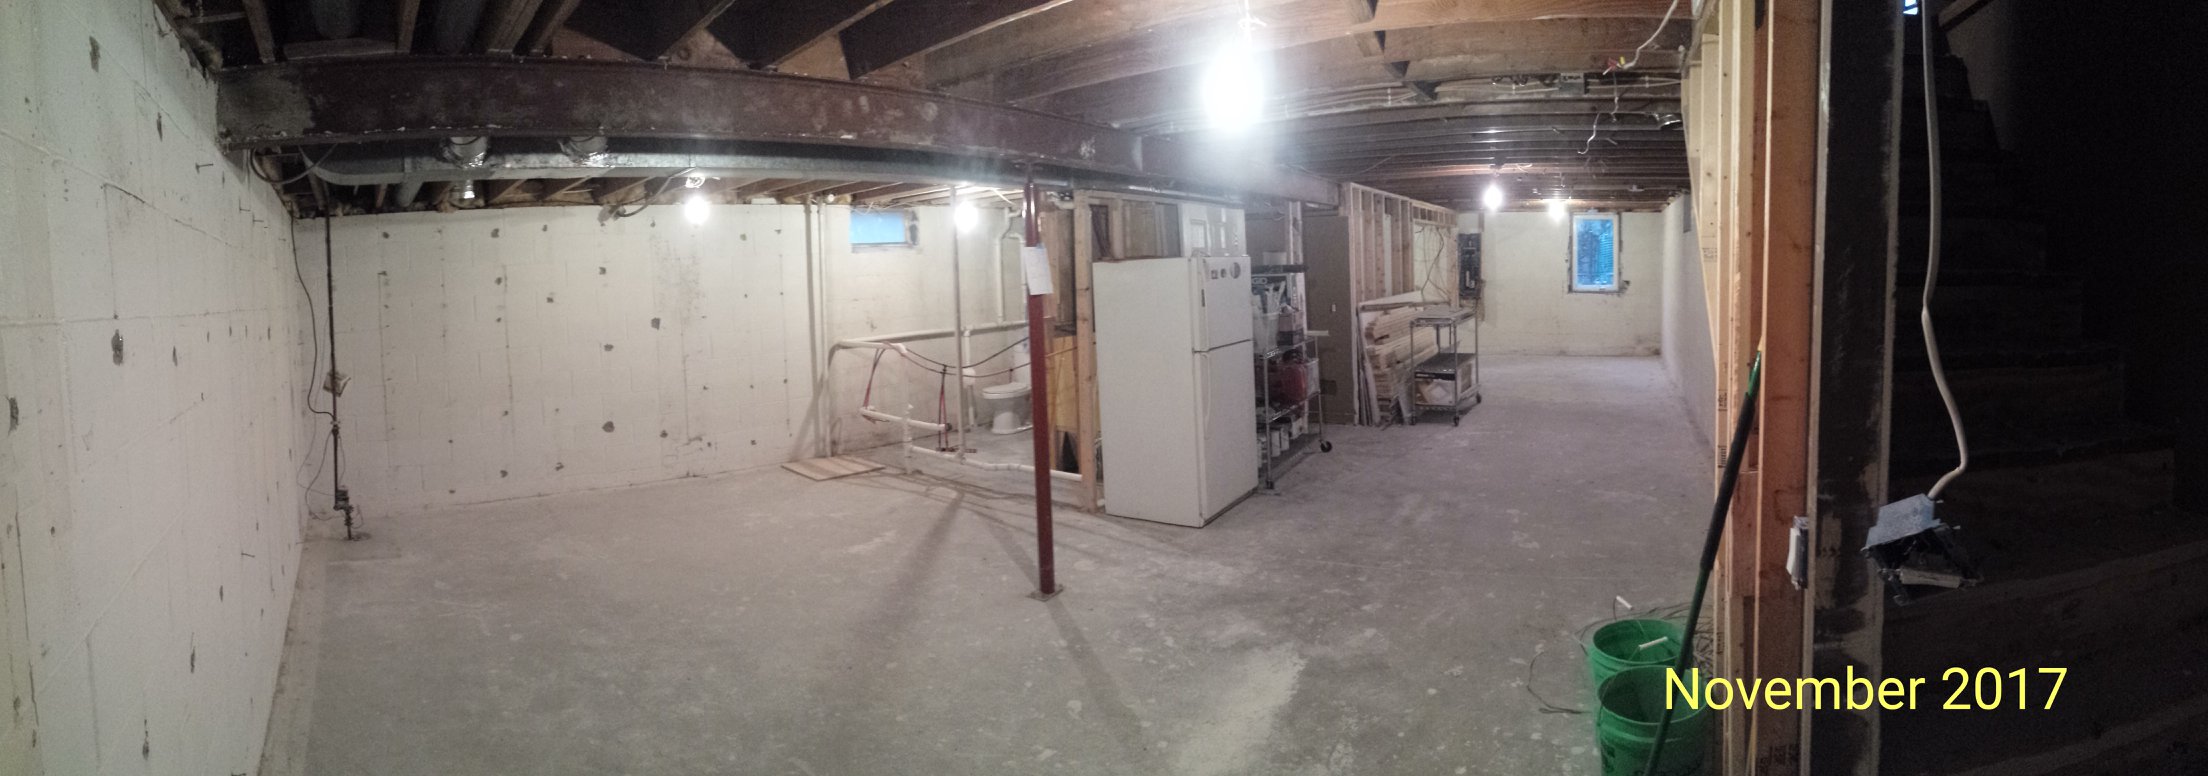
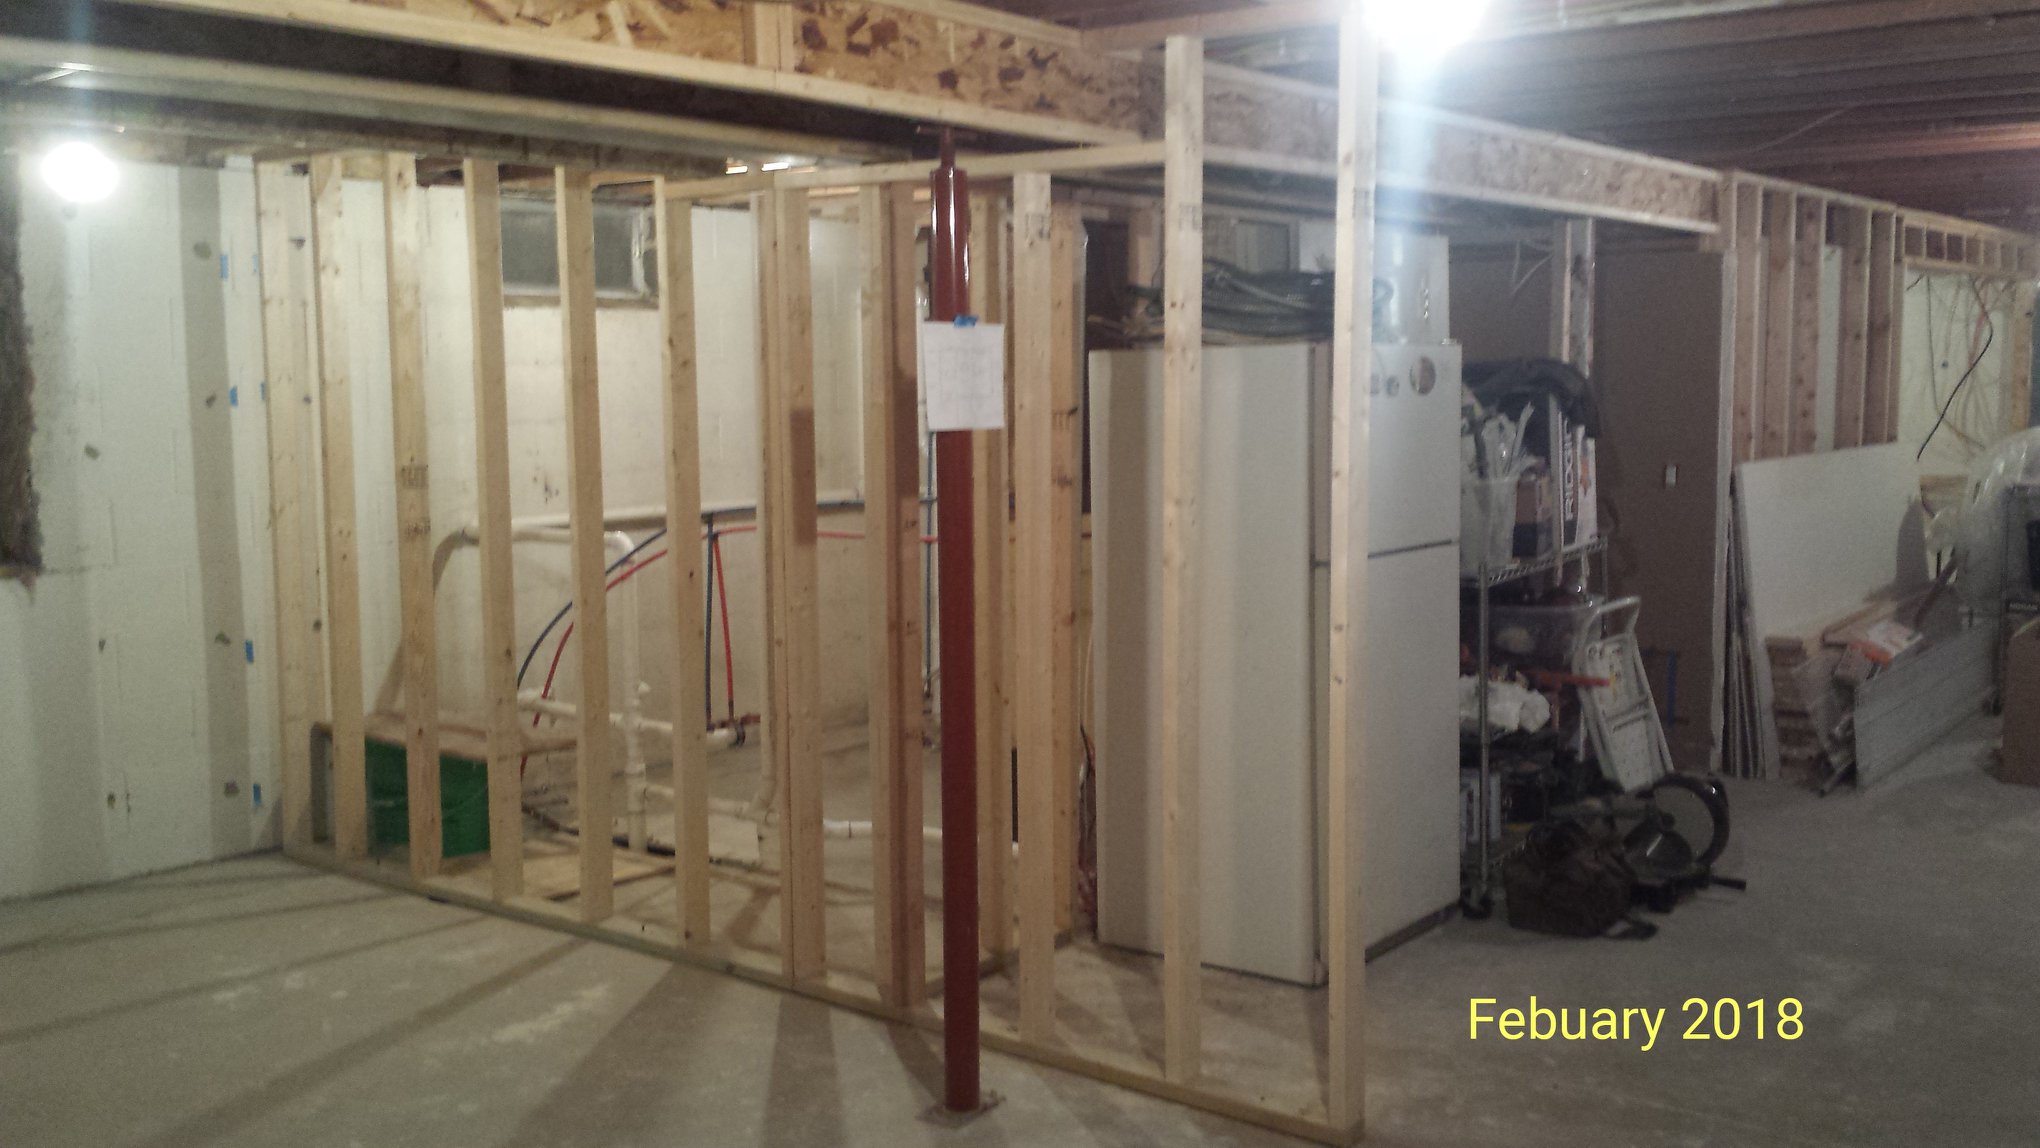
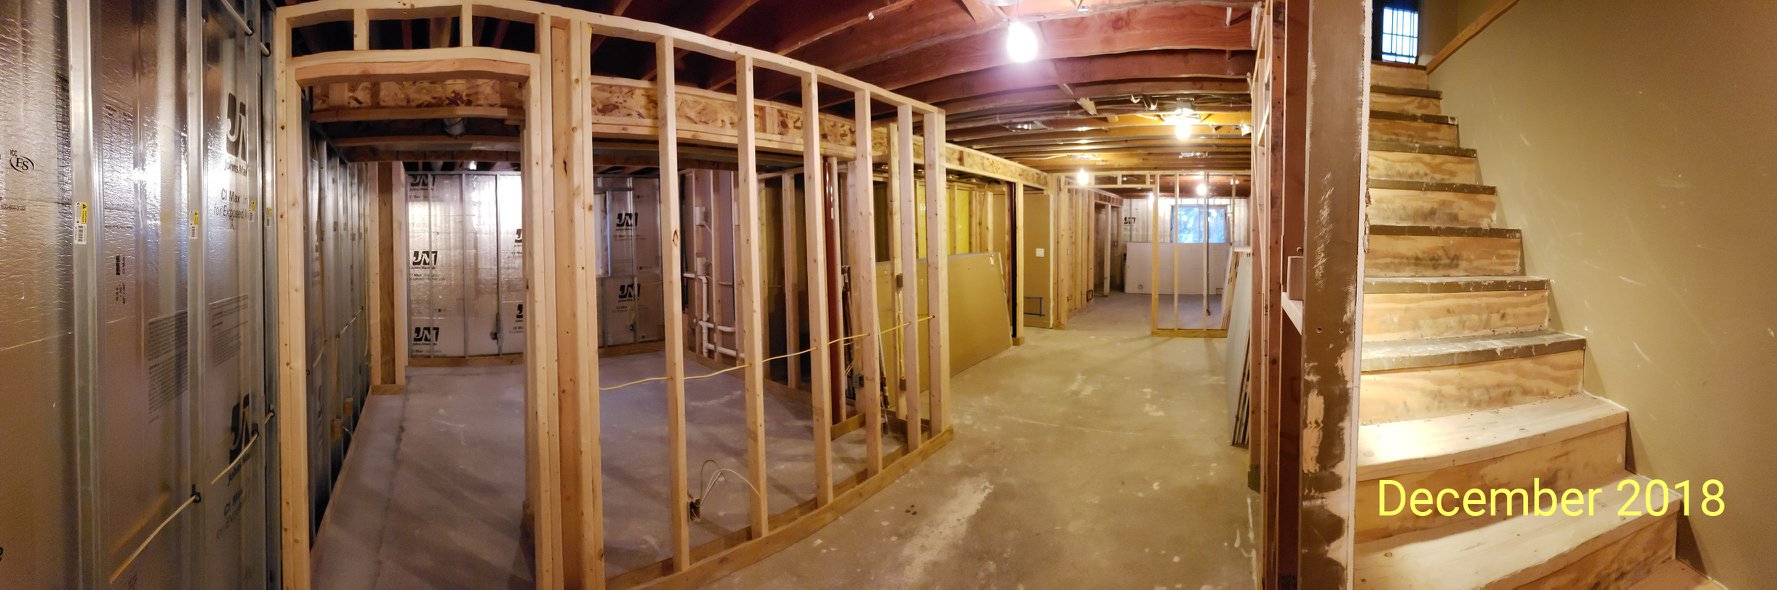
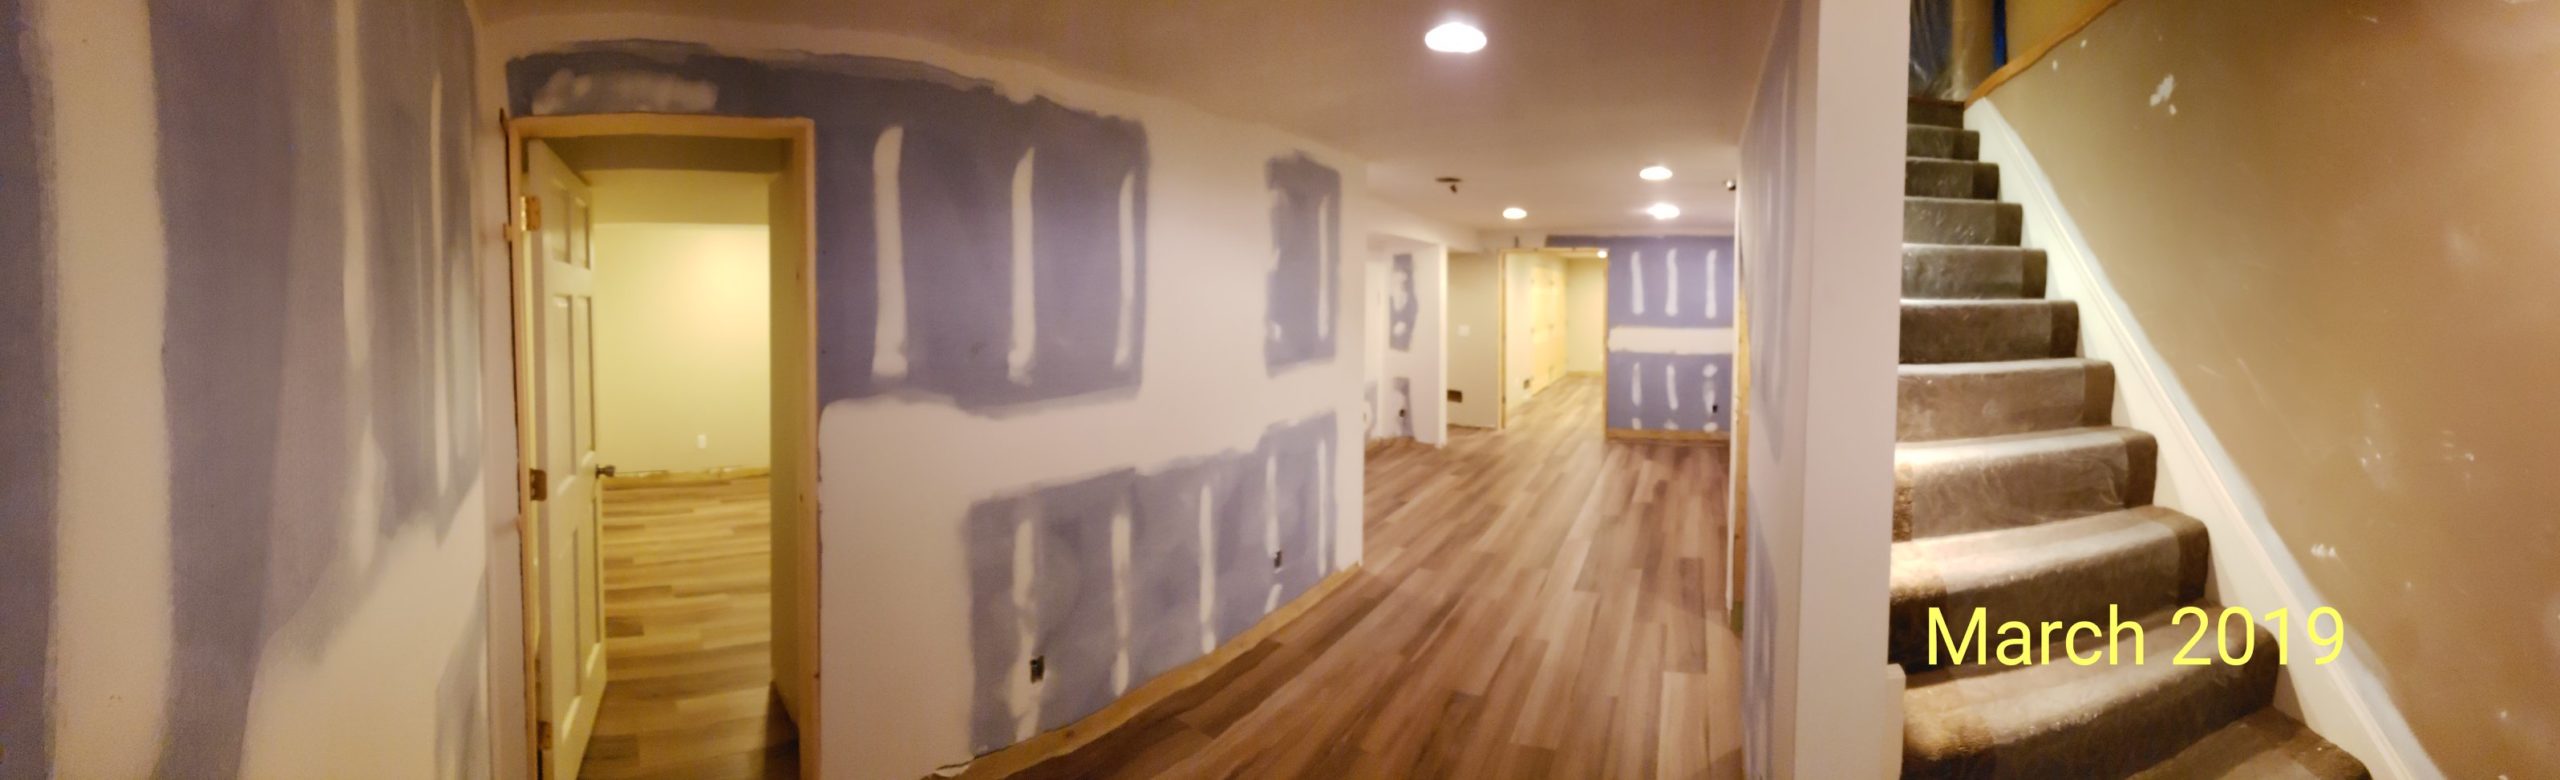
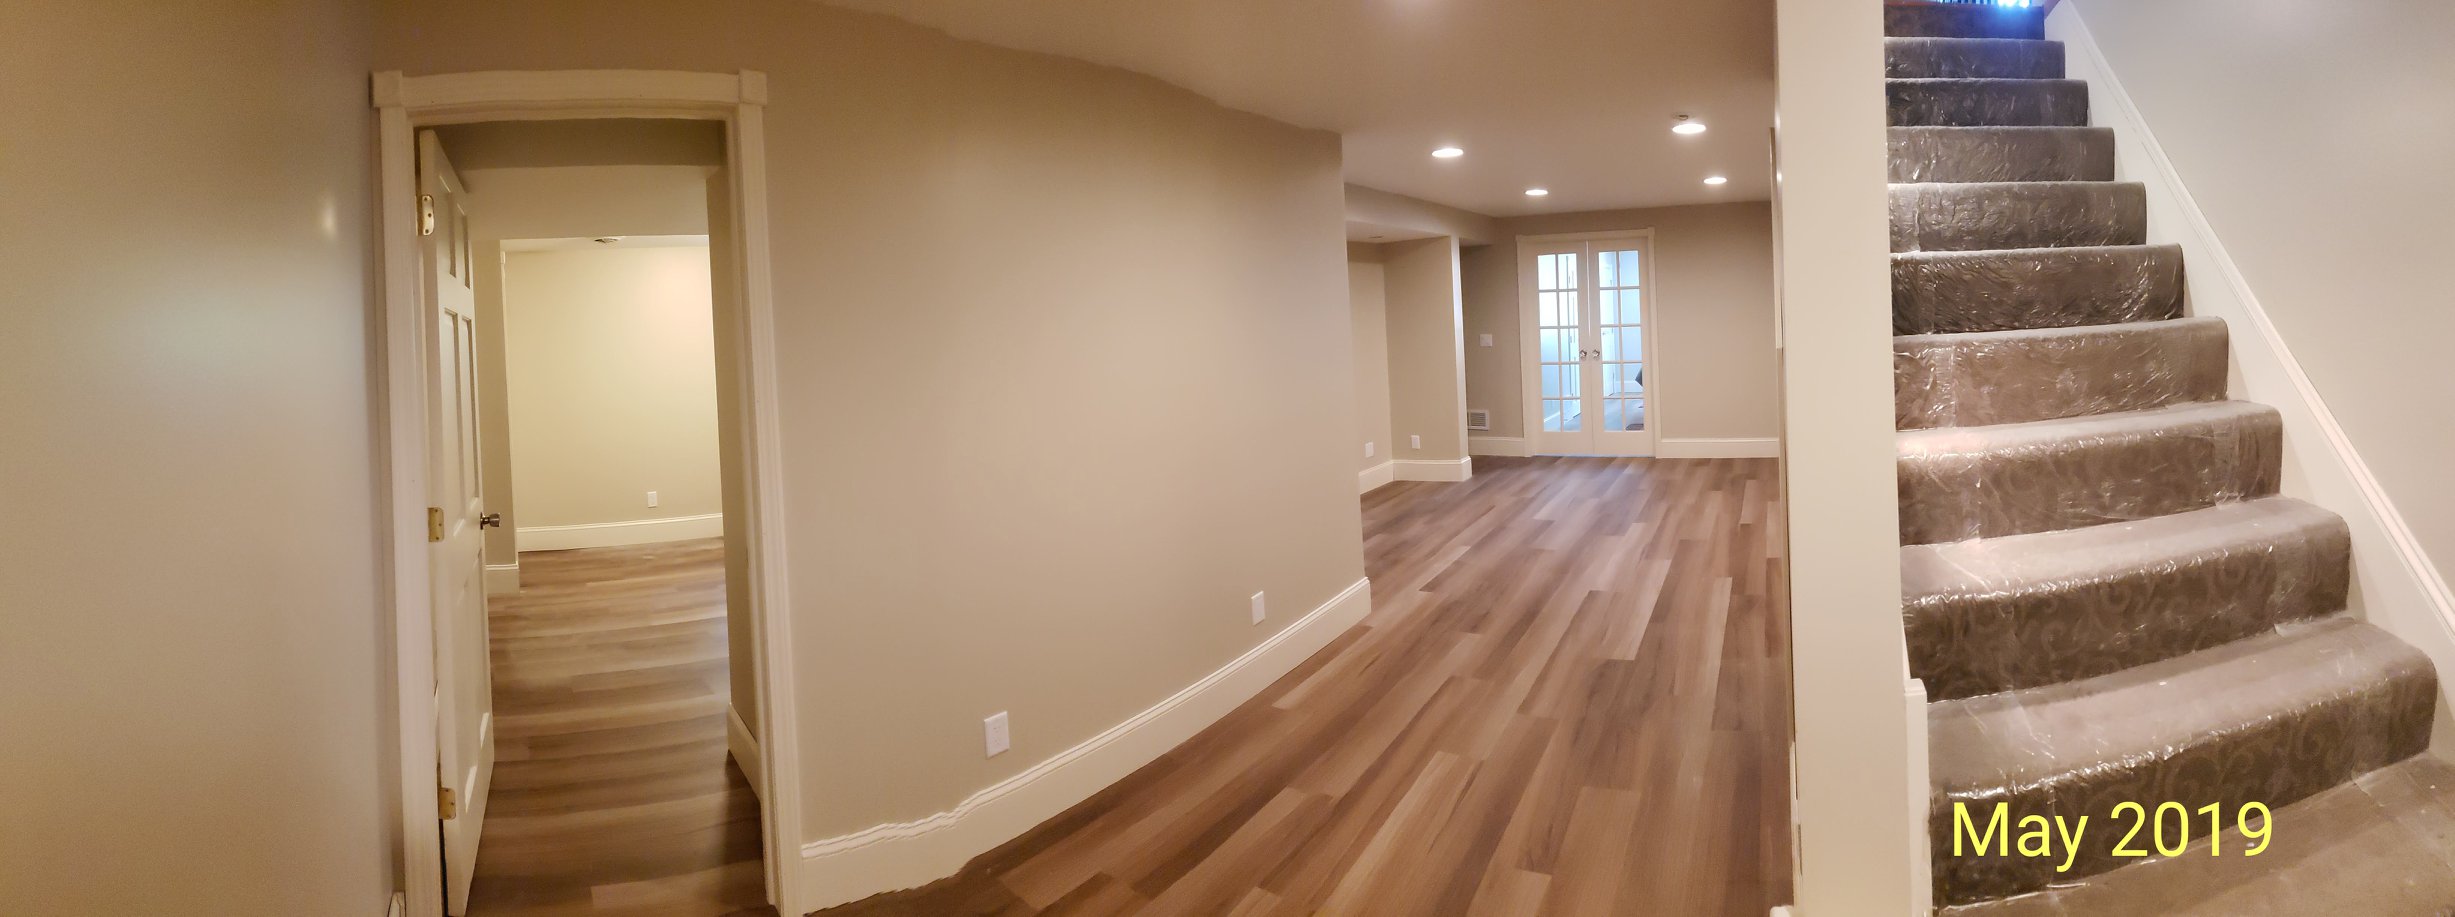
A story in 11 pictures
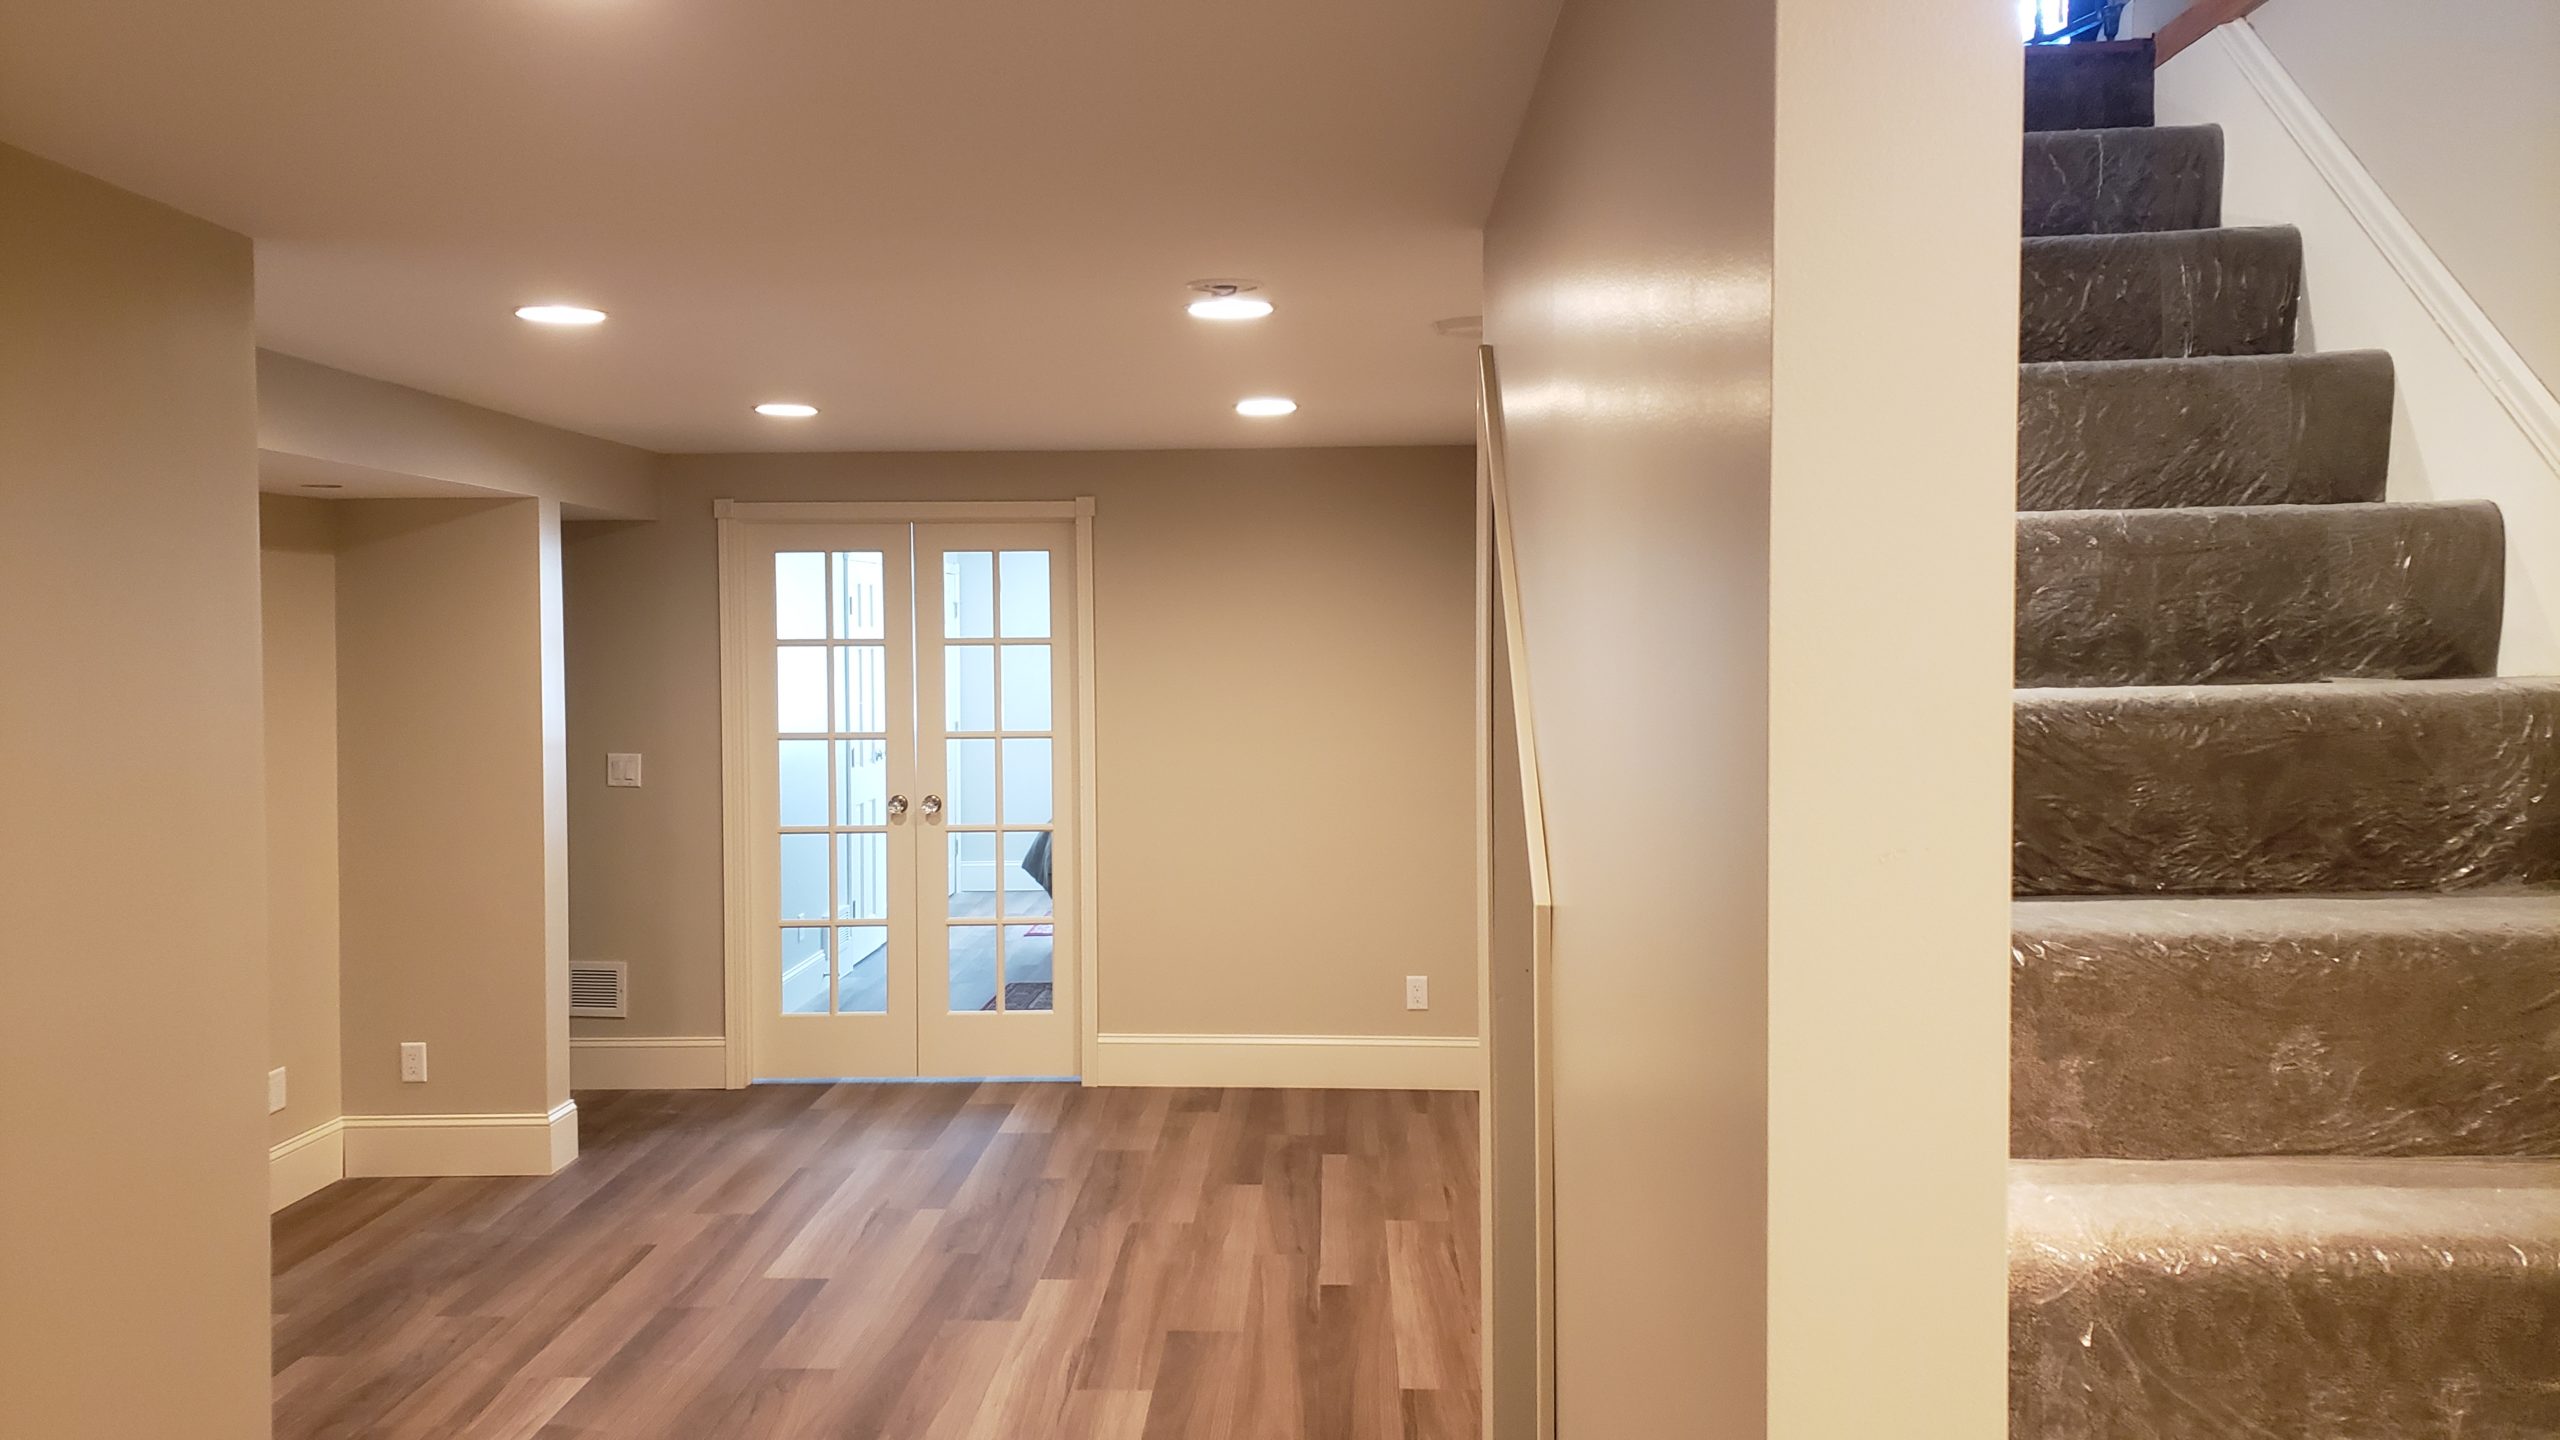
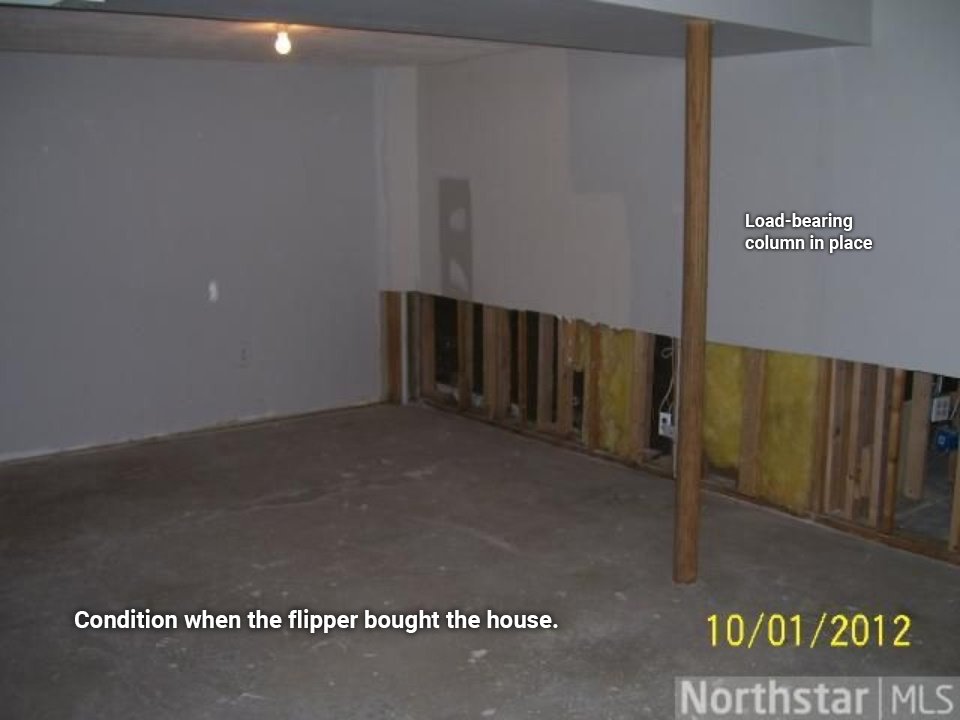
Here is the same view from the bottom of the stairs as seen over the years.
What’s next?
I’m going to continue working on local, state, and federal legislation to prevent predatory remodeling and providing real consequences for flippers who practice it.
Will we find more problems that the flipper hid? Maybe. But not on this level of the house.
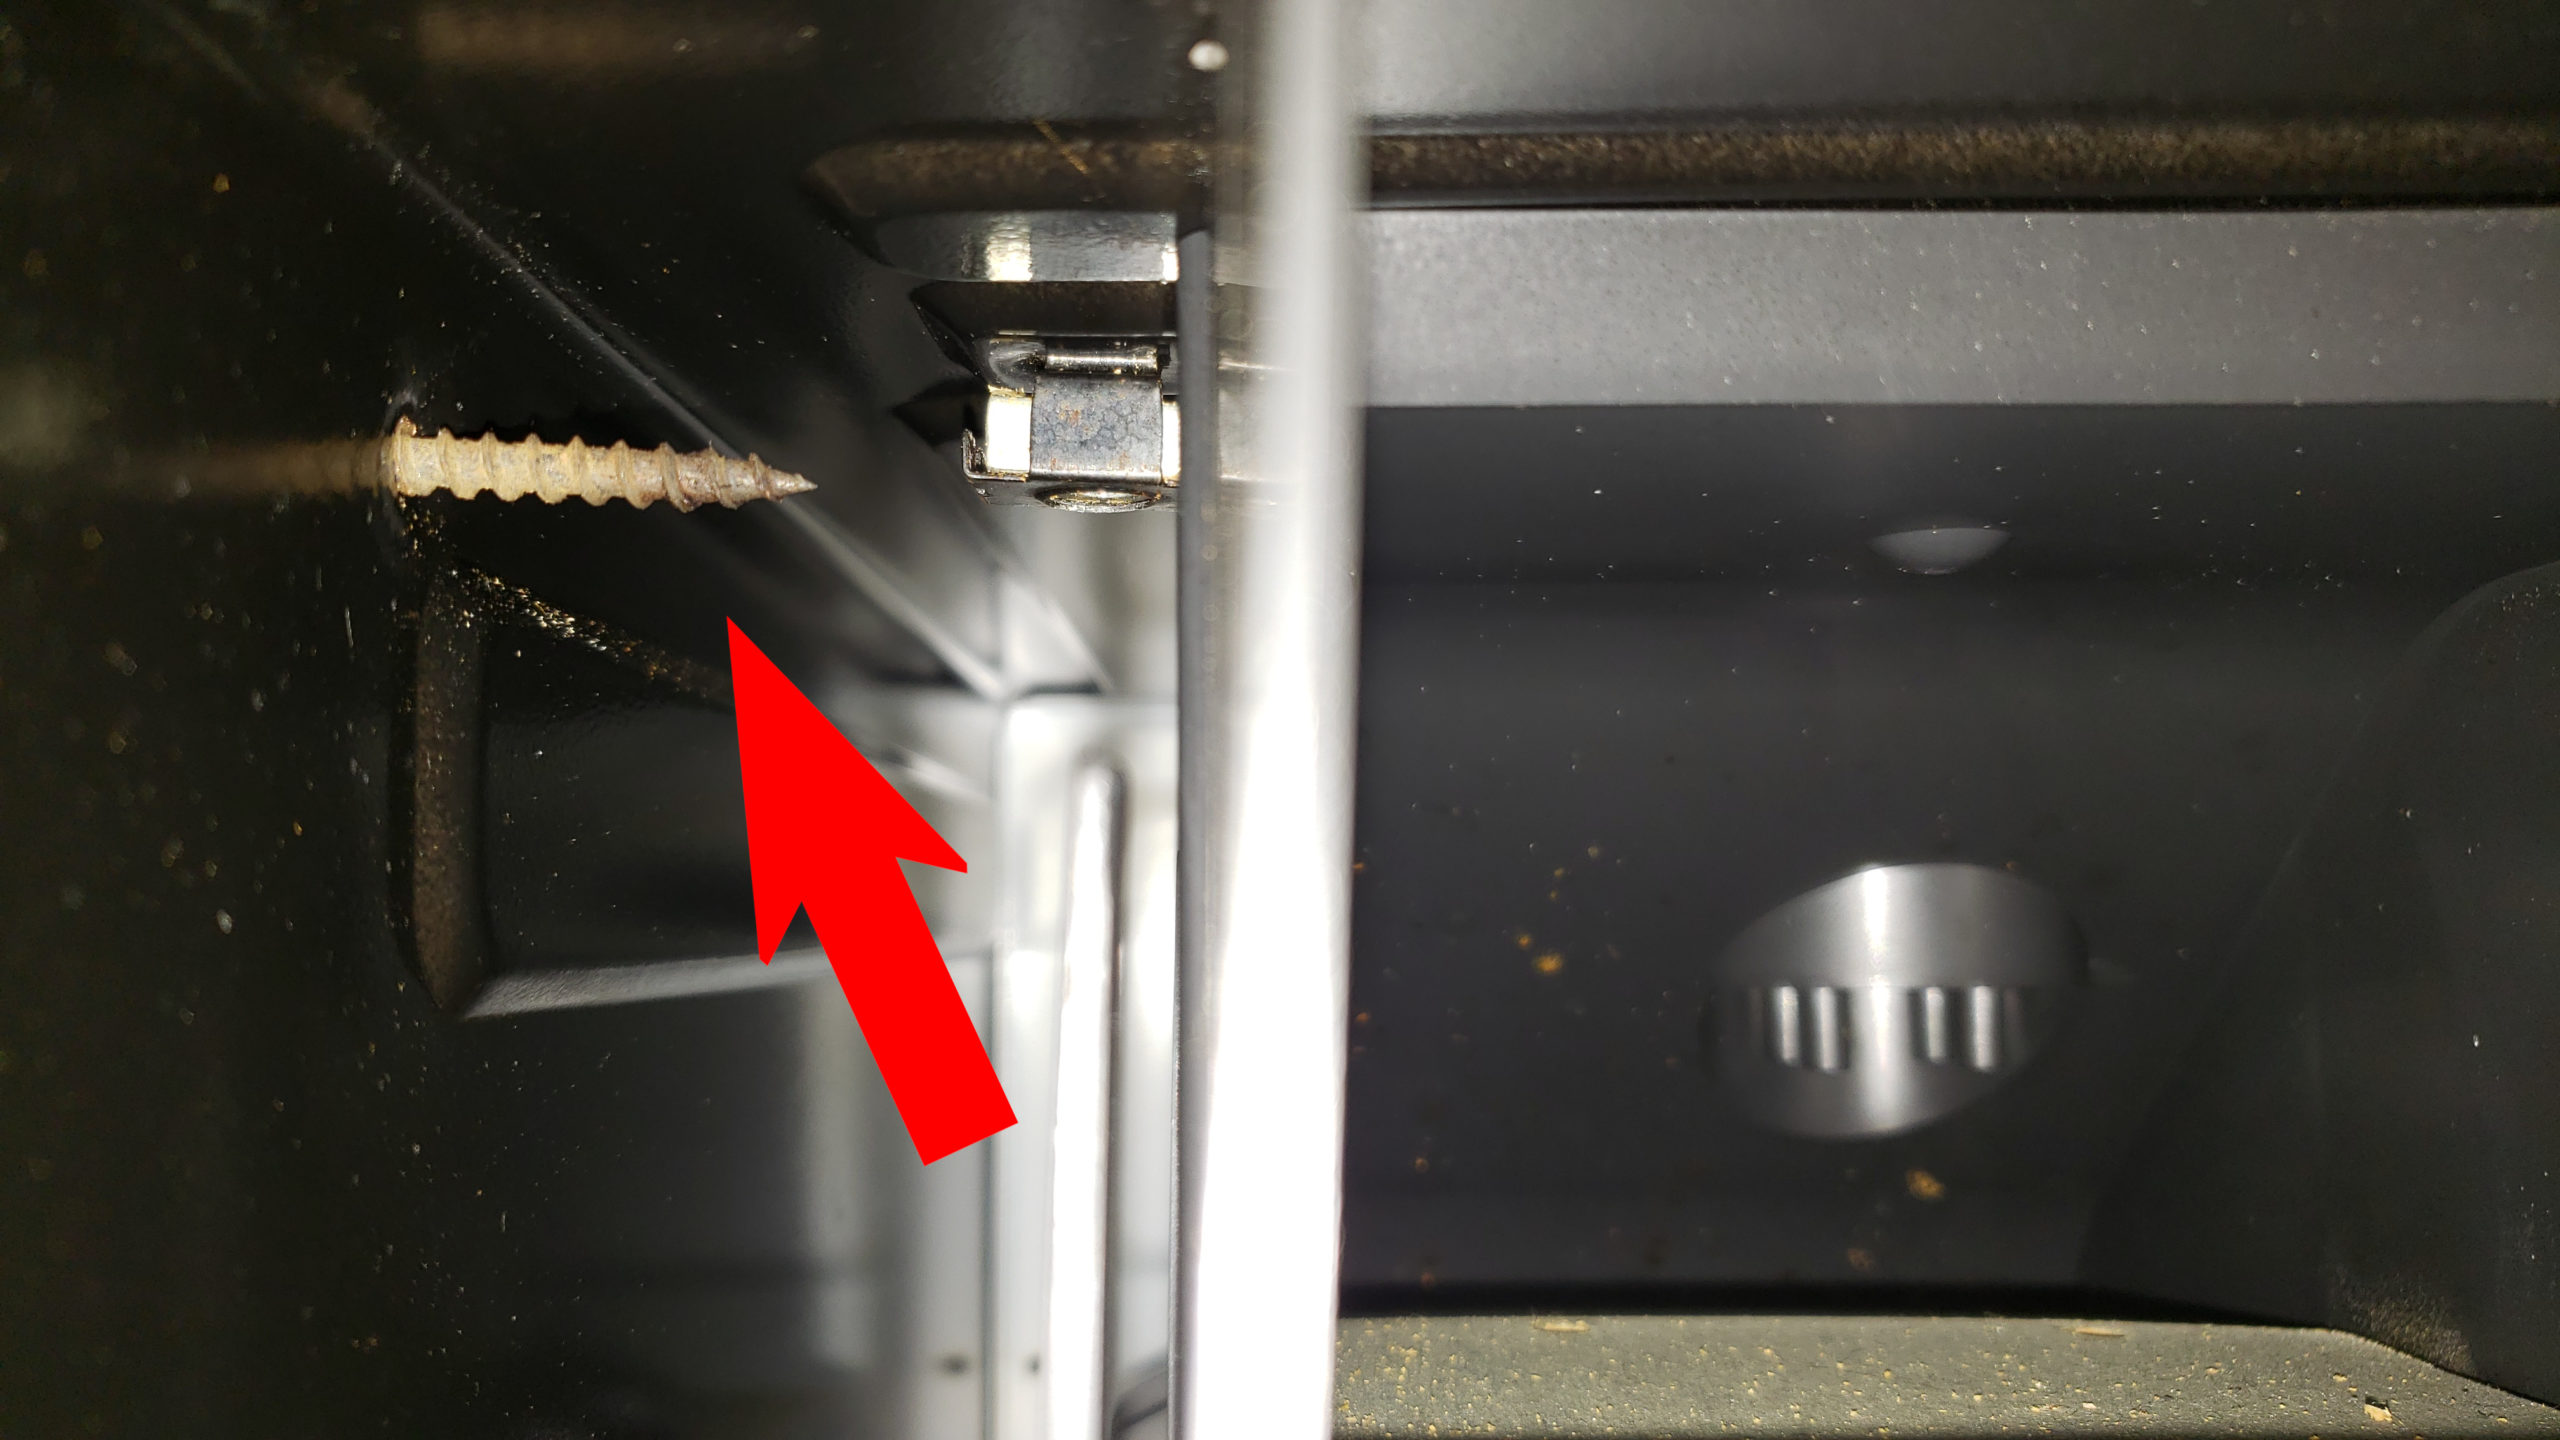
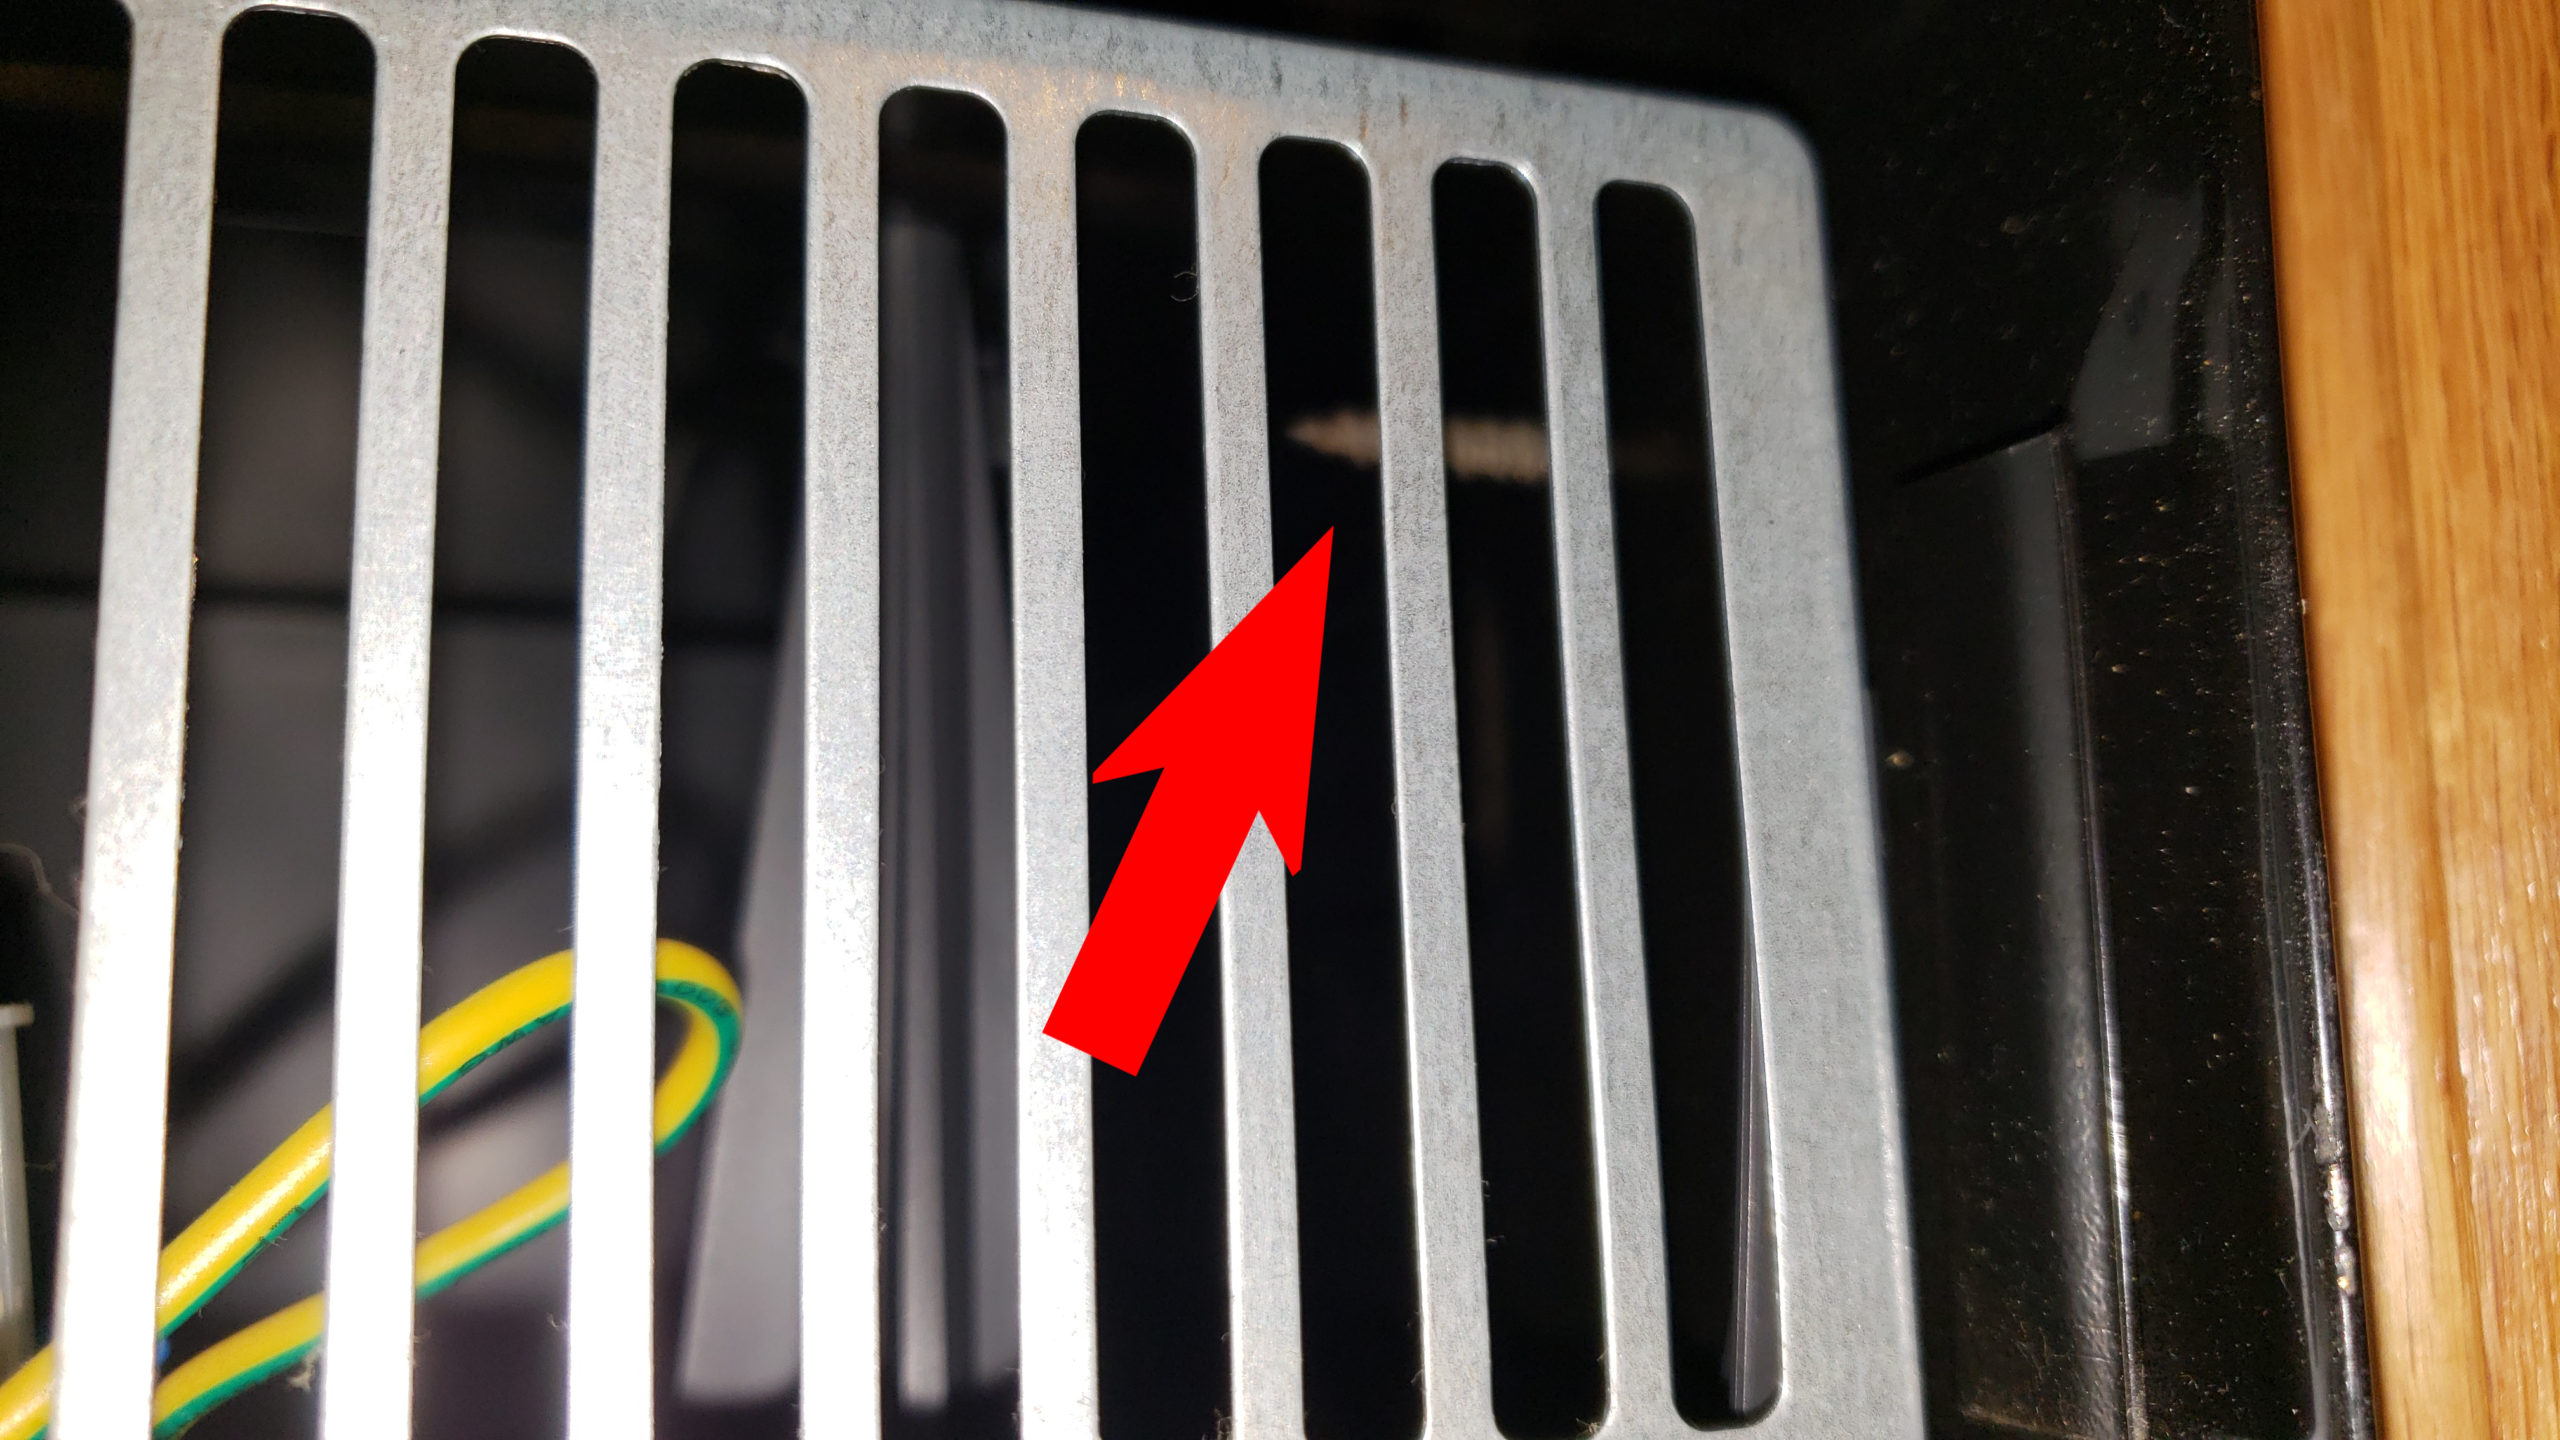
Flipper screwed into the side of the microwave!
The microwave has died. It’s the same microwave that came with the house when the flipper sold it to us. I started to uninstall it when I noticed something crazy. Normally, an over-the-range microwave hangs from the wall cabinets above. But because the flipper used recycled cabinets, the overhead cabinet is riddled with holes, making it too weak to hang another microwave.
The flipper’s solution was to hold up the weight of the machine by screwing directly into the side of the microwave with drywall screws! We’ve been living with it this way for over 6 years! No real estate inspector would have ever spotted this hazard.
I uninstalled the dead microwave, ordered a replacement, and reinforced the swiss cheese cabinet with several pieces of plywood inside and out. I installed the replacement microwave in the same spot.

That guy with the horrible house
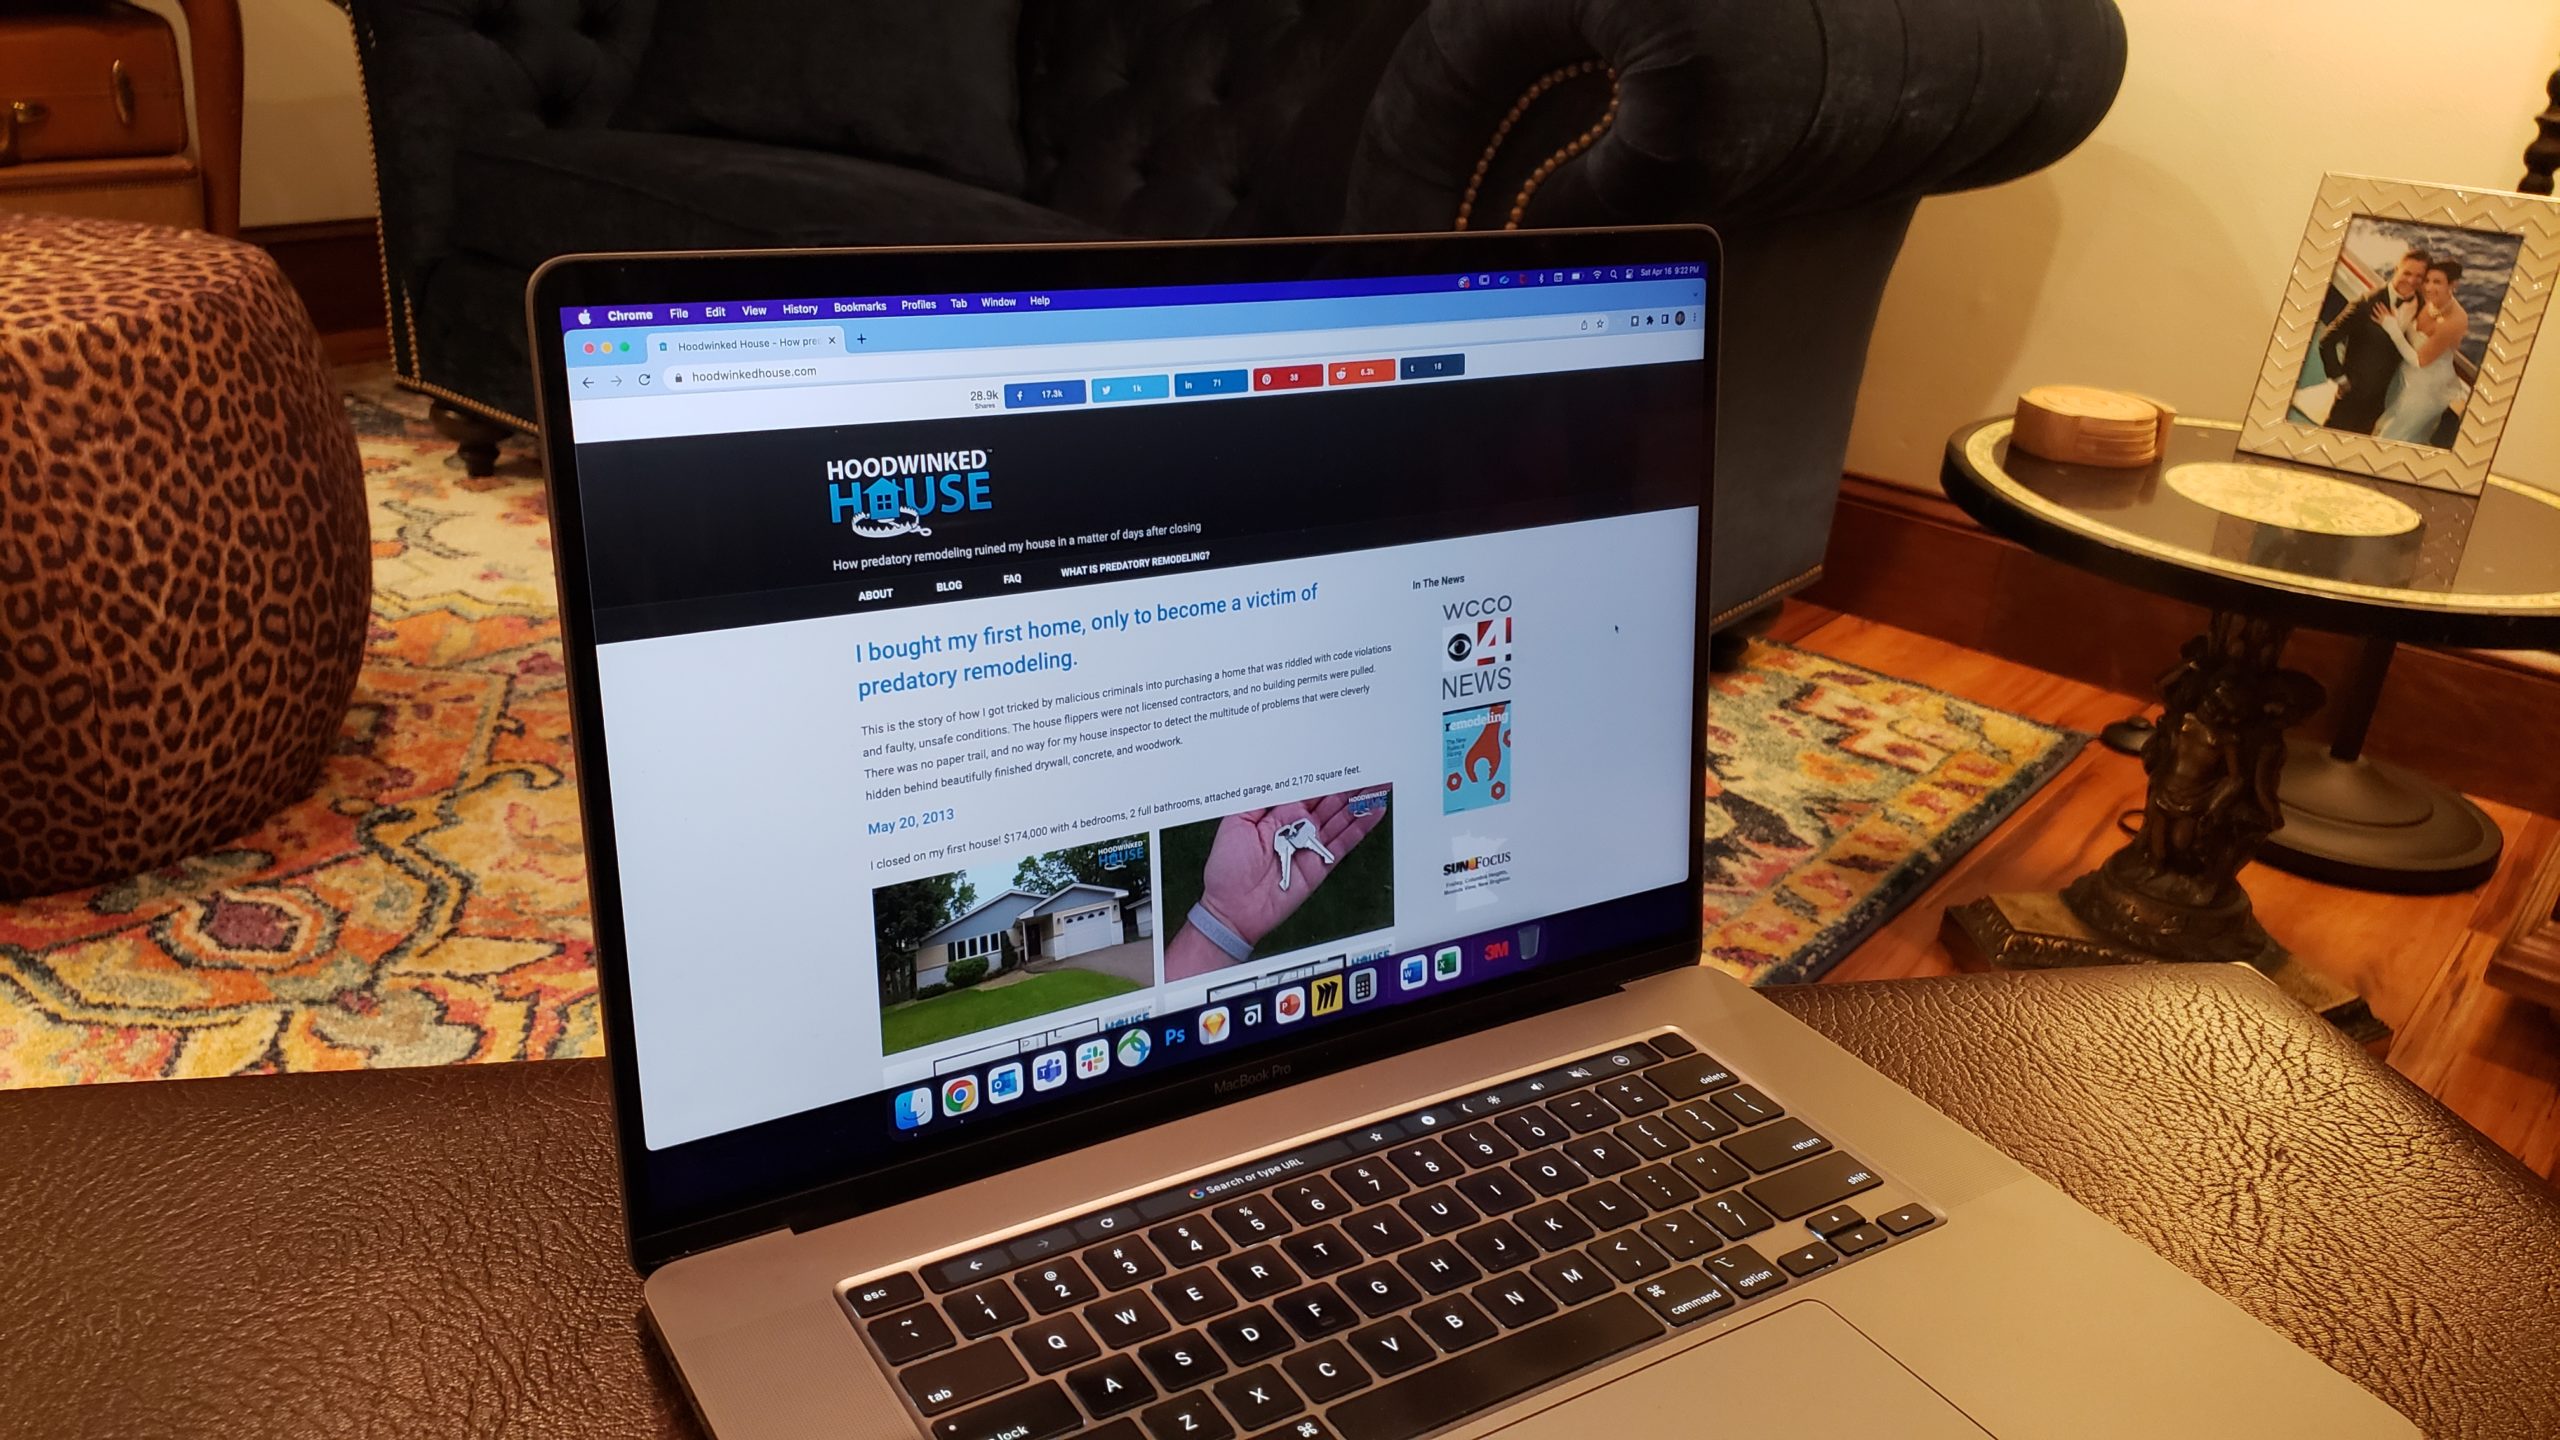
This blog got a fatal virus in September 2017. It’s online again, backfilled with years of new stories and photos about predatory remodeling. I migrated the entire website from one content management system to a completely different one, mostly by hand. Much like the house, this website is safer and more stable than ever.
What’s this about?
I bought a house in 2013. Just days later, I found out that I had been swindled by a flipper when the house started falling apart. This blog went viral as I documented the unbelievable problems.
What’s happened since 2017?

The good news is, we completely fixed the house. It took us 6 years of personal labor working long hours every evening and weekend. There were many setbacks. Plans had to change more than once. Things we thought we had fixed needed to be fixed yet again. But in the end, it’s done and done correctly.
The bad news is that I’m still tallying-up 6 years of receipts. I know the repairs cost more than $100,000… probably closer to $130,000. We’re also still paying for those repairs above and beyond our mortgage and other bills.
Did I find out who did it?
Yes. I was able to track down the flipper and his associates. I’ve also worked with over a dozen attorneys, litigators, and investigators to find justice. The bottom line is that there is no way to collect damages from the flipper. None of the options we hoped for were available to us. We were fraud victims the moment I signed the paperwork at closing.
What’s next?
I’ve learned a lot about real estate fraud over the years. I’ve also learned about the best ways to prevent predatory remodeling. More examples of this fraud has surfaced in our city, so officials have a renewed interest in preventative measures. I’m also currently working to get a home buyer protection bill through the state legislature. I’ll keep you updated about that.
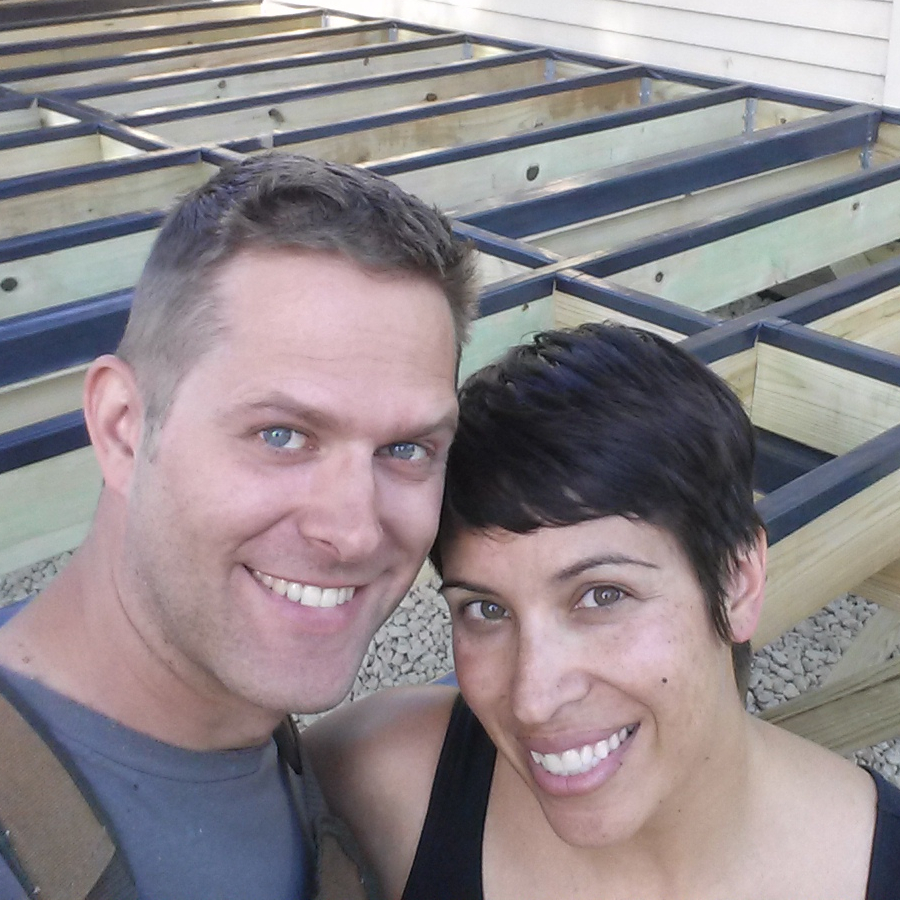
Amáda and I thank you all for your years of ongoing support! Please continue to share this blog and warn home buyers about this type of fraud.
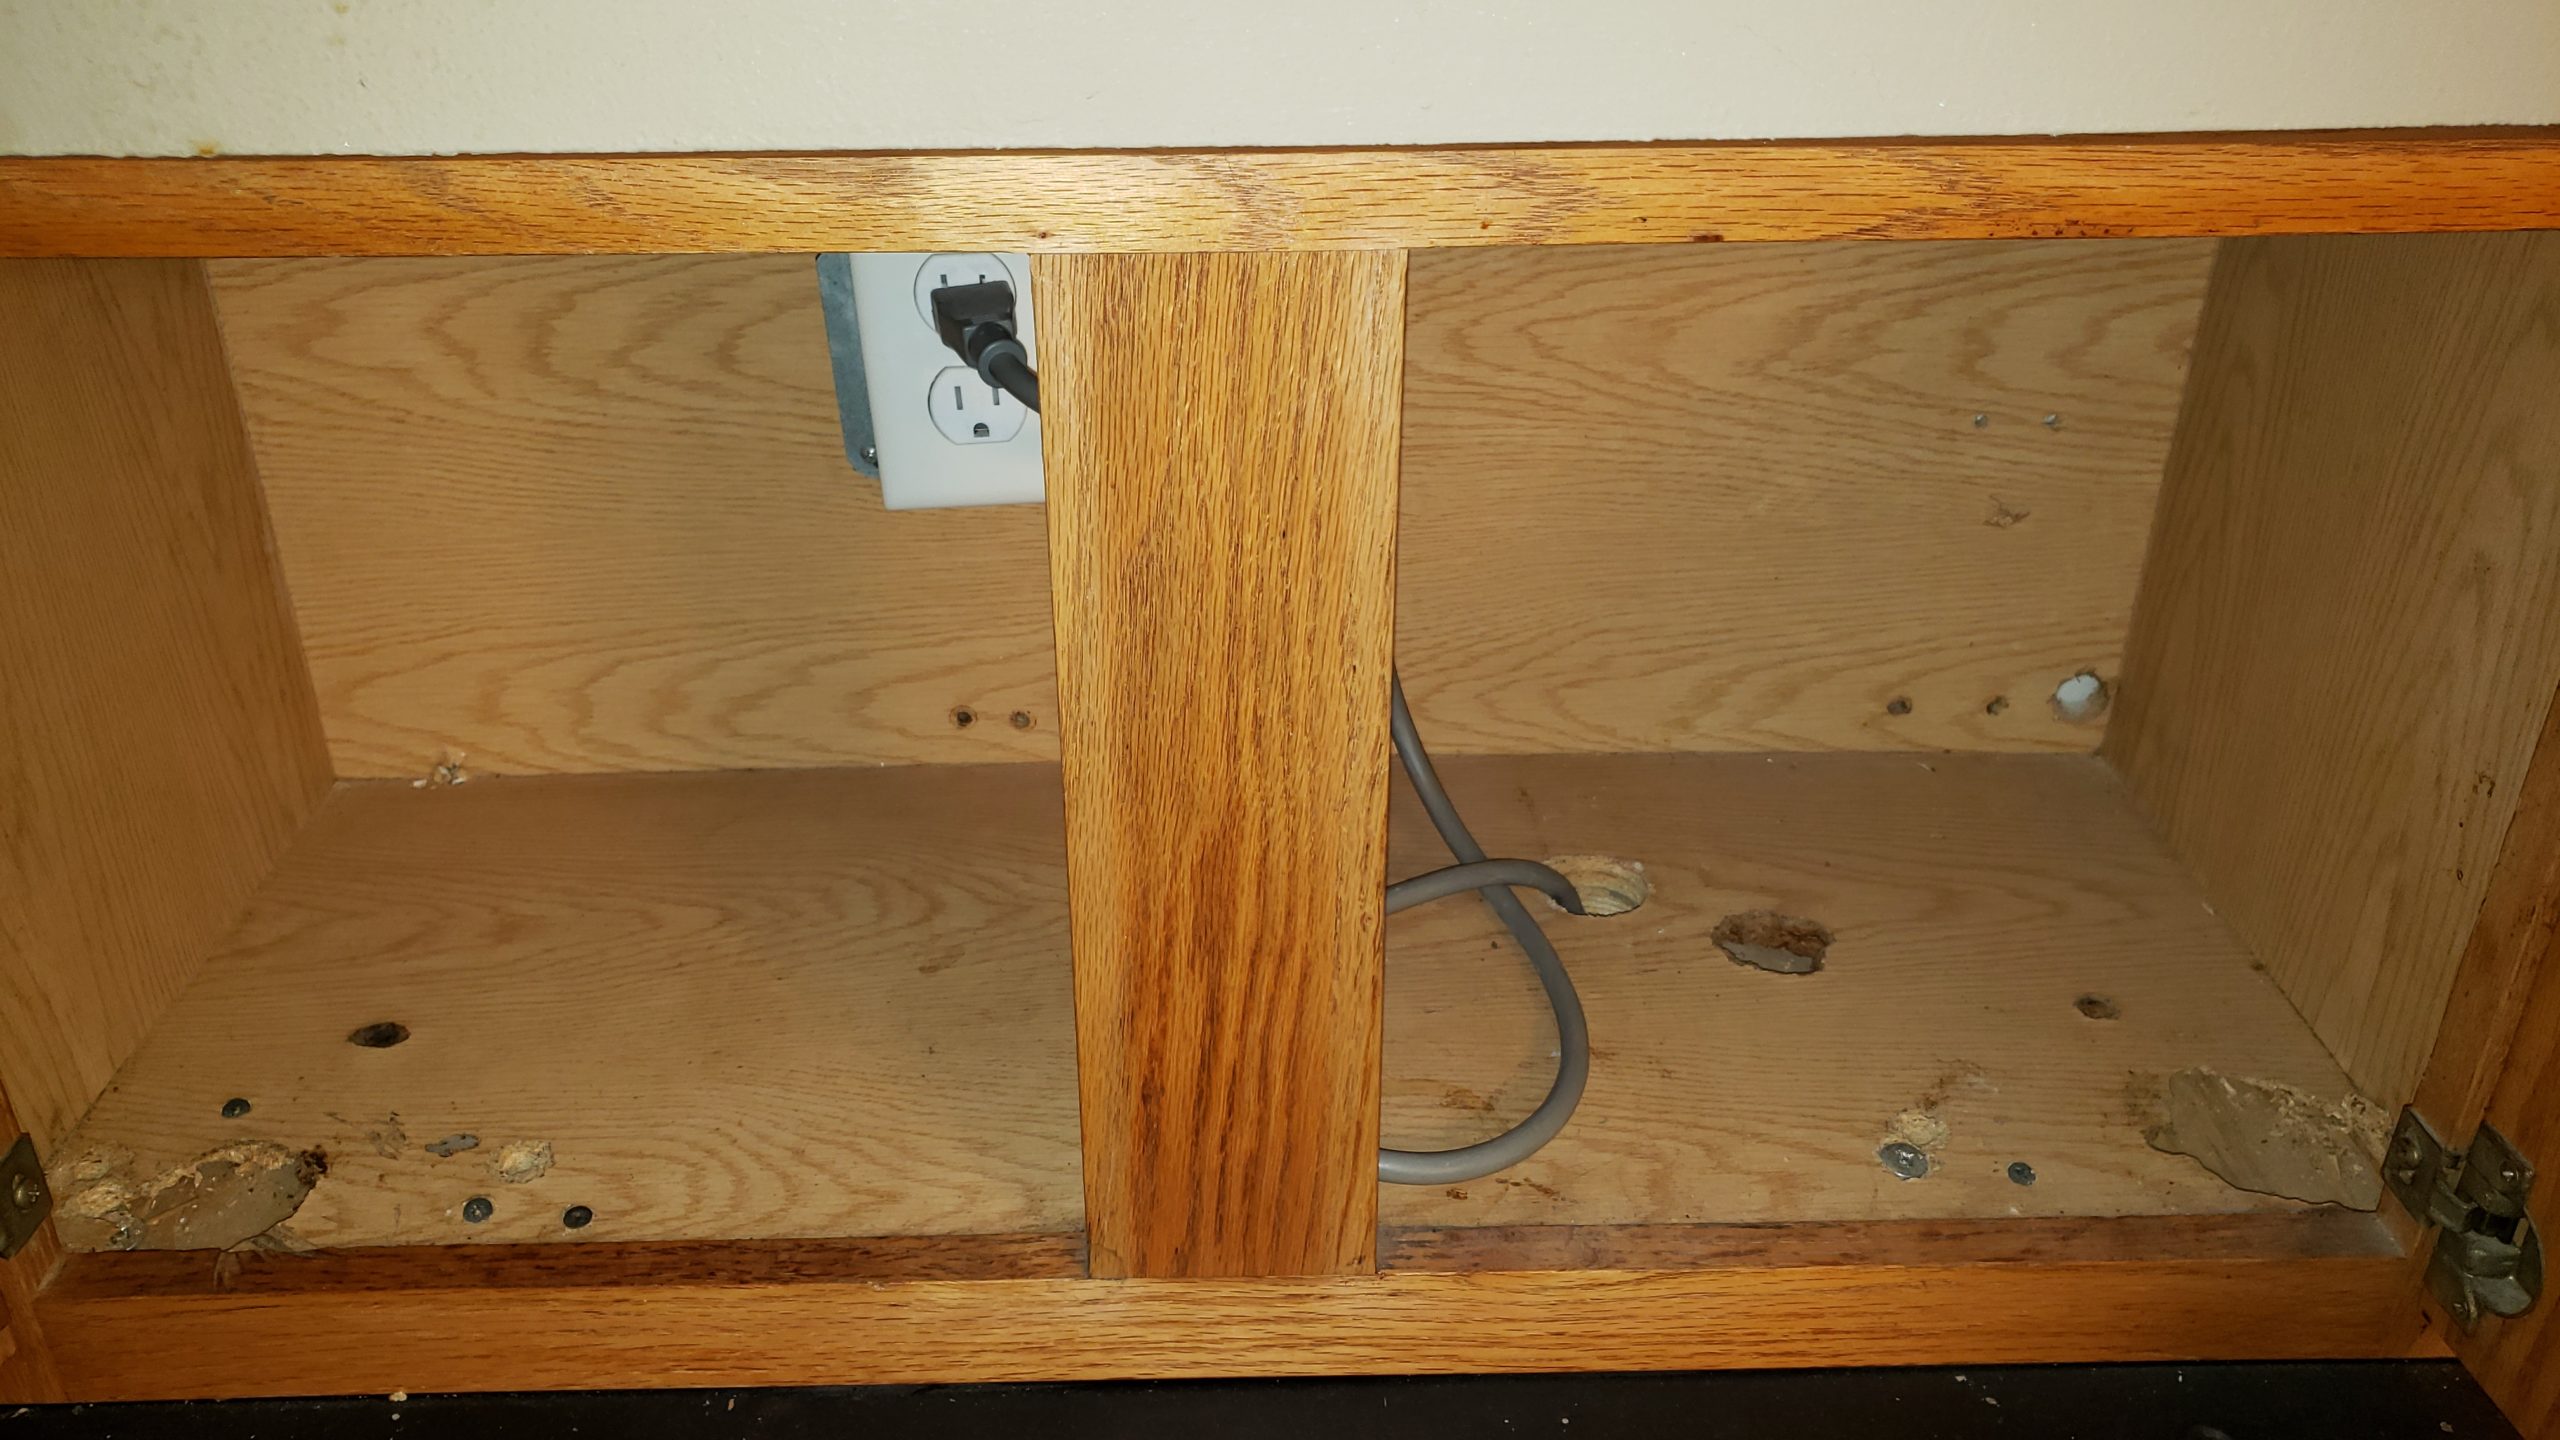
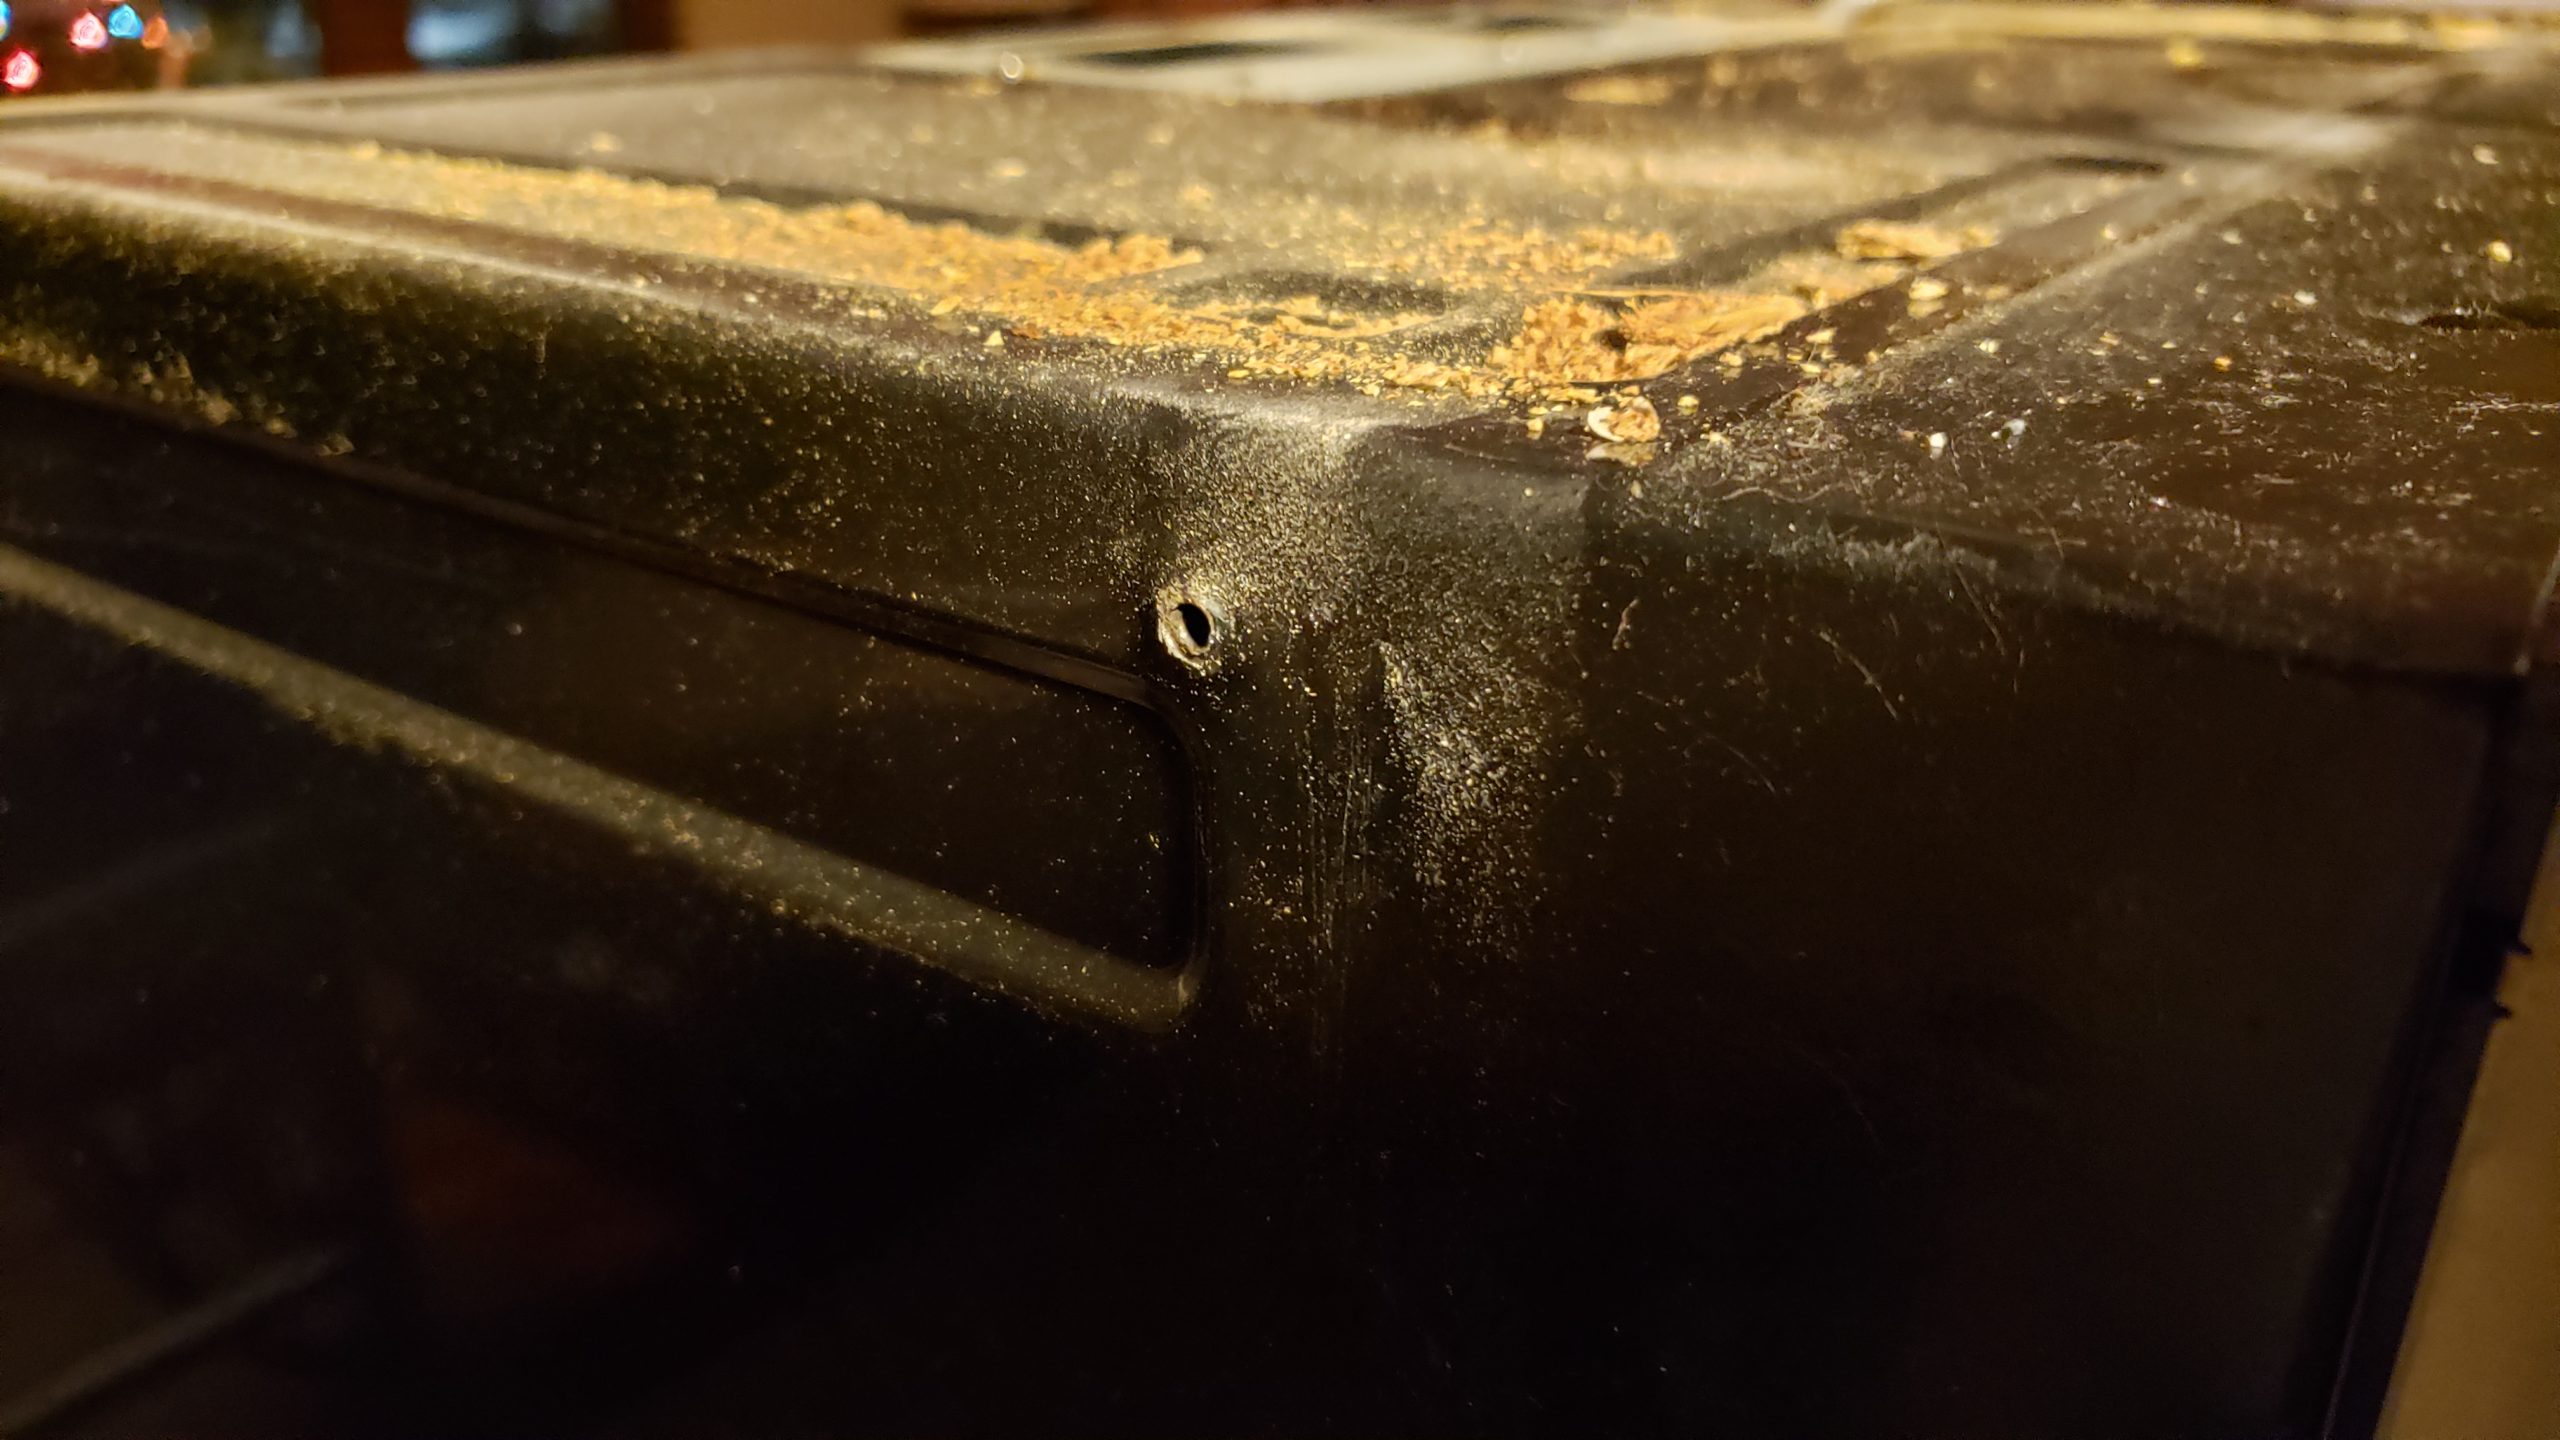
Flipper filled a recessed light with drywall mud!
Back in 2013, I found out that my kitchen had been remodeled, and I knew that a recessed light had been removed from the soffit.
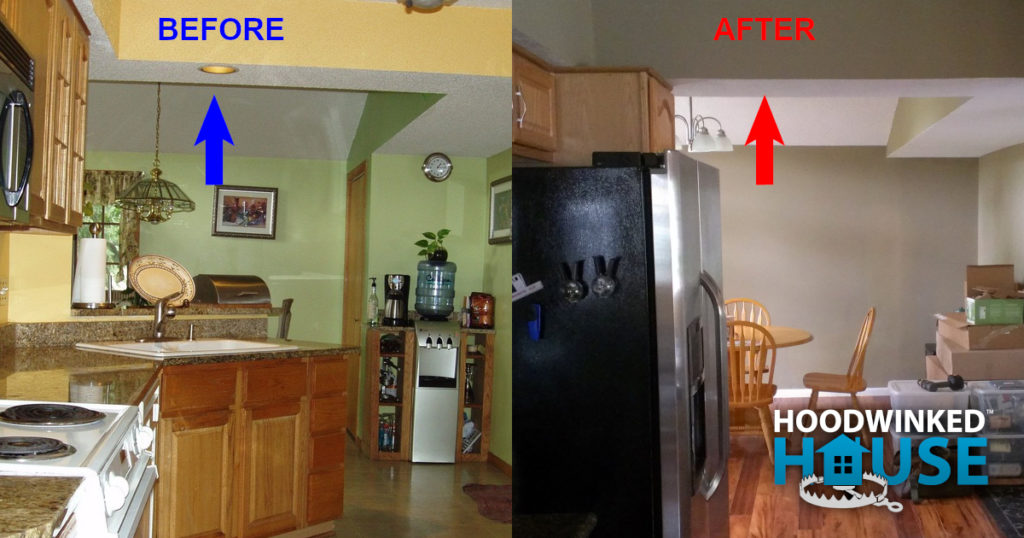
What I didn’t know is that the fixture is still there inside the soffit! It’s still wired up, and everything!
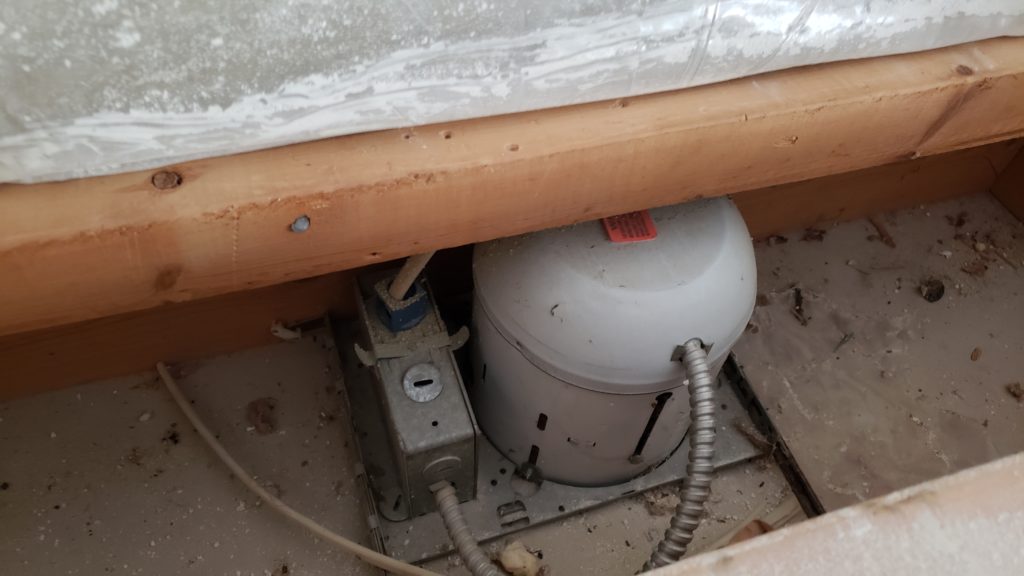
I dunno, guys. If I wanted to remove a recessed light from a kitchen, I’d just do that. Instead the flipper just filled it in with mud! No electrical inspector would ever approve of this. This is just one more example of predatory remodeling by a real estate flipper.