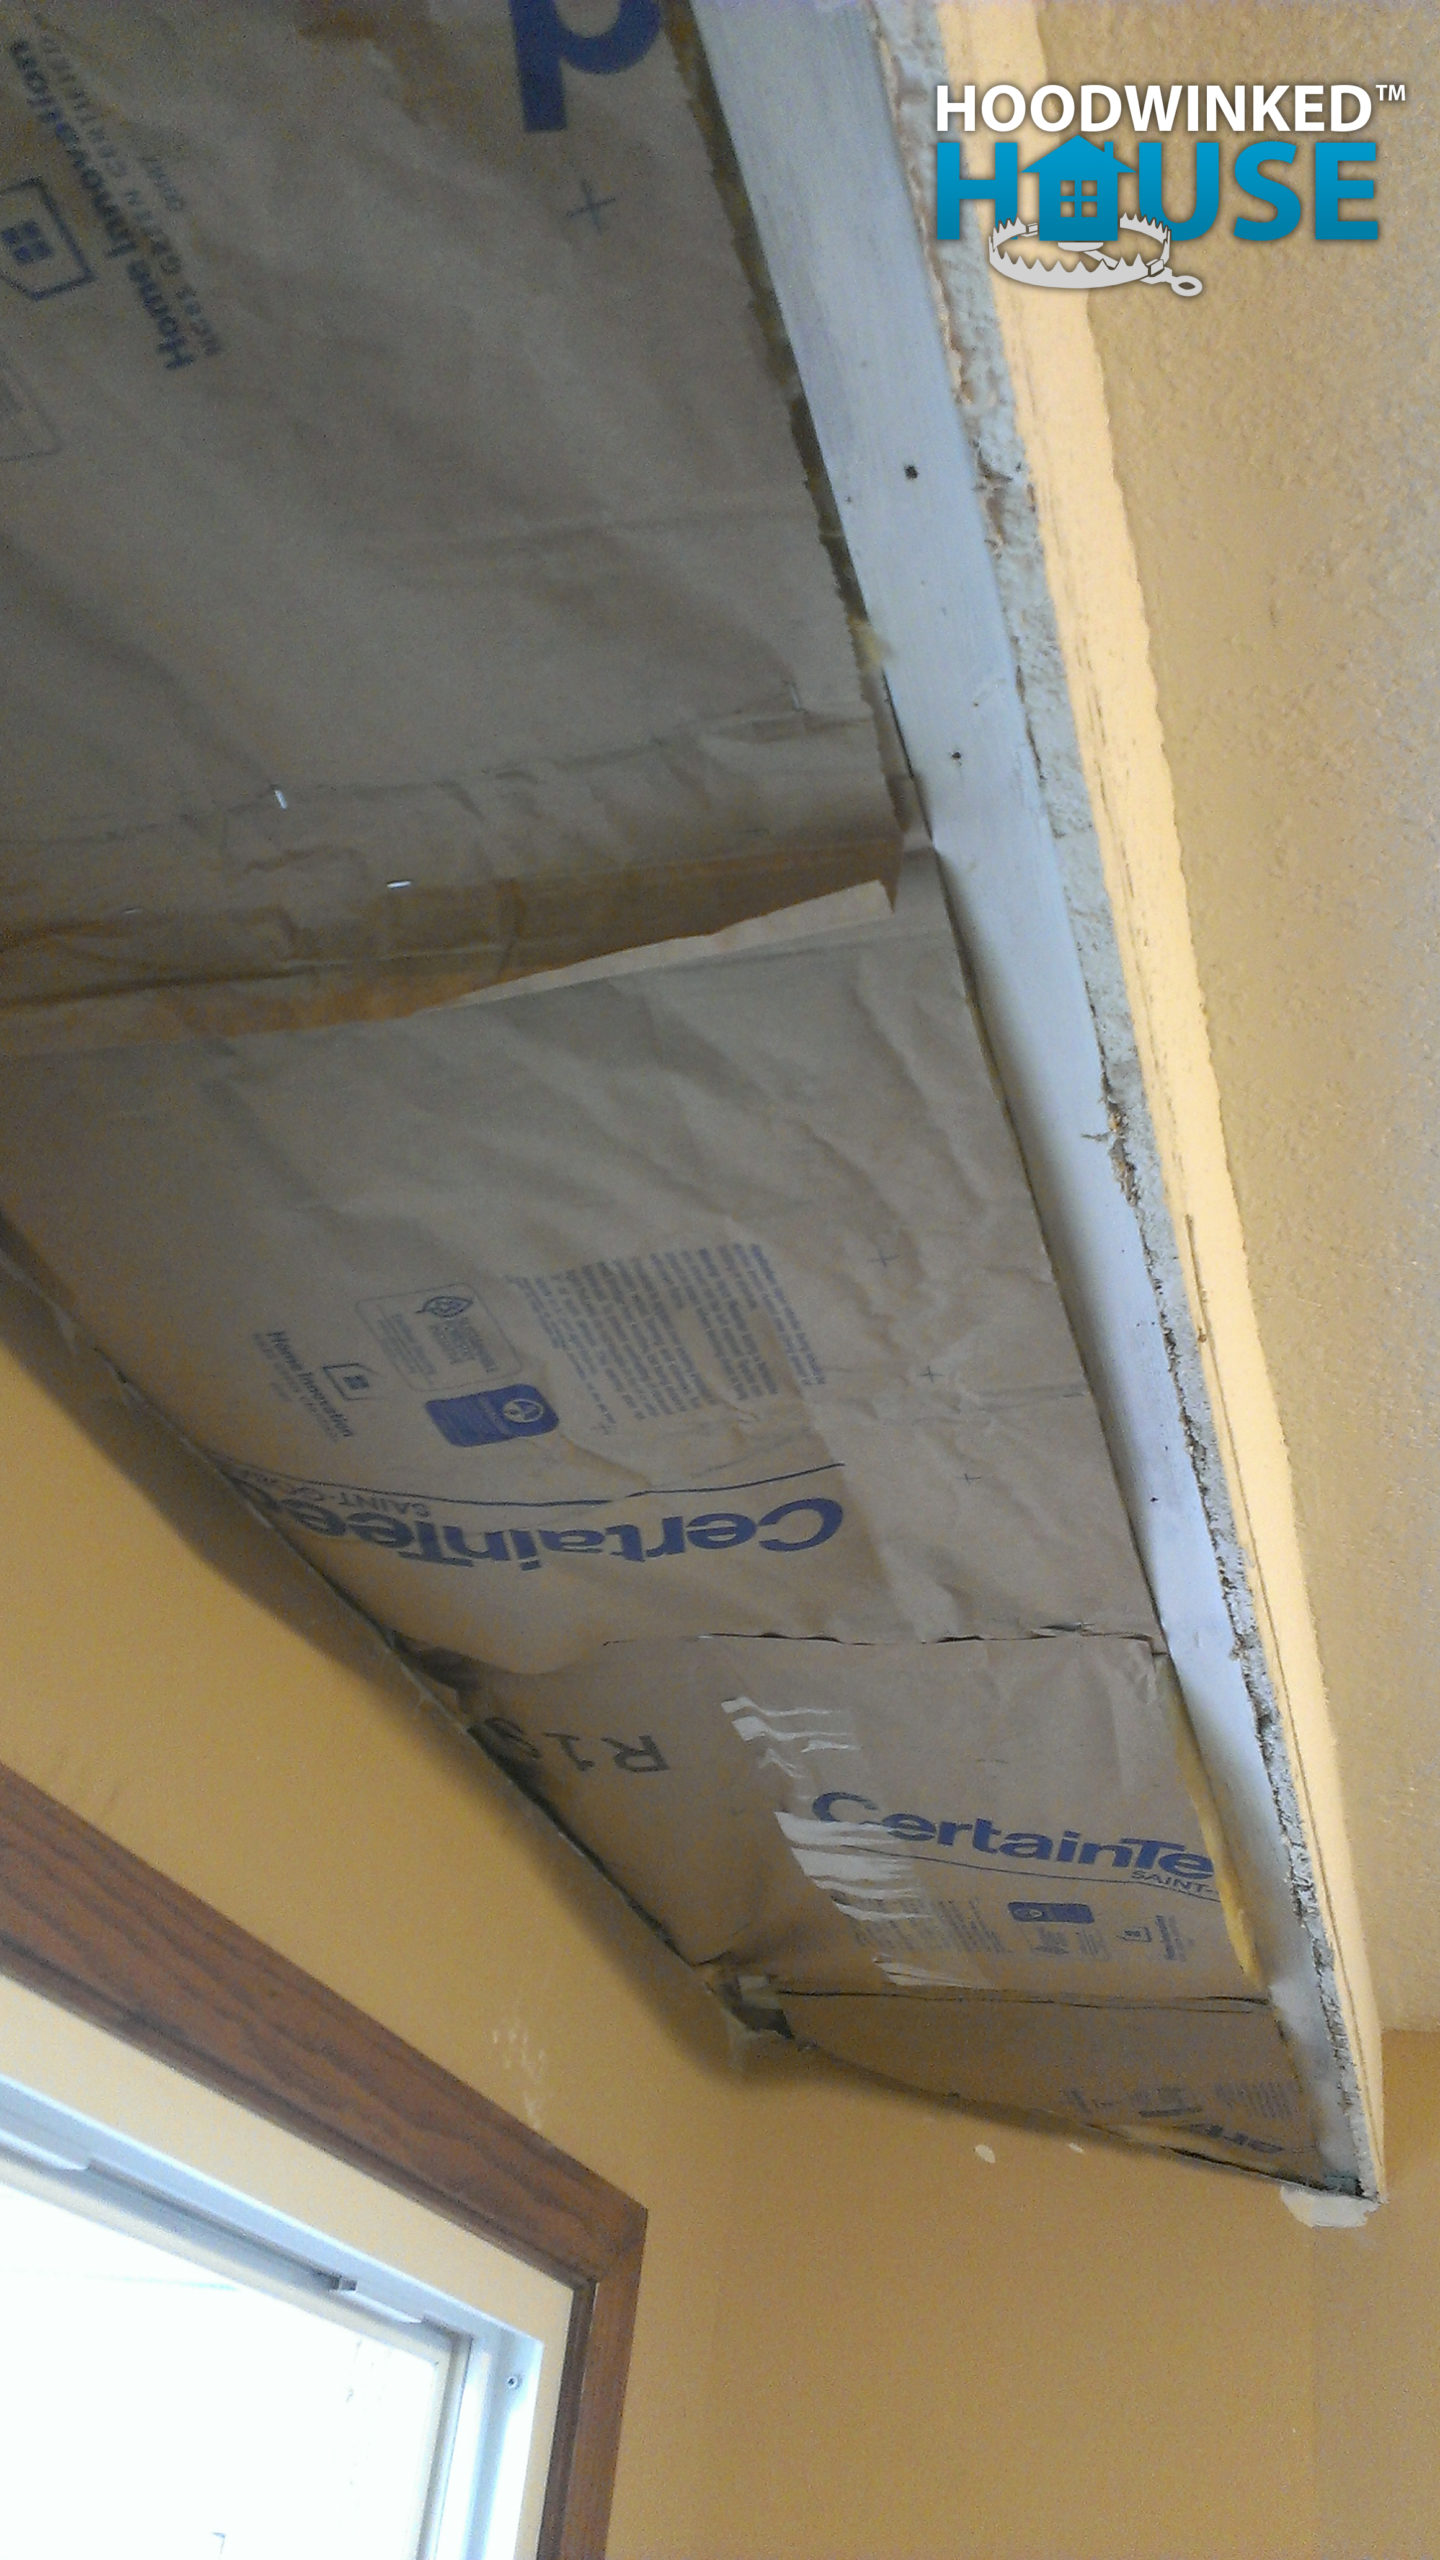
My dad and I discover an external wall without insulation, leaking heat into the attic. It’s clear that this was one of the major contributors to the ice dams.
How predatory remodeling ruined my house in a matter of days after closing
My dad and I discover an external wall without insulation, leaking heat into the attic. It’s clear that this was one of the major contributors to the ice dams.
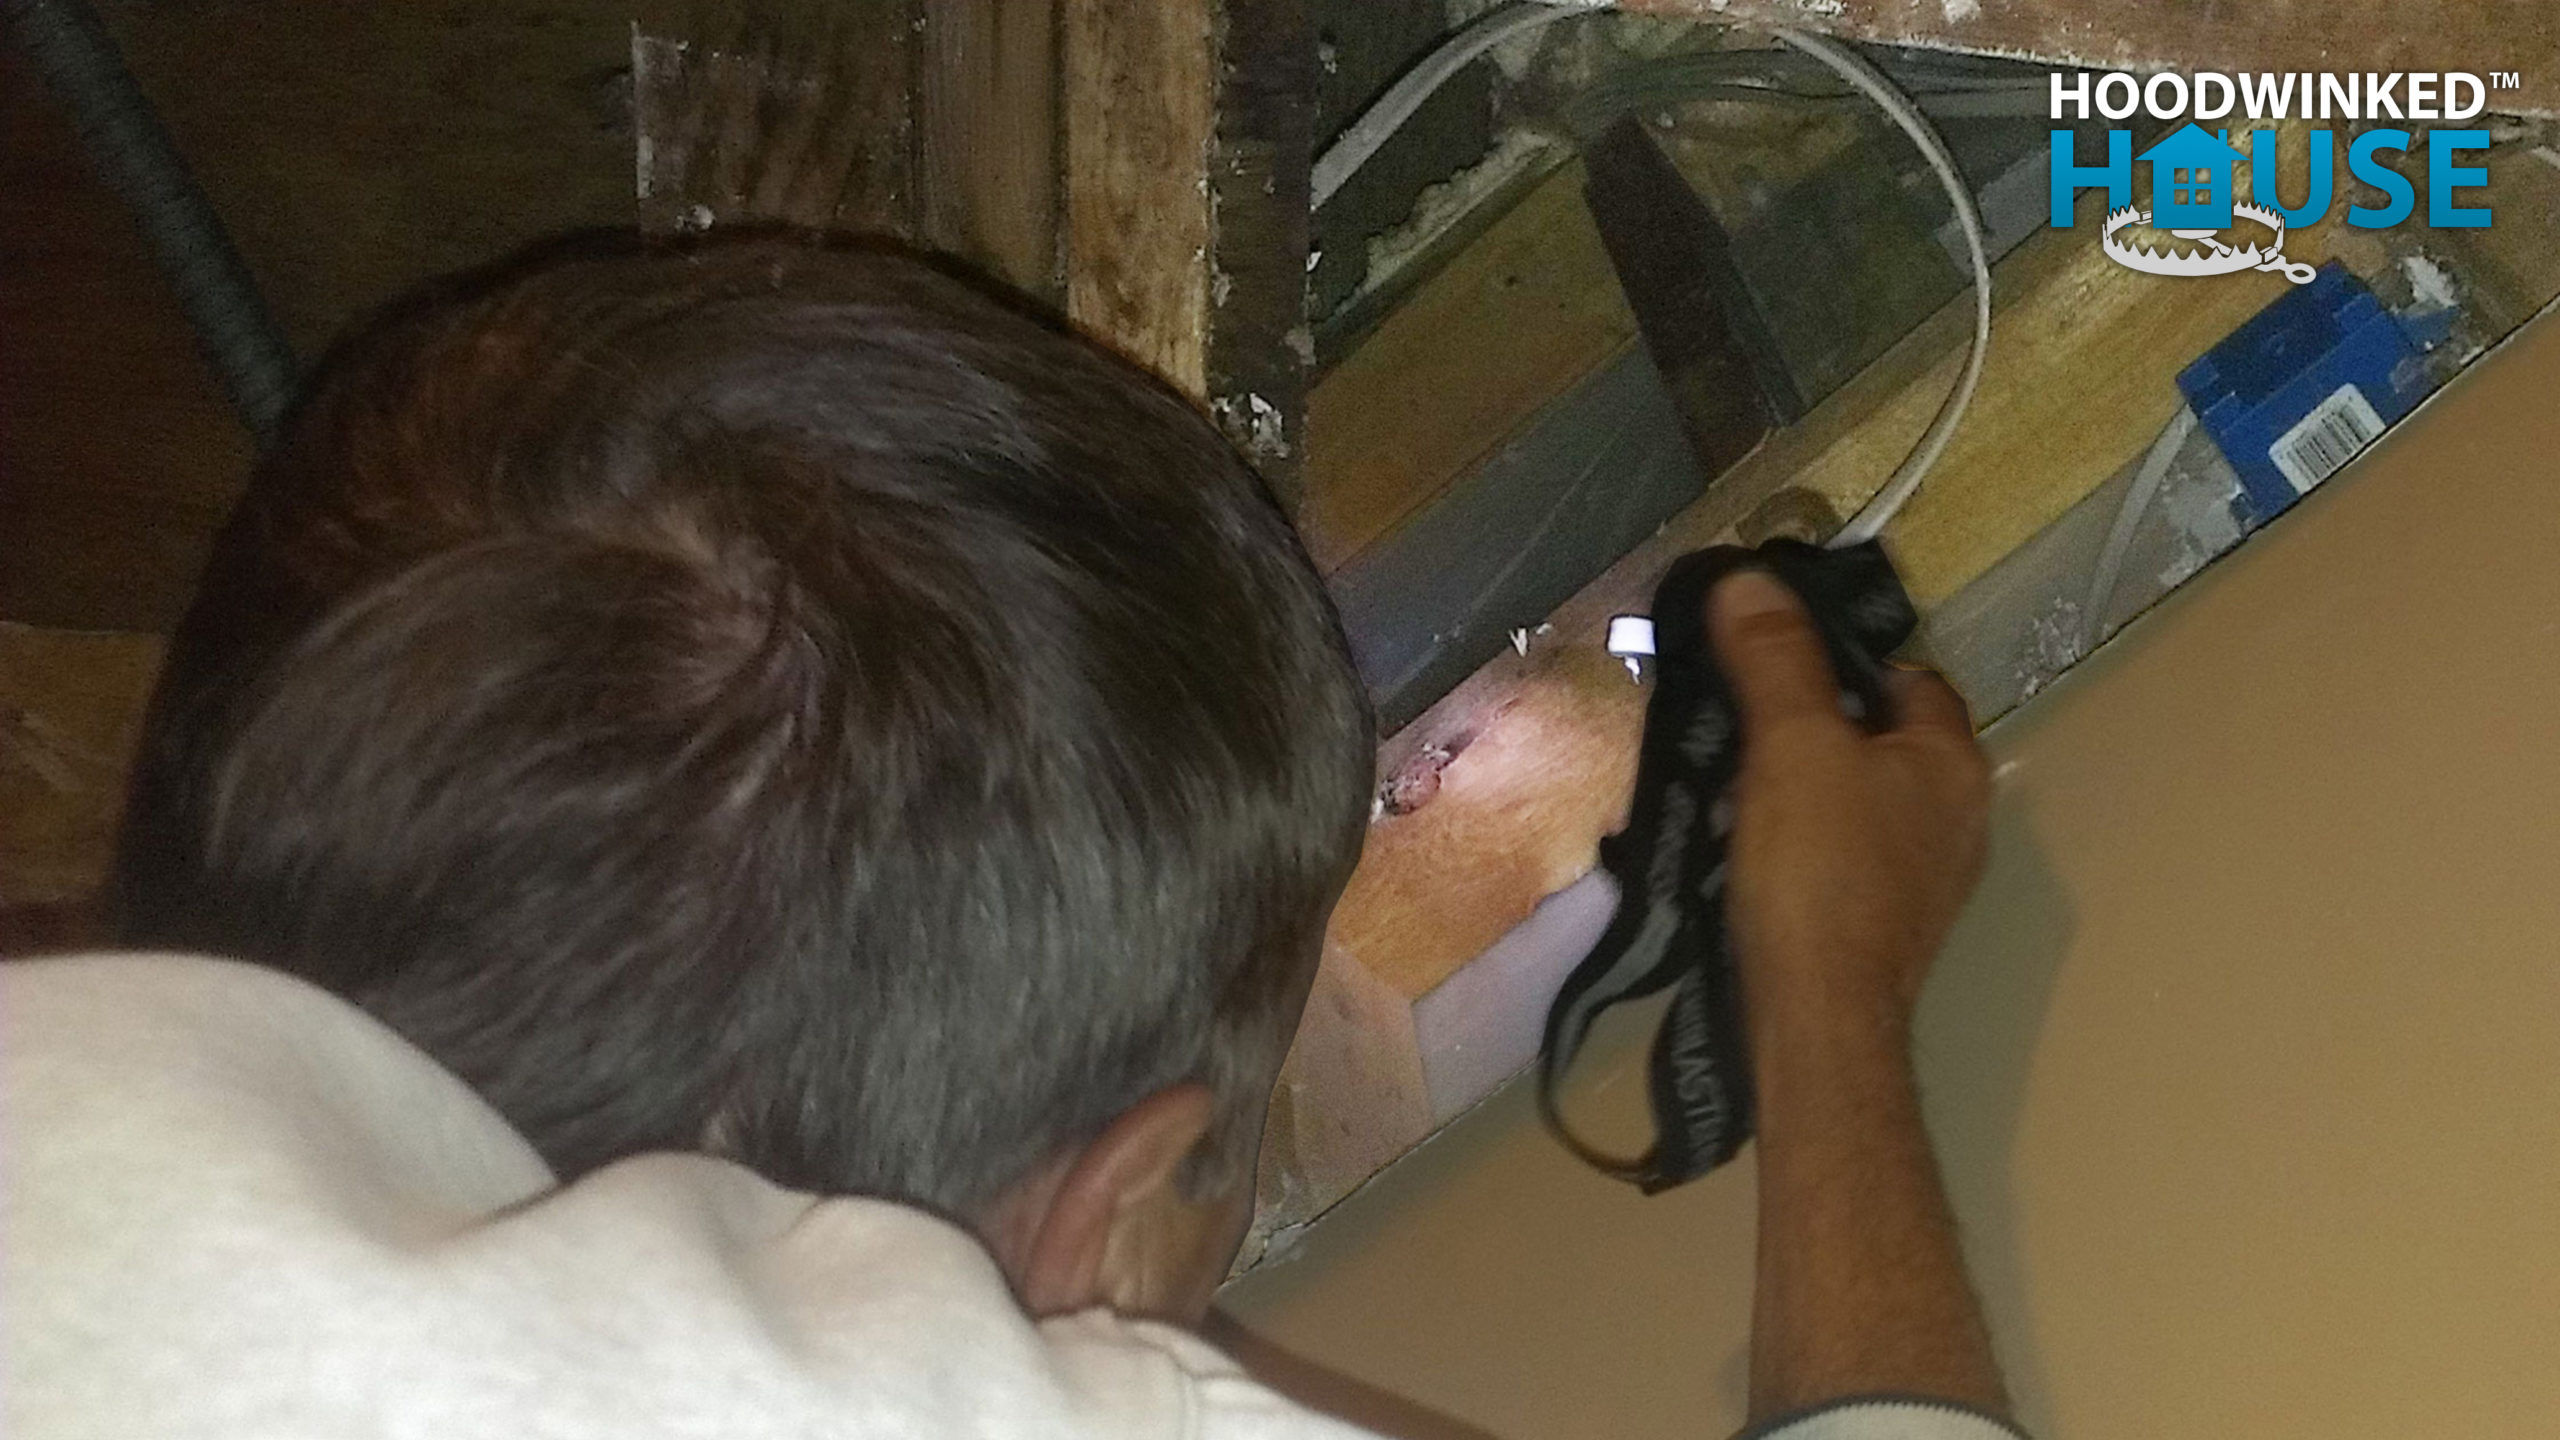
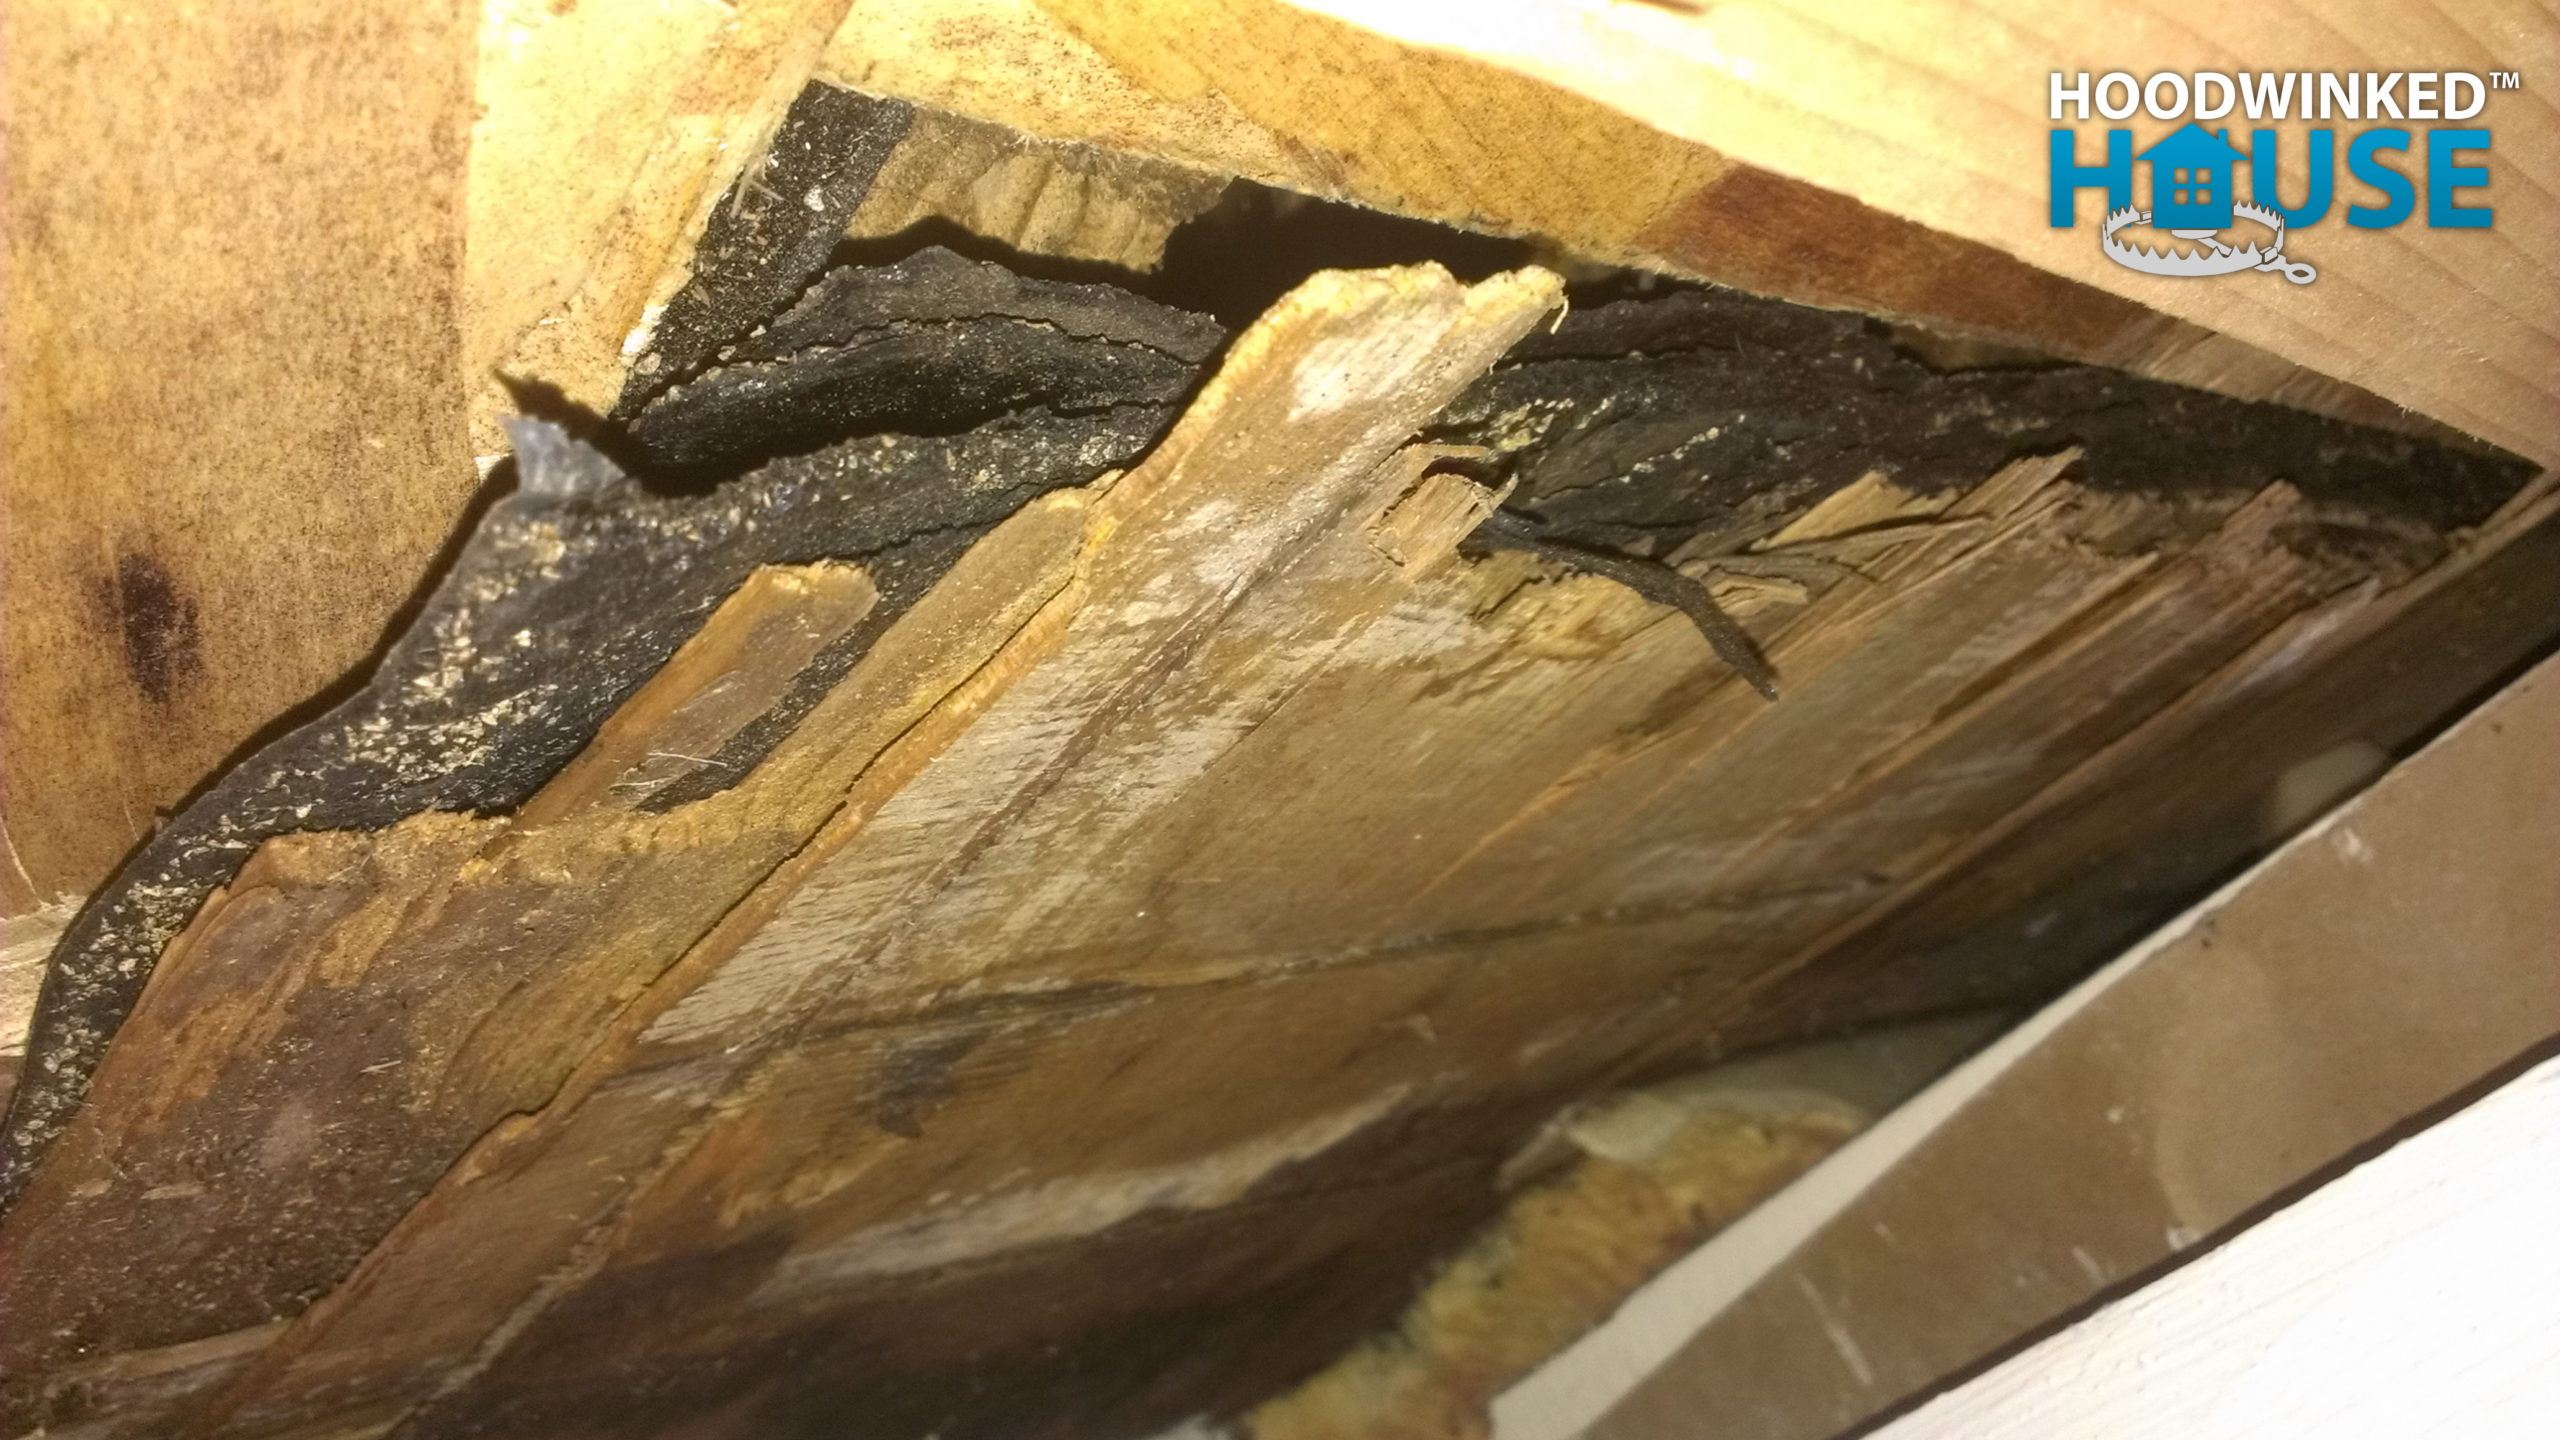
It’s clear that before I bought the house, there was a hole in the roof, probably caused by someone stepping on rotten sheathing. The flipper simply overlaid the damaged area with new tar paper and shingles without actually repairing anything.
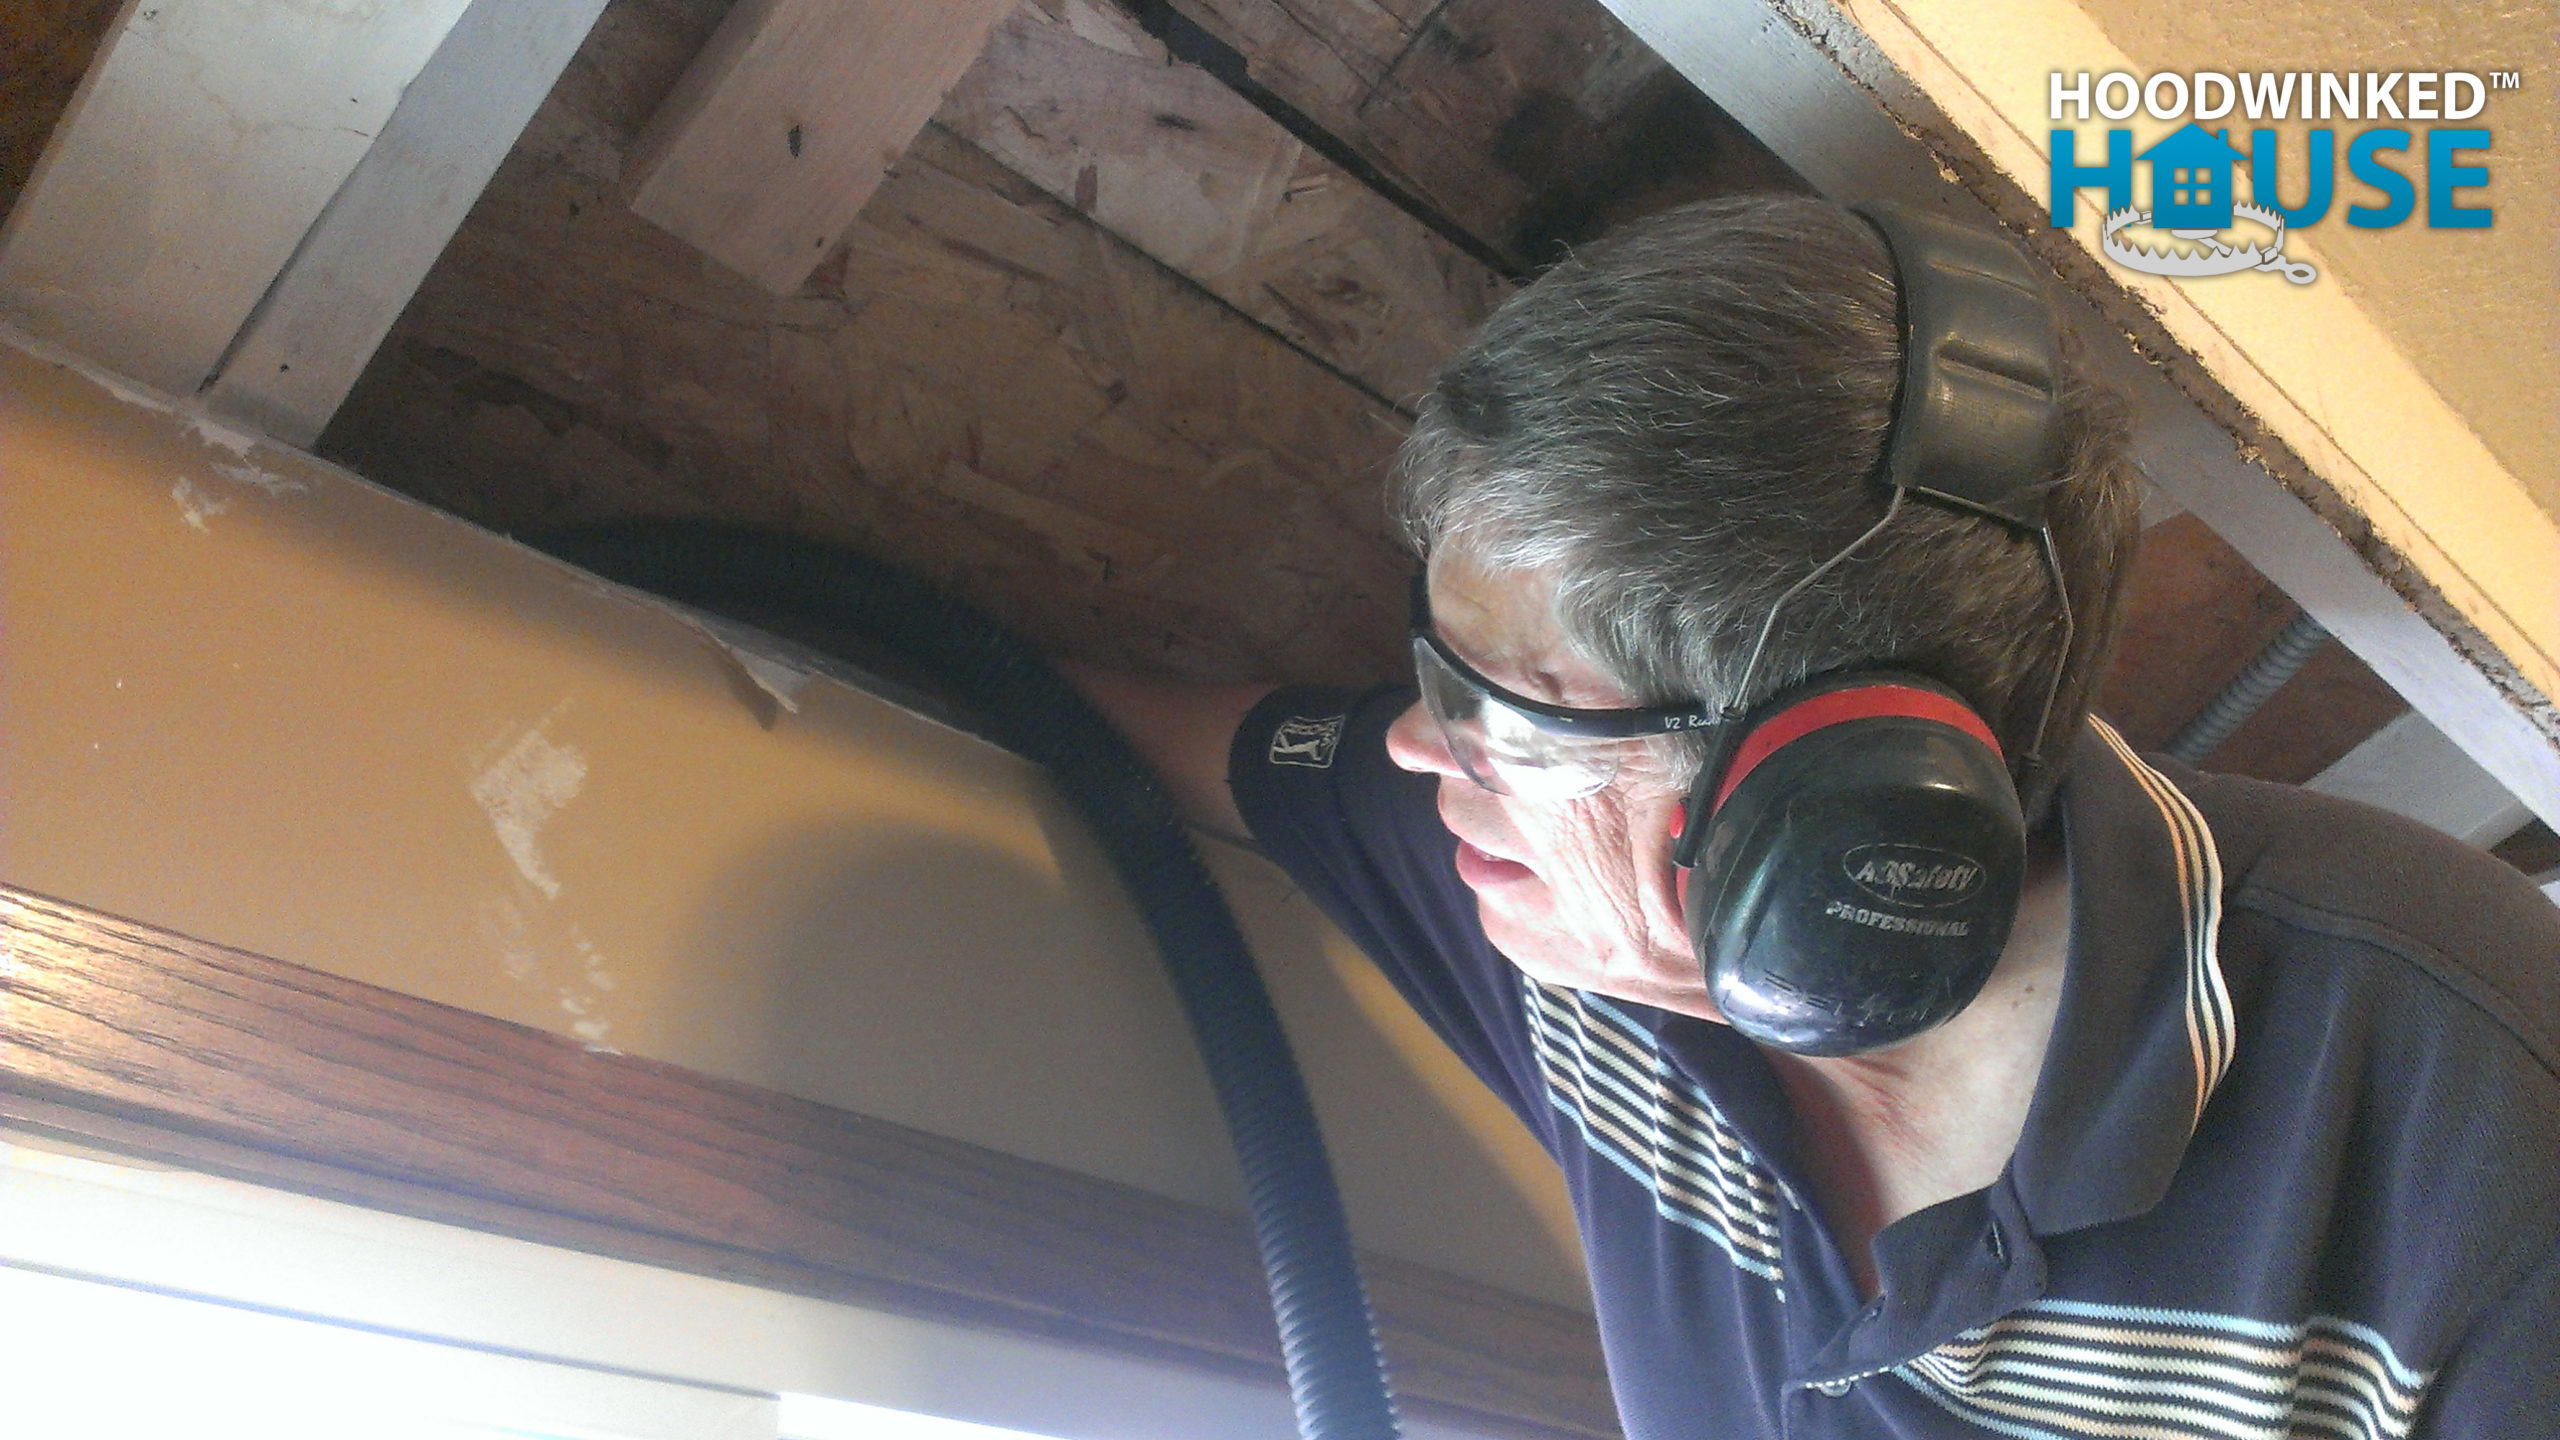
Their construction debris collected in the eves, piling more than 4″ deep, and blocking these vents.
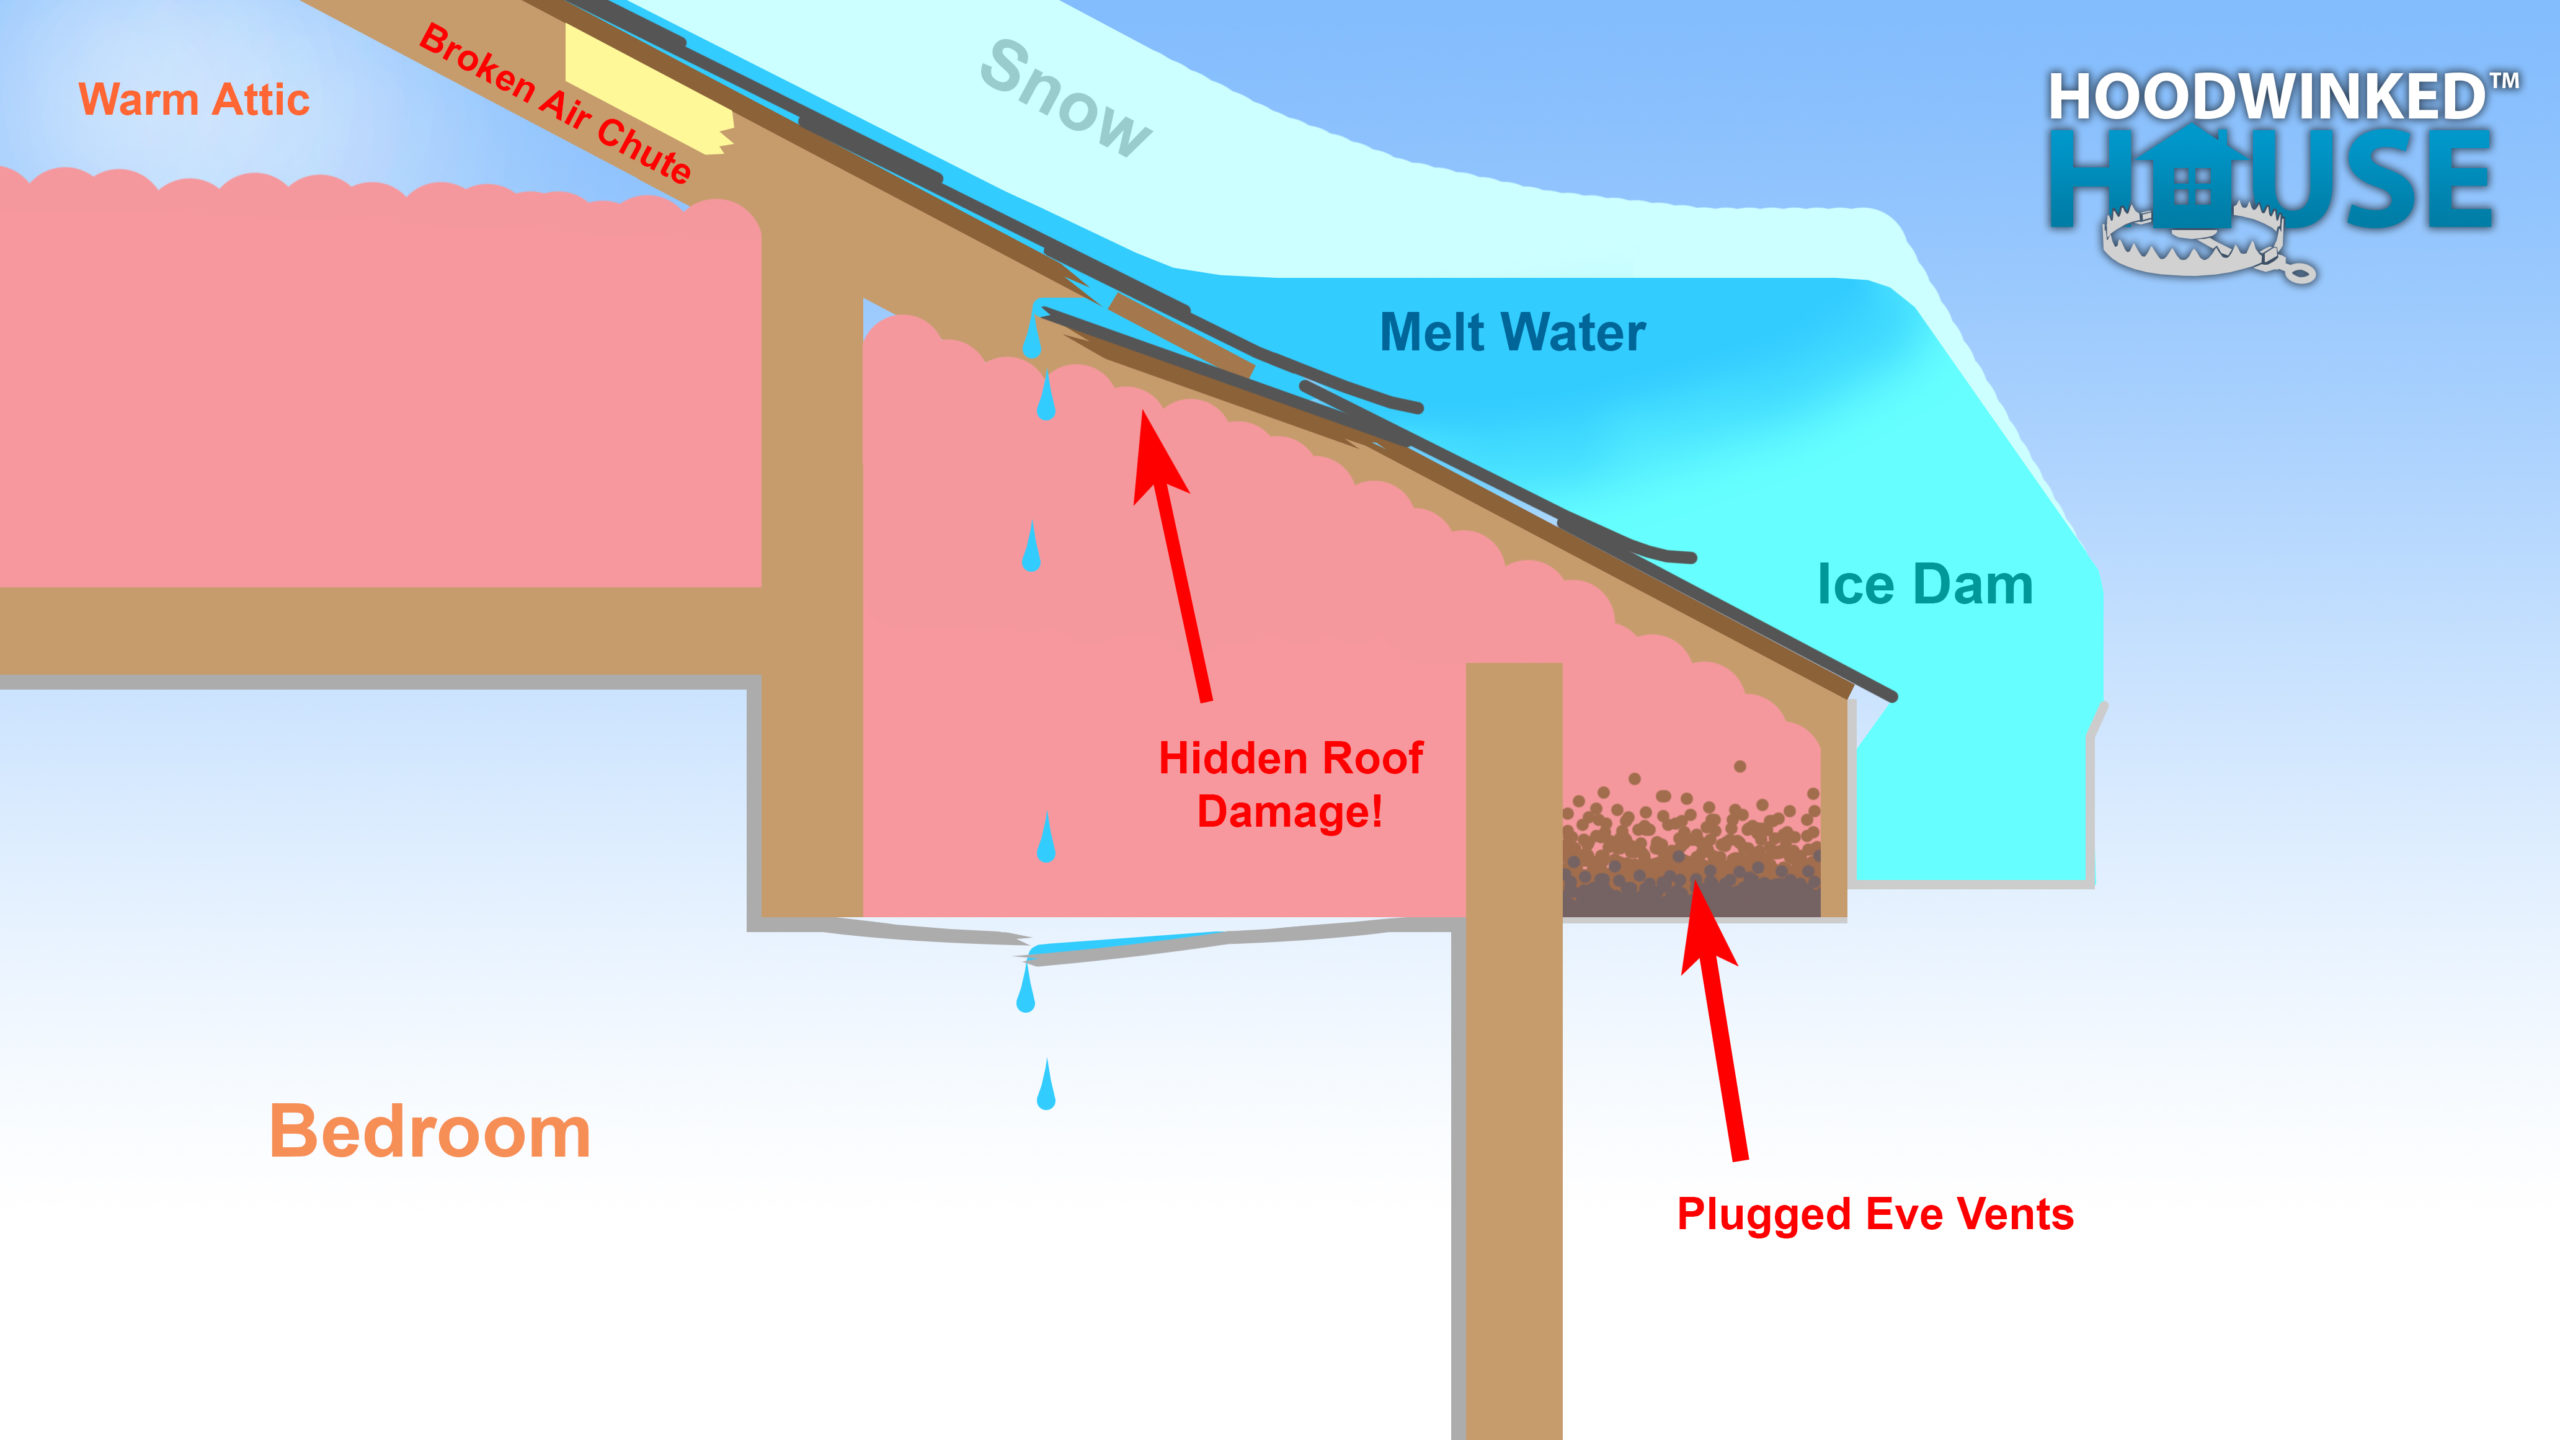

My dad vacuums more than 10 gallons of debris out the eves to restore airflow. Cold air must flow into the attic to keep the roof cold, preventing ice buildup.
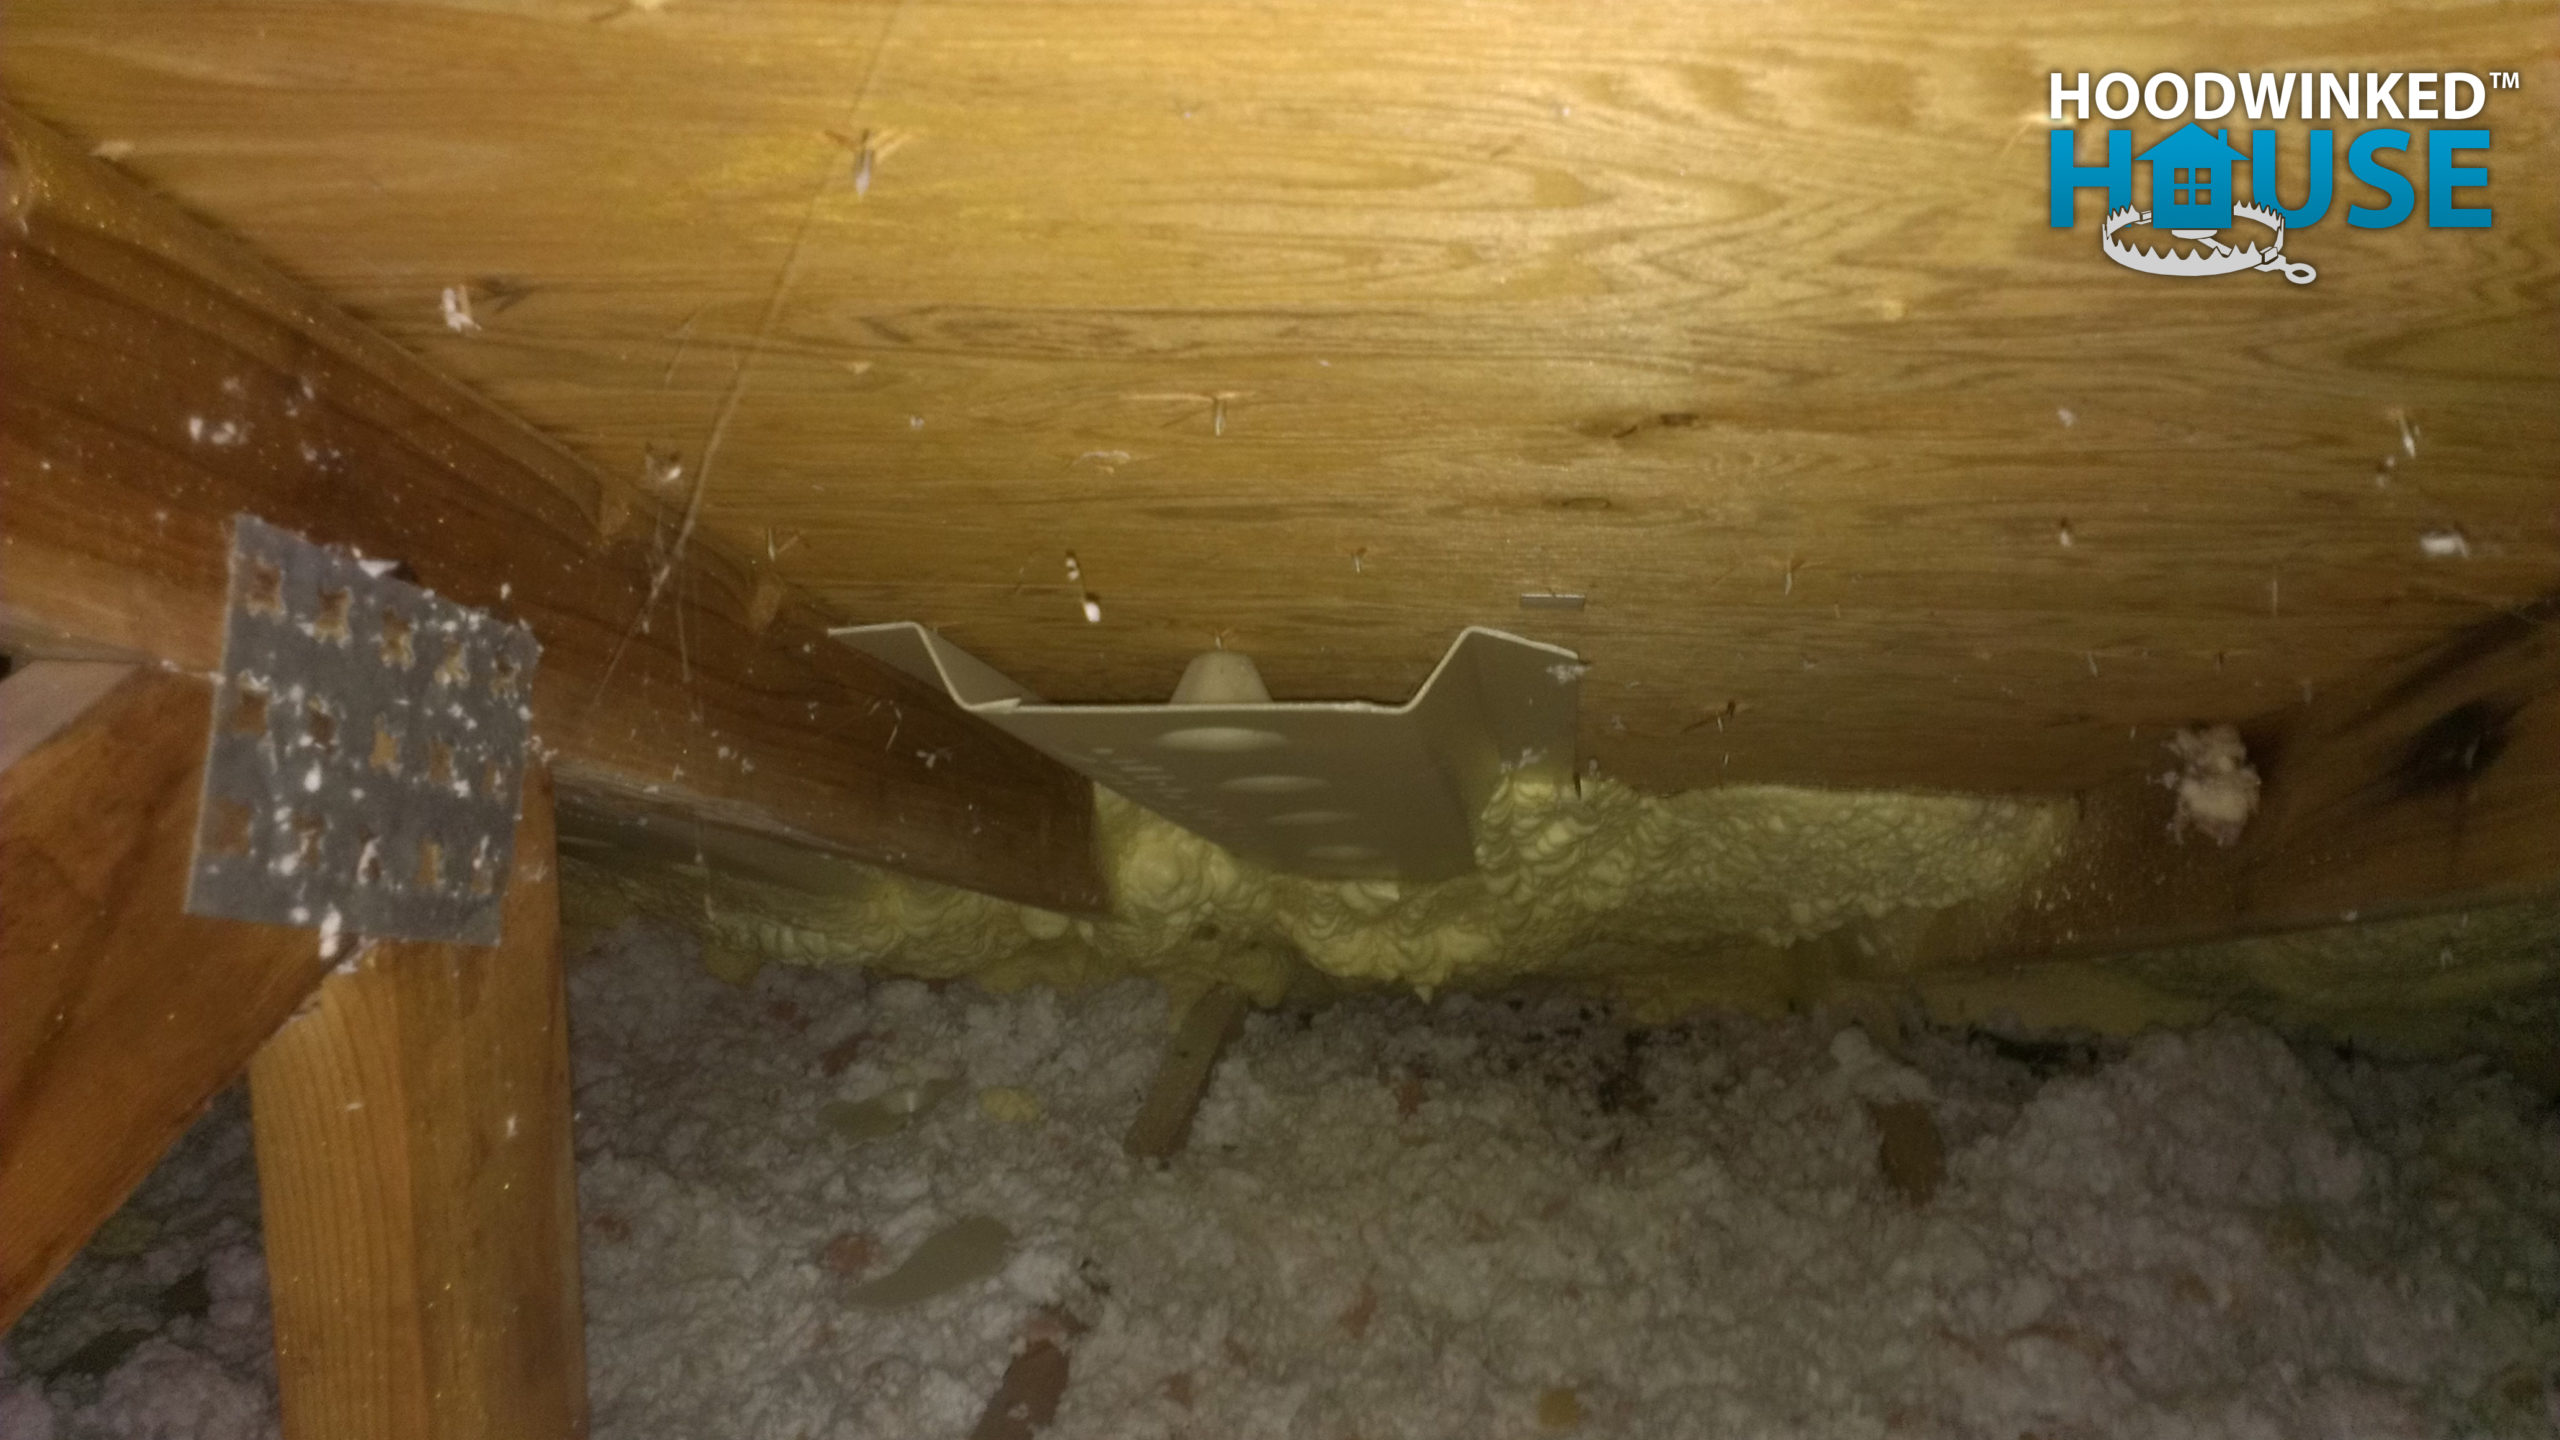
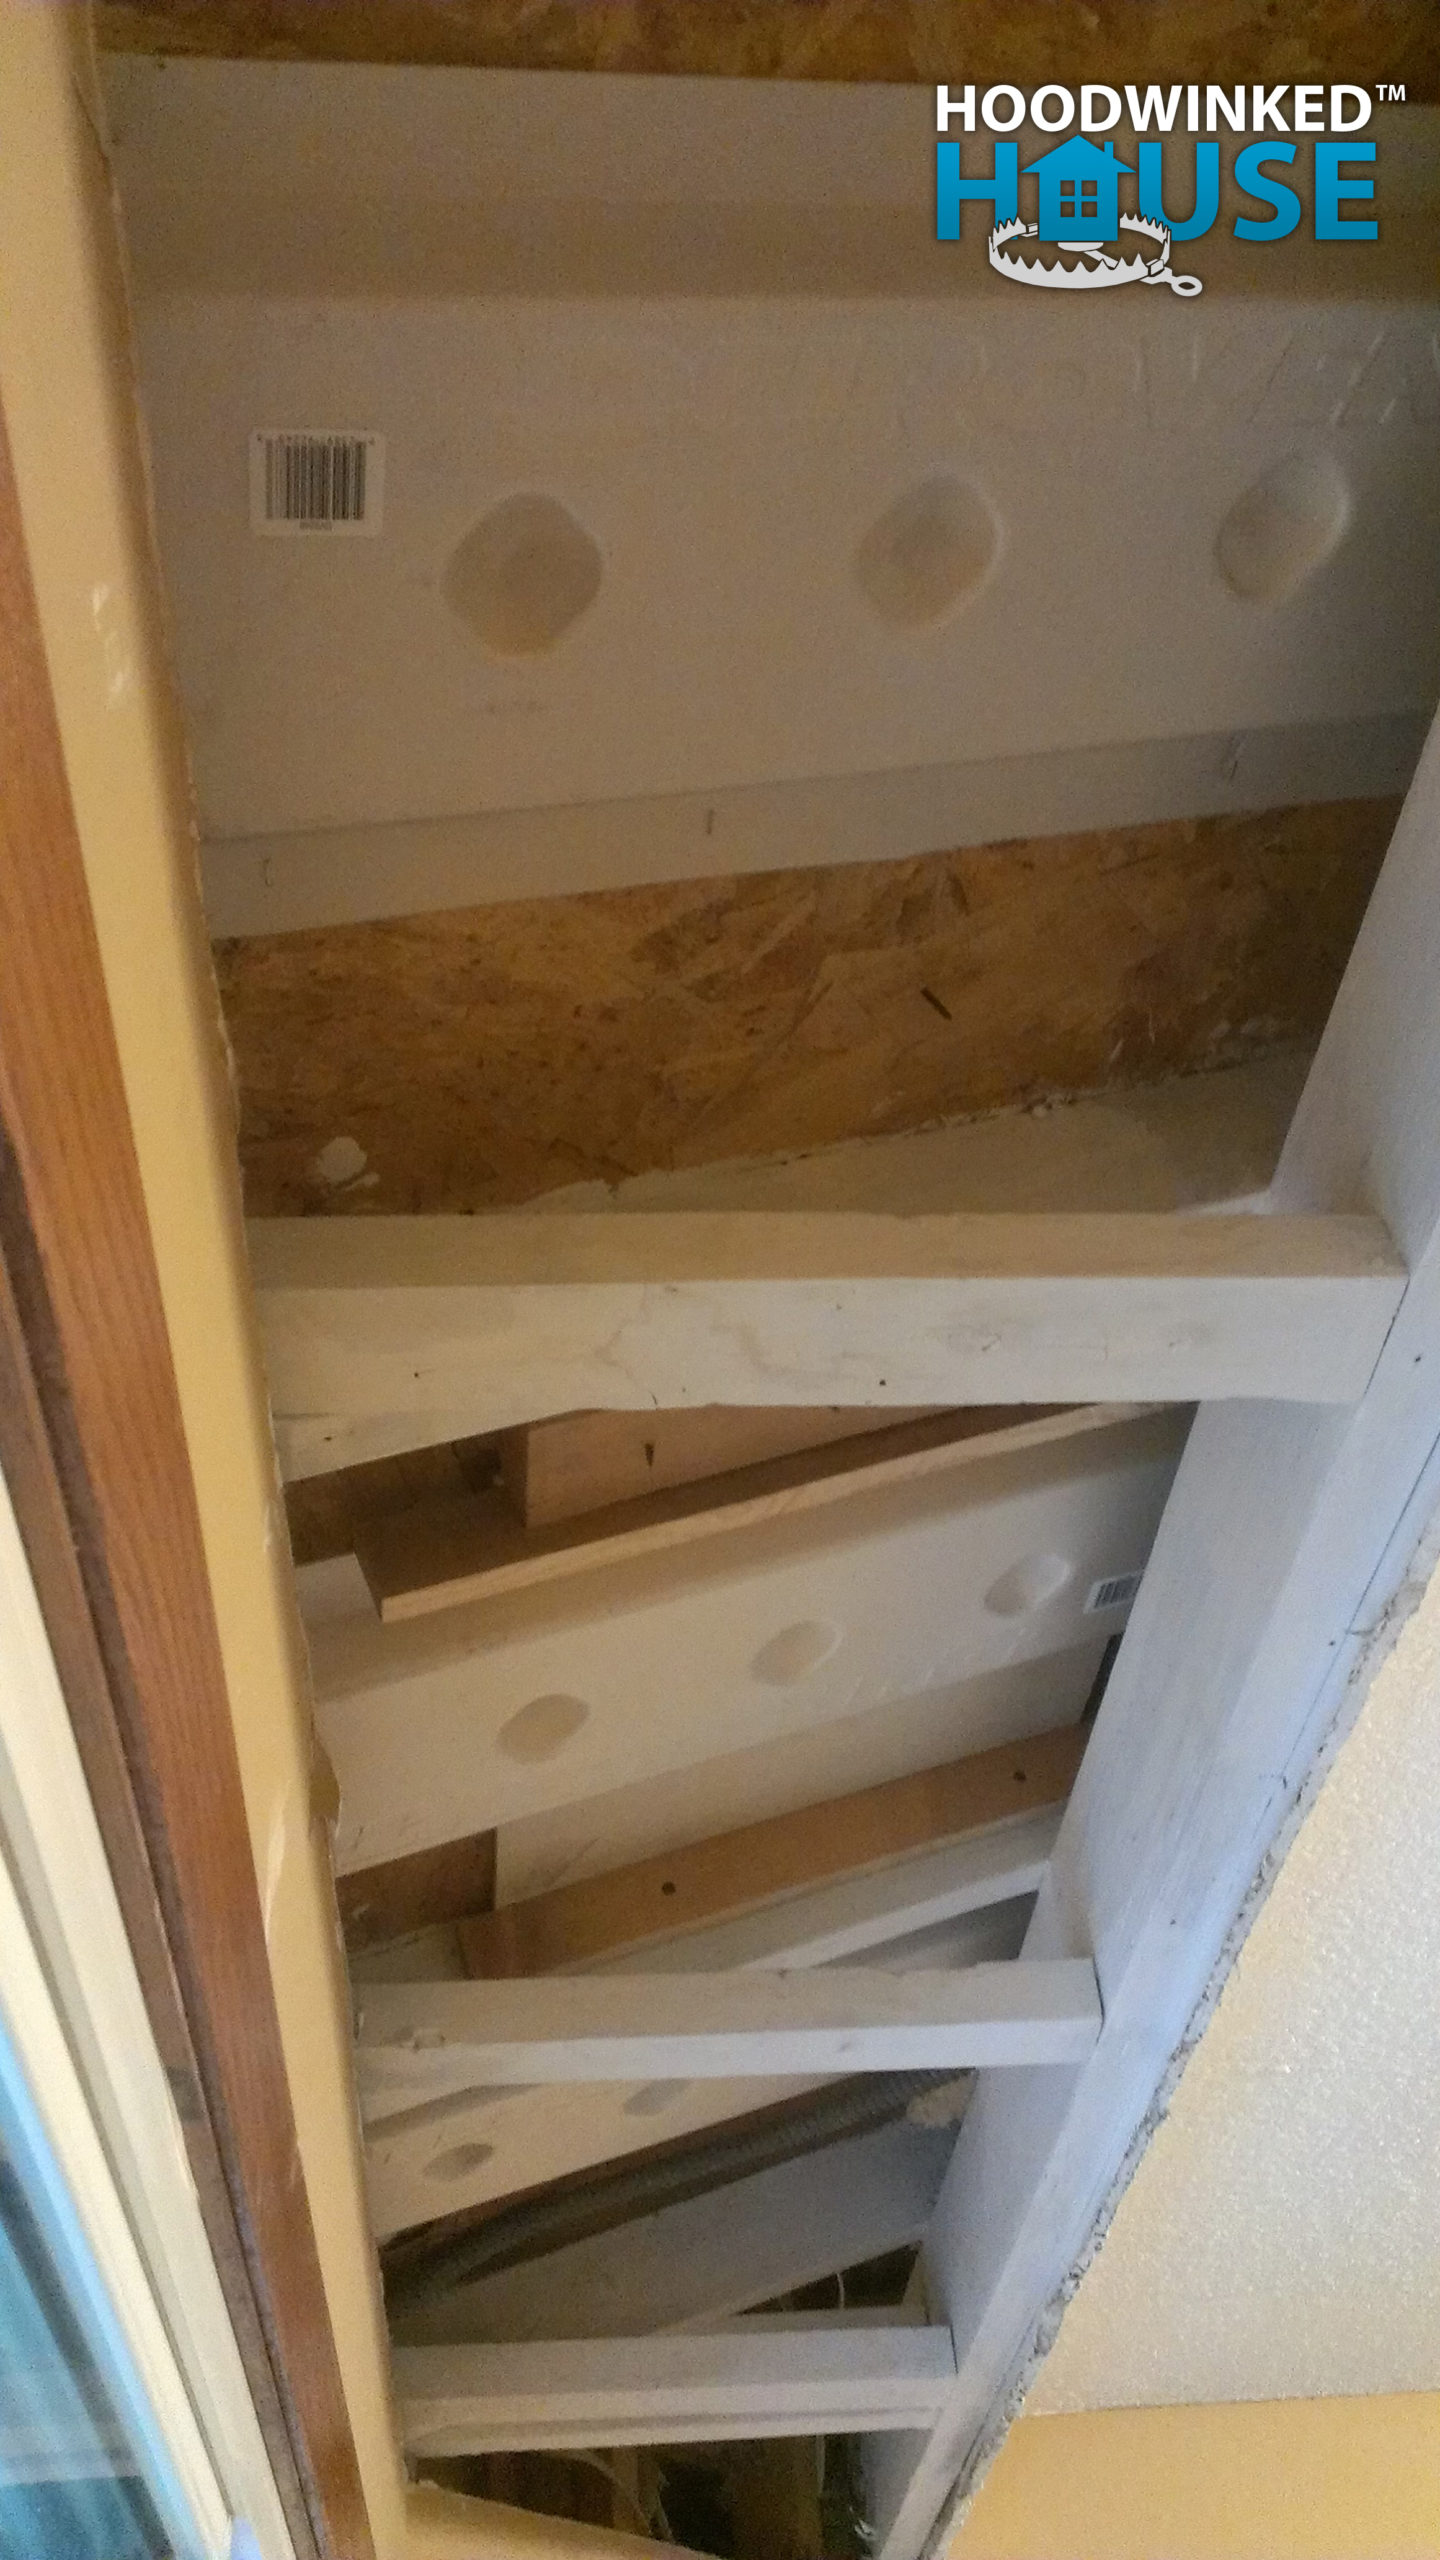
Attic ventilation chutes like this one used to extend all the way to the eves, but they were damaged during the roof collapse, and never replaced by the flipper.
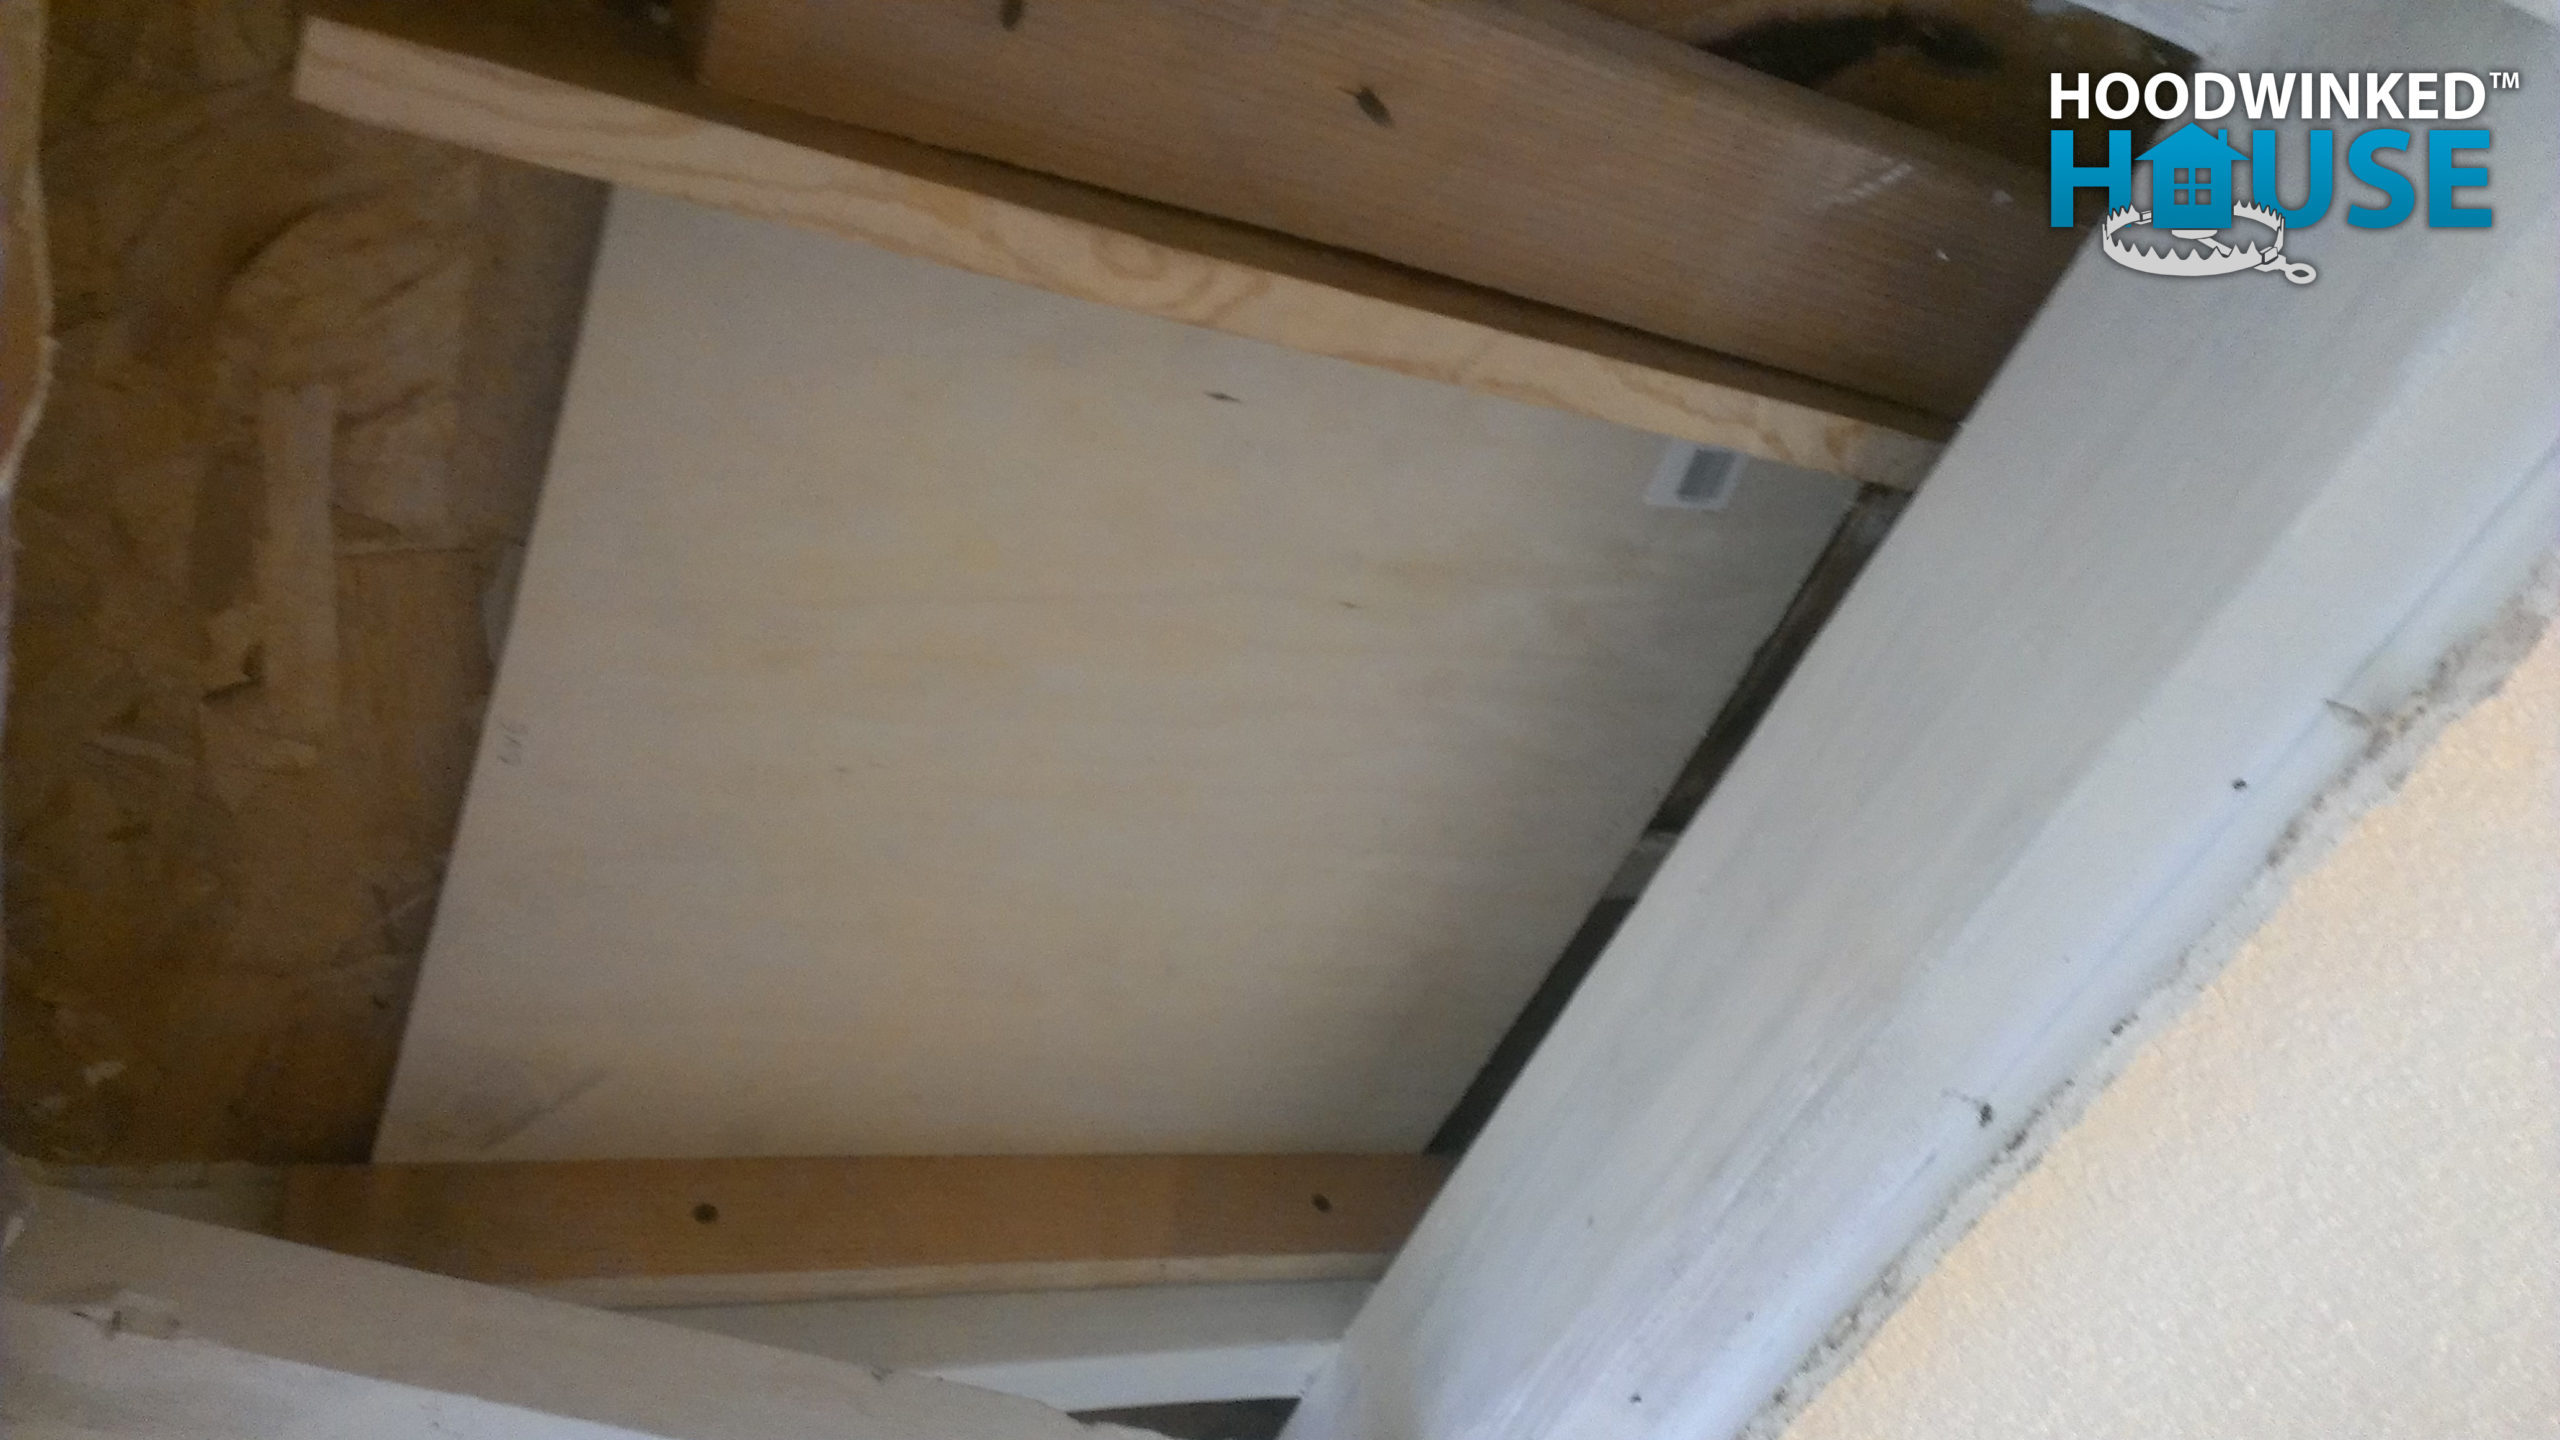
I reinforce and patch the underside of the sheathing hole with some extra framing and plywood. Later, we replace the damaged attic ventilation chutes with new ones. I also clean and sand the dirty, mildewey trusses. Then, I paint them with a generous coat of mold-killing primer.
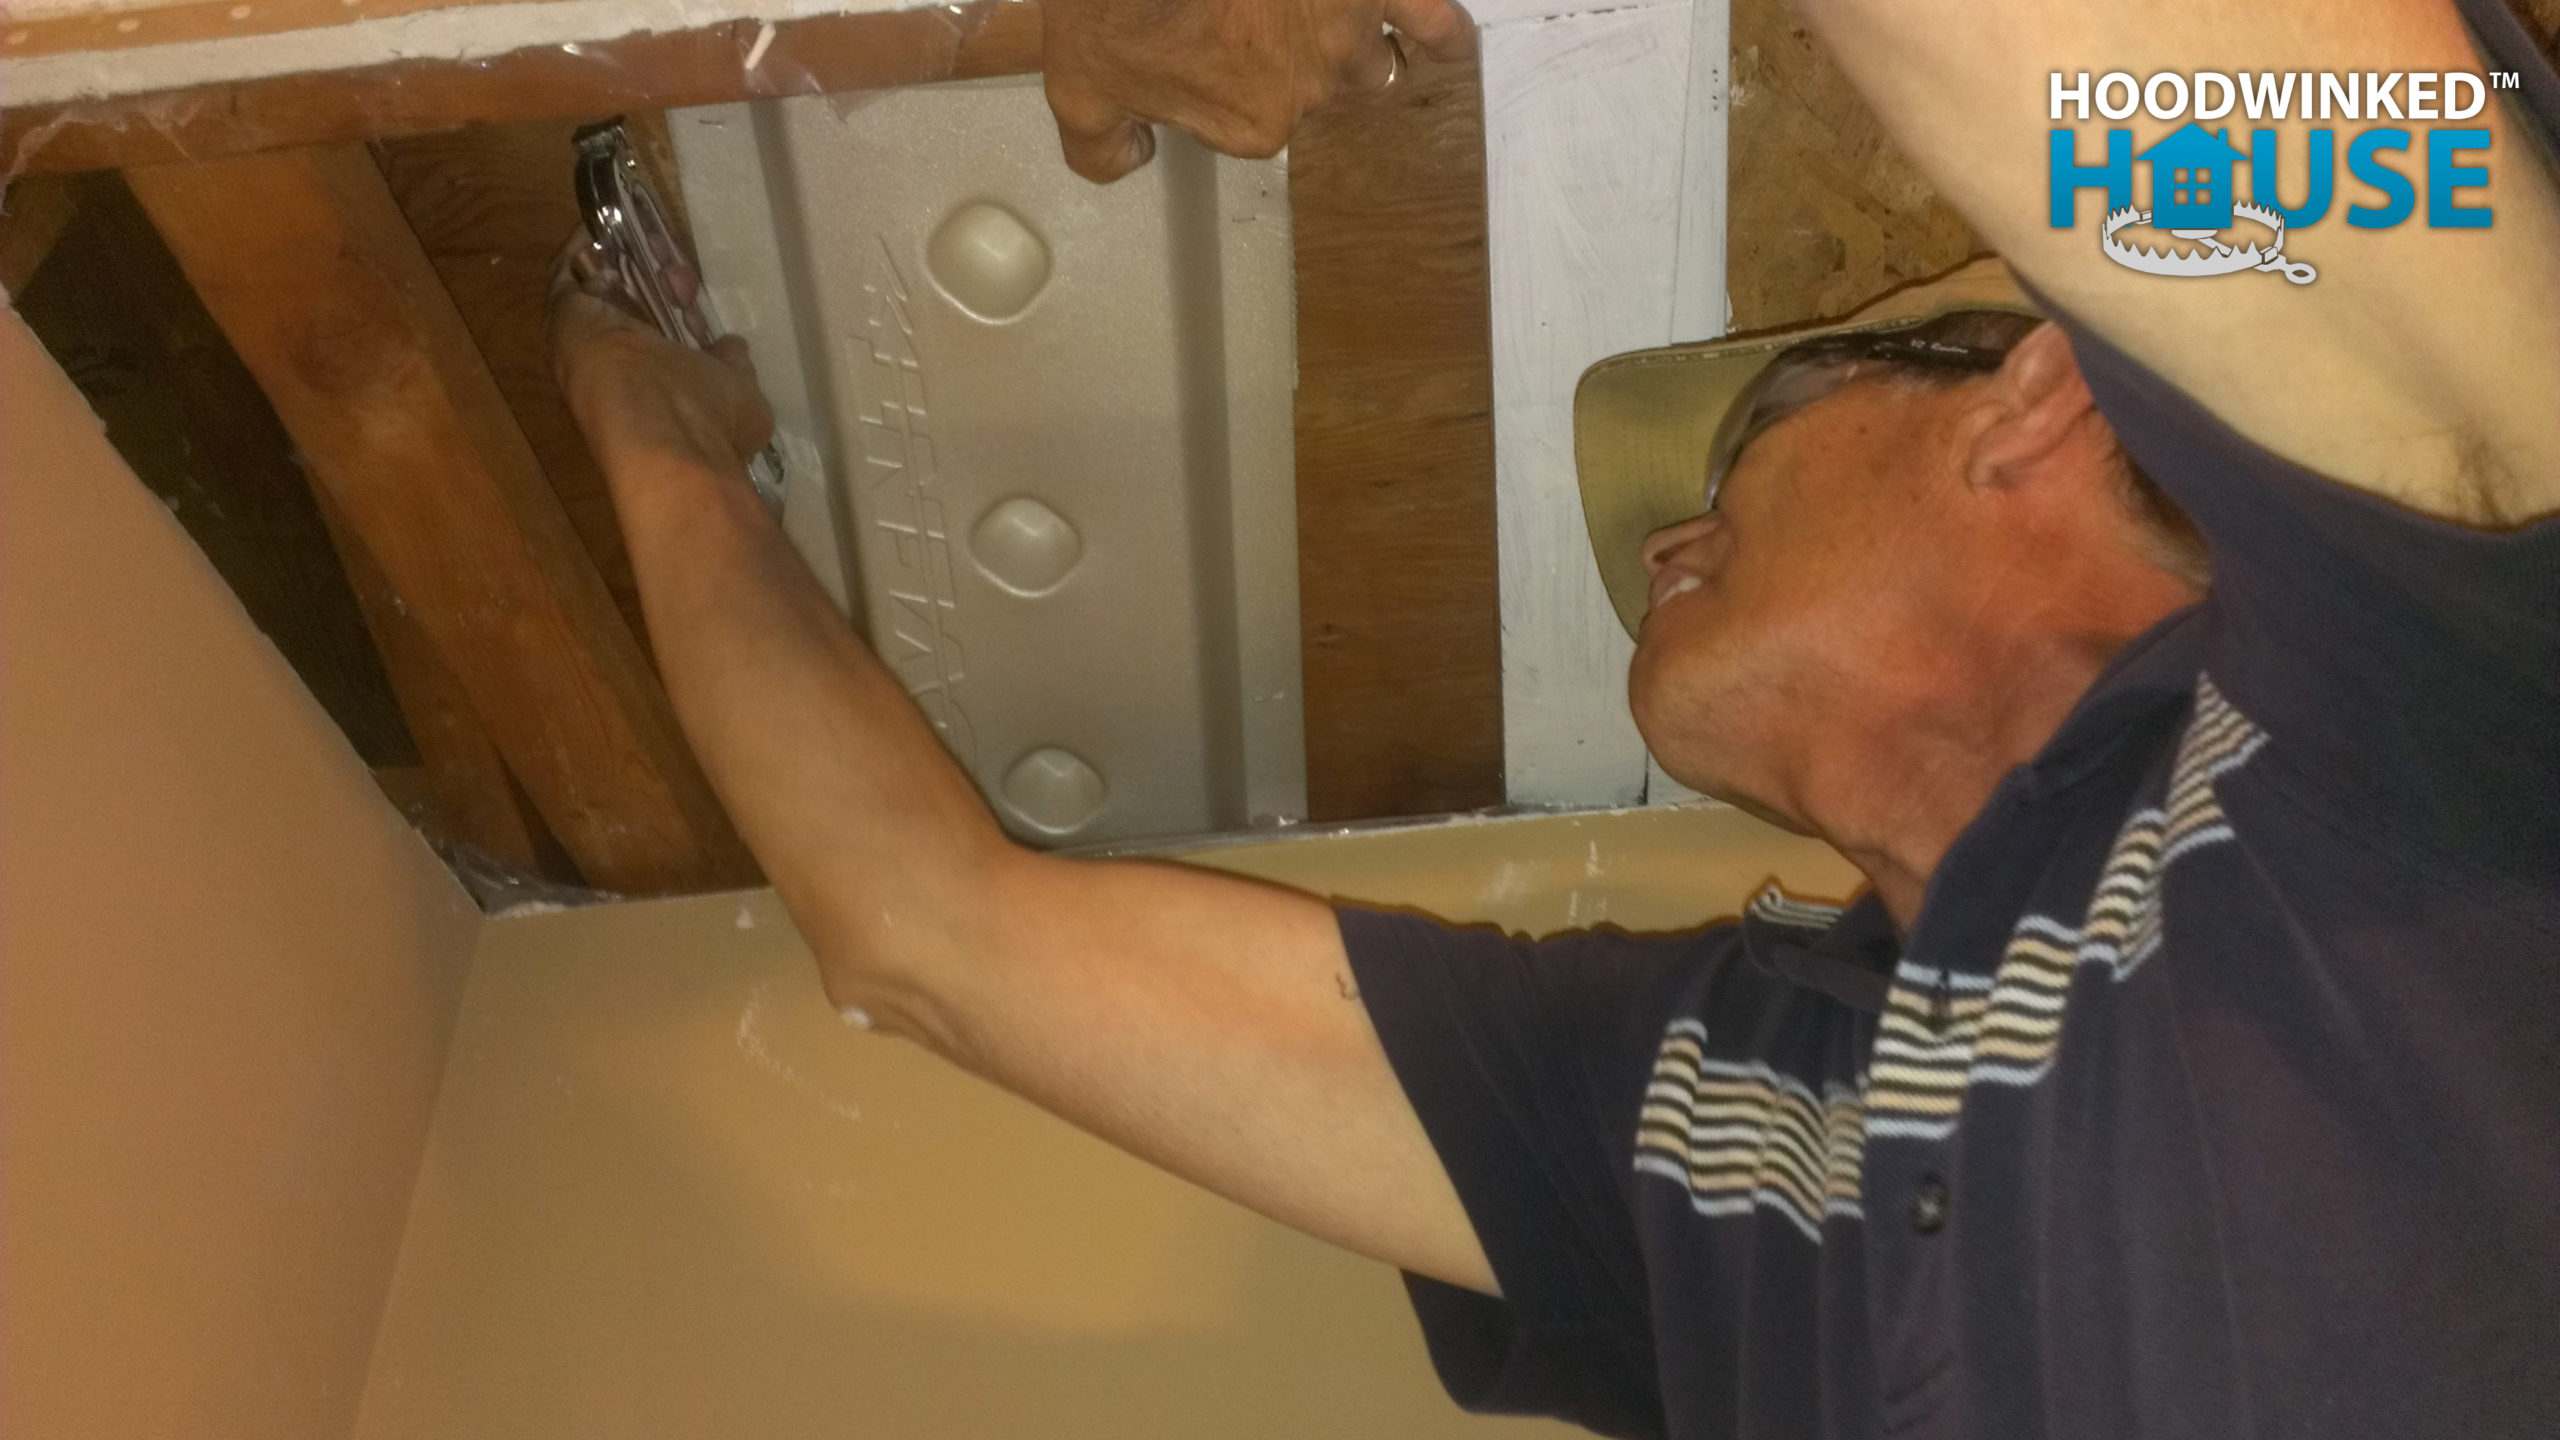
The vents are too small and sparse, not letting enough cold air into the attic. I cut some additional vent holes into the eves. Then, I install a long grille over the new vent holes.
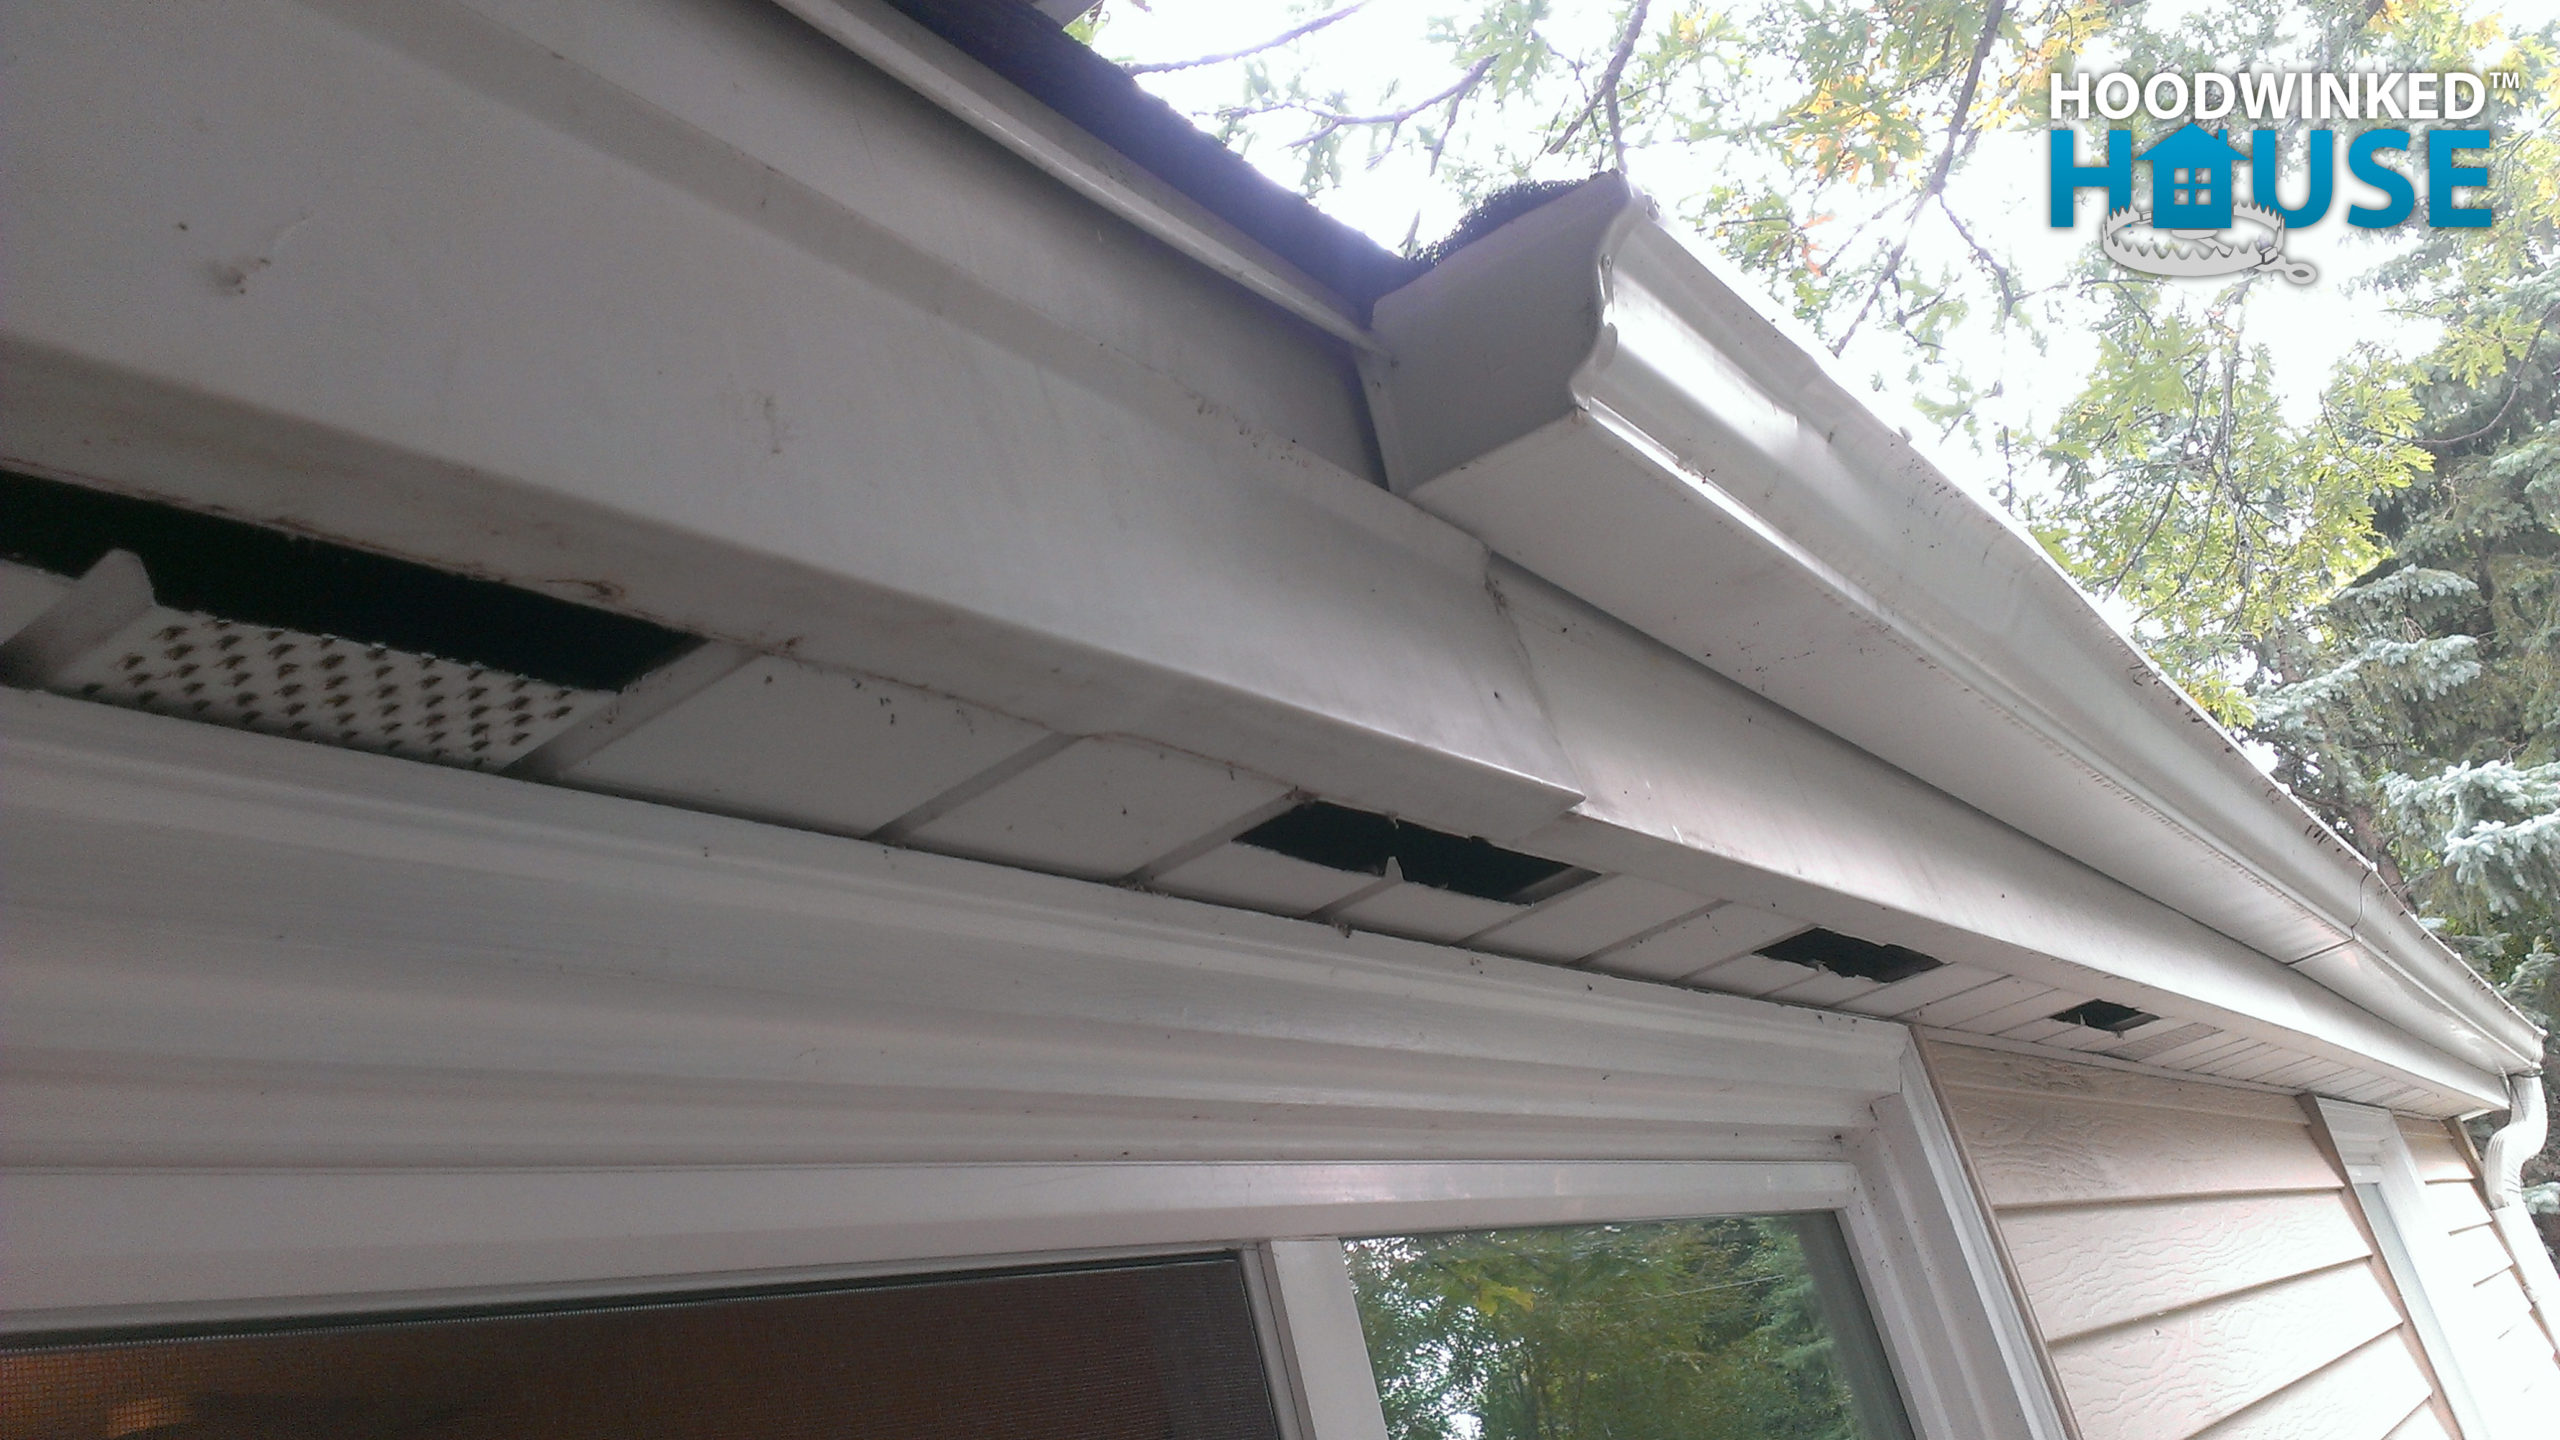
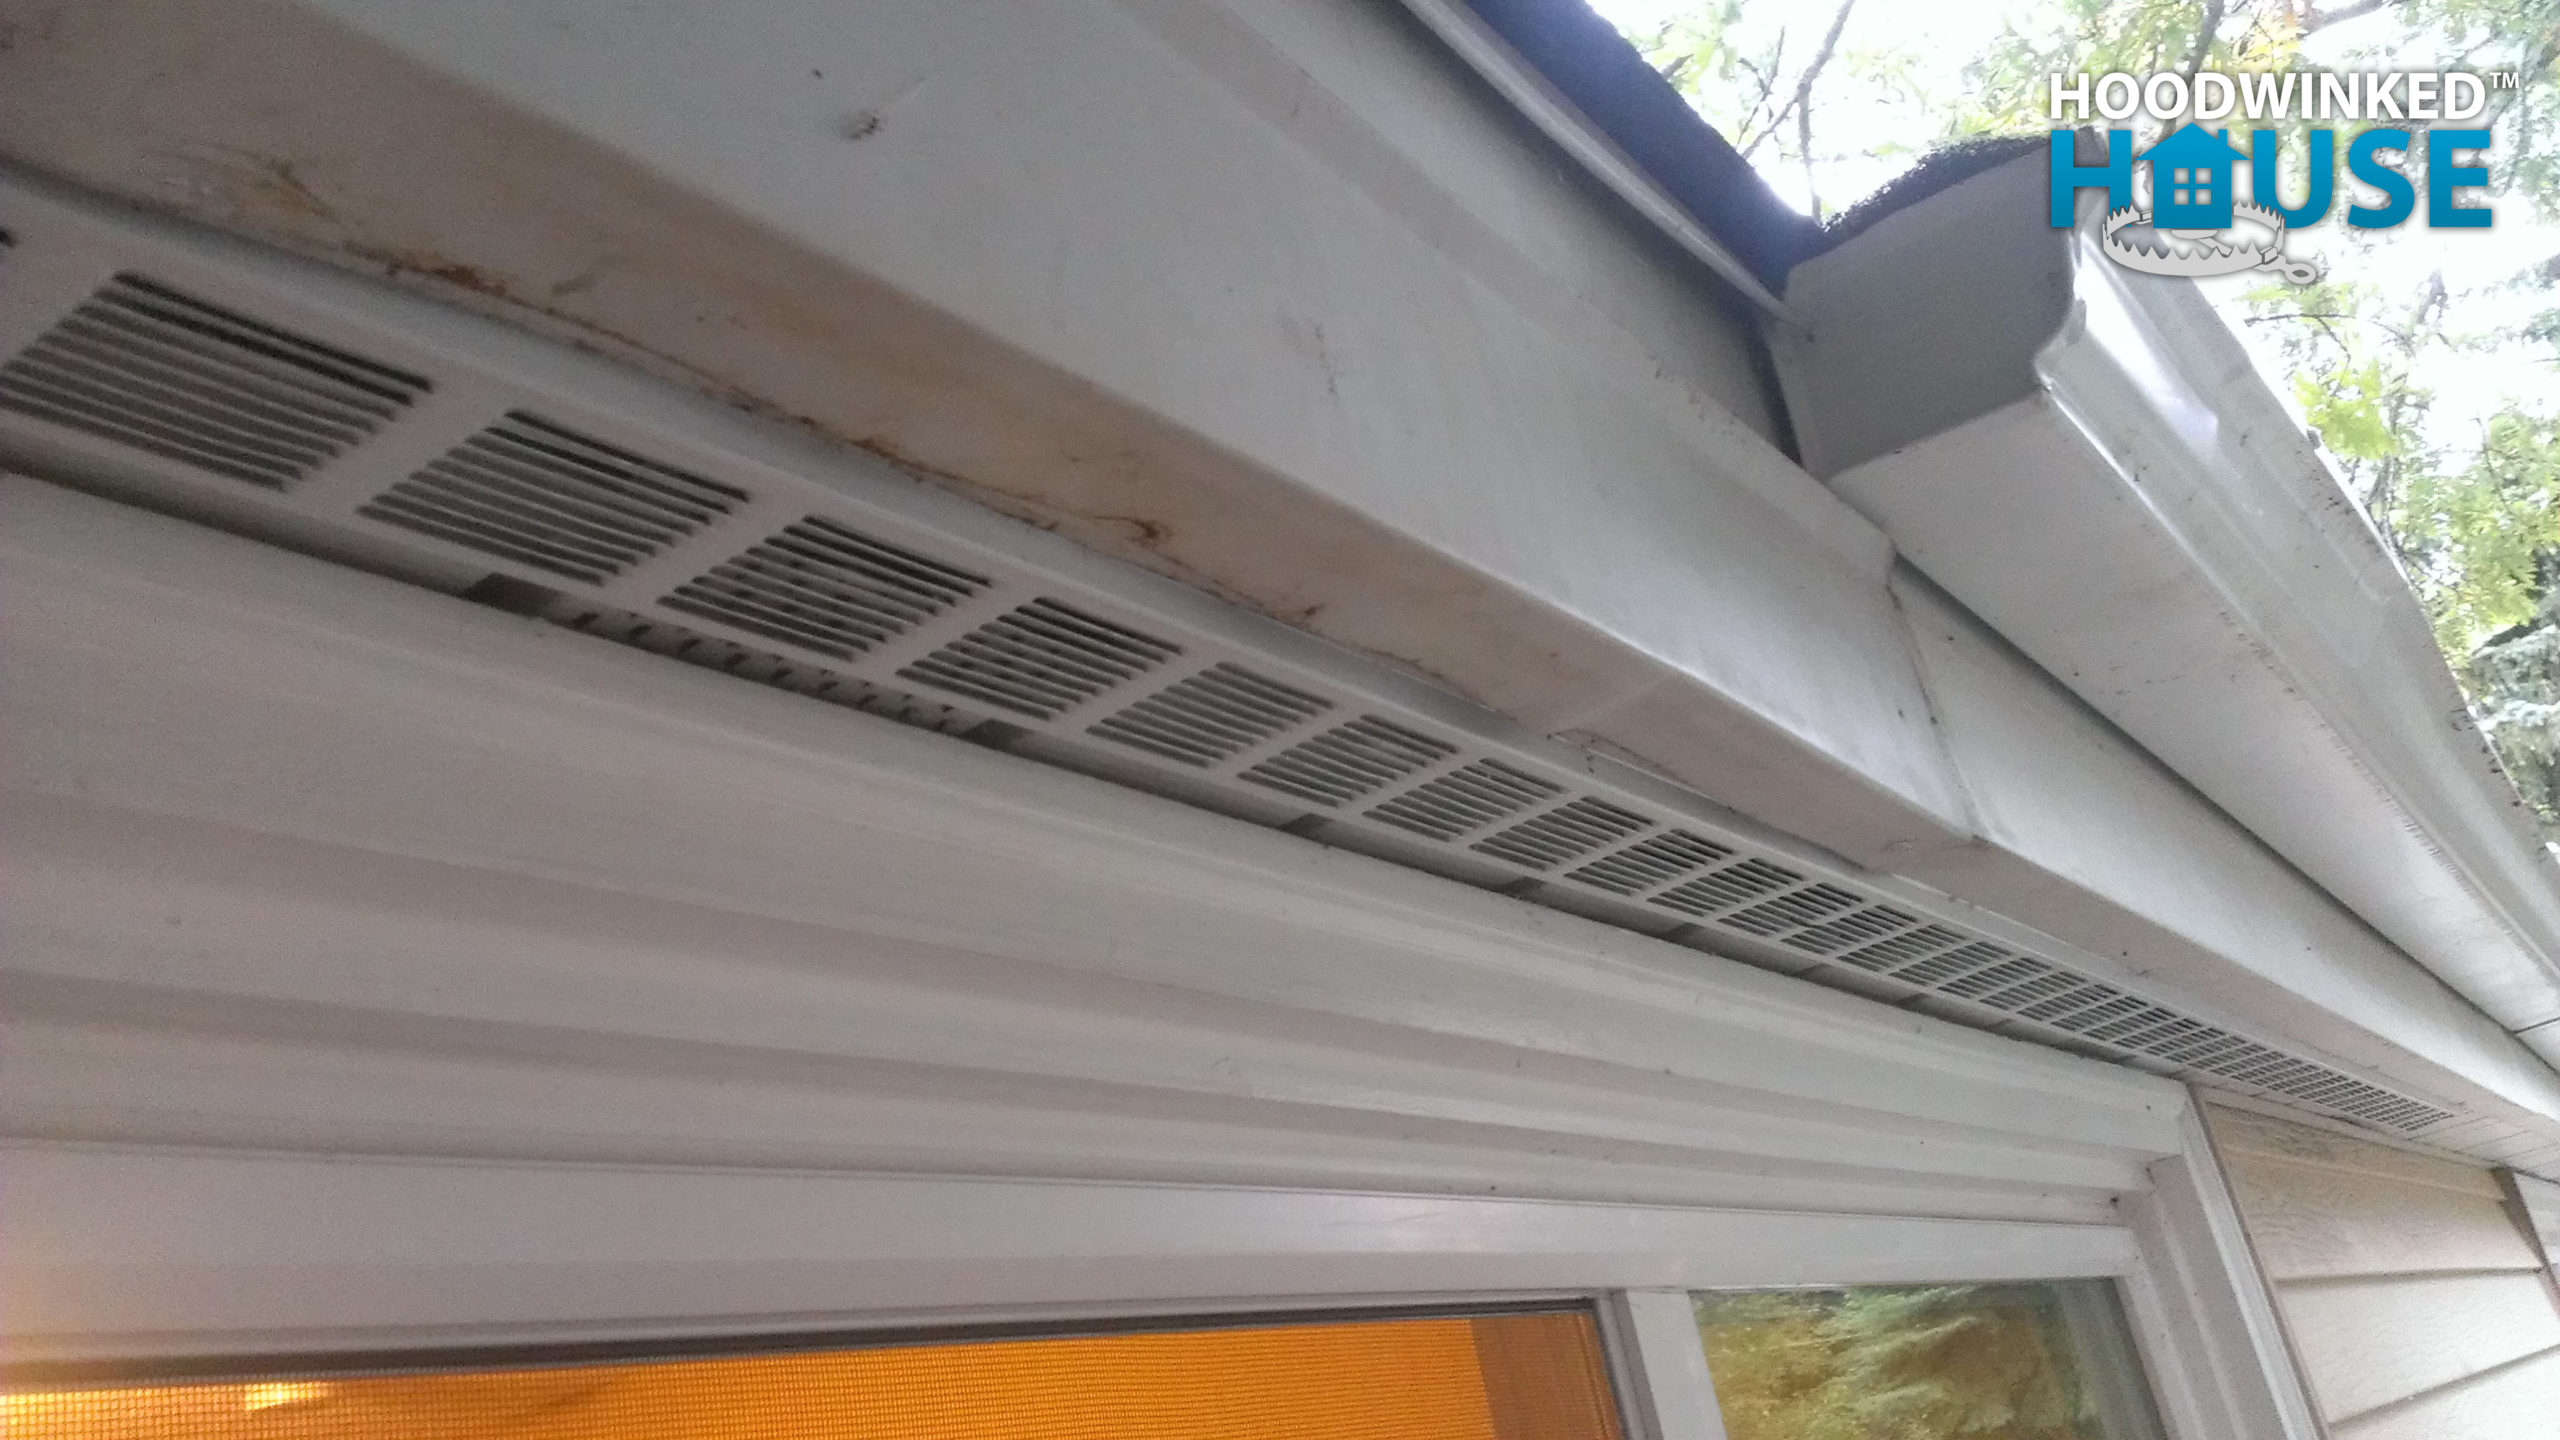
These repairs restore cold airflow to the attic, keeping the roof cold.

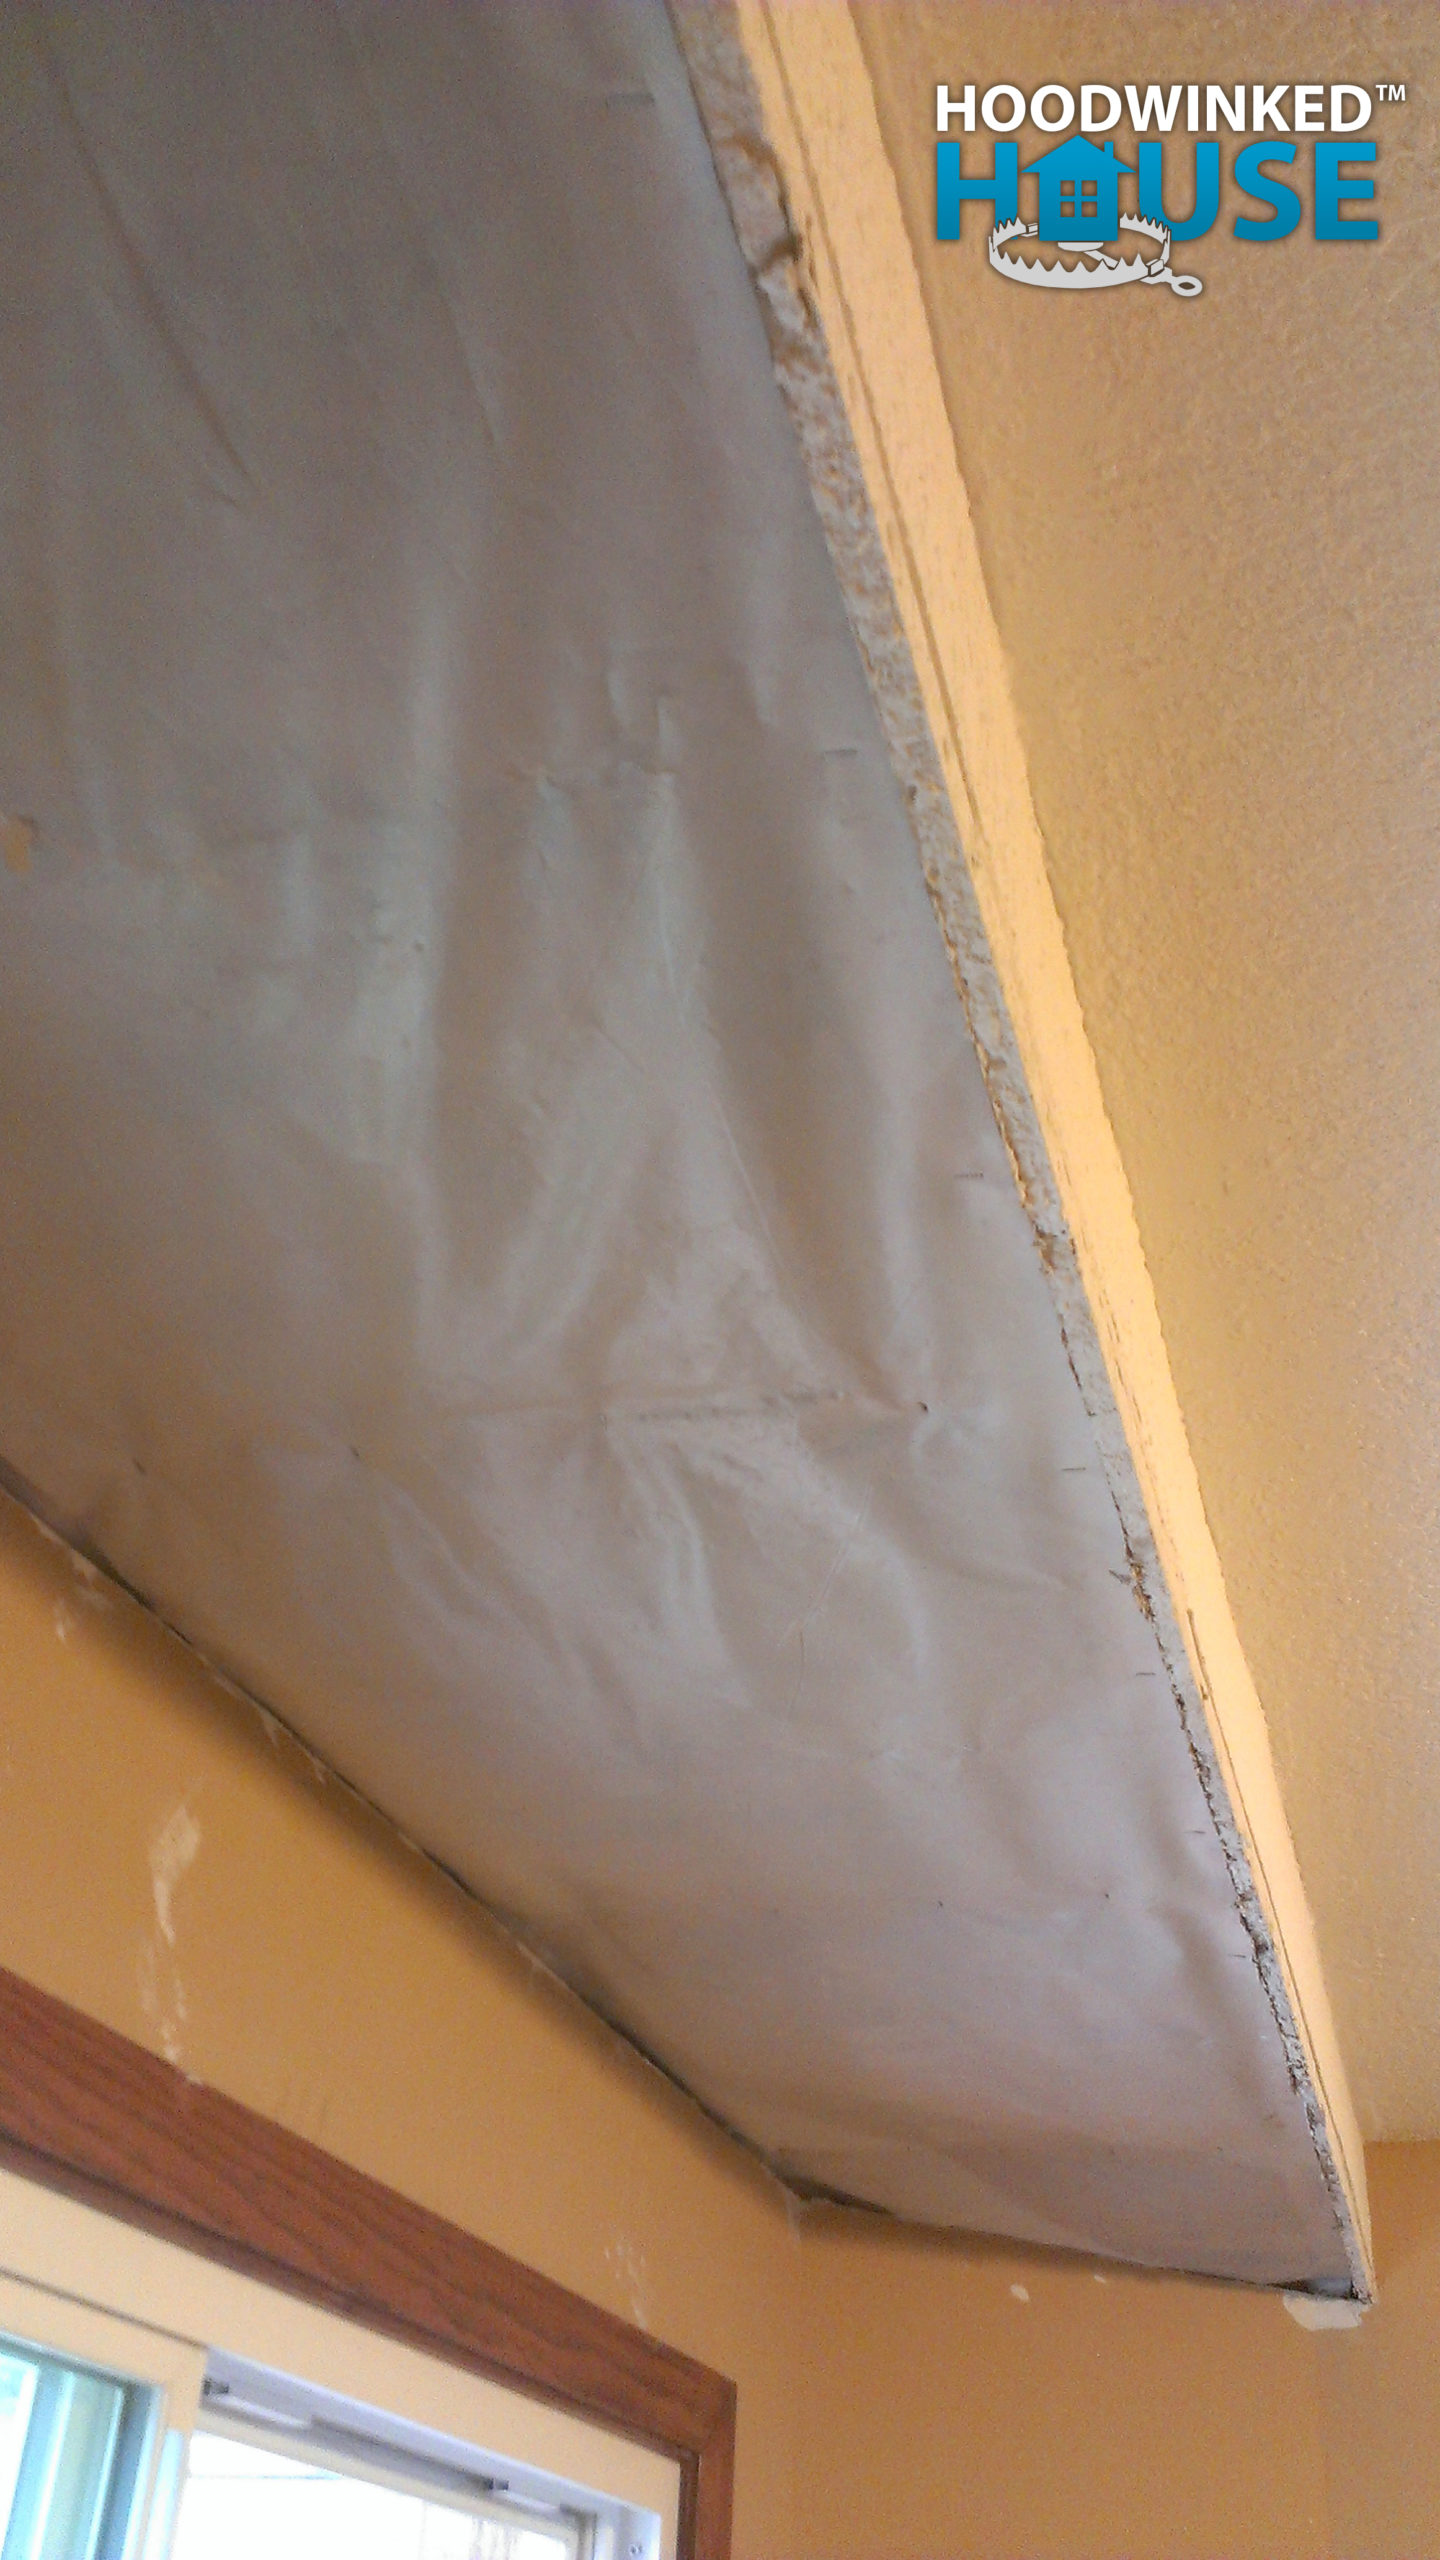
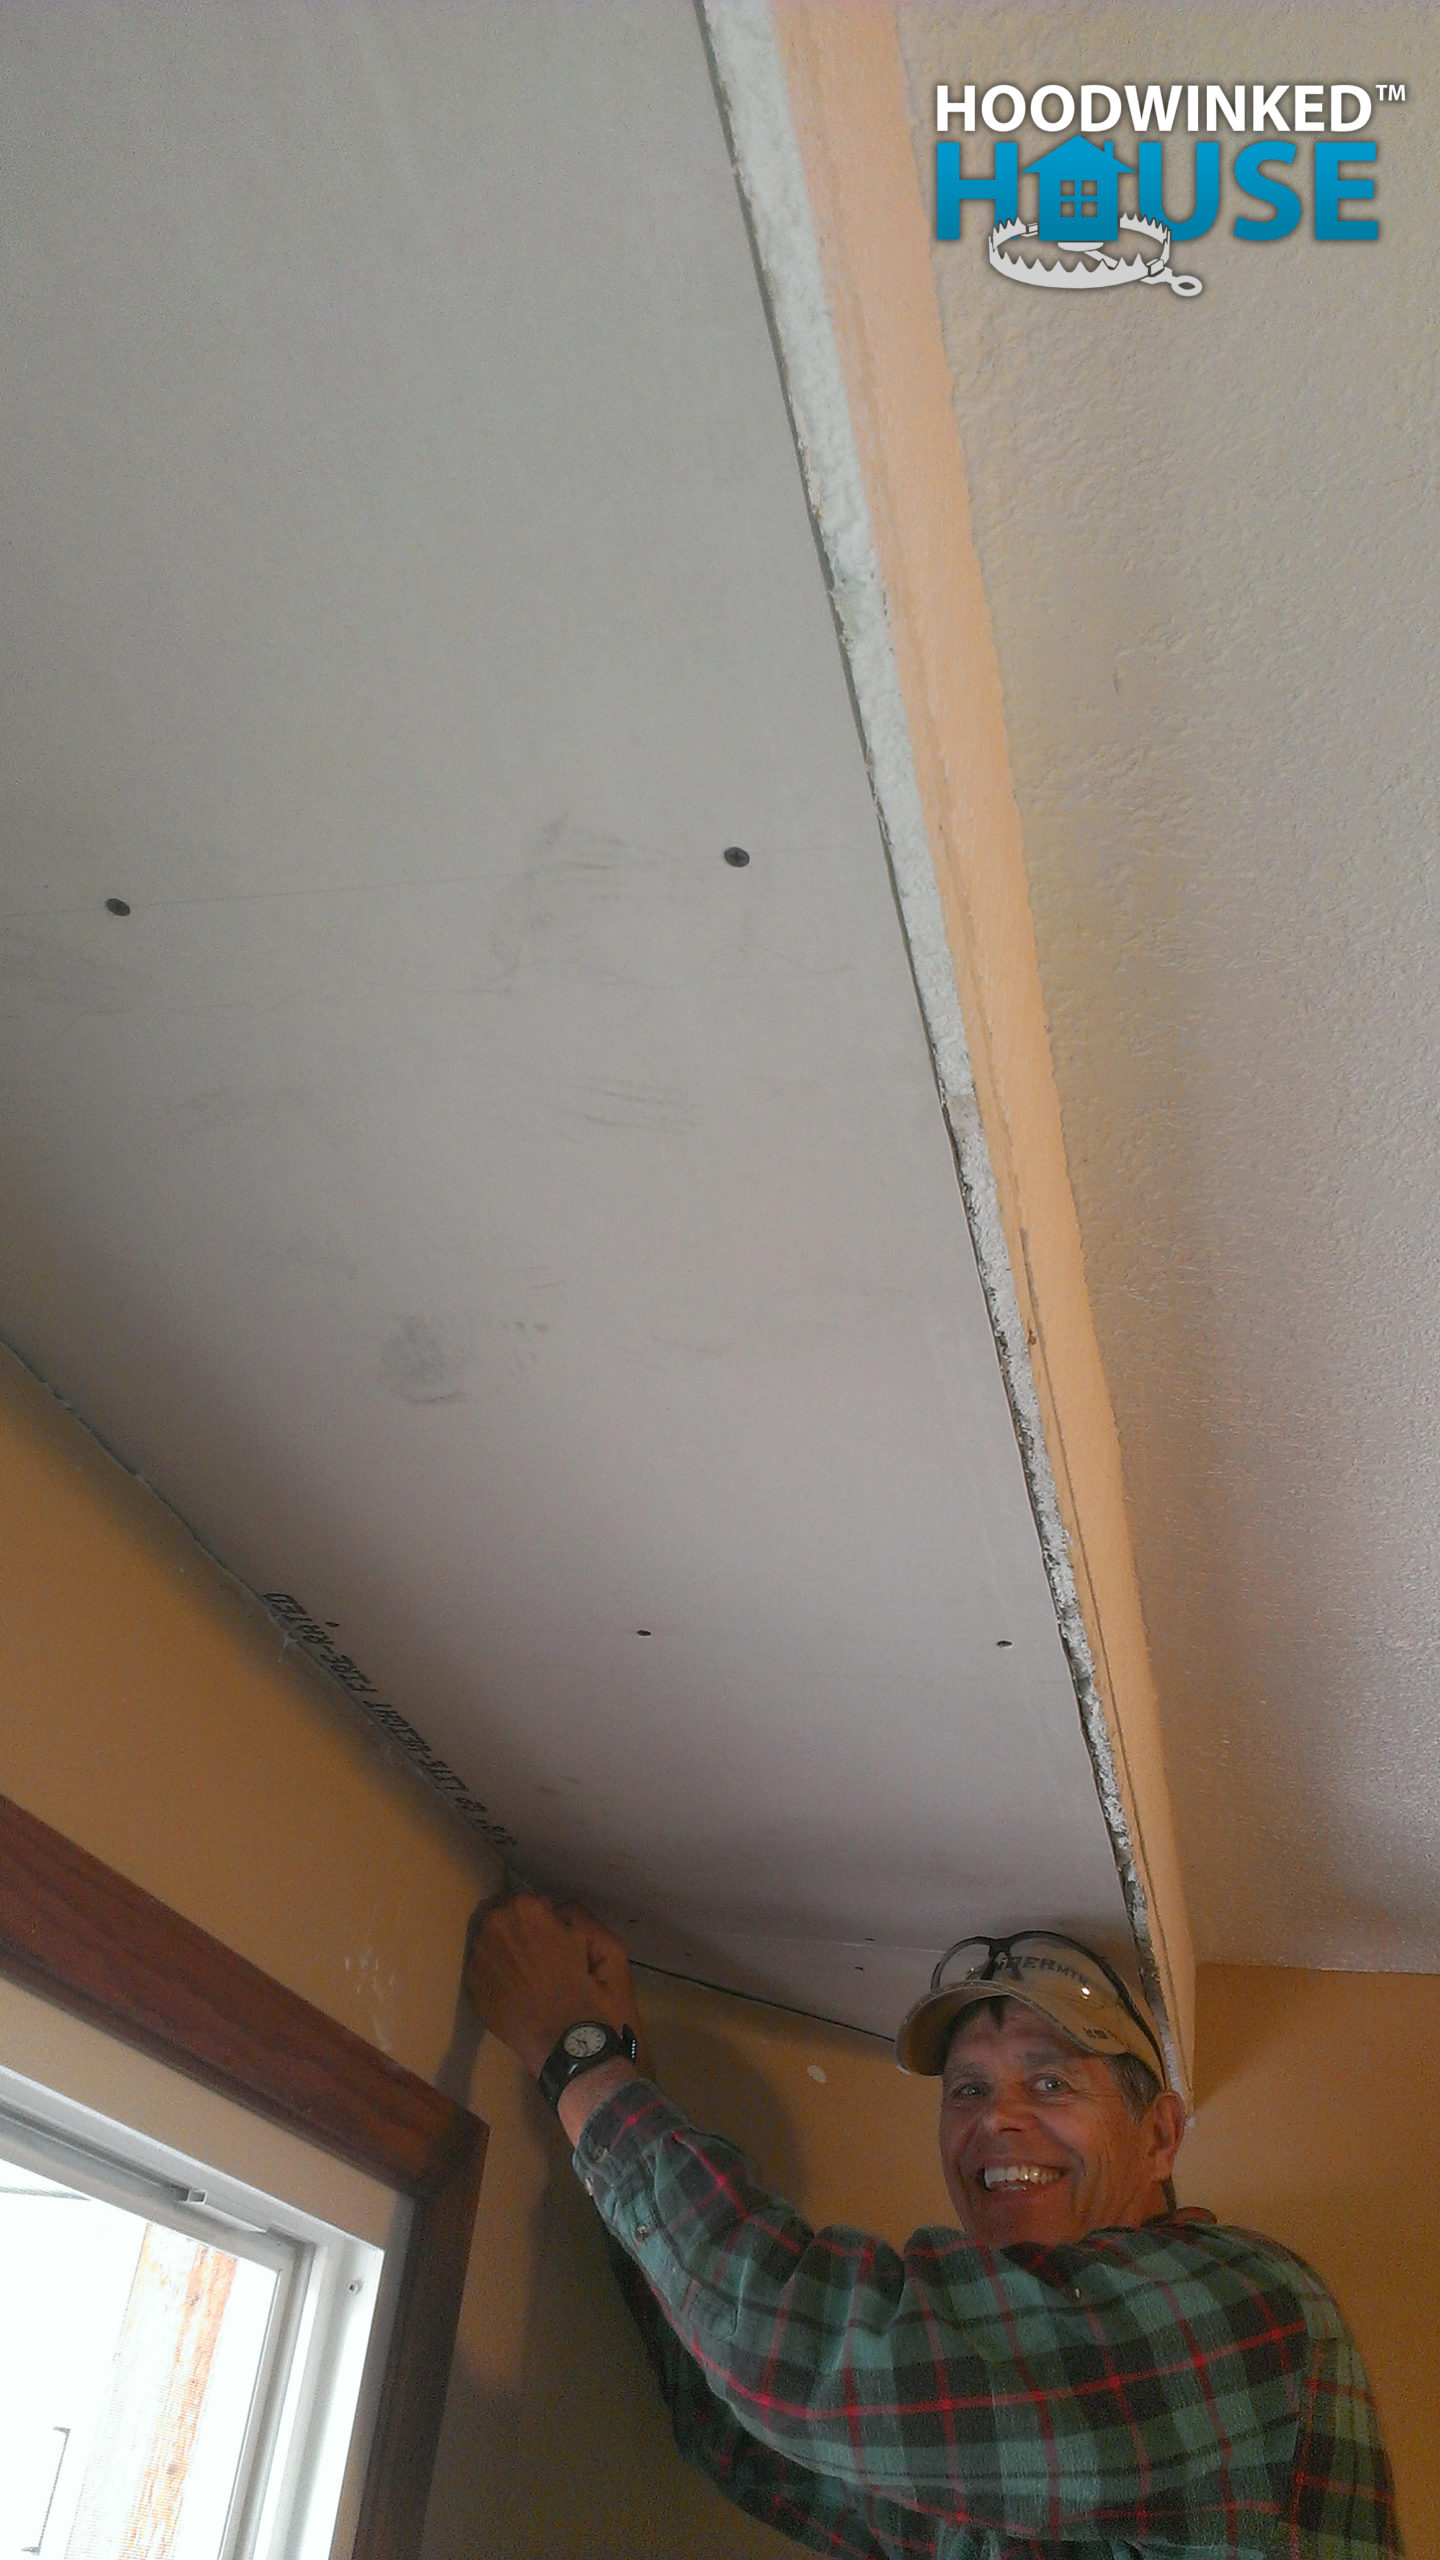
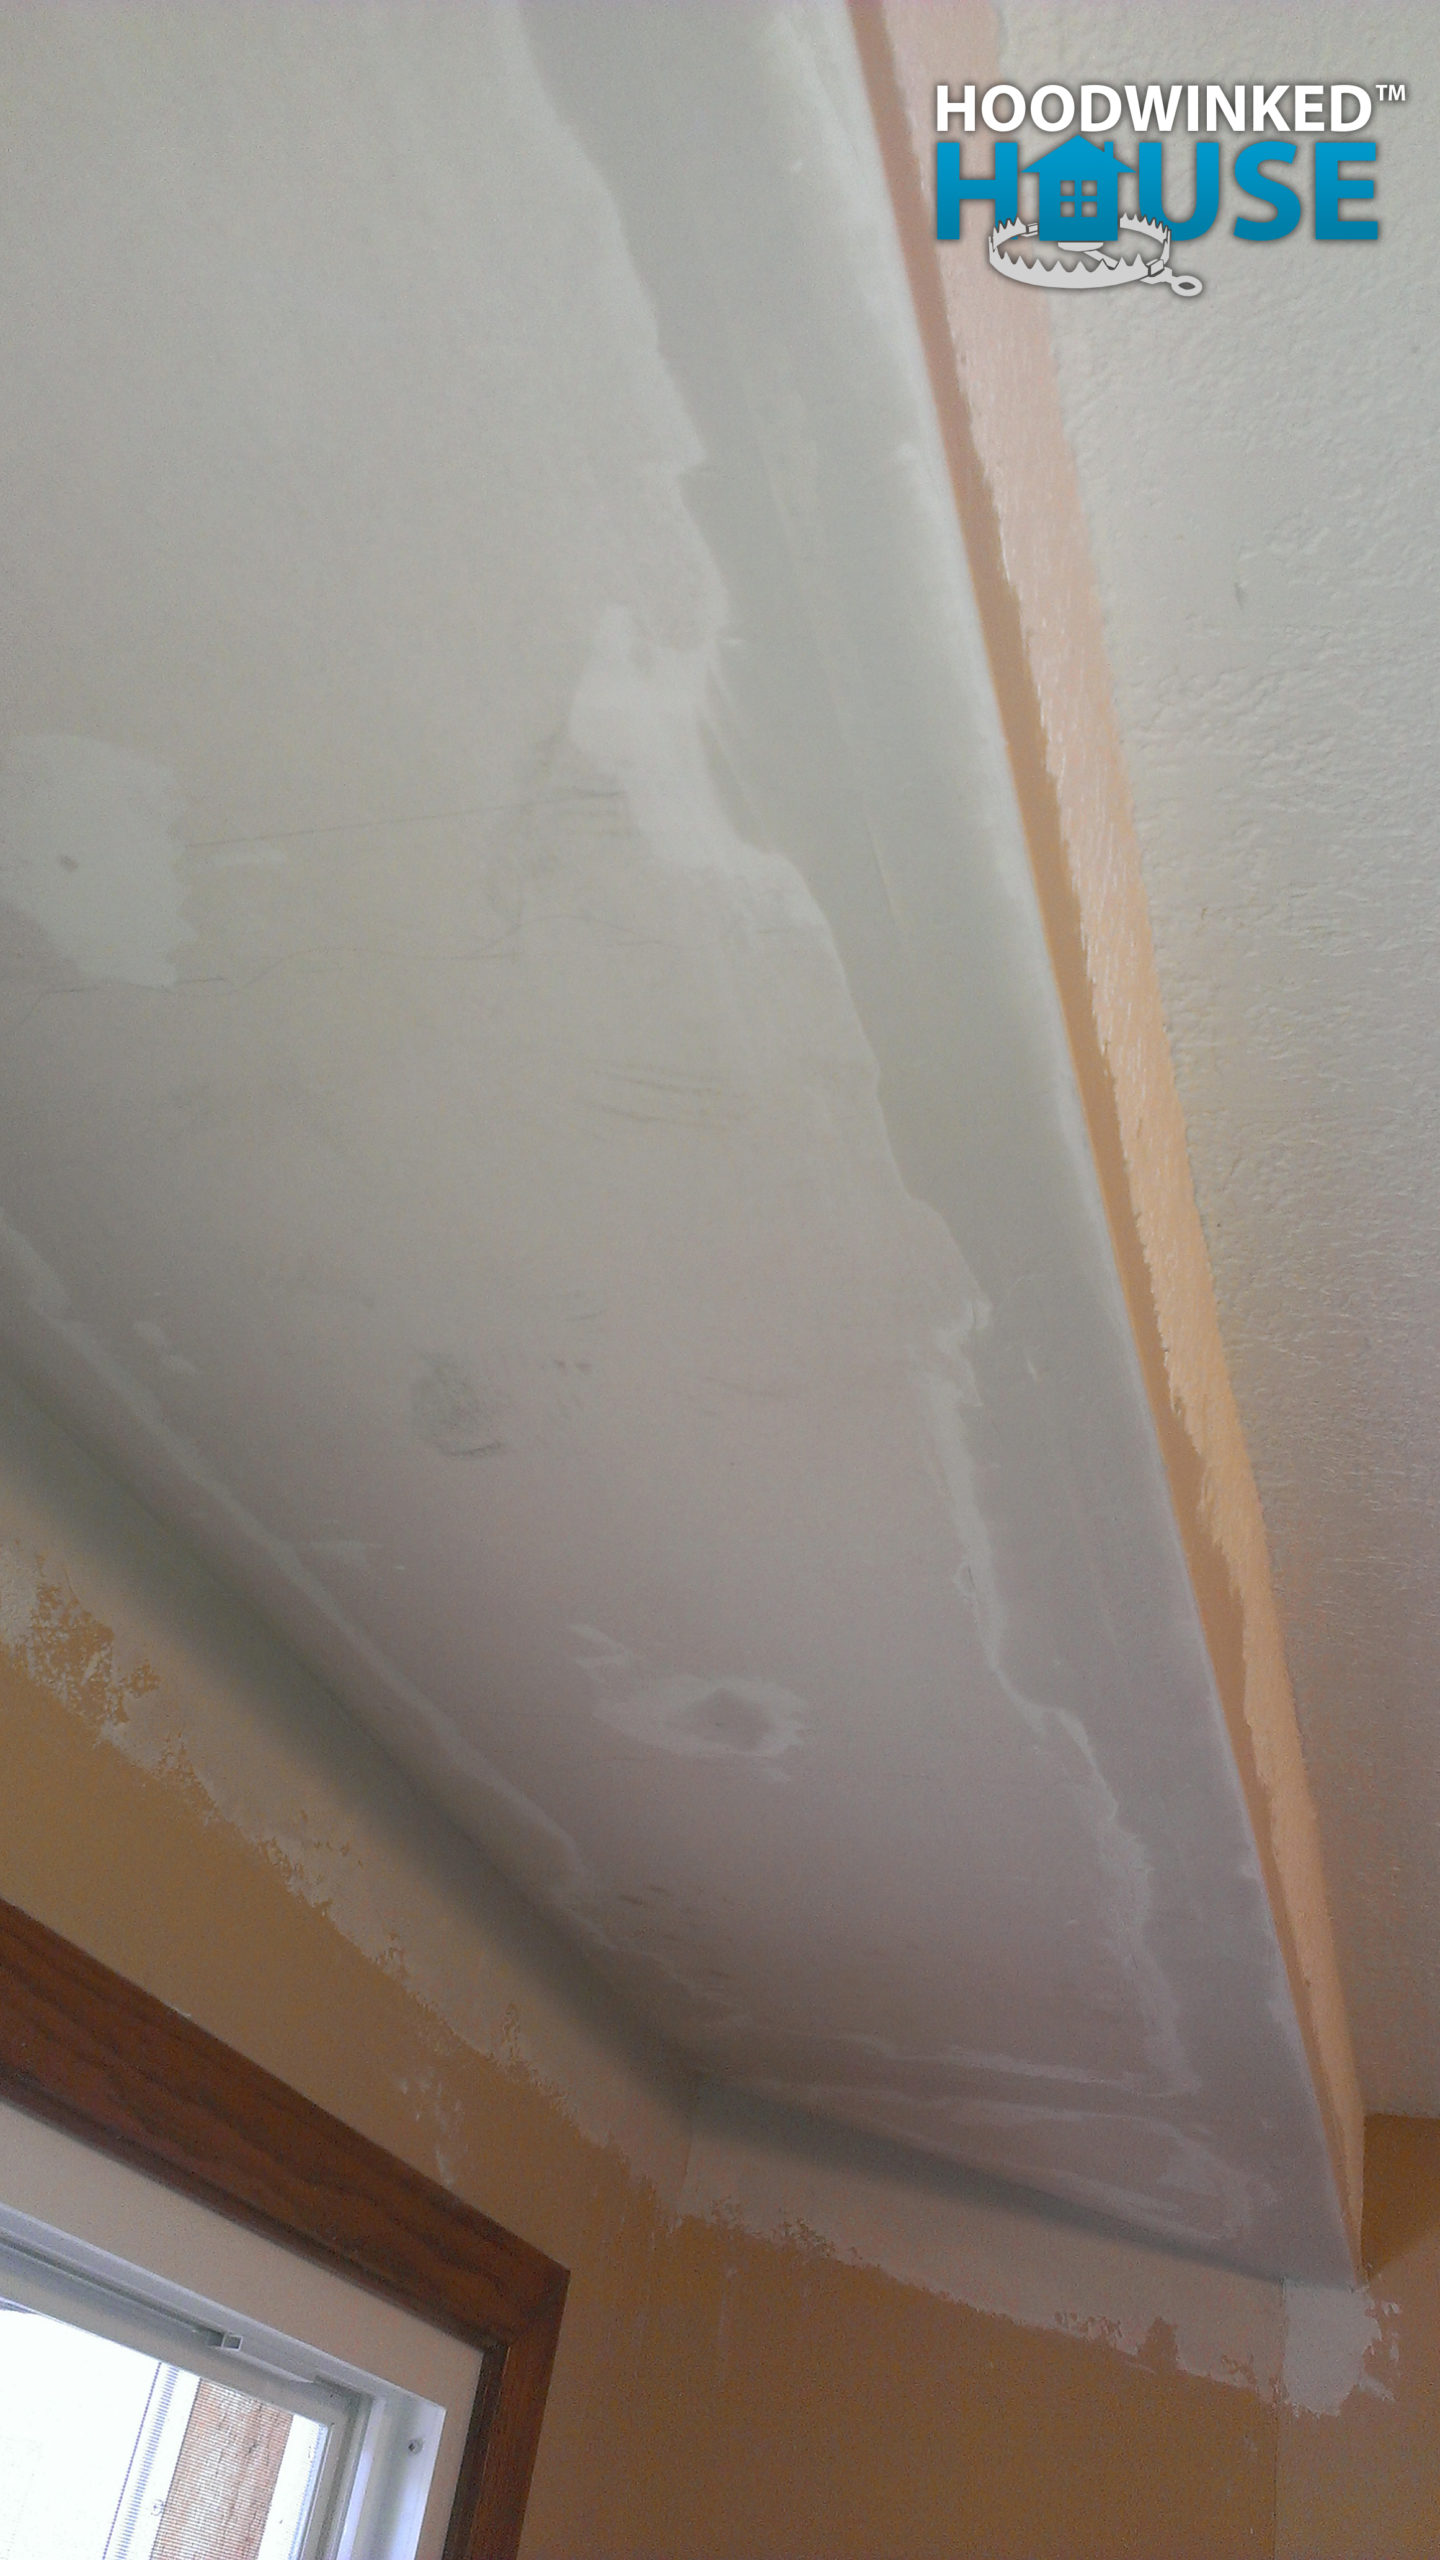
I properly install new insulation in the soffit, ensuring that the eves remain clear. Then I install vapor barrier. Next, my dad helps me hang new drywall on the underside of the soffit. Later, we tape the seams and apply the first pass of joint compound.
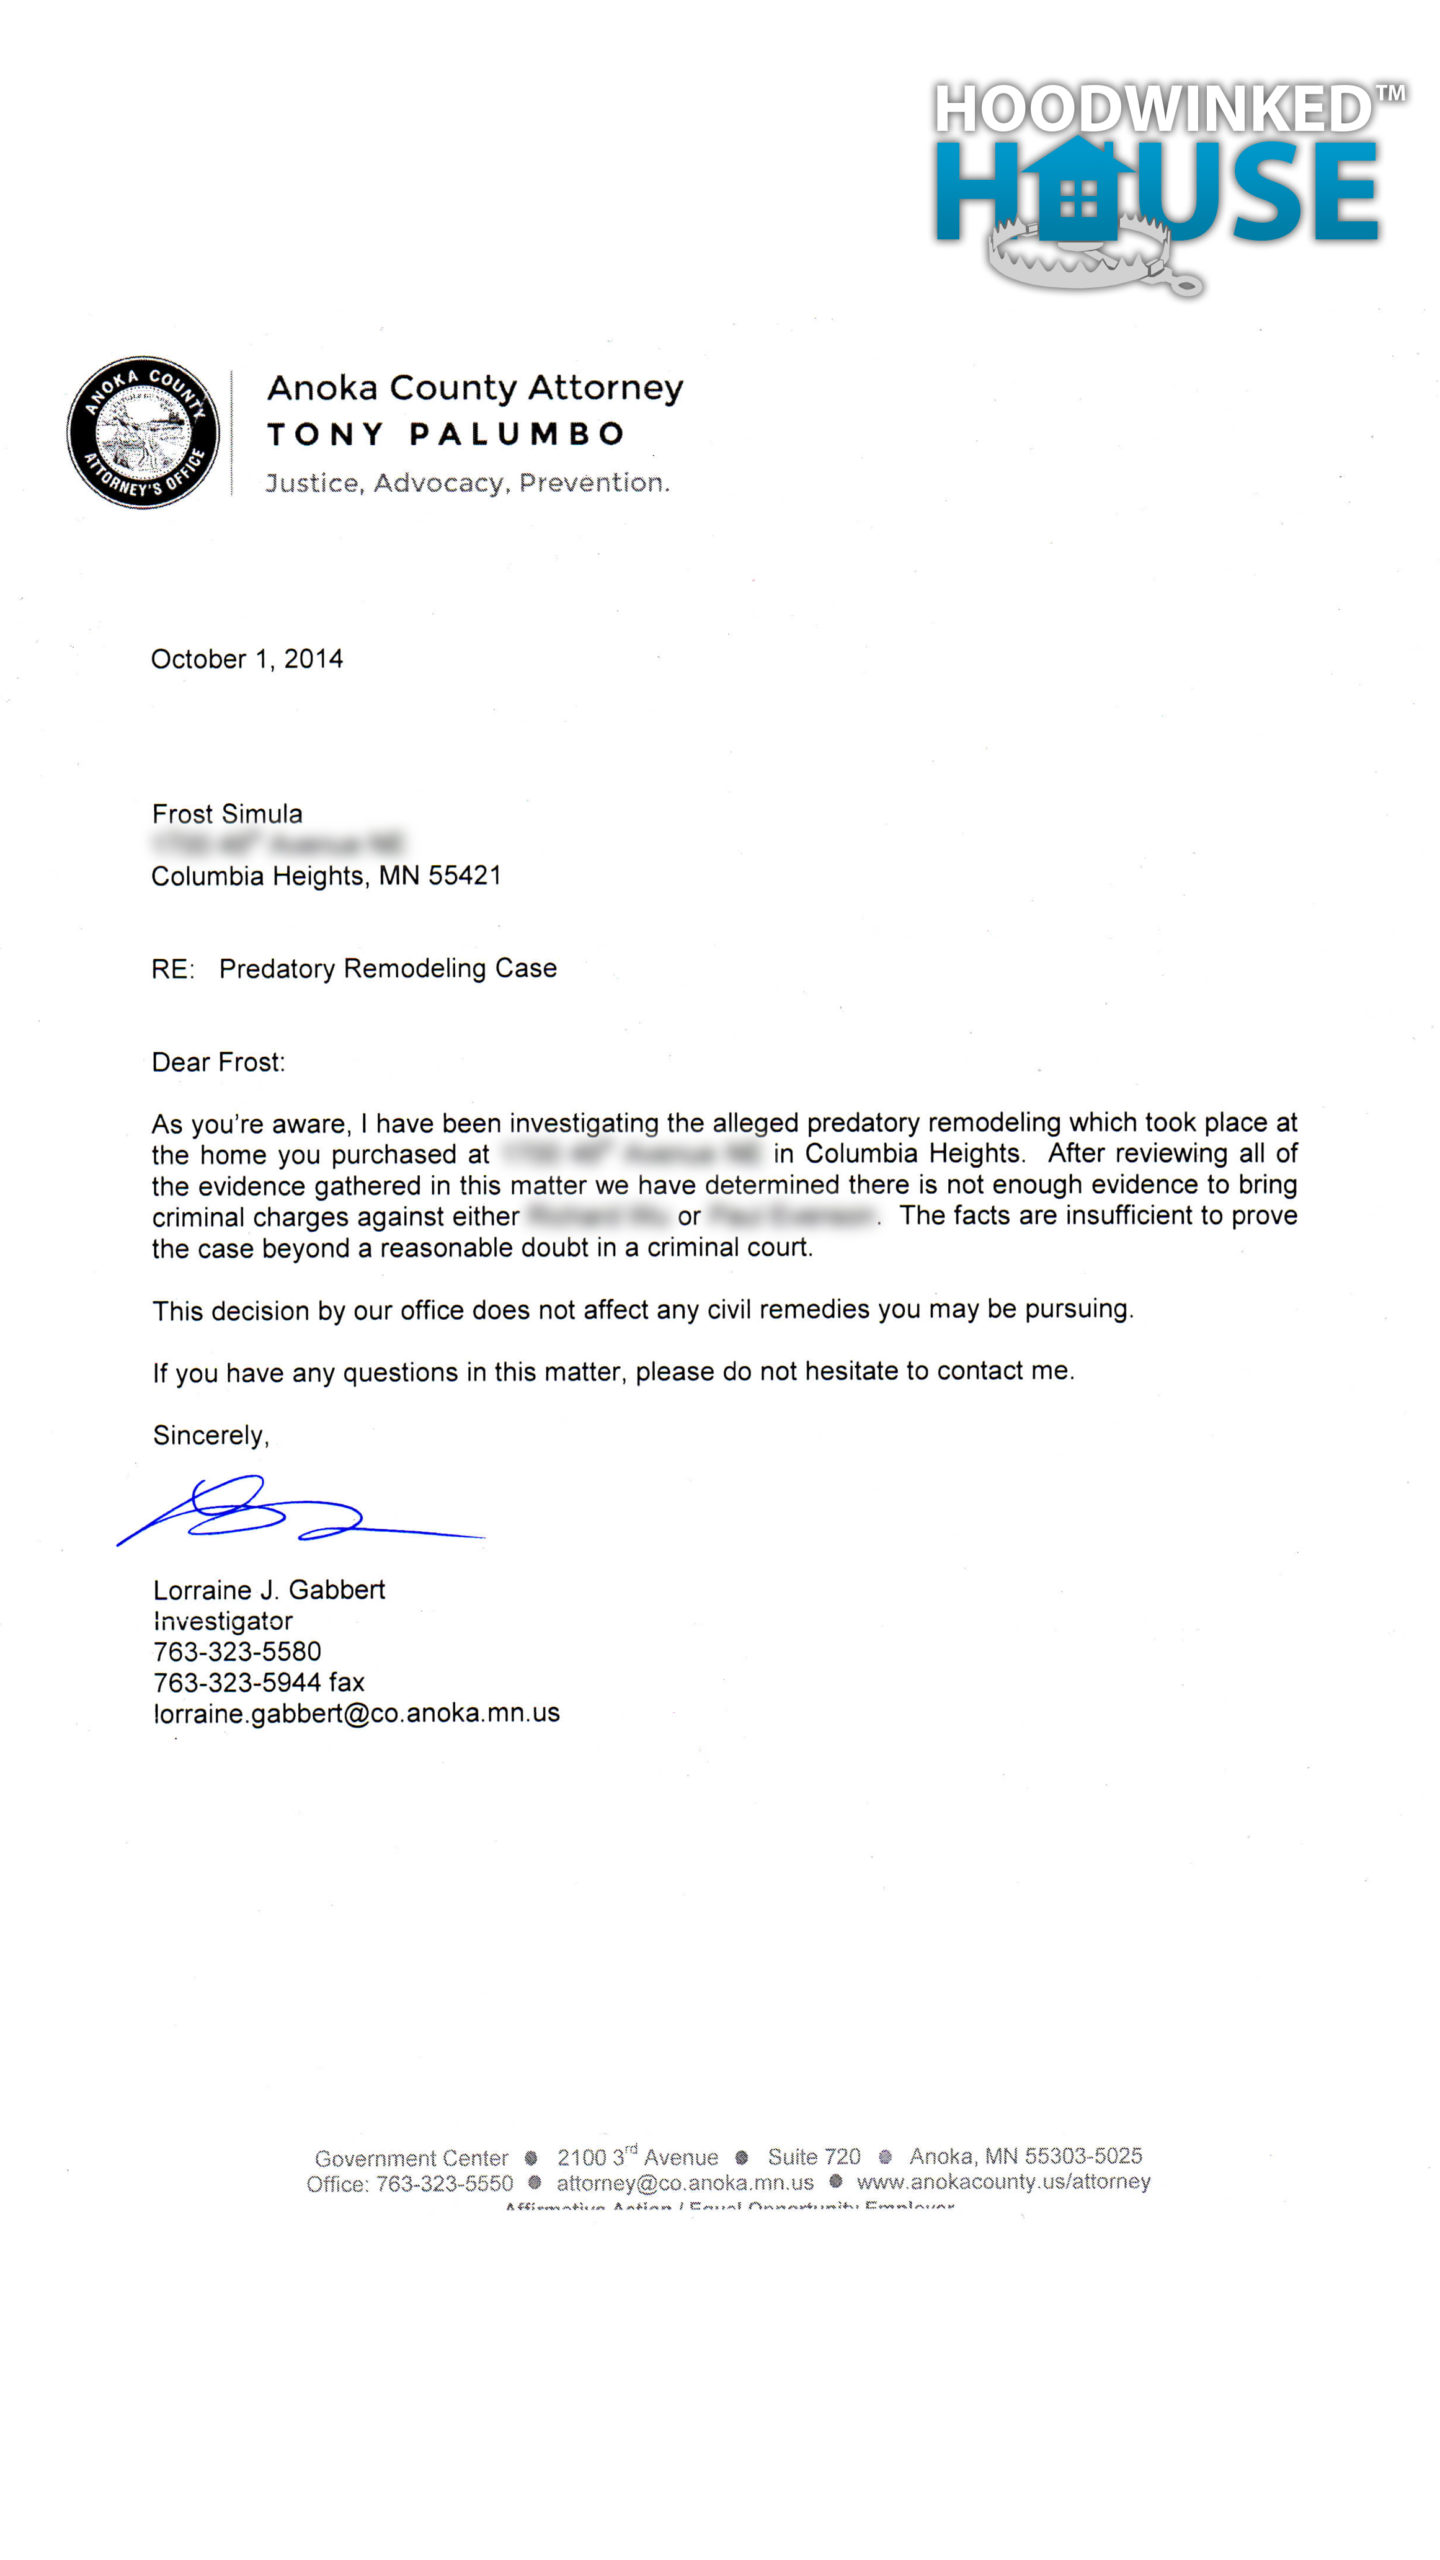
Although this blog has been a fairly detailed record of the ordeal, we receive word from the Anoka County Investigator that the criminal investigation against the Seller is being dropped due to “insufficient facts”.
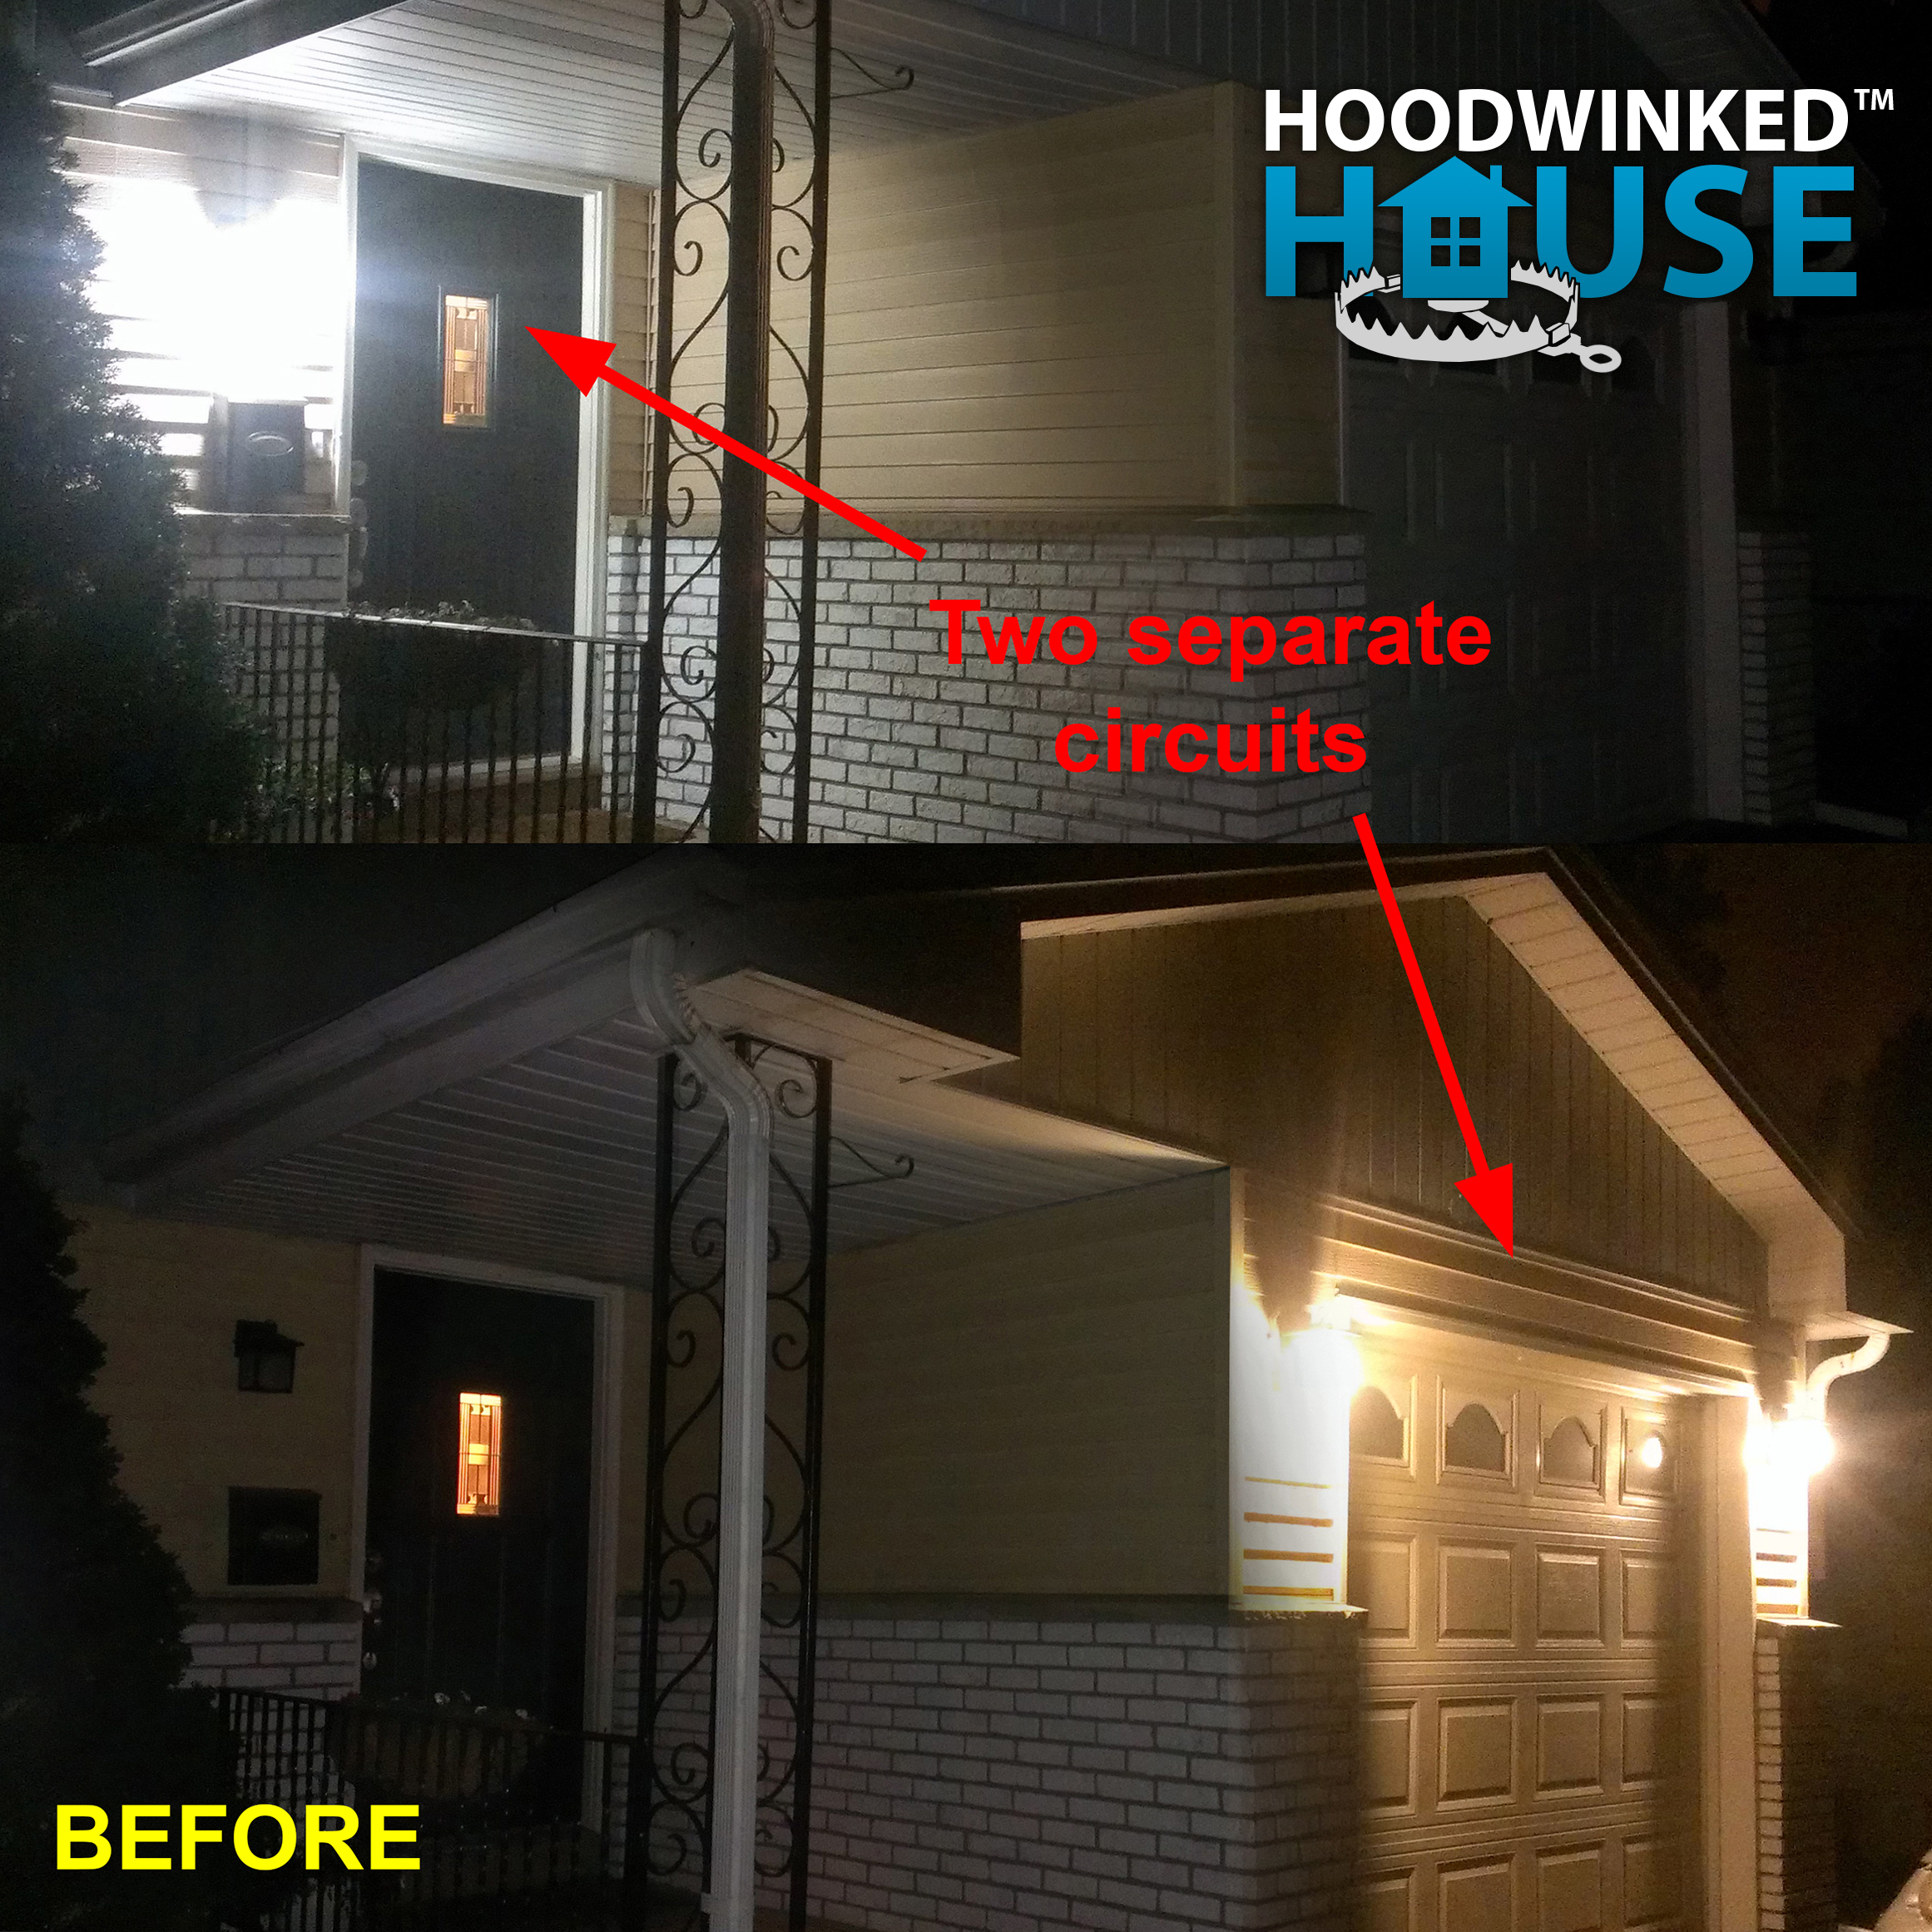
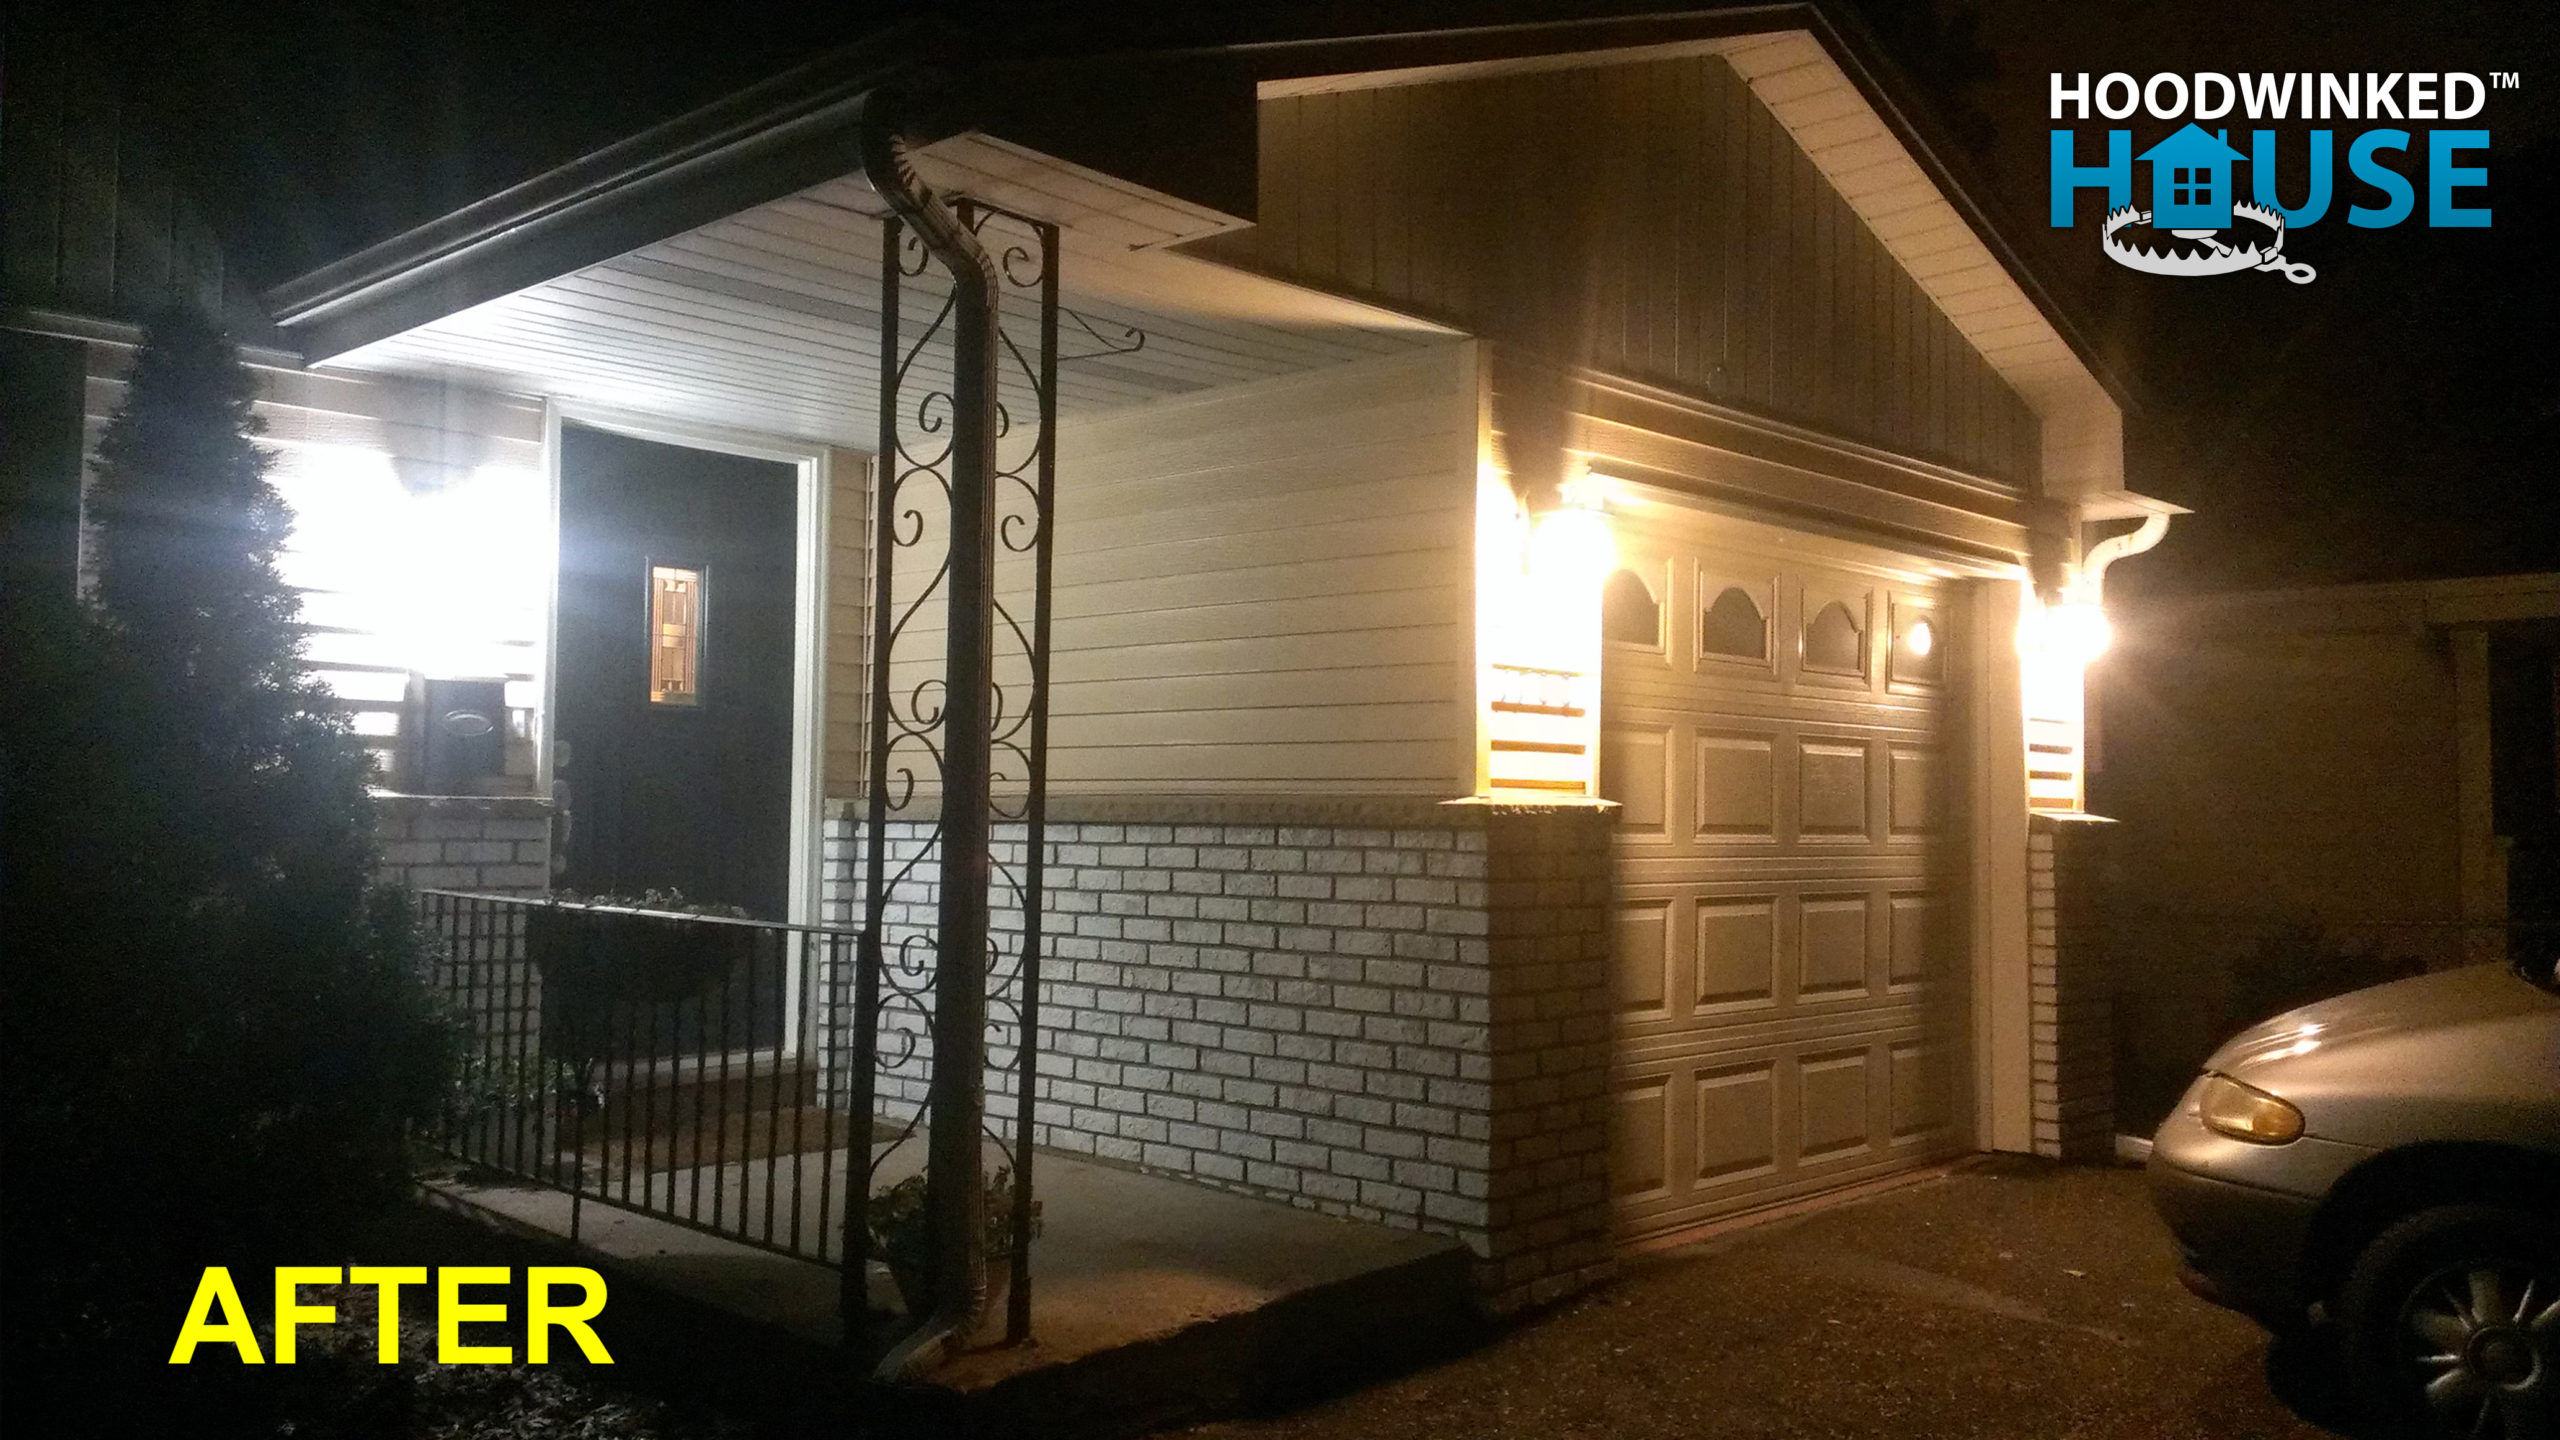
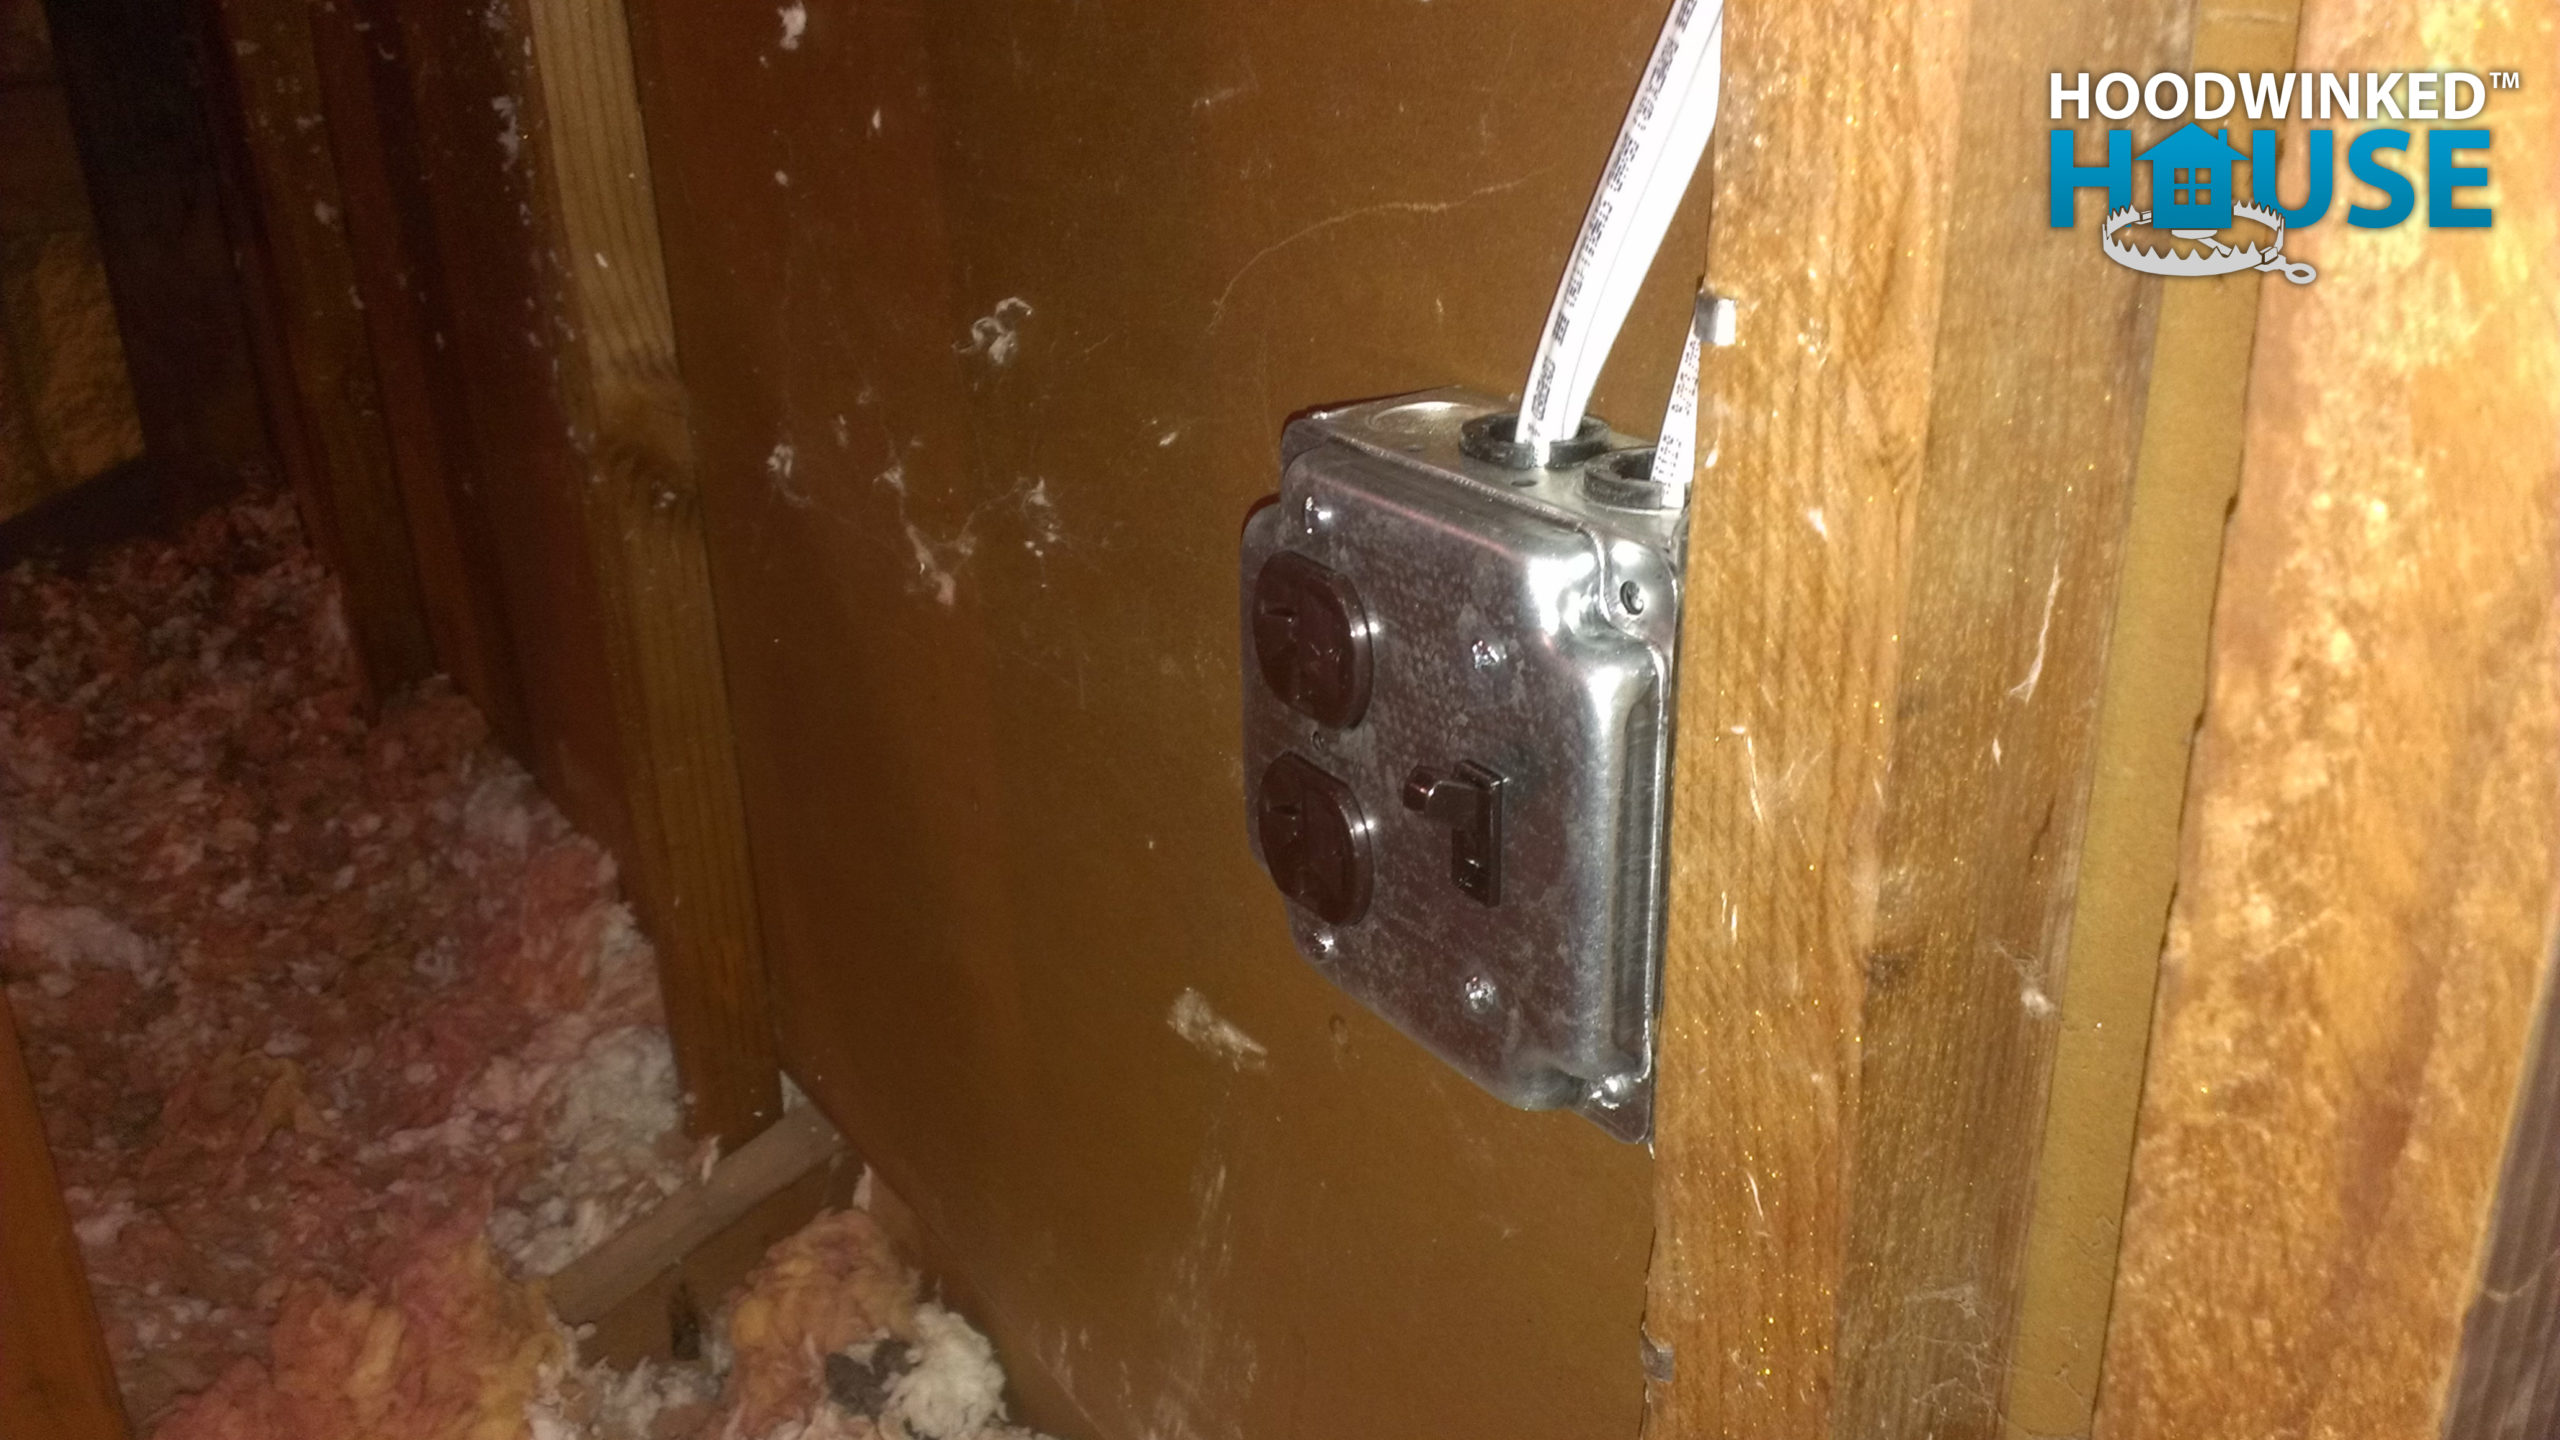
Meanwhile, I have more repairs to do. The sconce lights on the front of the house were on two different circuits, with switches in completely separate locations. This was probably left-over from the original house floorplan when the “attached” garage only shared a roof with the rest of the dwelling, but no longer makes sense with the dining room addition. I re-wired the sconce lights to be on a single circuit and switch.
I wire up some basic power and lighting in the attic to make it a safer working environment. ($44.97)
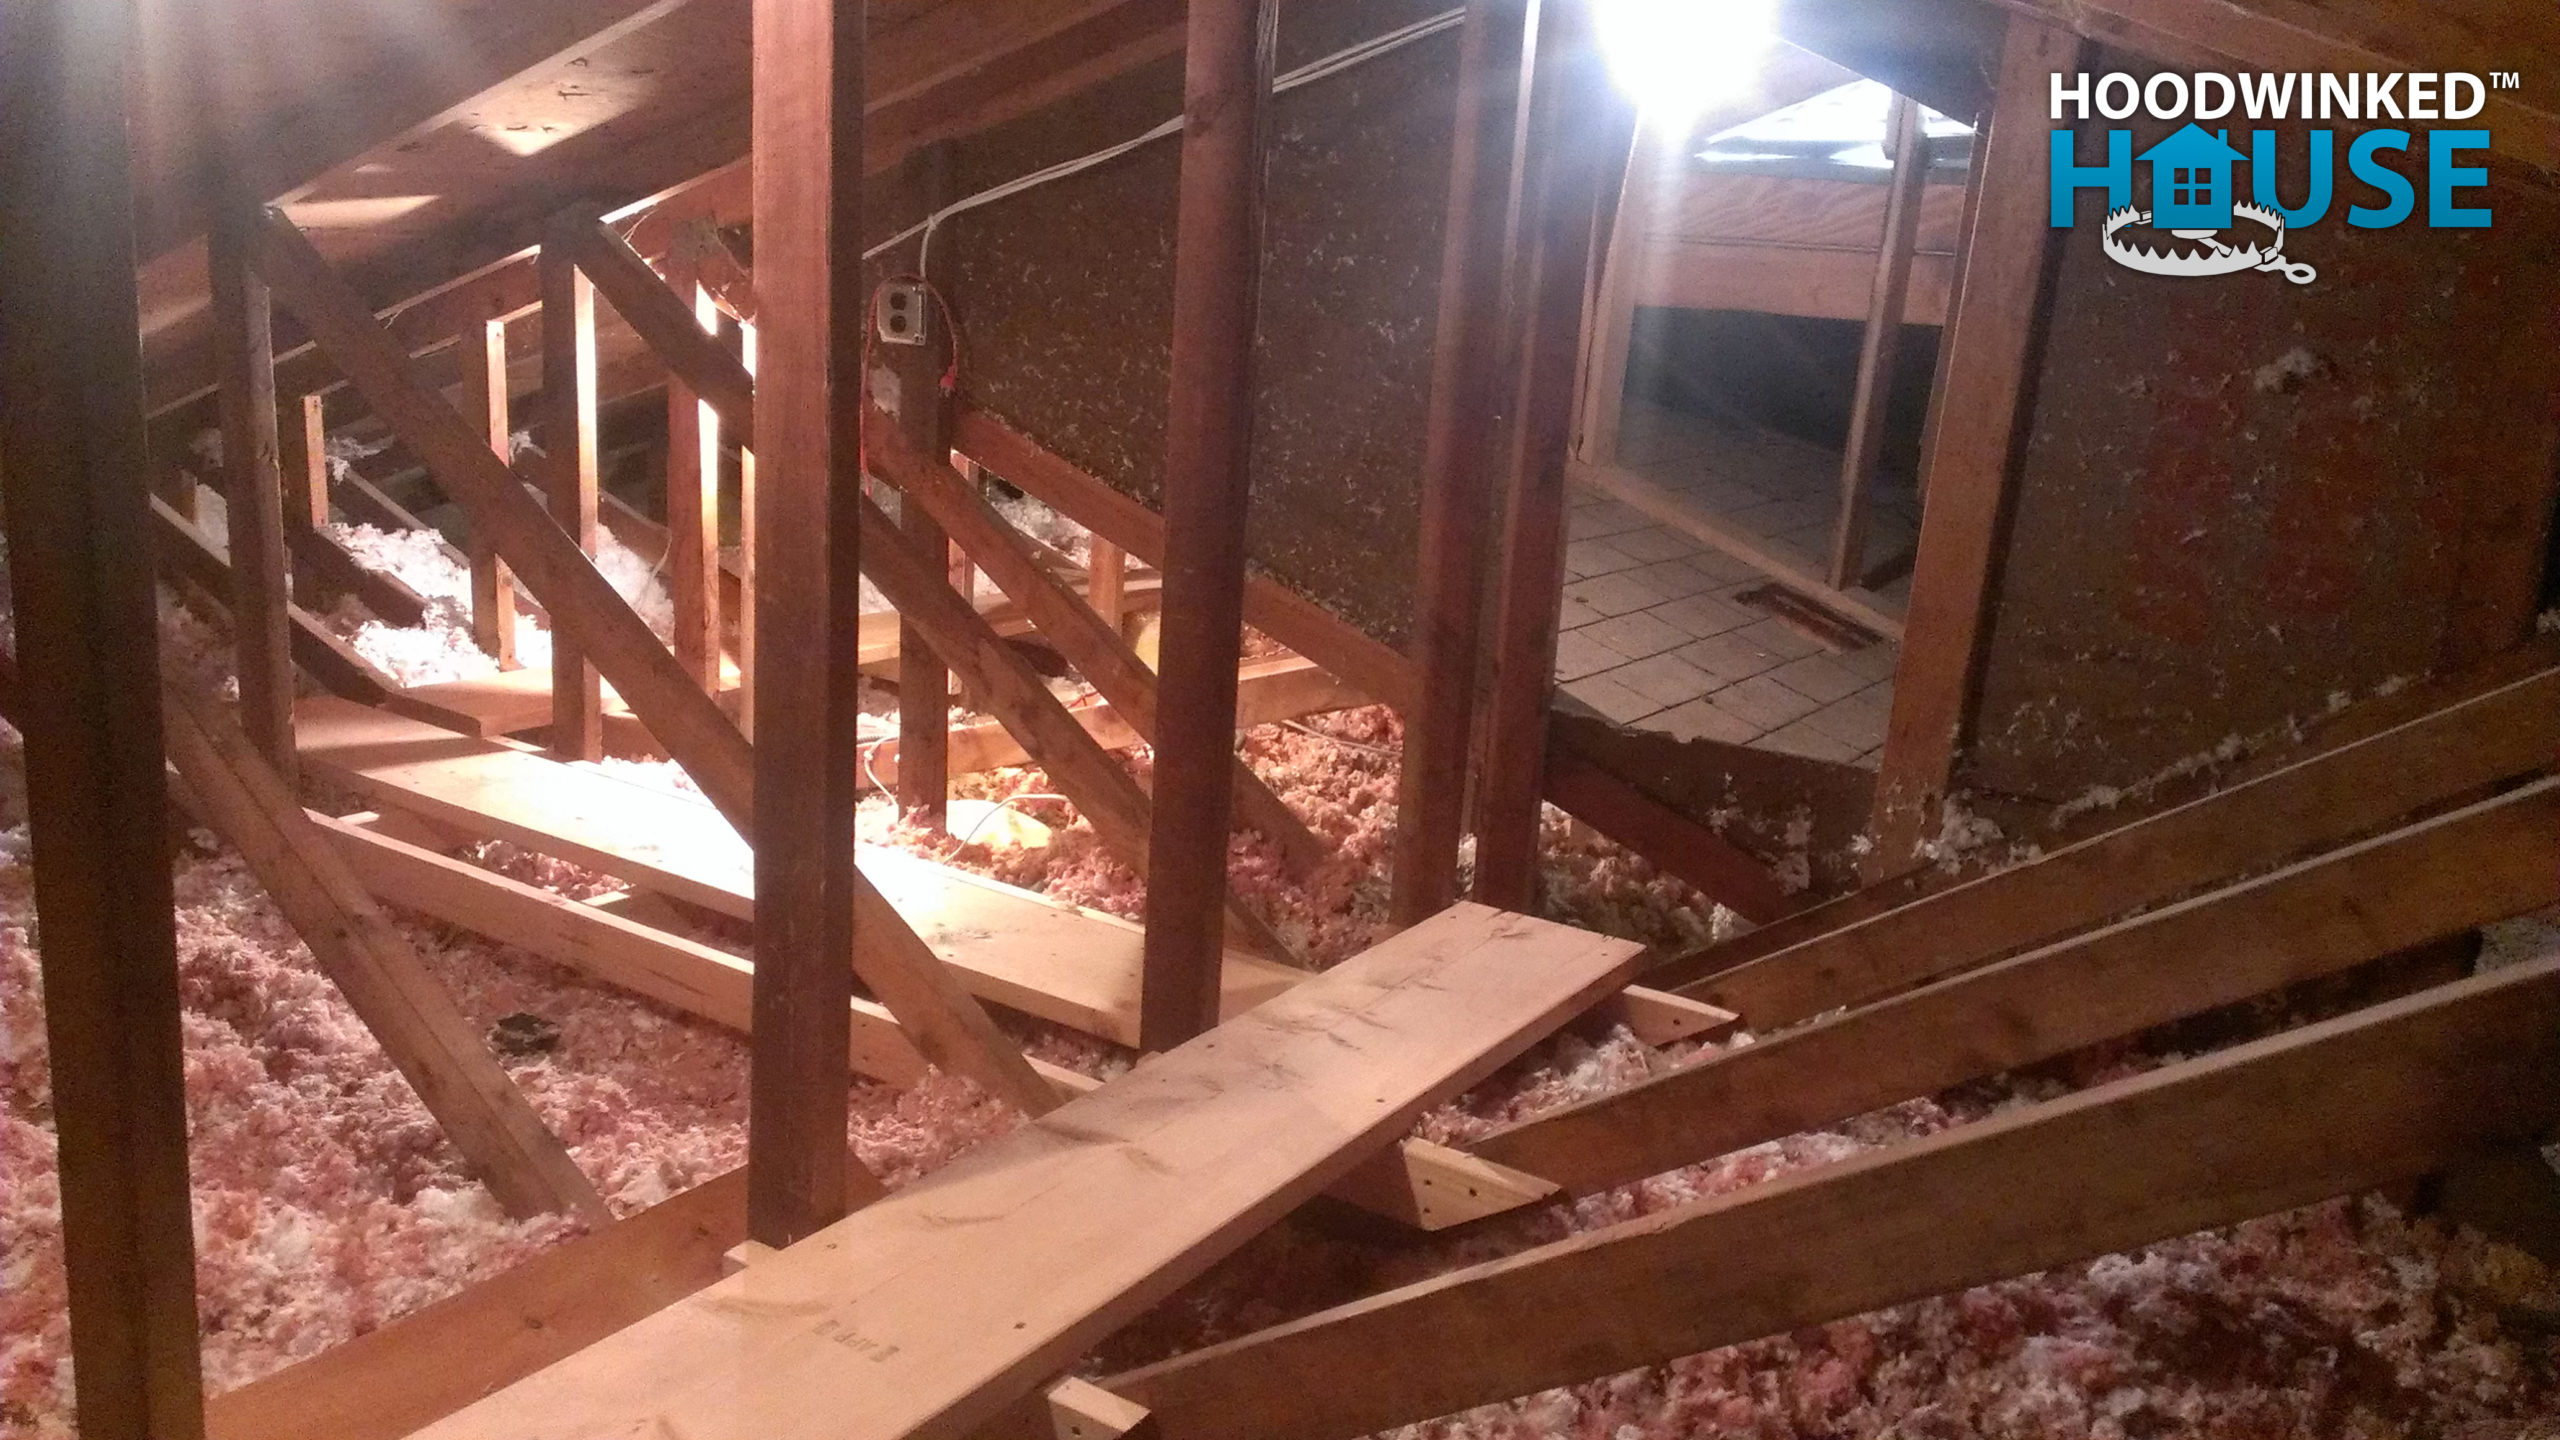
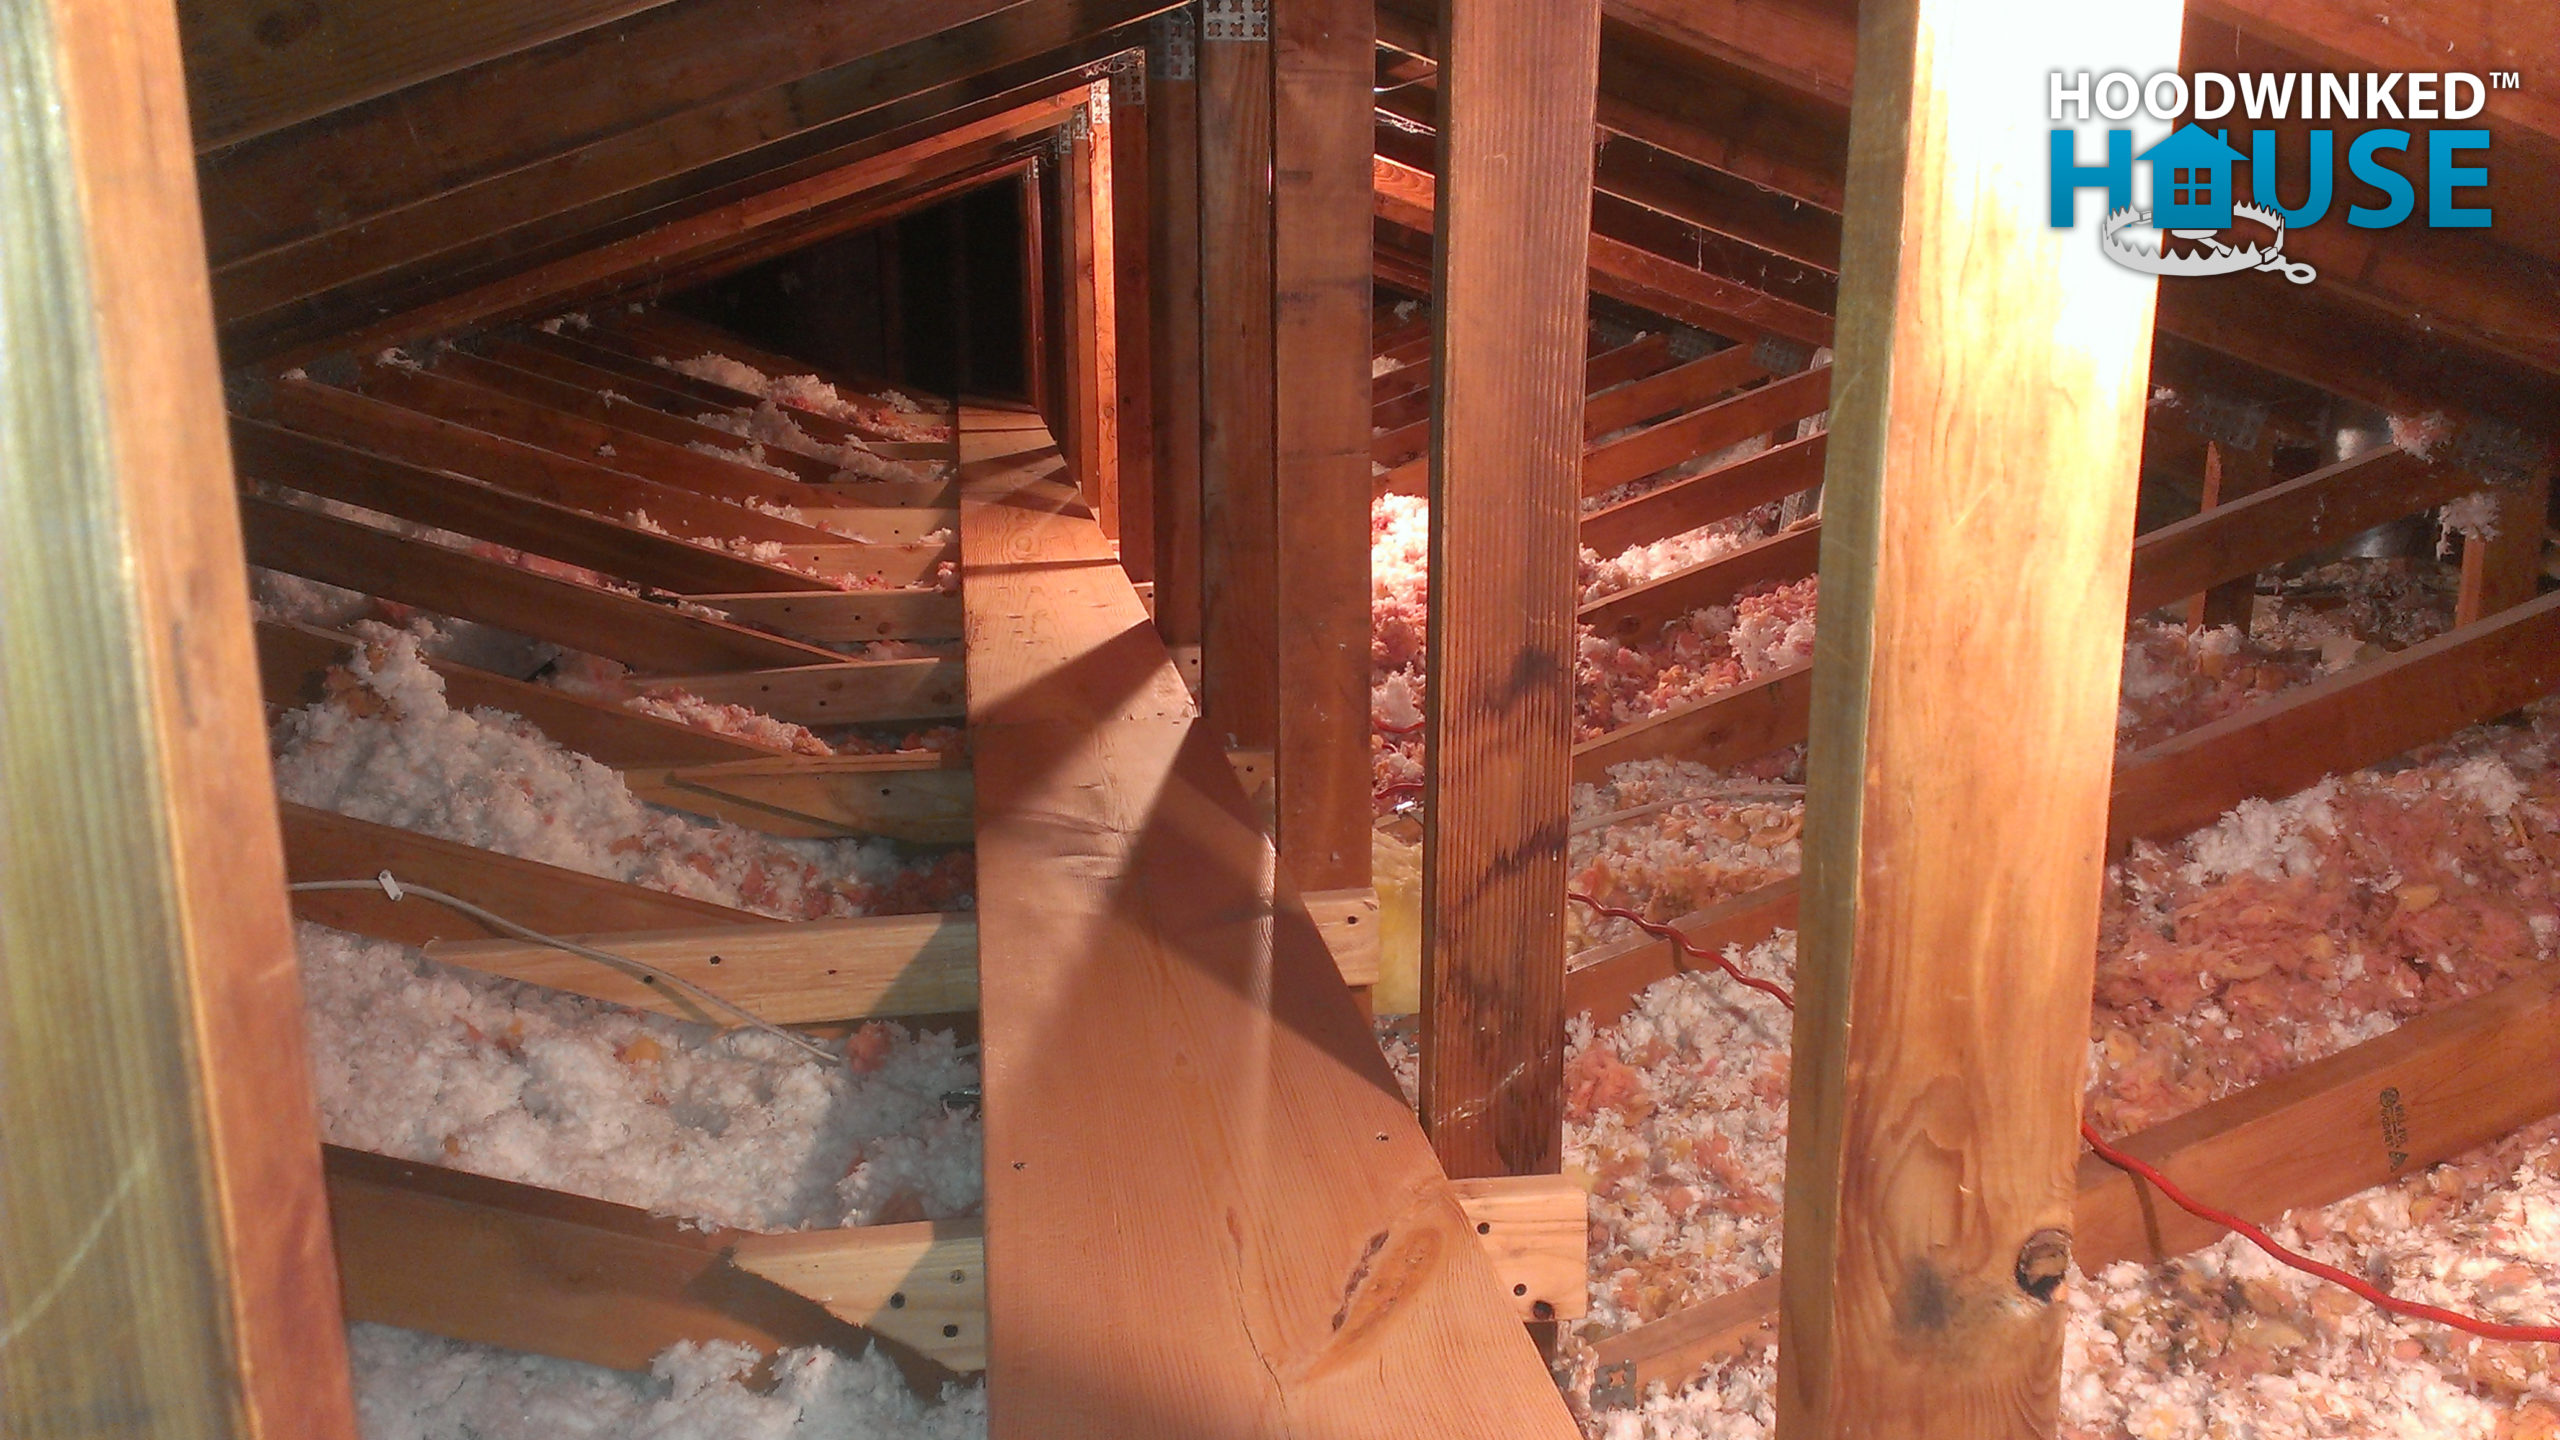
The new lights revealed lots more old raccoon feces, buried in the insulation.
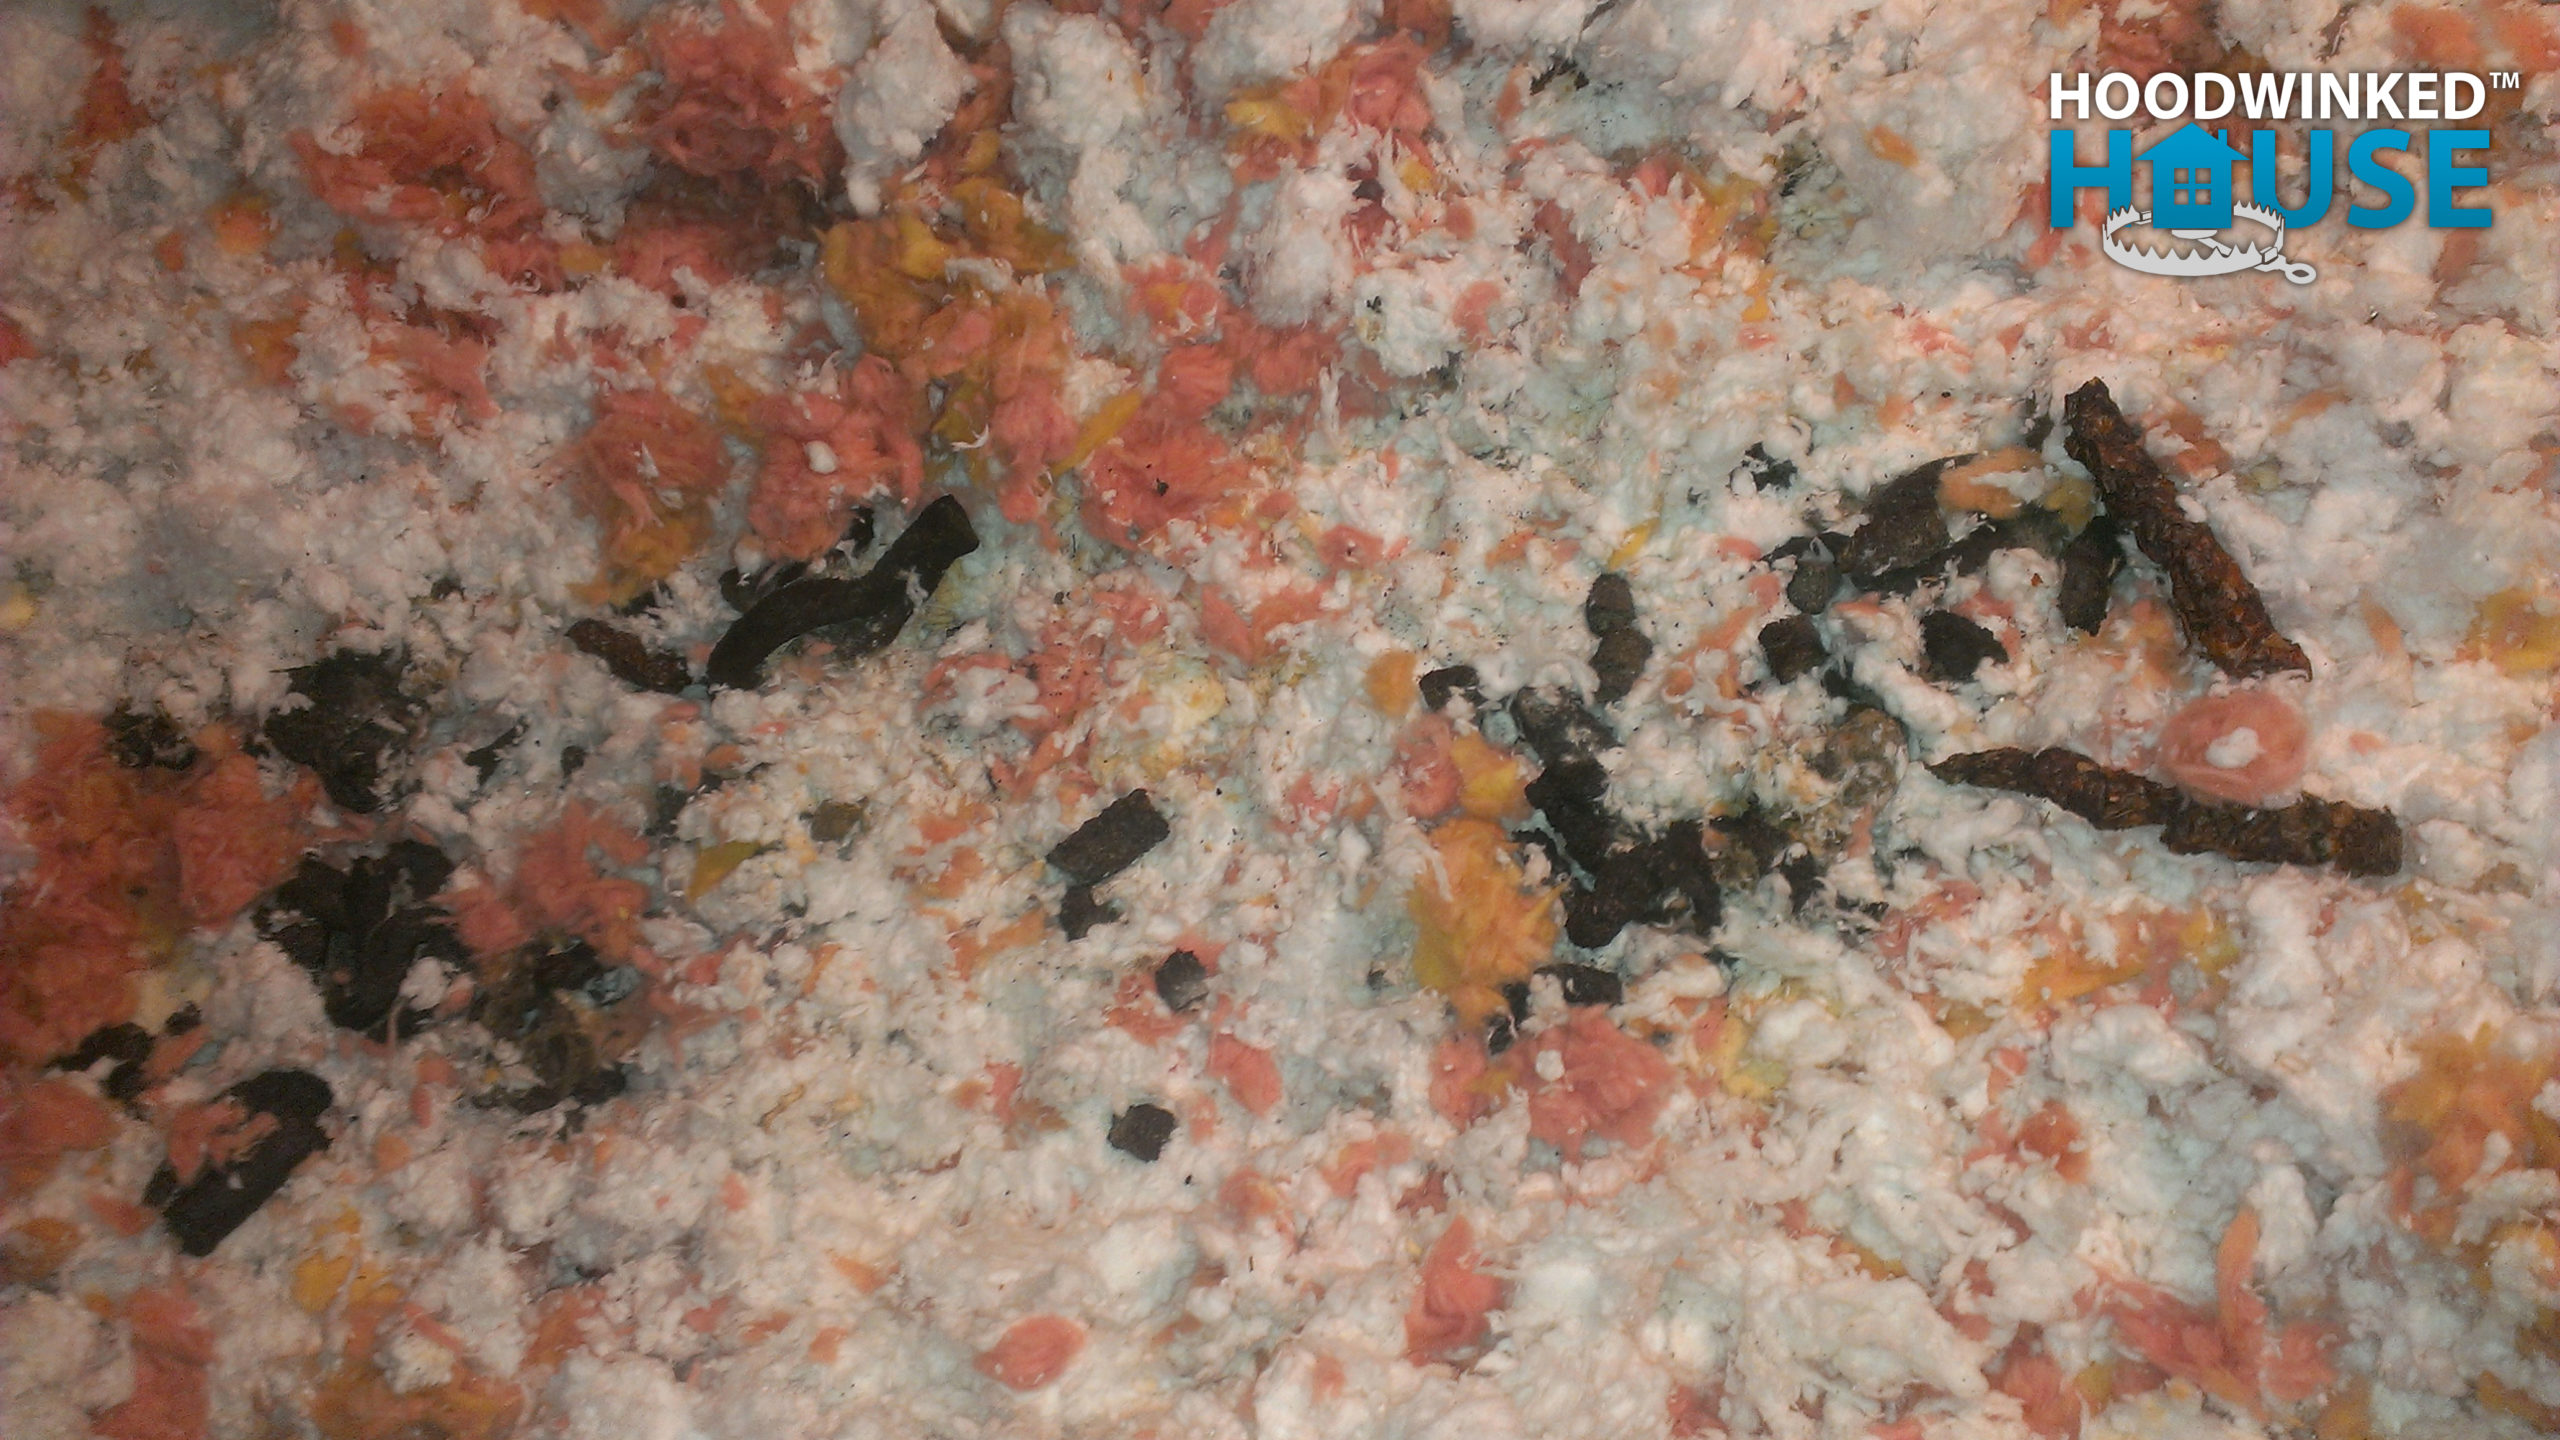
This is not new, and the pests are gone. However, it’s clear that they had been in the attic for quite some time, shuffling around insulation, walking the perimeter of the roofline and matting-down a path. After I finish cleaning up the wildlife mess, I’ll need to re-distribute the insulation, and blow in more to increase efficiency.
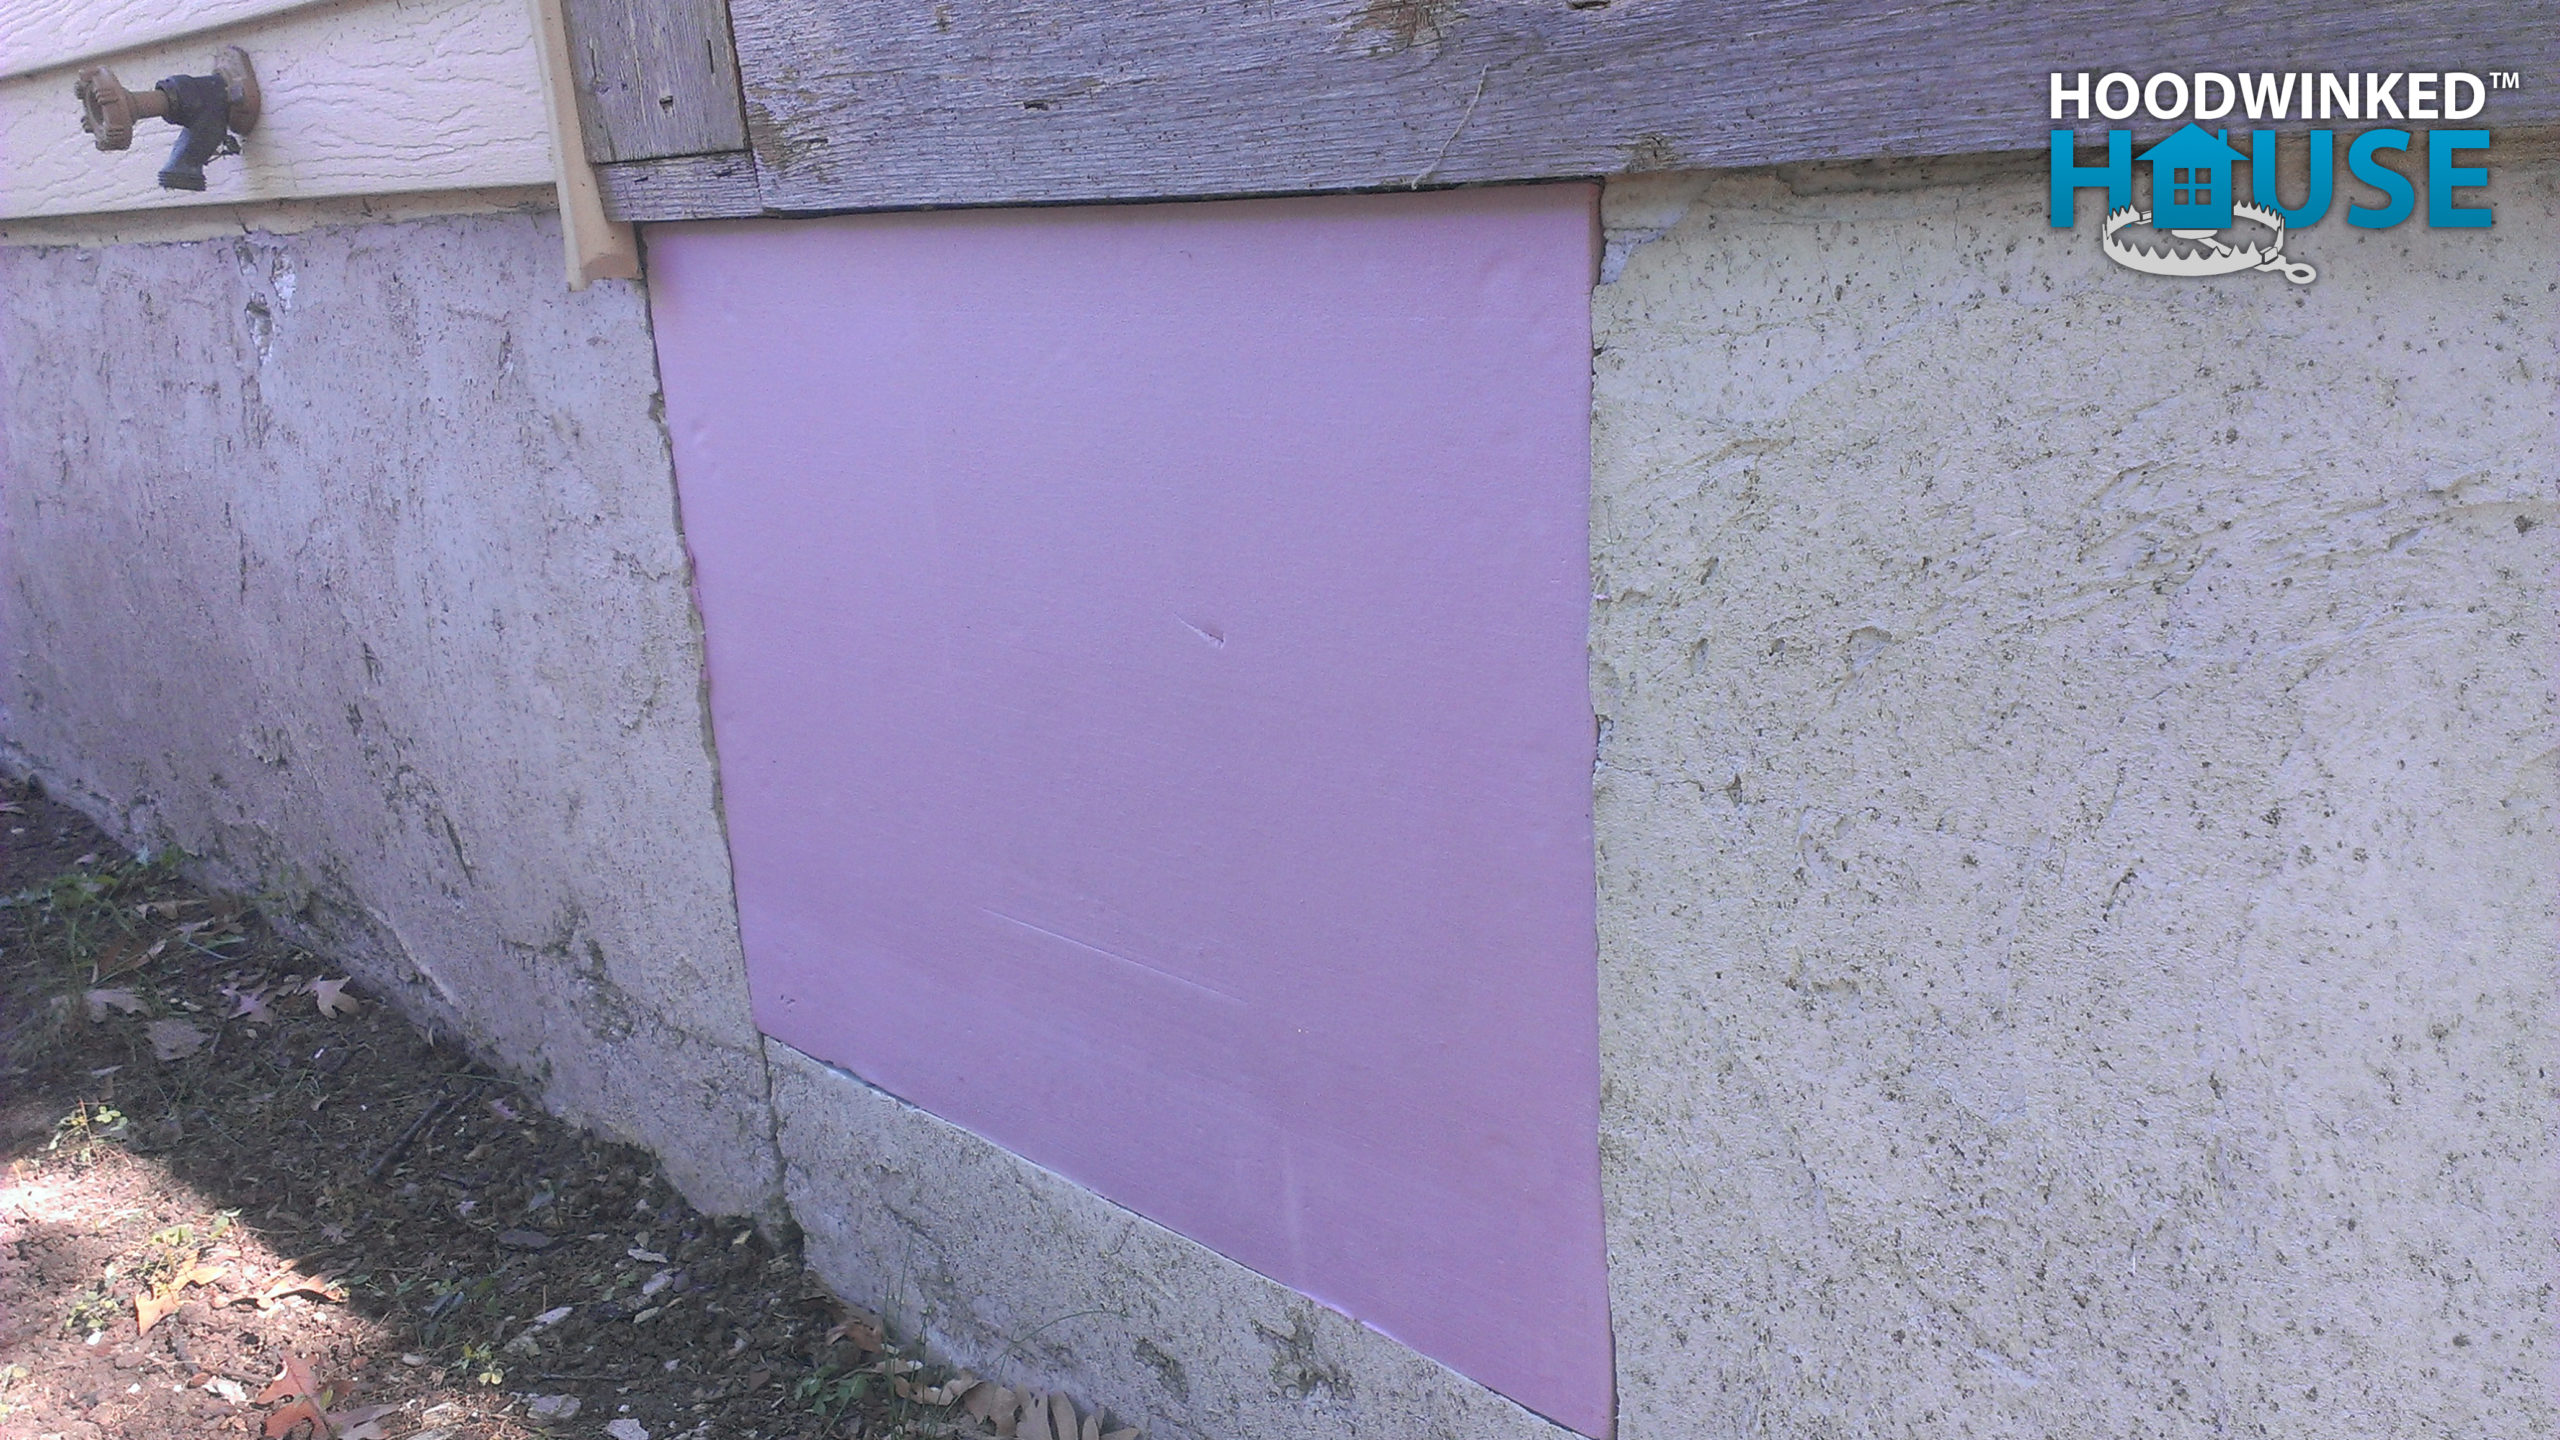
I replace the insulation I had removed on the exterior of the dining room foundation. ($17.99)
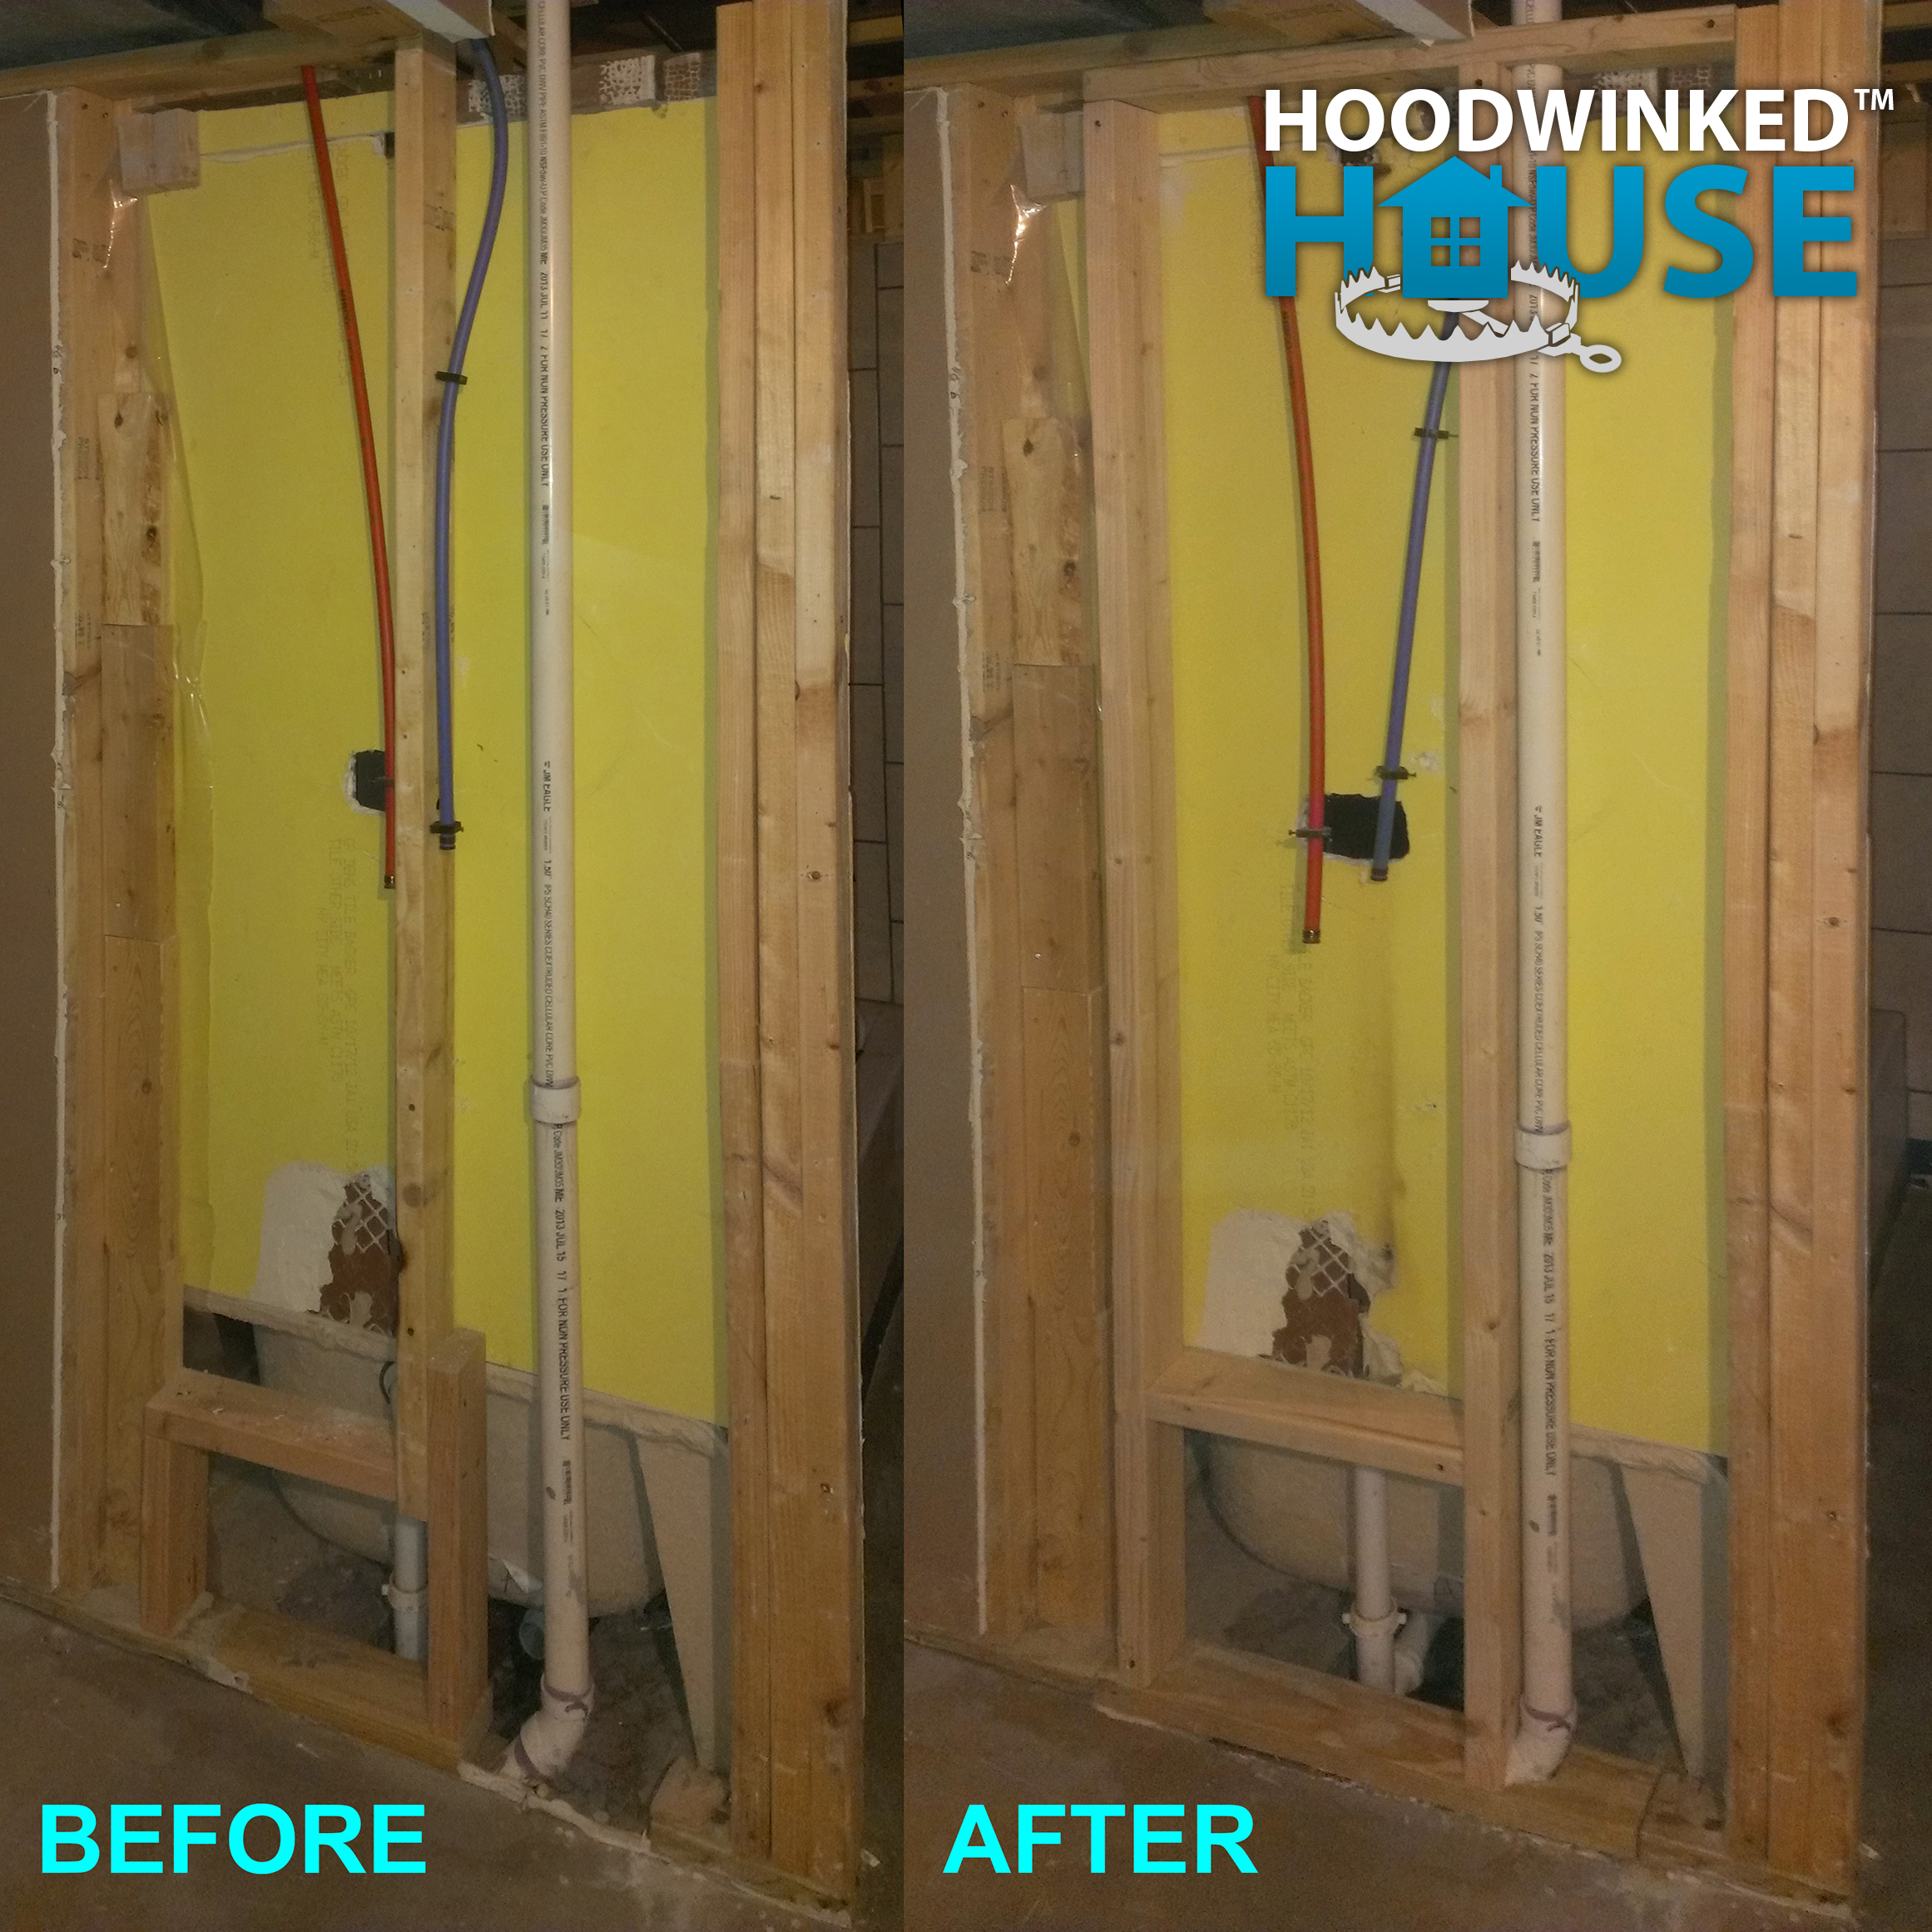
The flipper created several problems in the downstairs bathtub and shower.
First, they put wall framing directly on top of the showerhead, control manifold, and tub spigot!
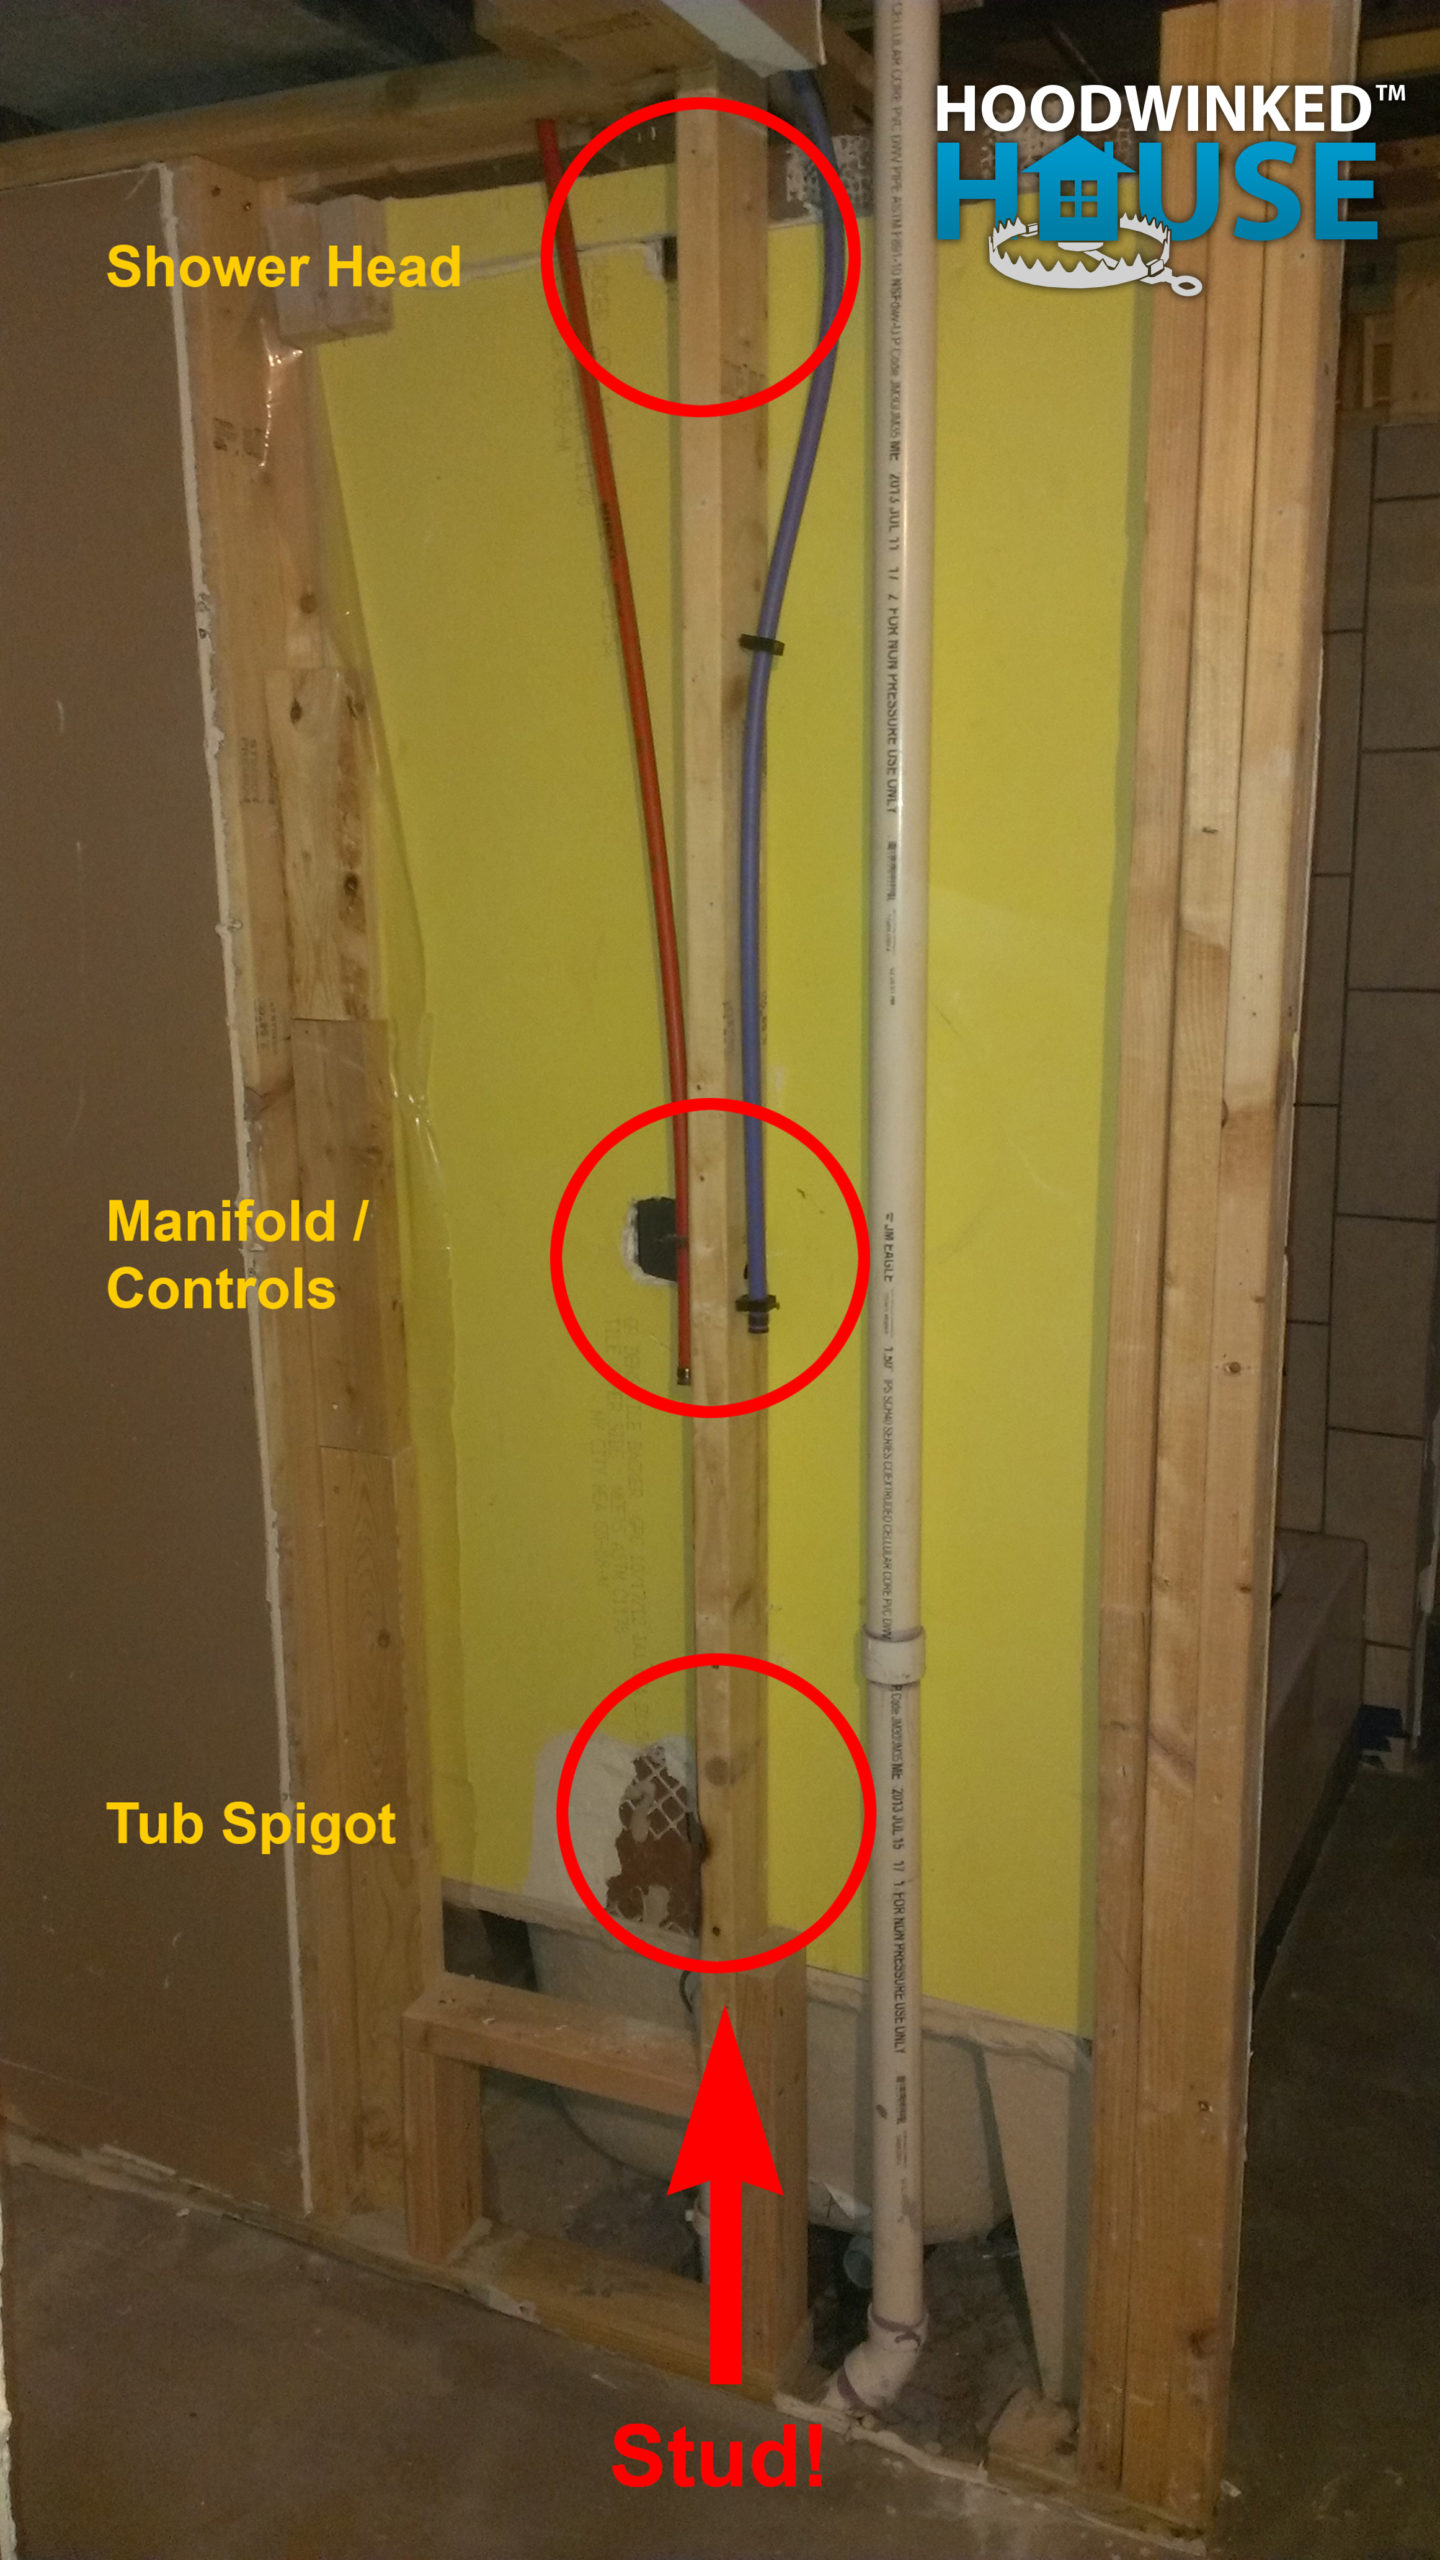
Secondly, like all the pluming in the house, they sweat the copper in place, burning the stud. In this instance, a substantial part of the stud was burned away, severely weakening the stud.

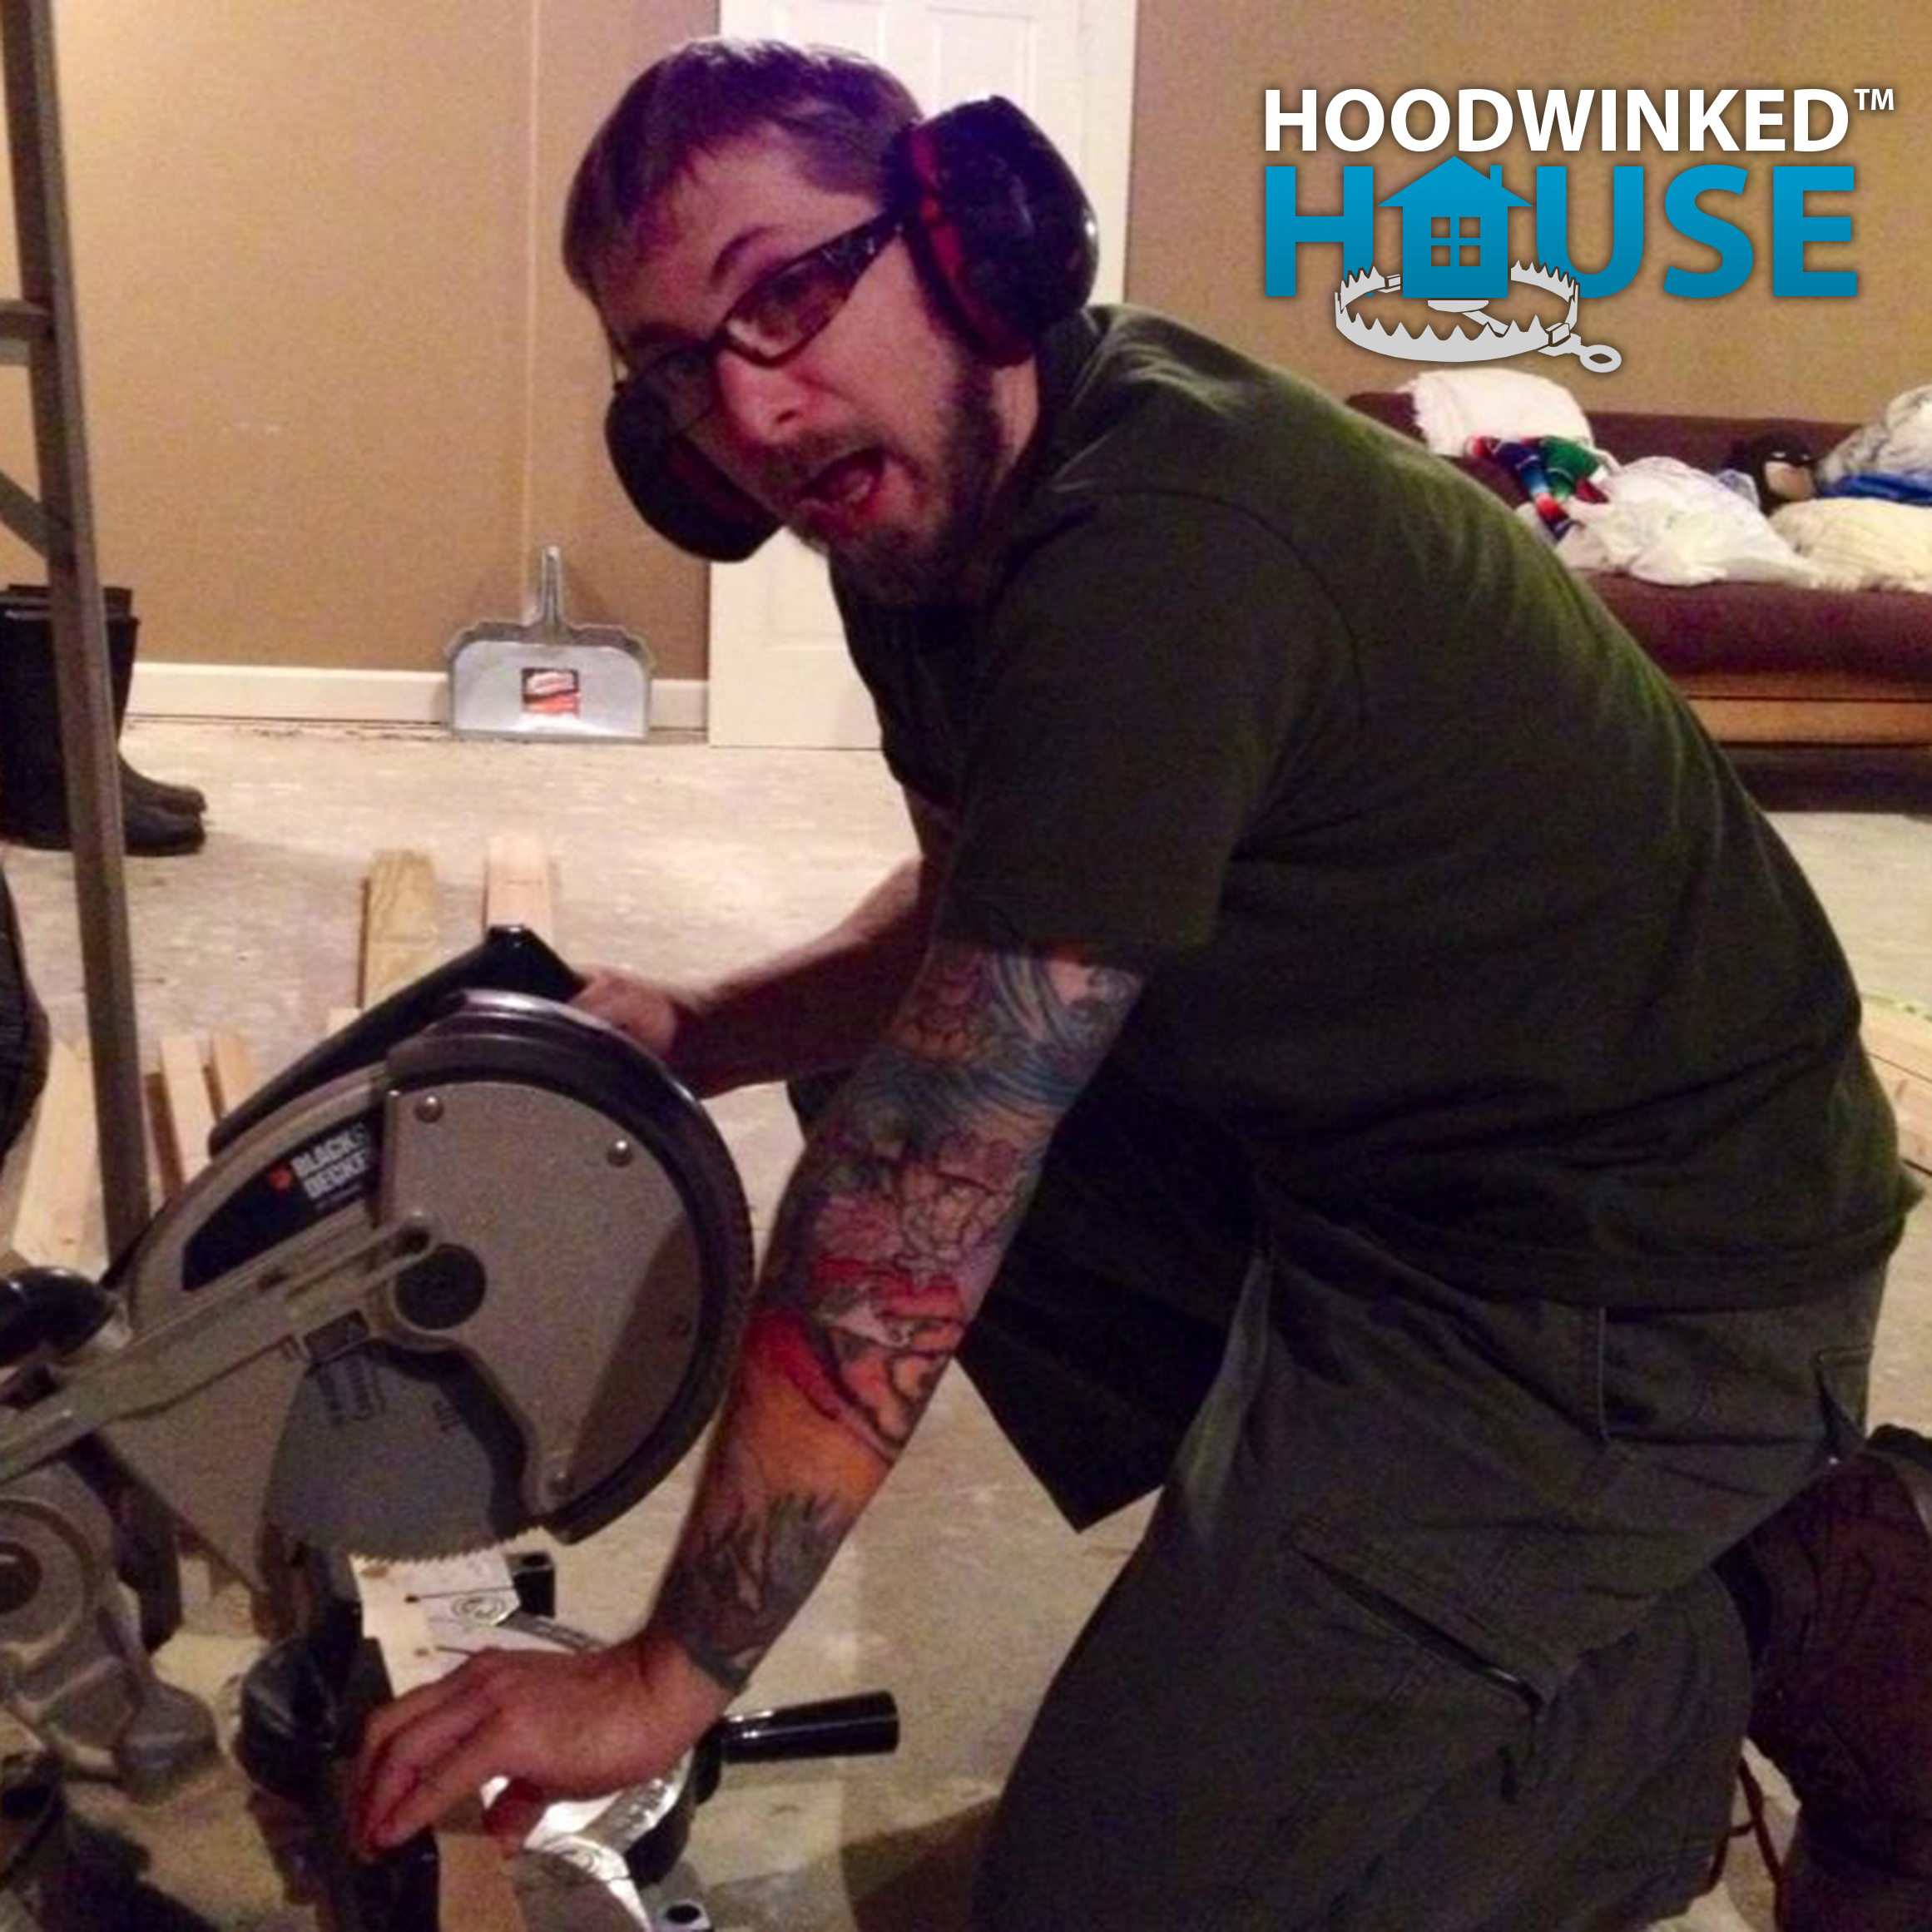
I carefully removed the damaged framing and re-built it with proper clearance for the plumbing fixtures.
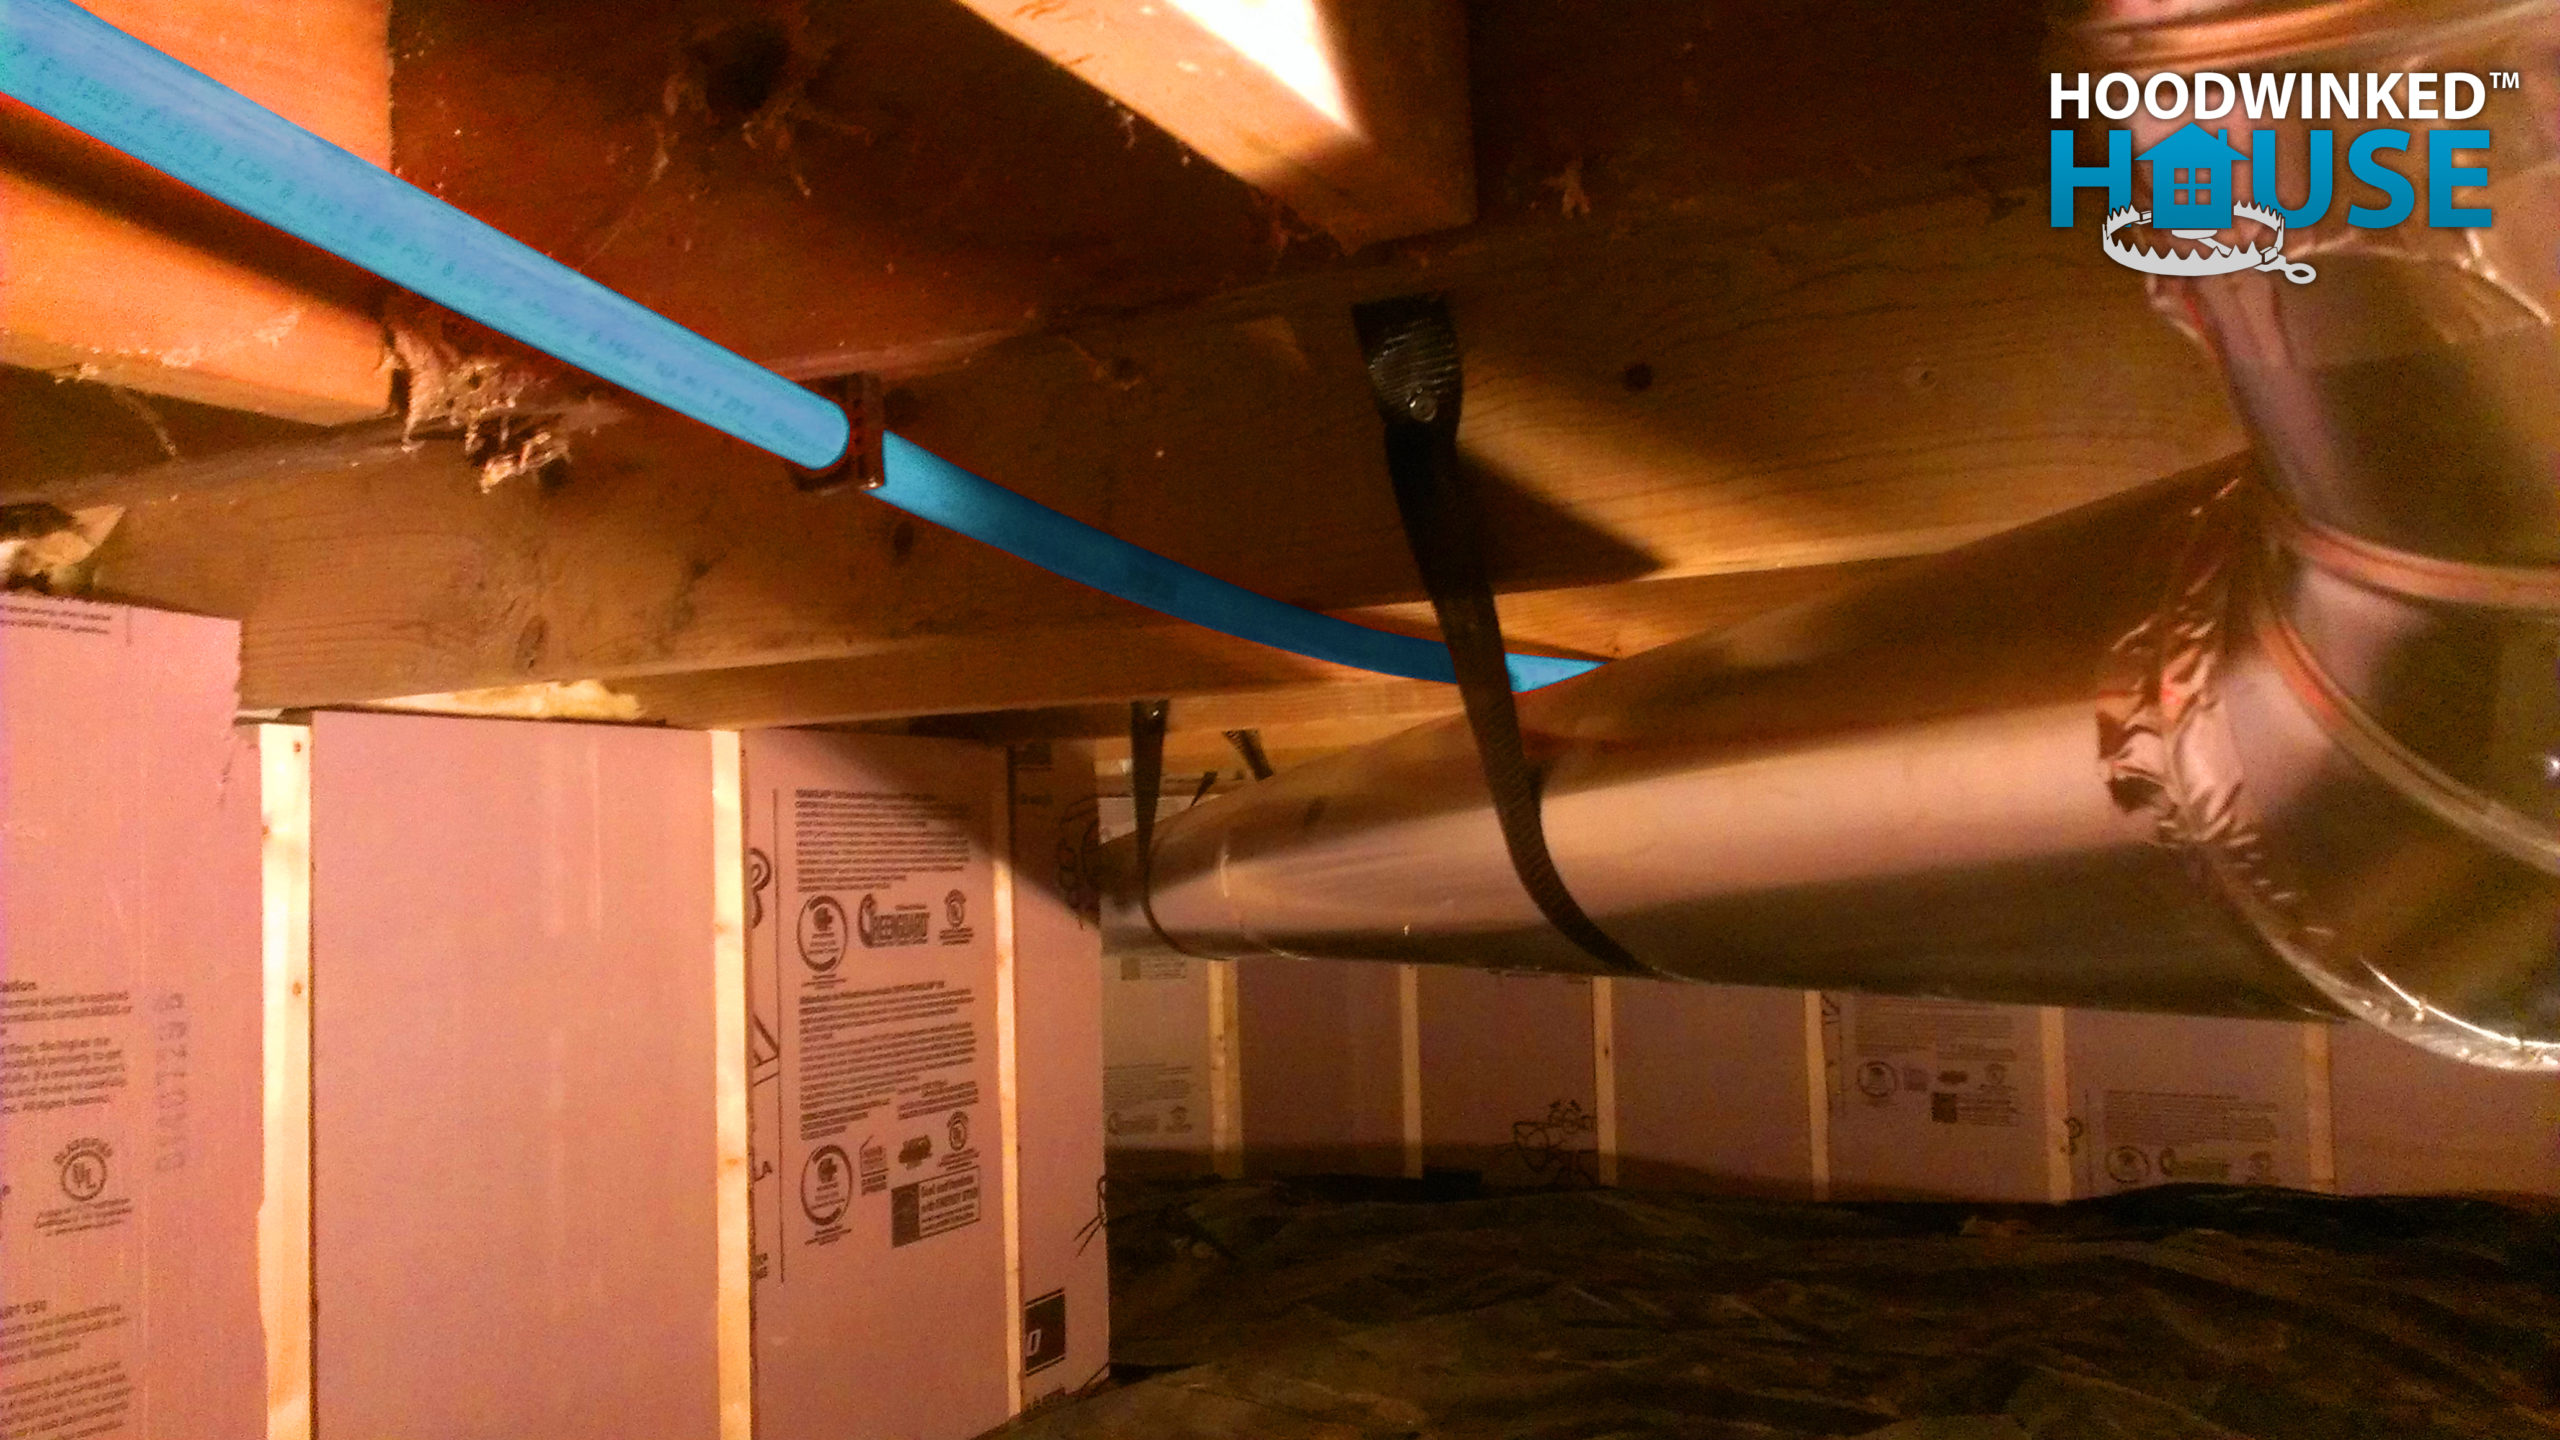
My friend BJ Patchat helps me fix my crawlspace. We start by cleaning up the hidden debris, demolishing the old flexible ducts, and replacing them with proper 6″ heating ducts. I replace all of the damaged insulation around the top of the sill plate.
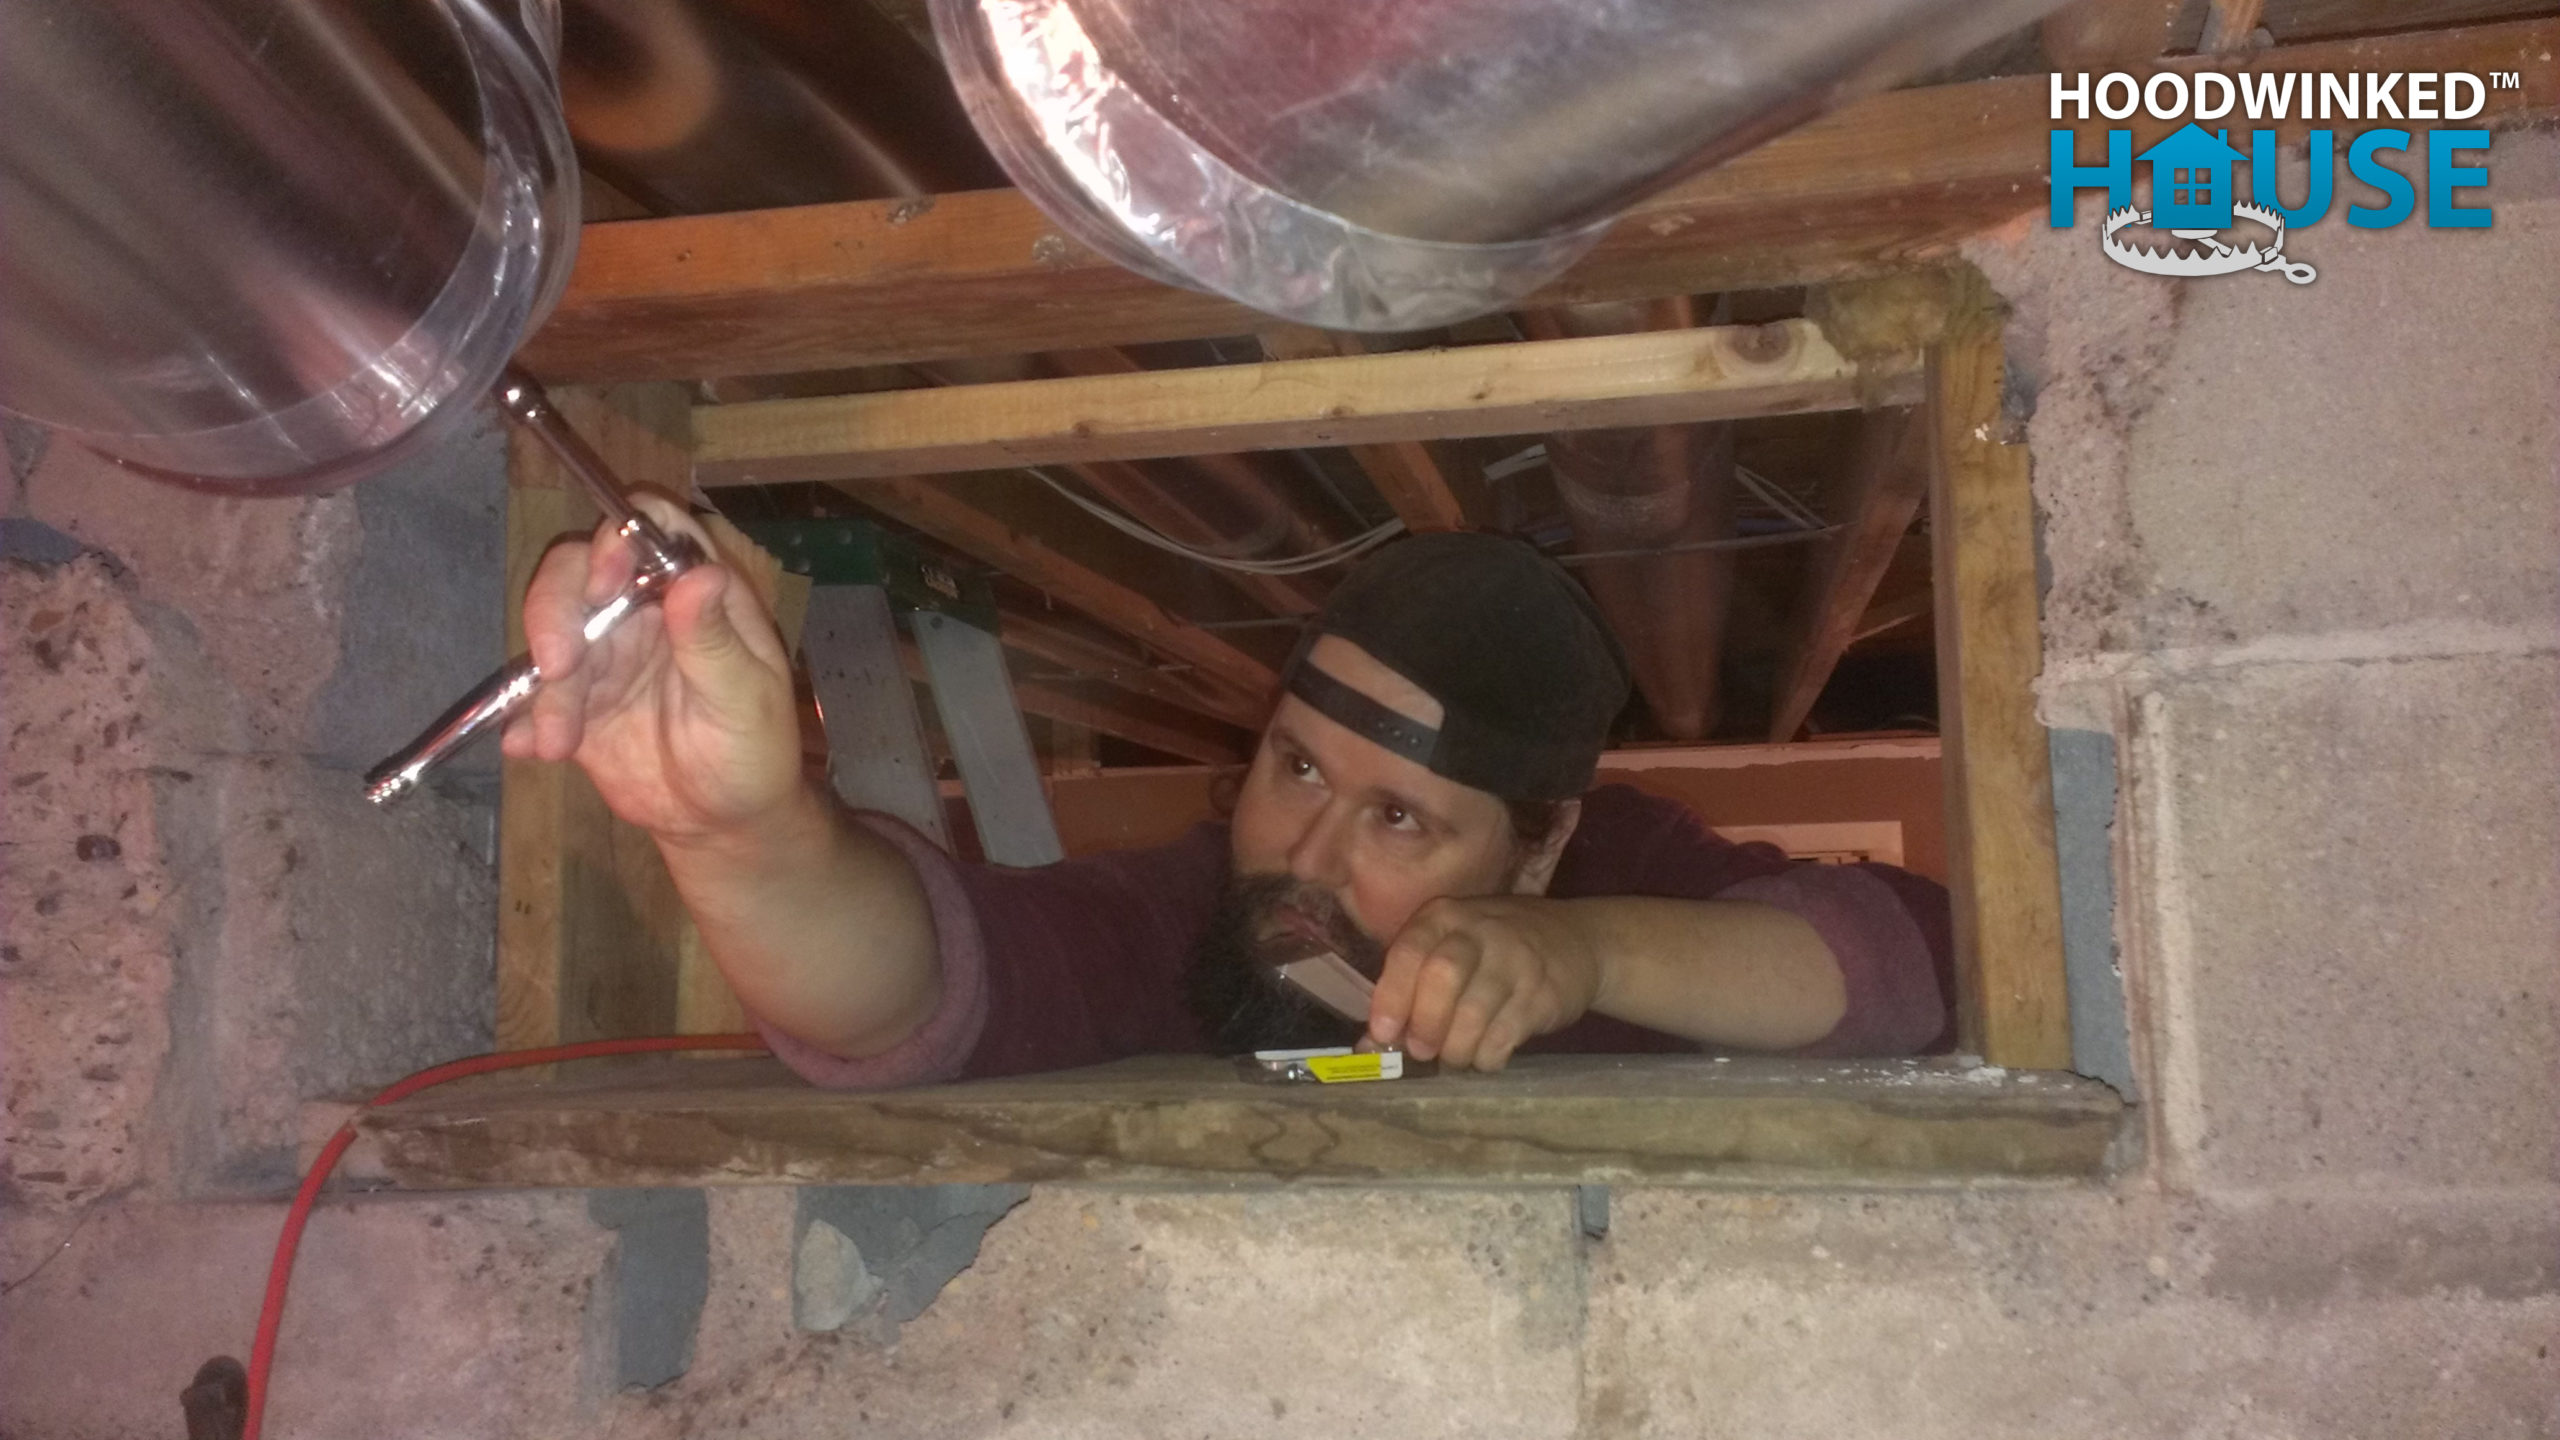
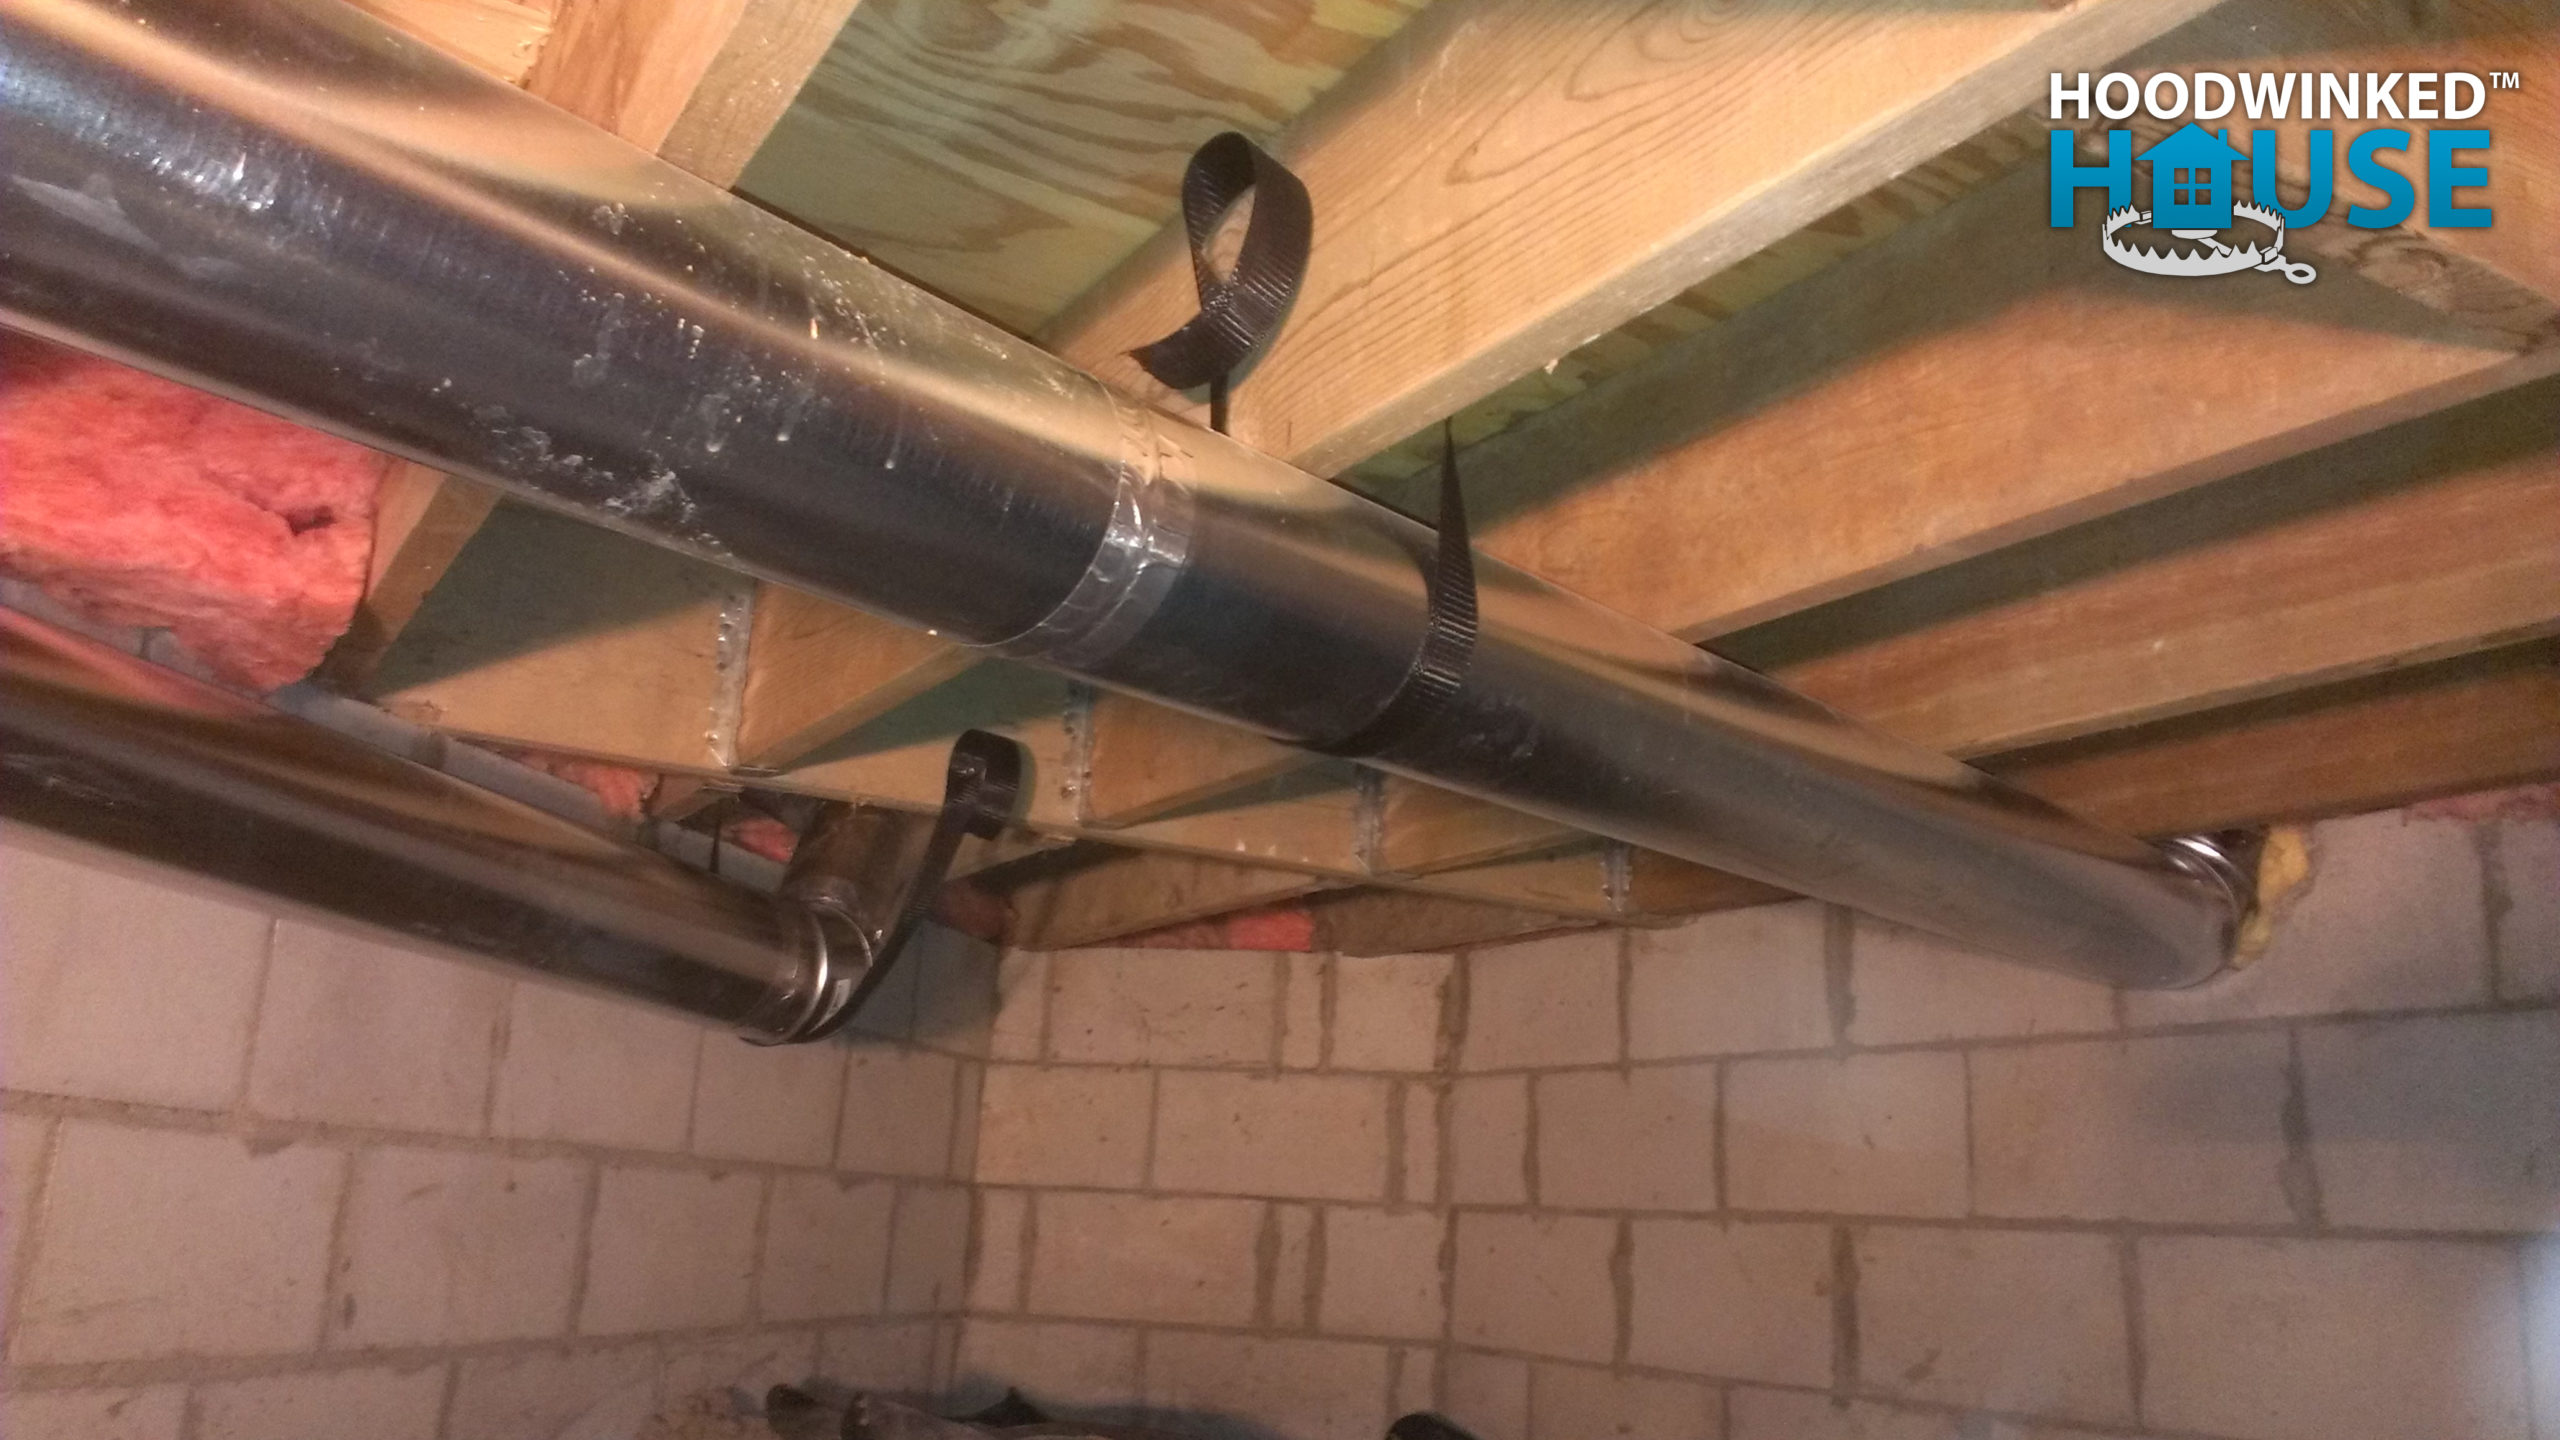
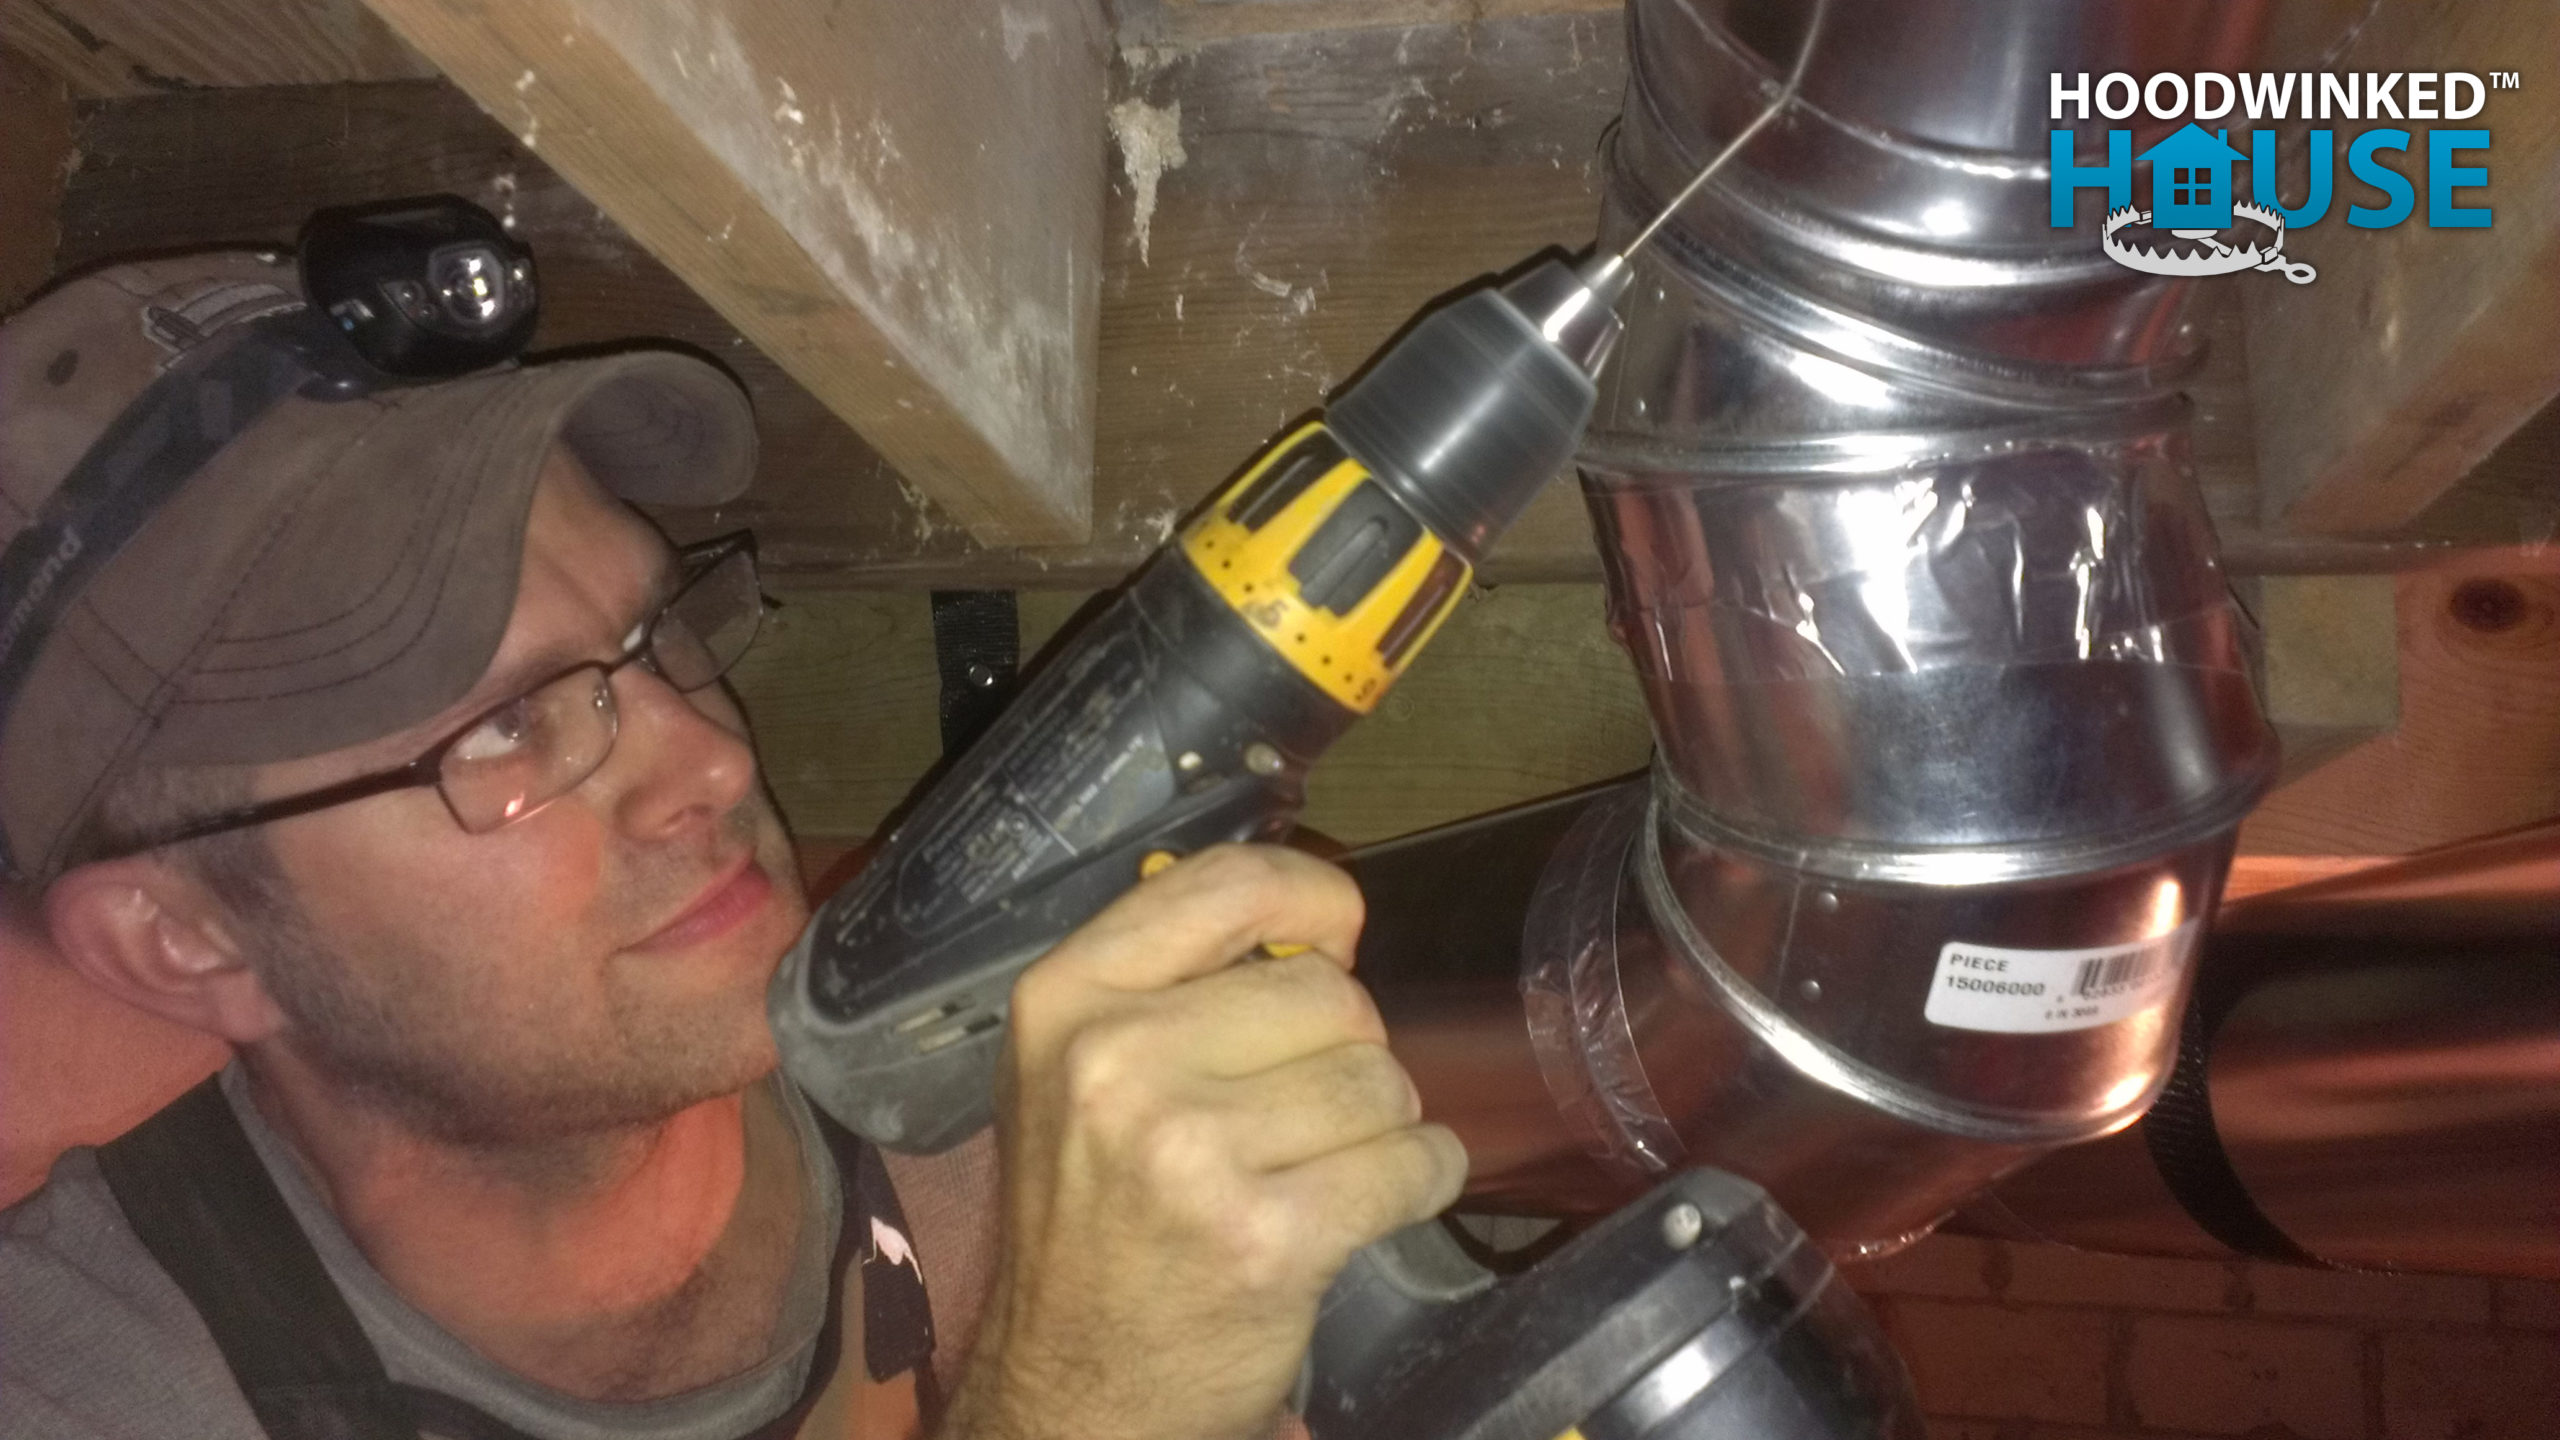
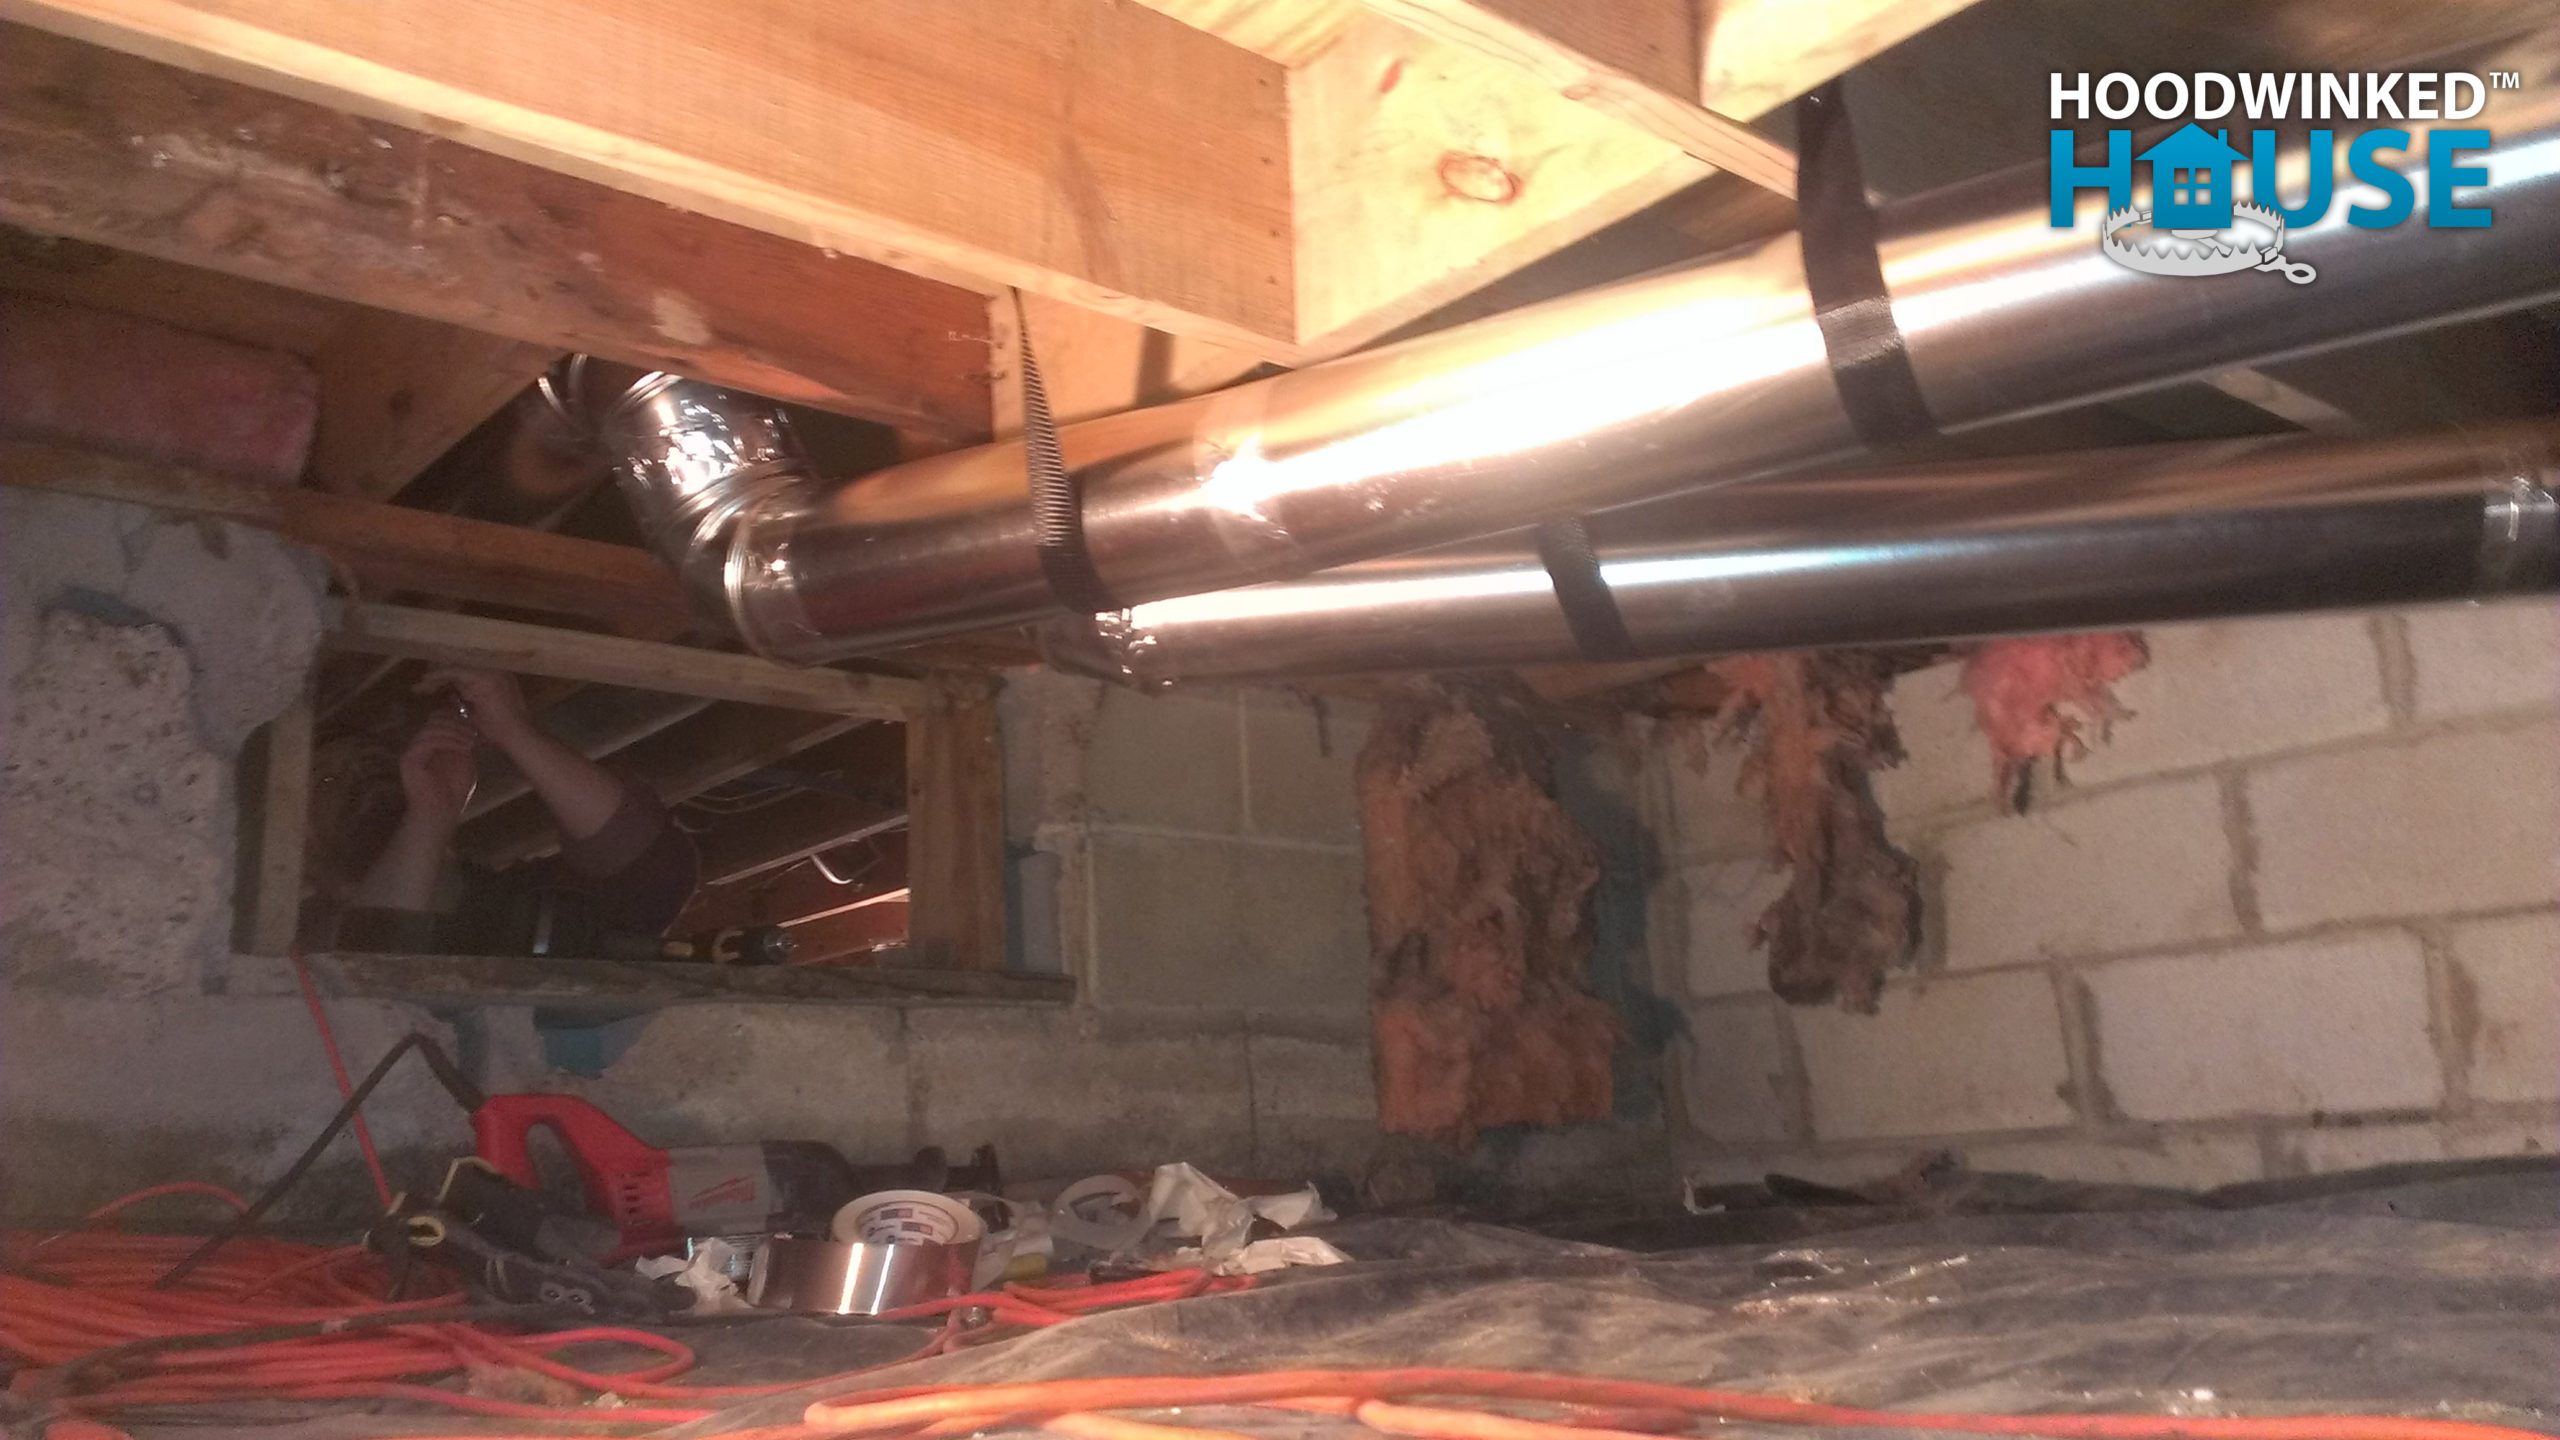
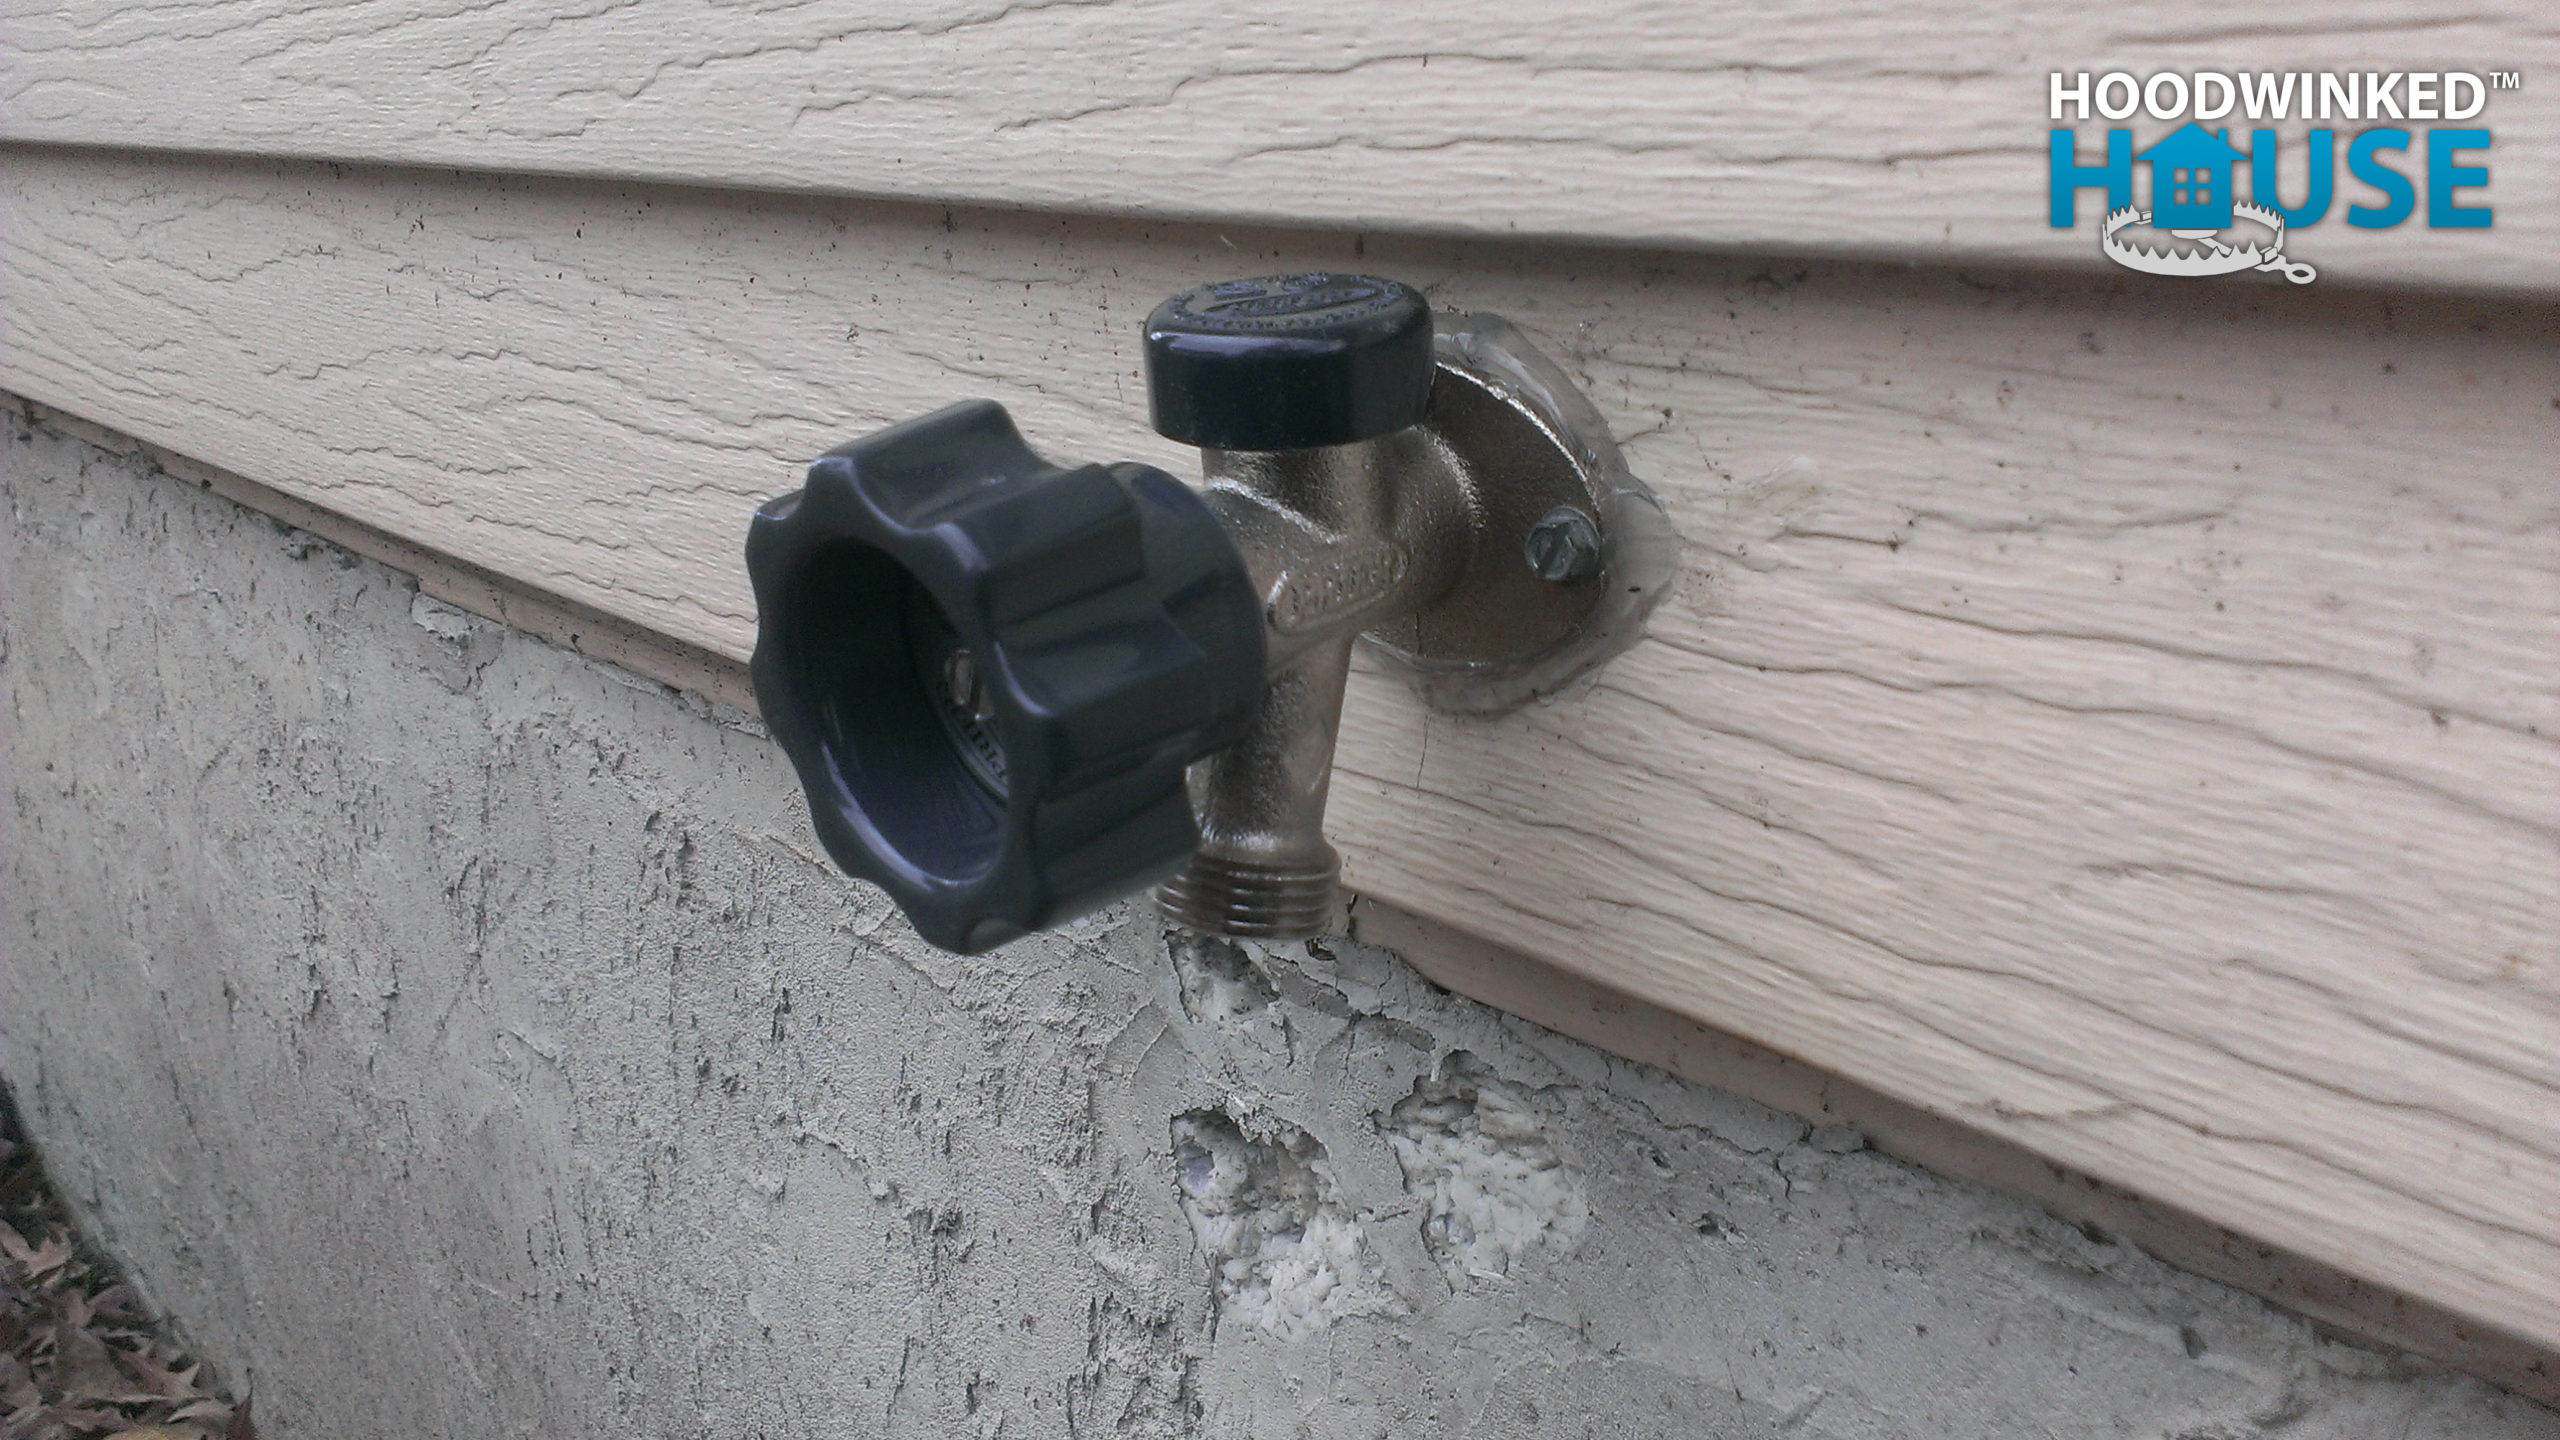
Meanwhile, BJ attaches the new ducts to the main system. I cut out the old copper silcock pipe. This will be replaced with pex.
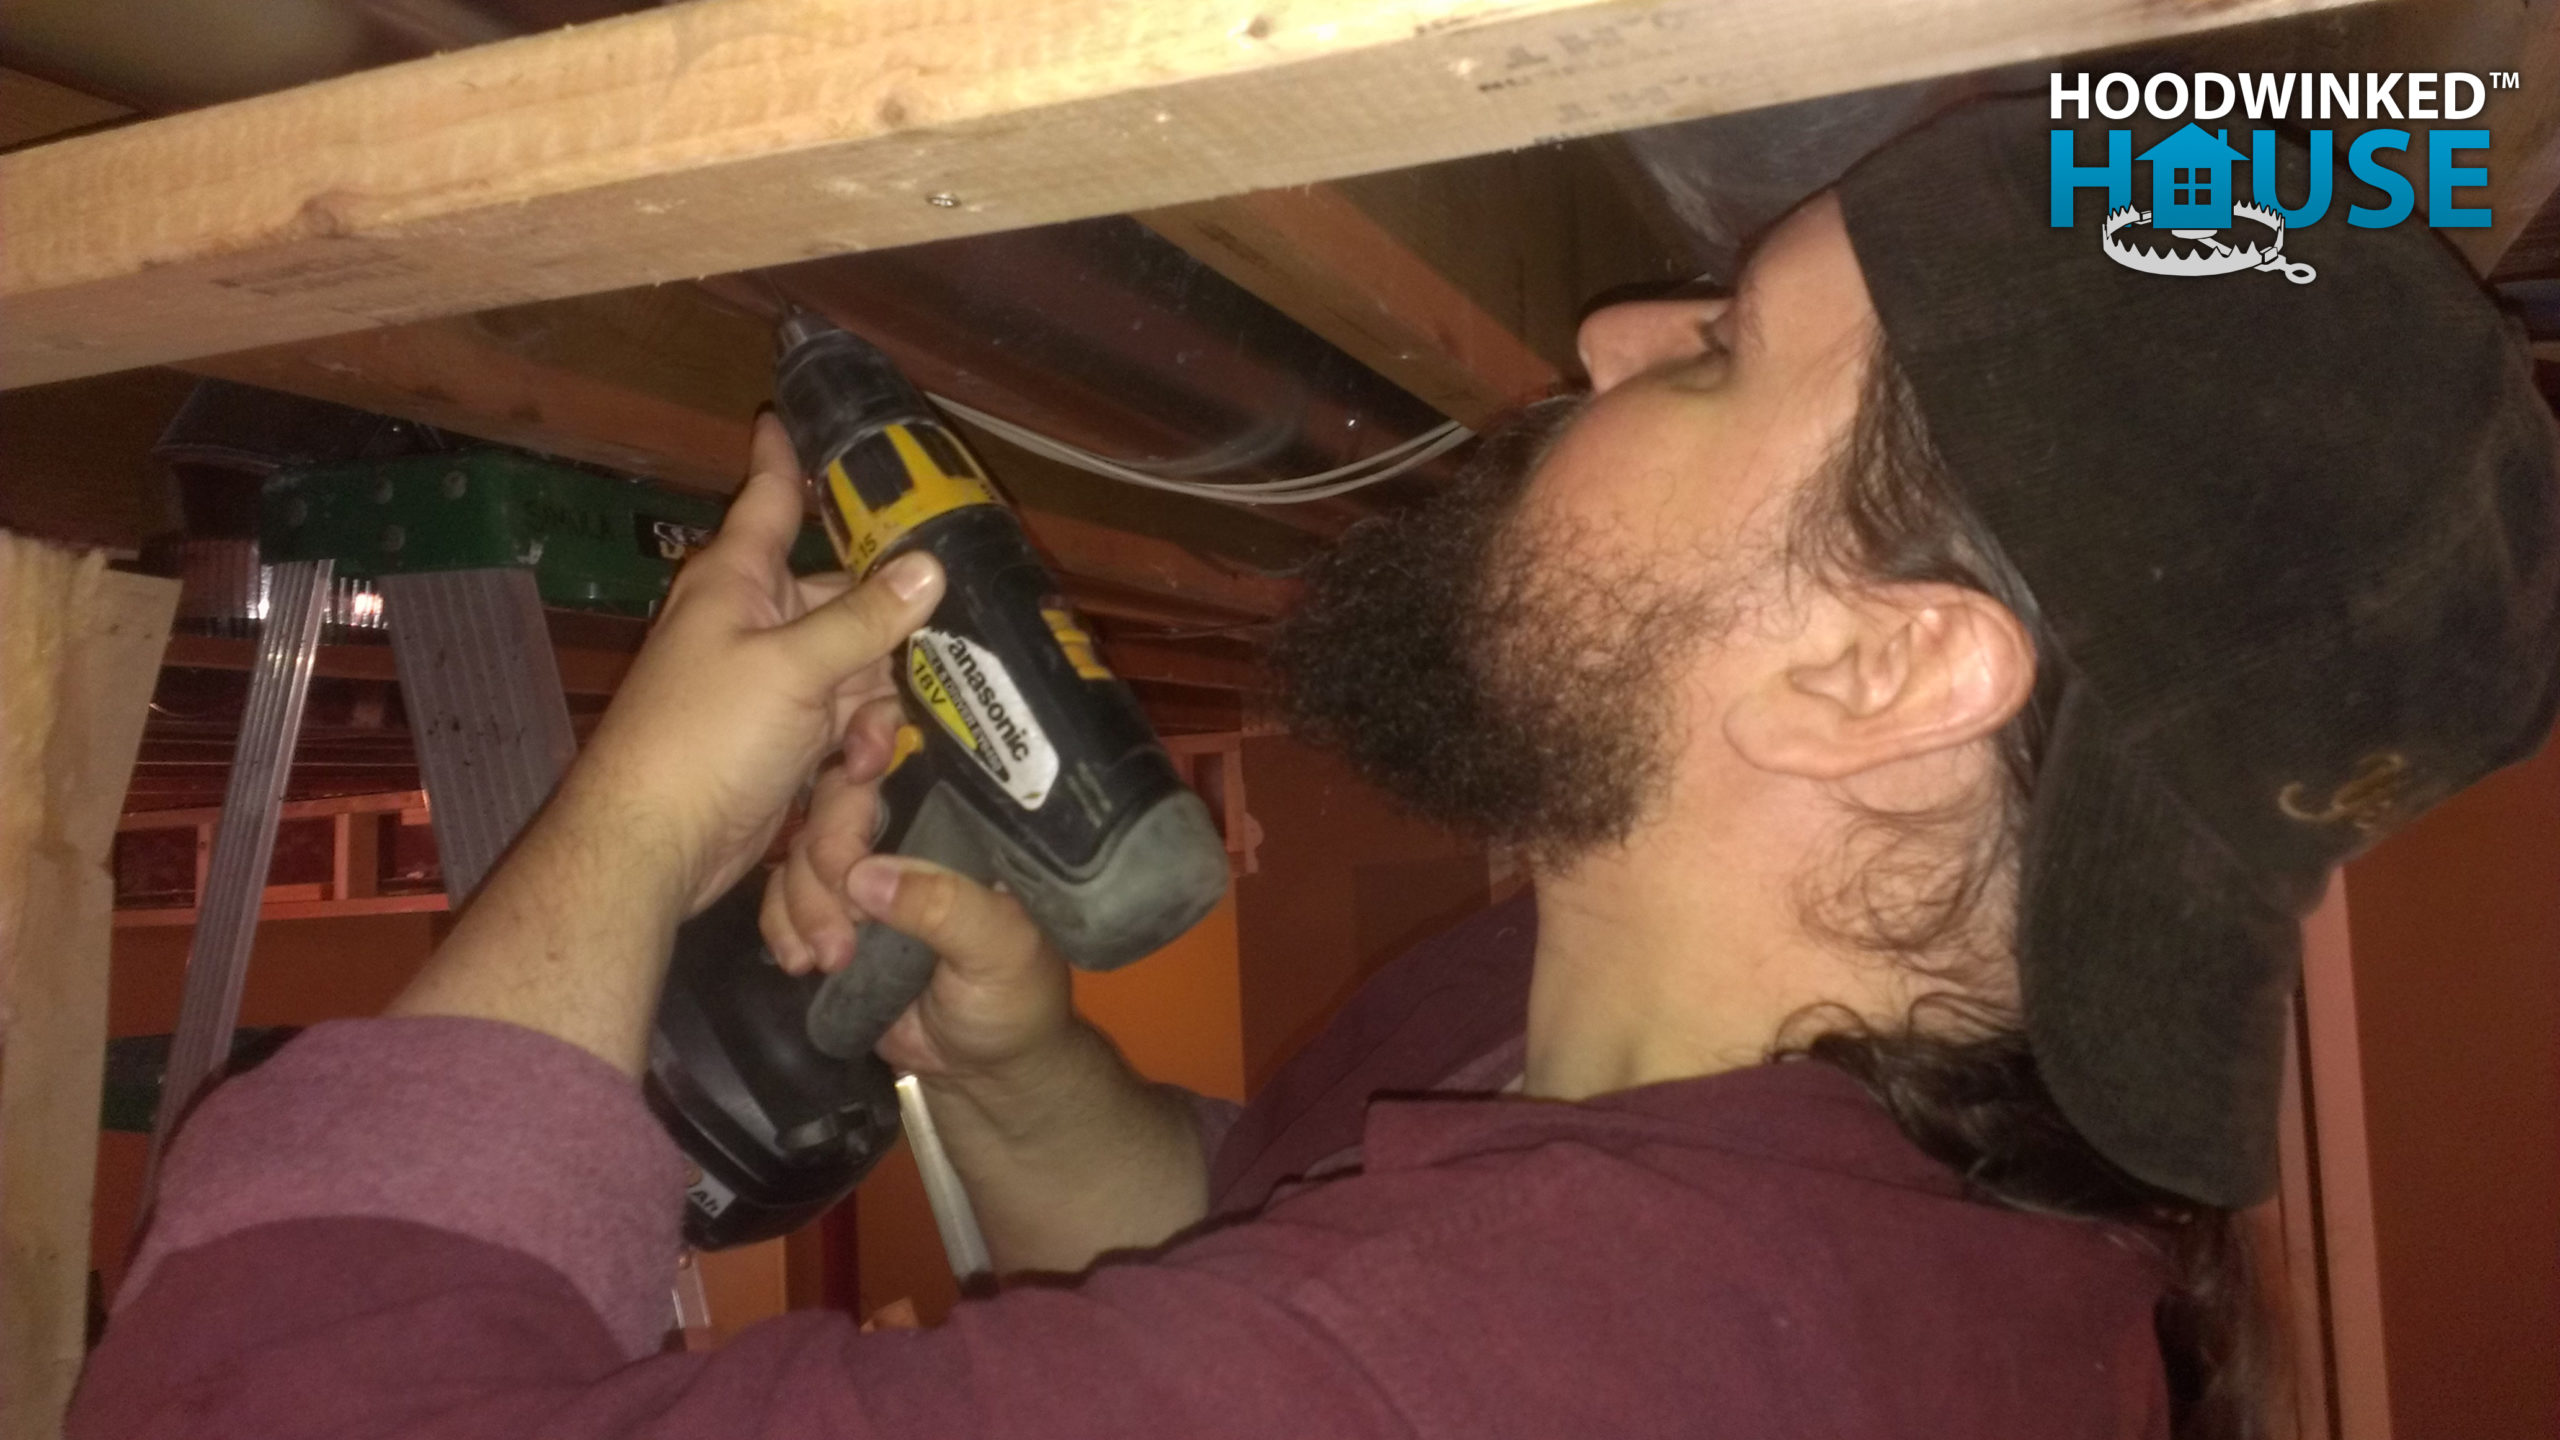
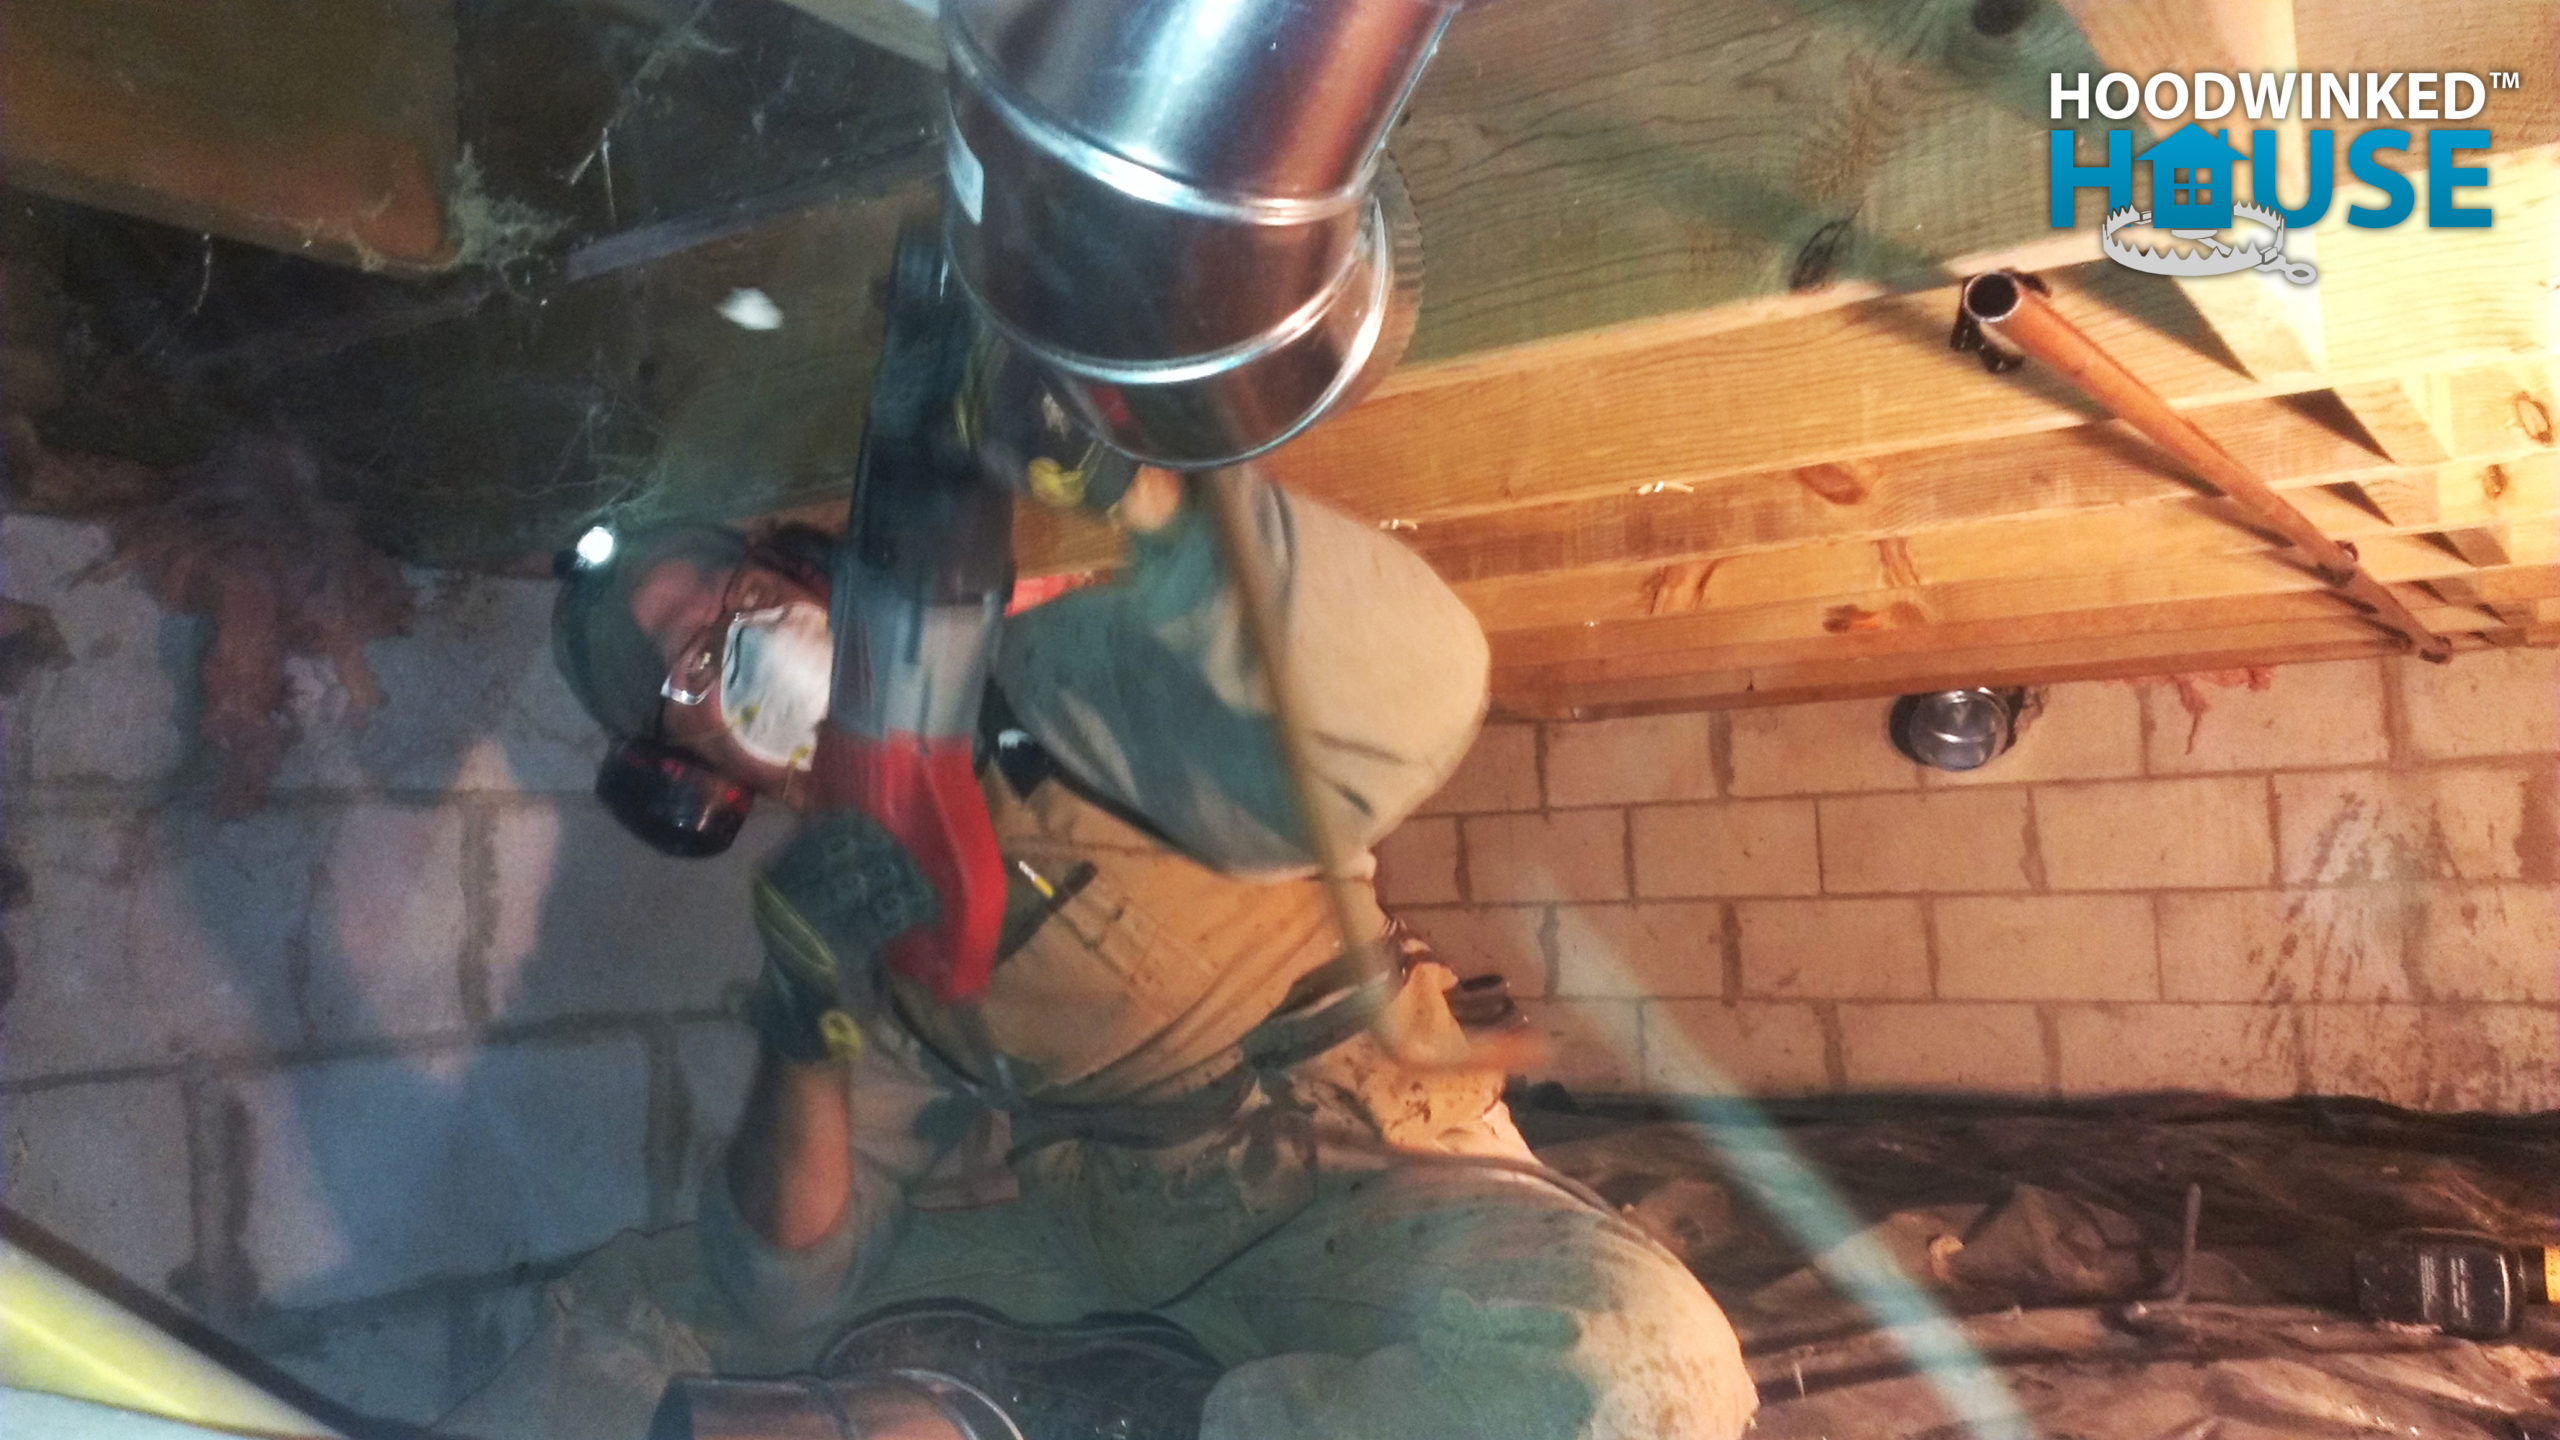
Later, my friends Jeff Hansen and Shelly Sadowski help us cut furring strips and foam insulation panels. I install the furring strips and insulation panels.
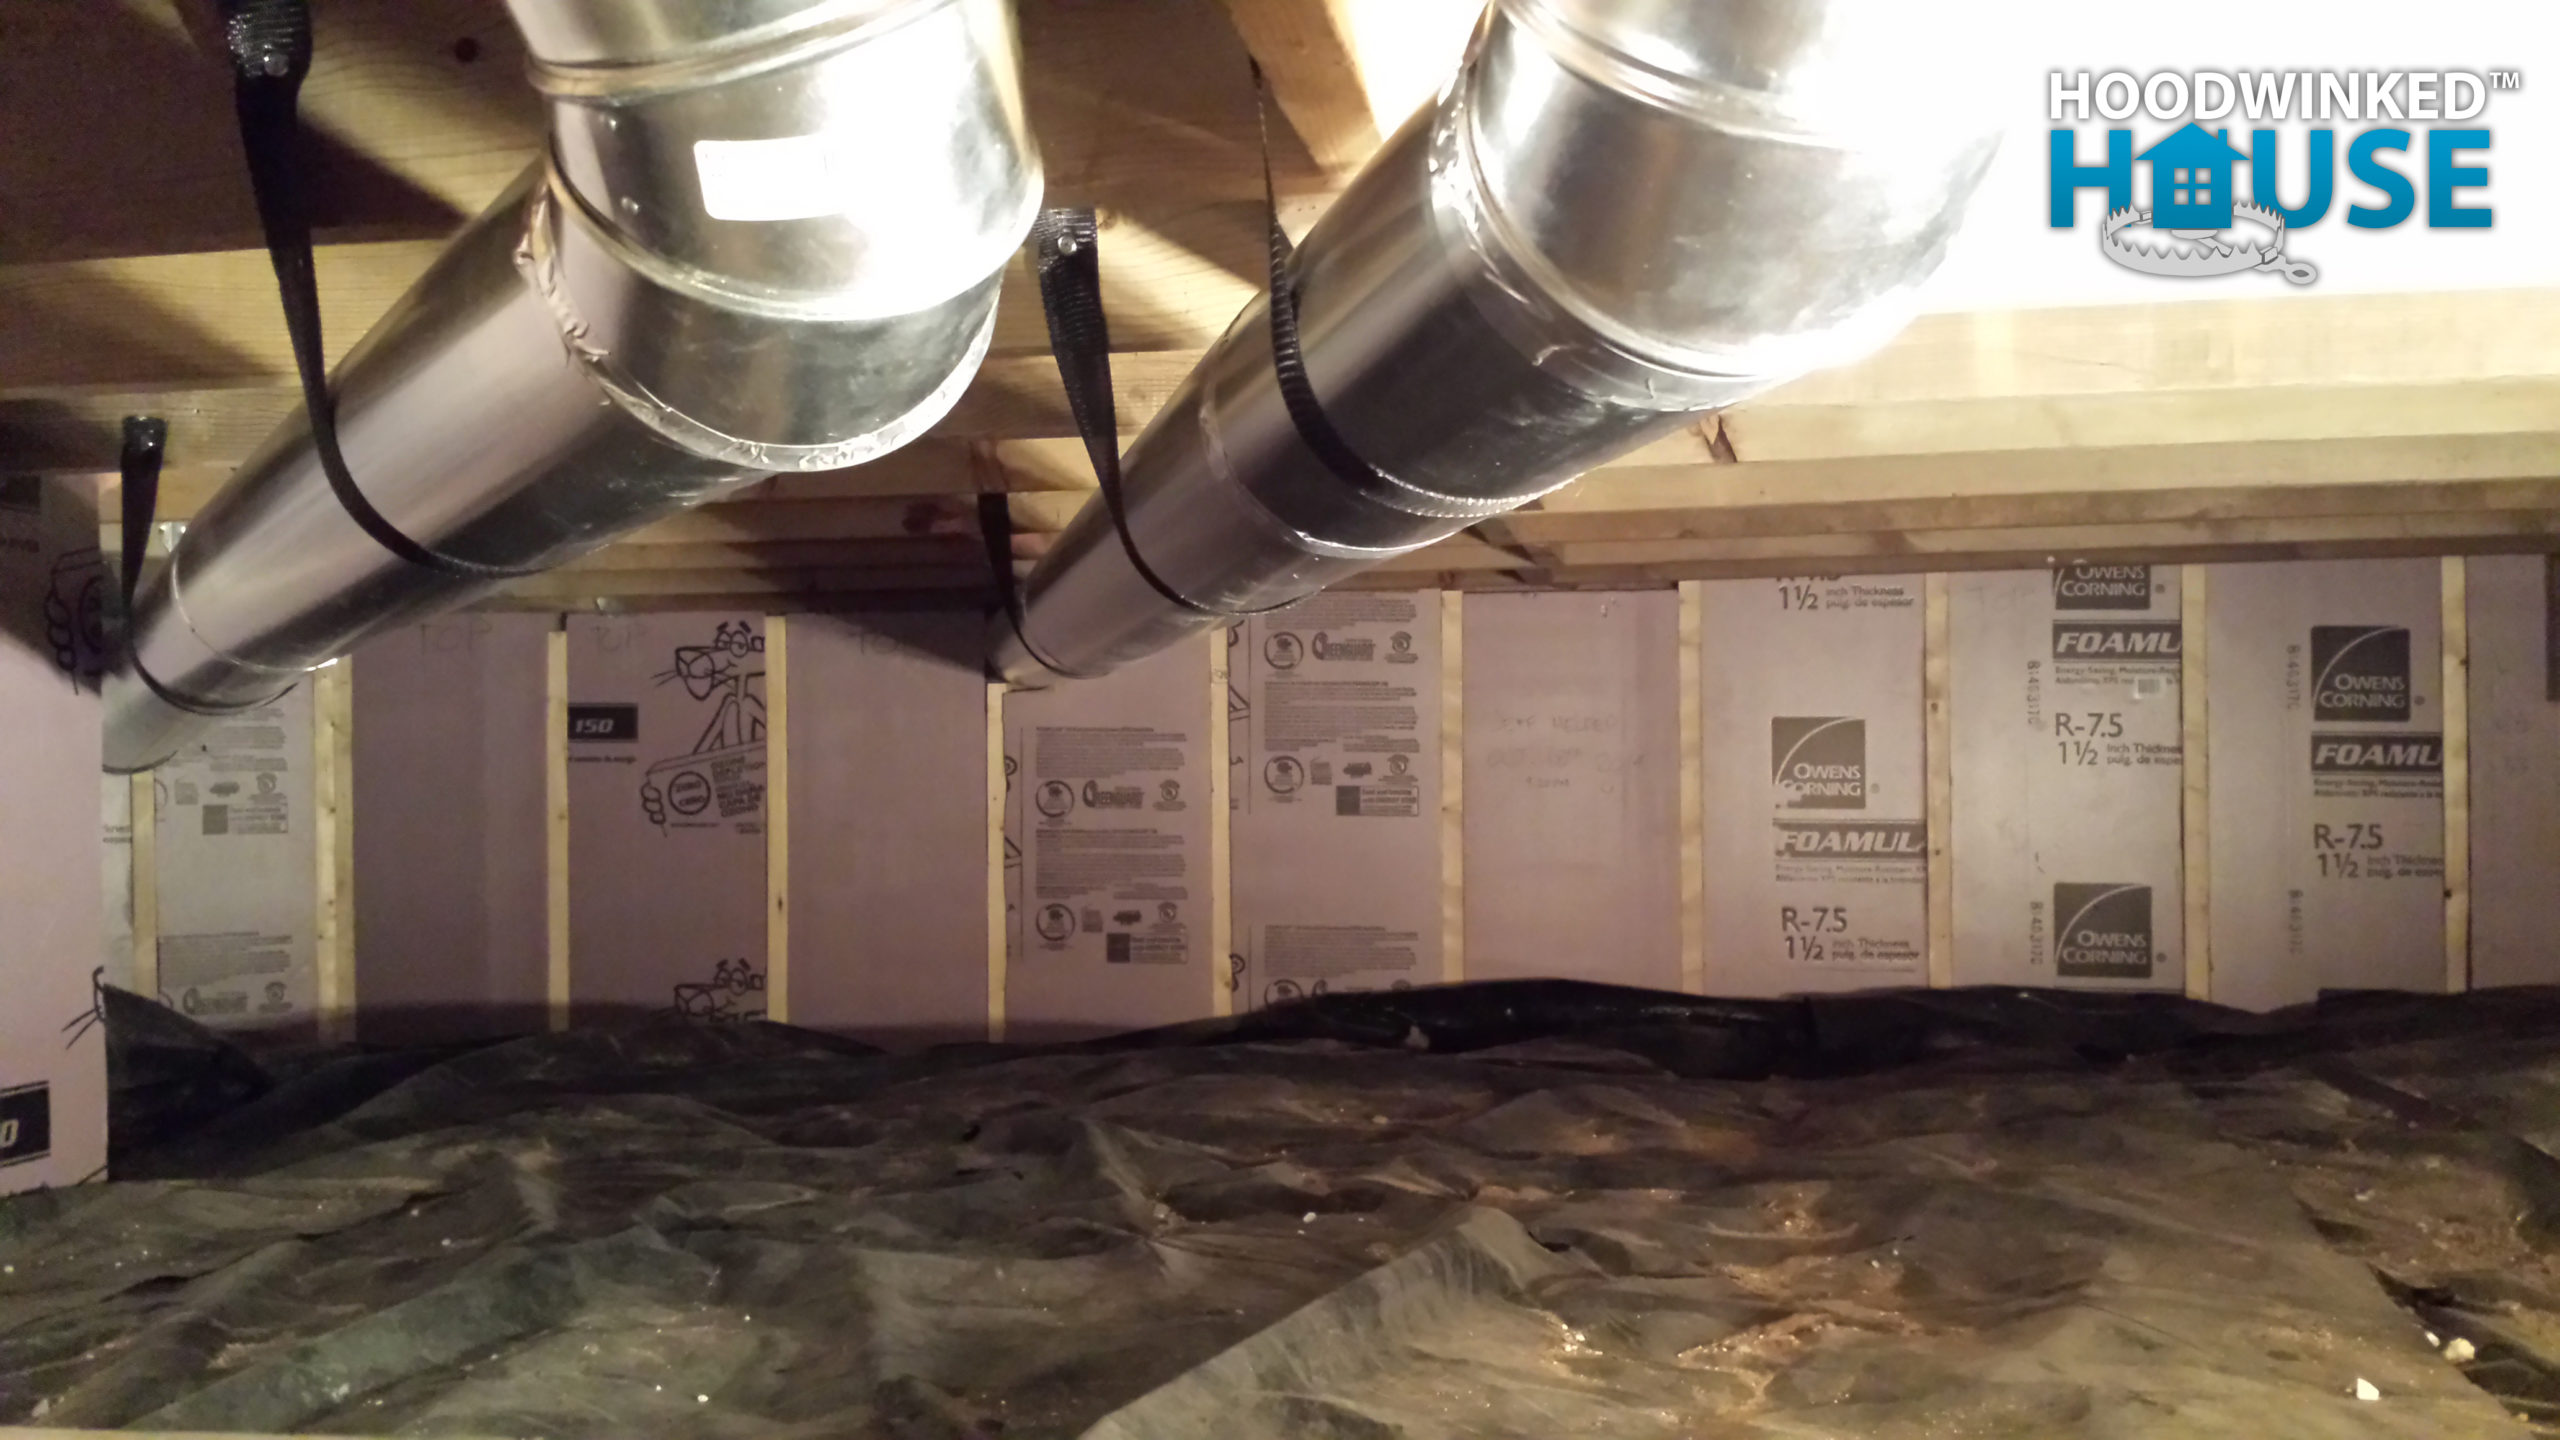
This portion of the project costs $181.96.
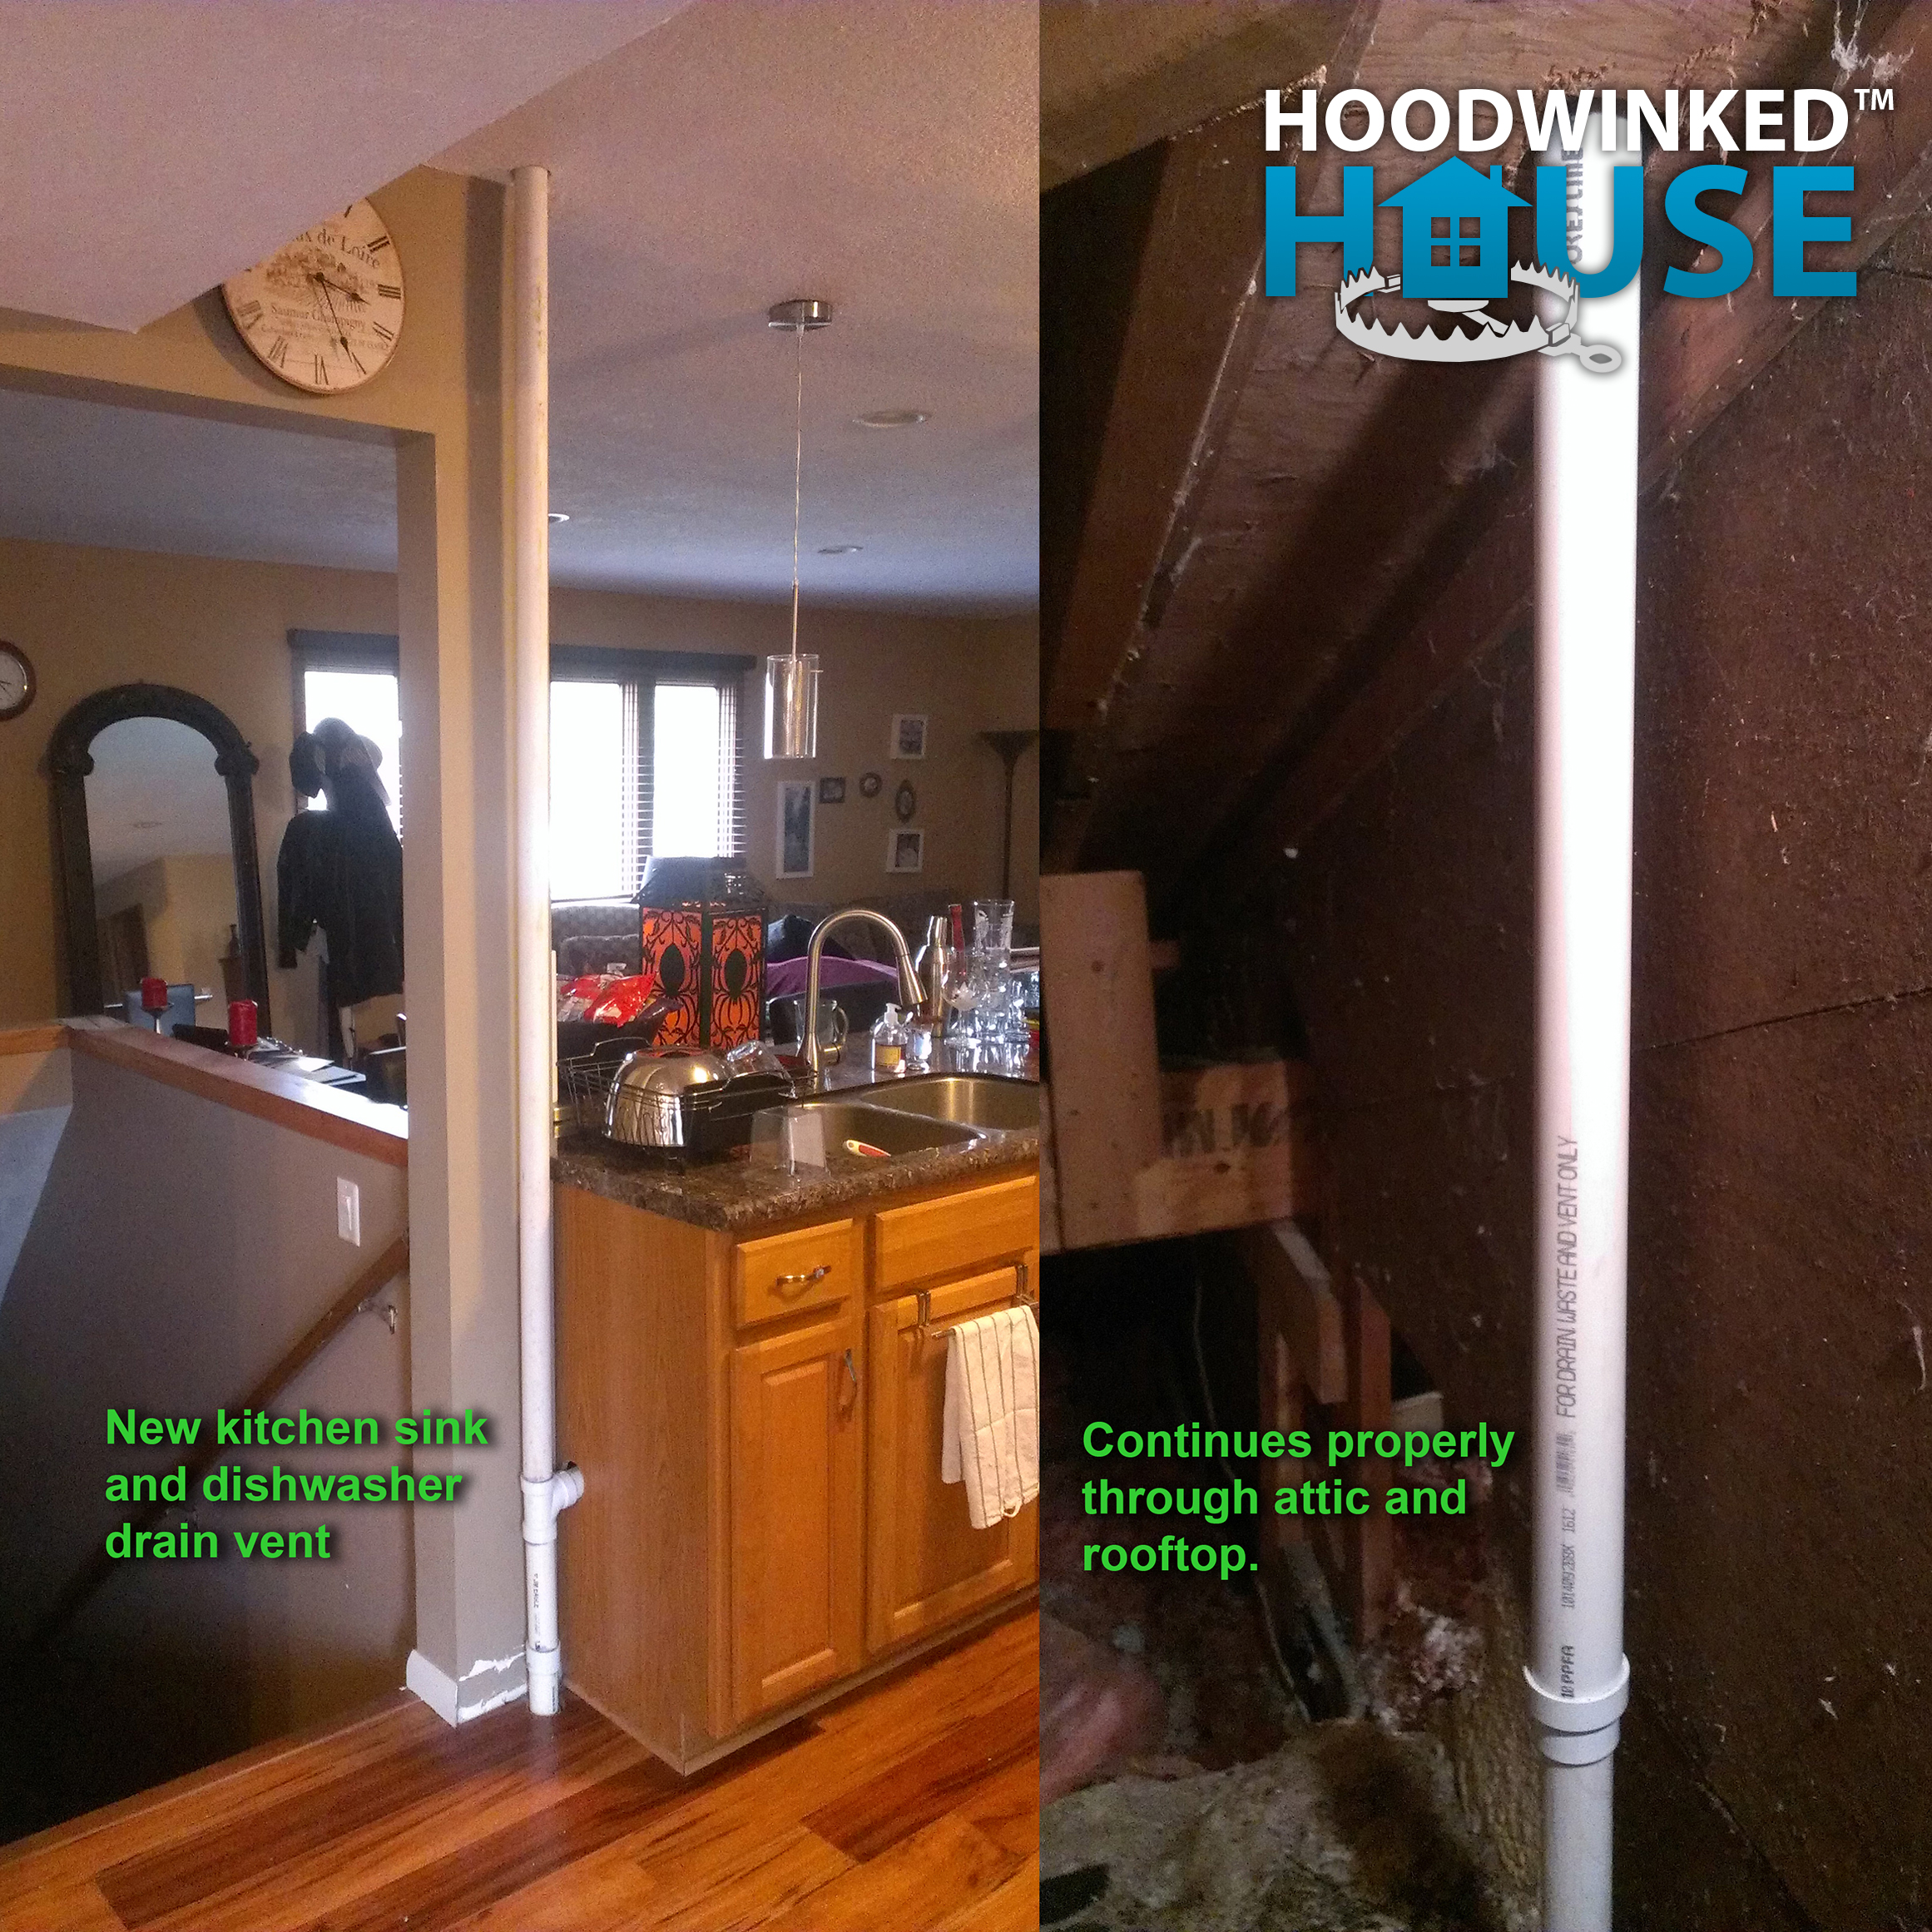
My plumber returns to complete some unfinished projects.
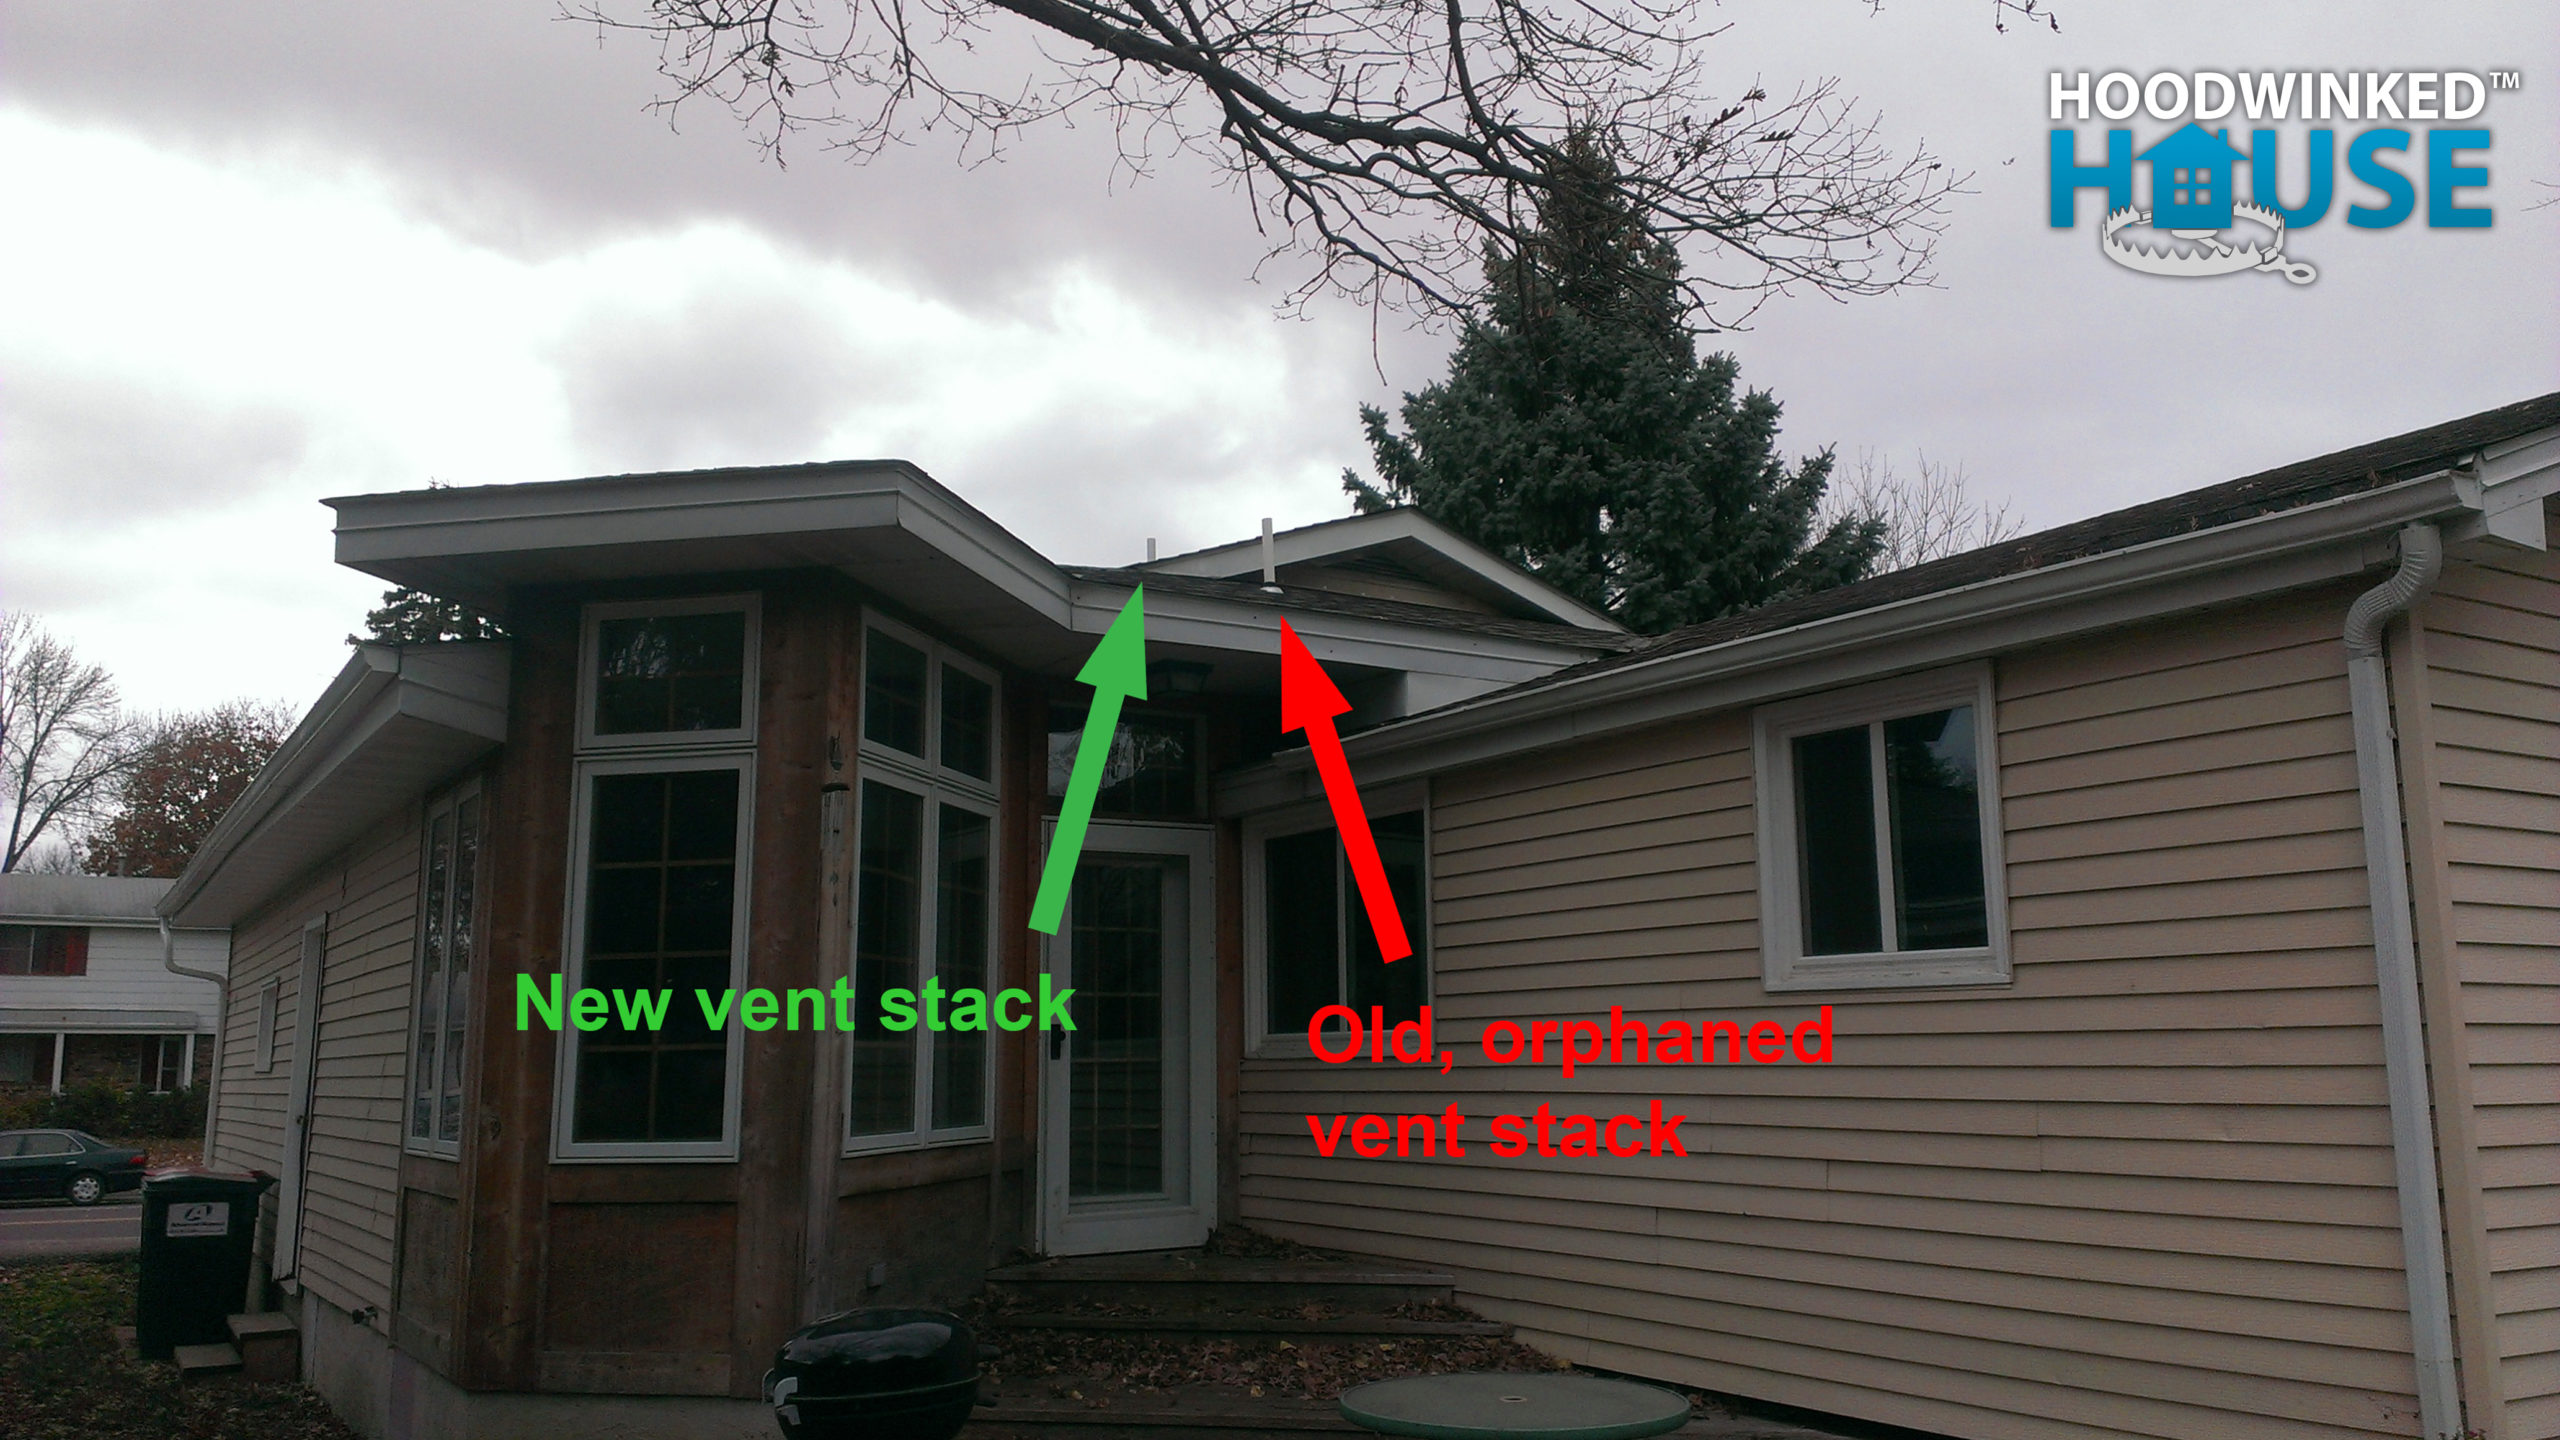
He extends the new kitchen vent stack through the roof.
He plumbs in a new shower manifold for the downstairs bathroom.

He replaces the old silcock on the west wall, plumbs it through the crawlspace, and connects it to the rest of the system.
Apart from the fixtures, this wraps up all of the major “behind the wallls” plumbing re-work to correct the faulty, leaking pipes done by the flipper.
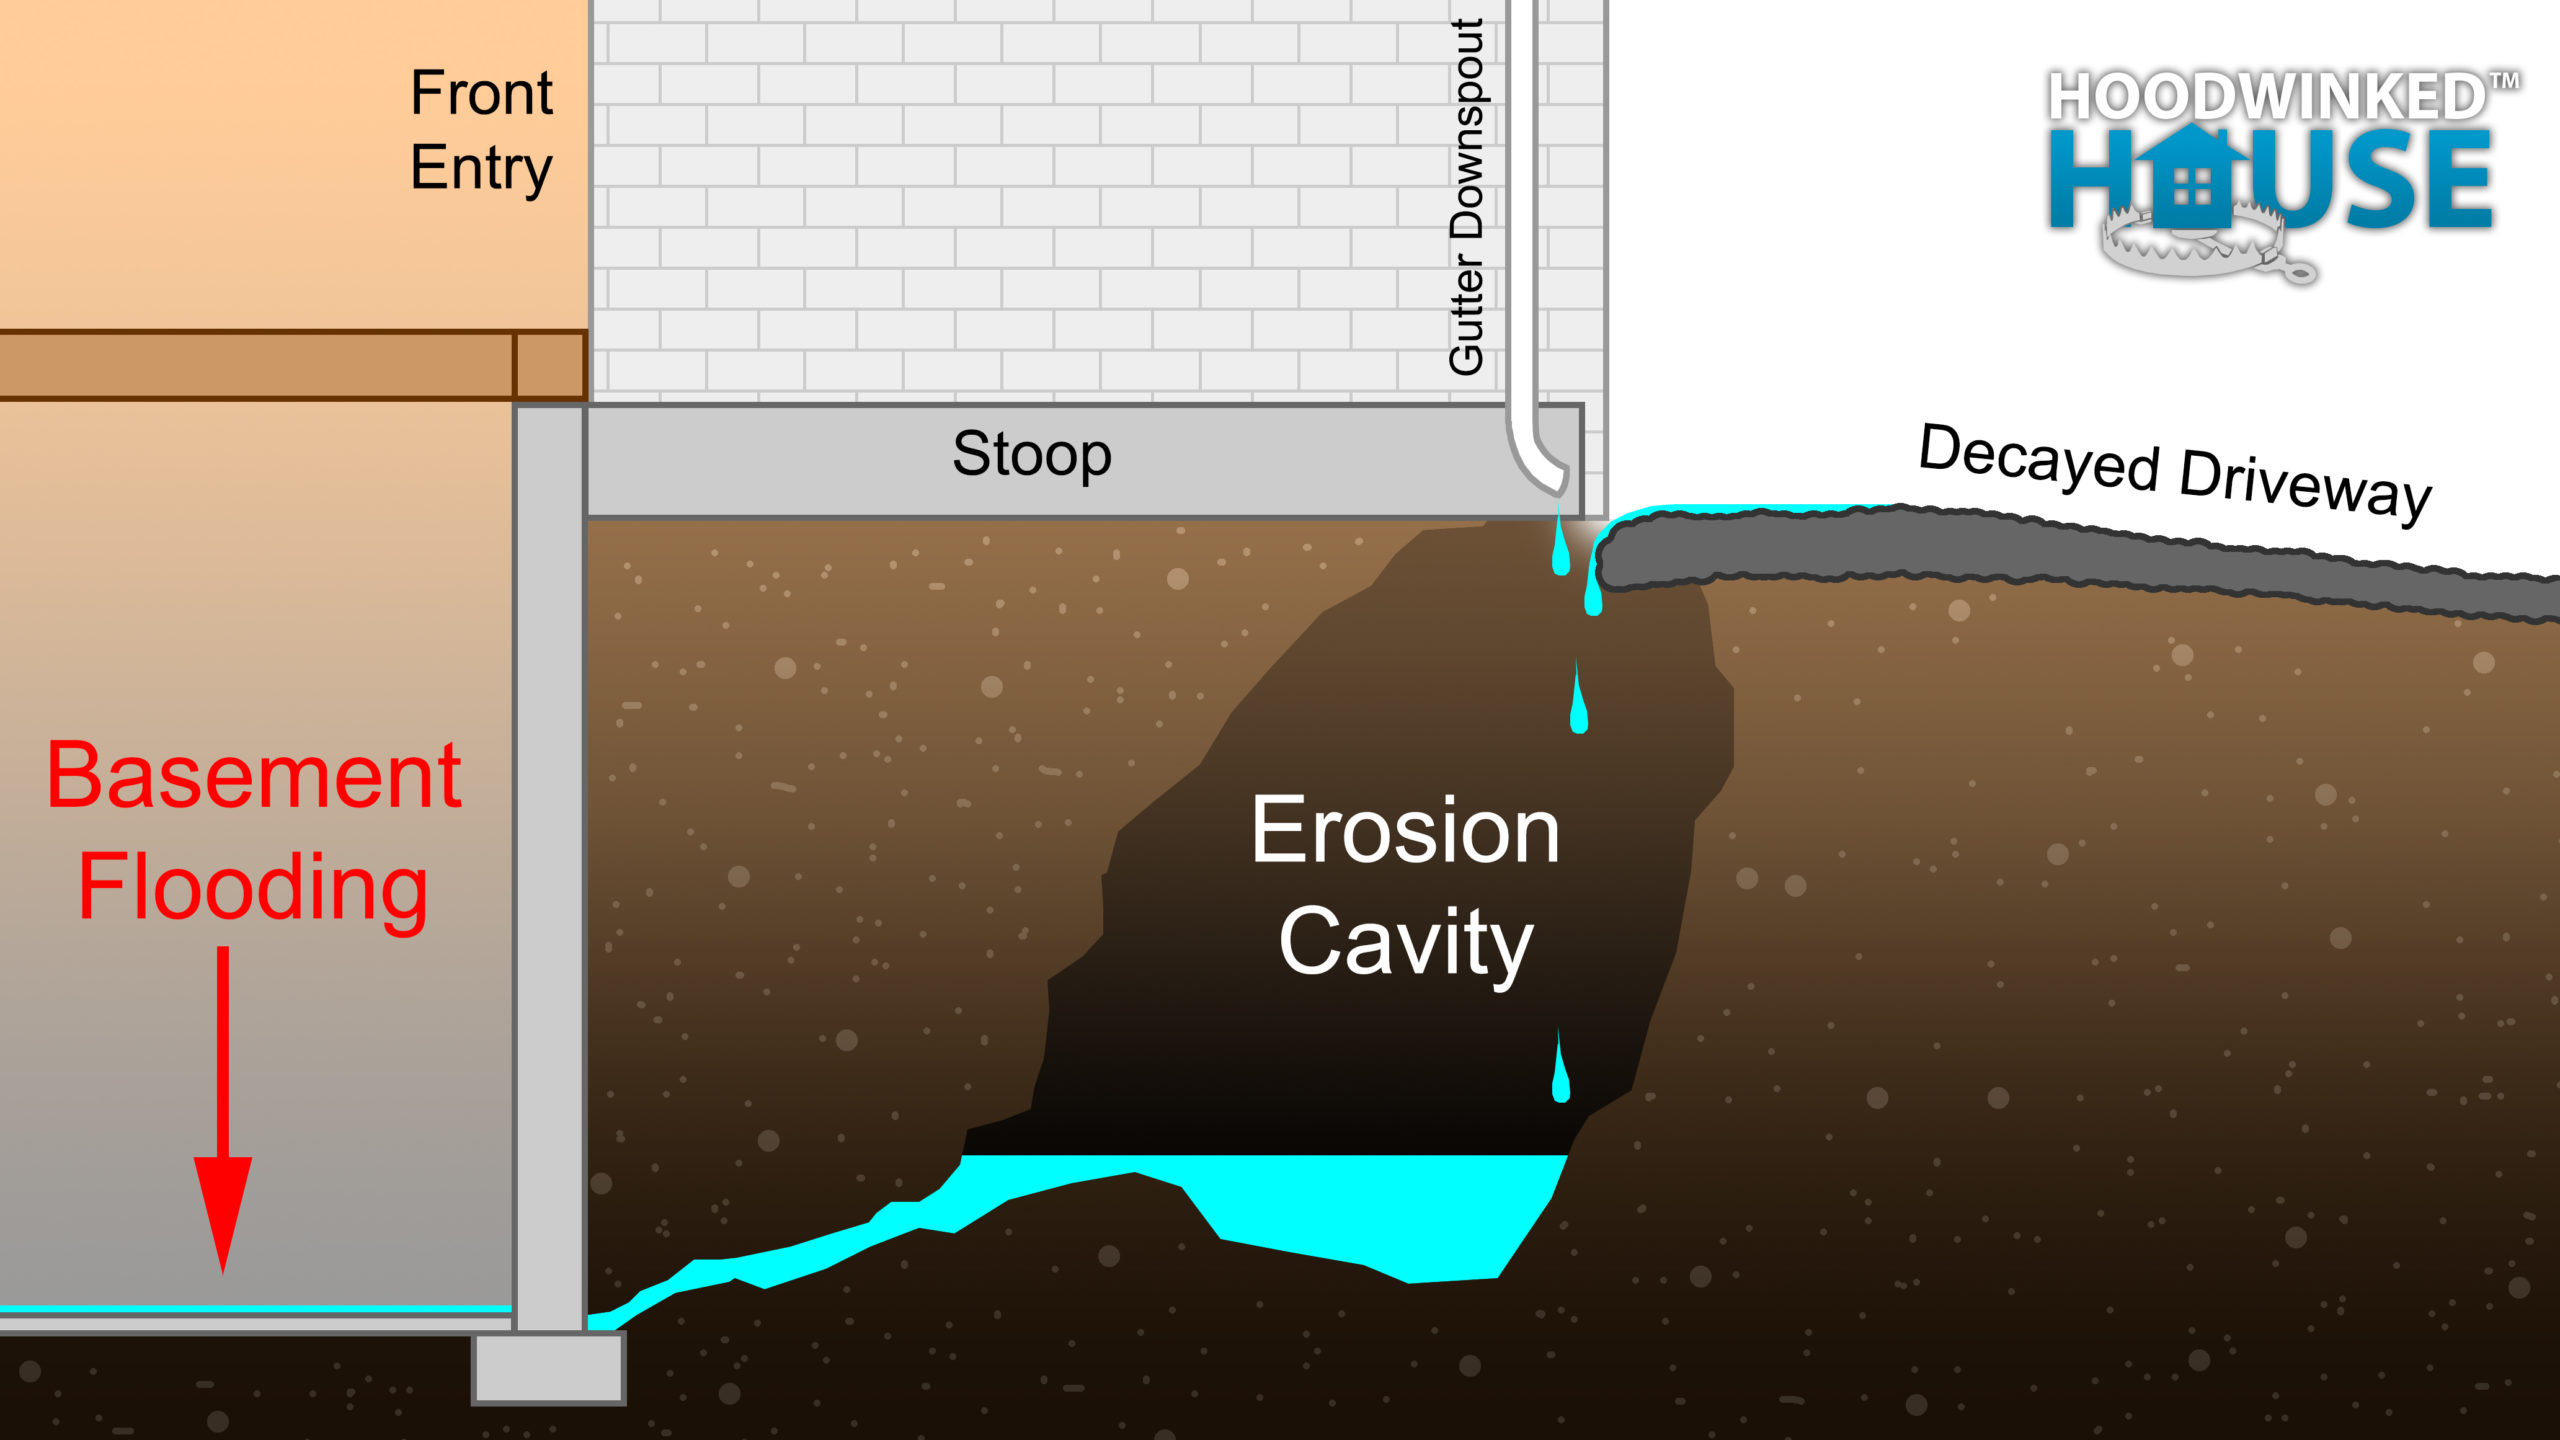
Thanks to a broken downspout (before I purchased the home) and the decaying asphalt driveway, some erosion has occurred between the driveway and my front entry stoop. Could this be contributing to the basement flooding? I fixed the downspout days after moving in, but leaves and other debris were hiding this growing erosion problem.

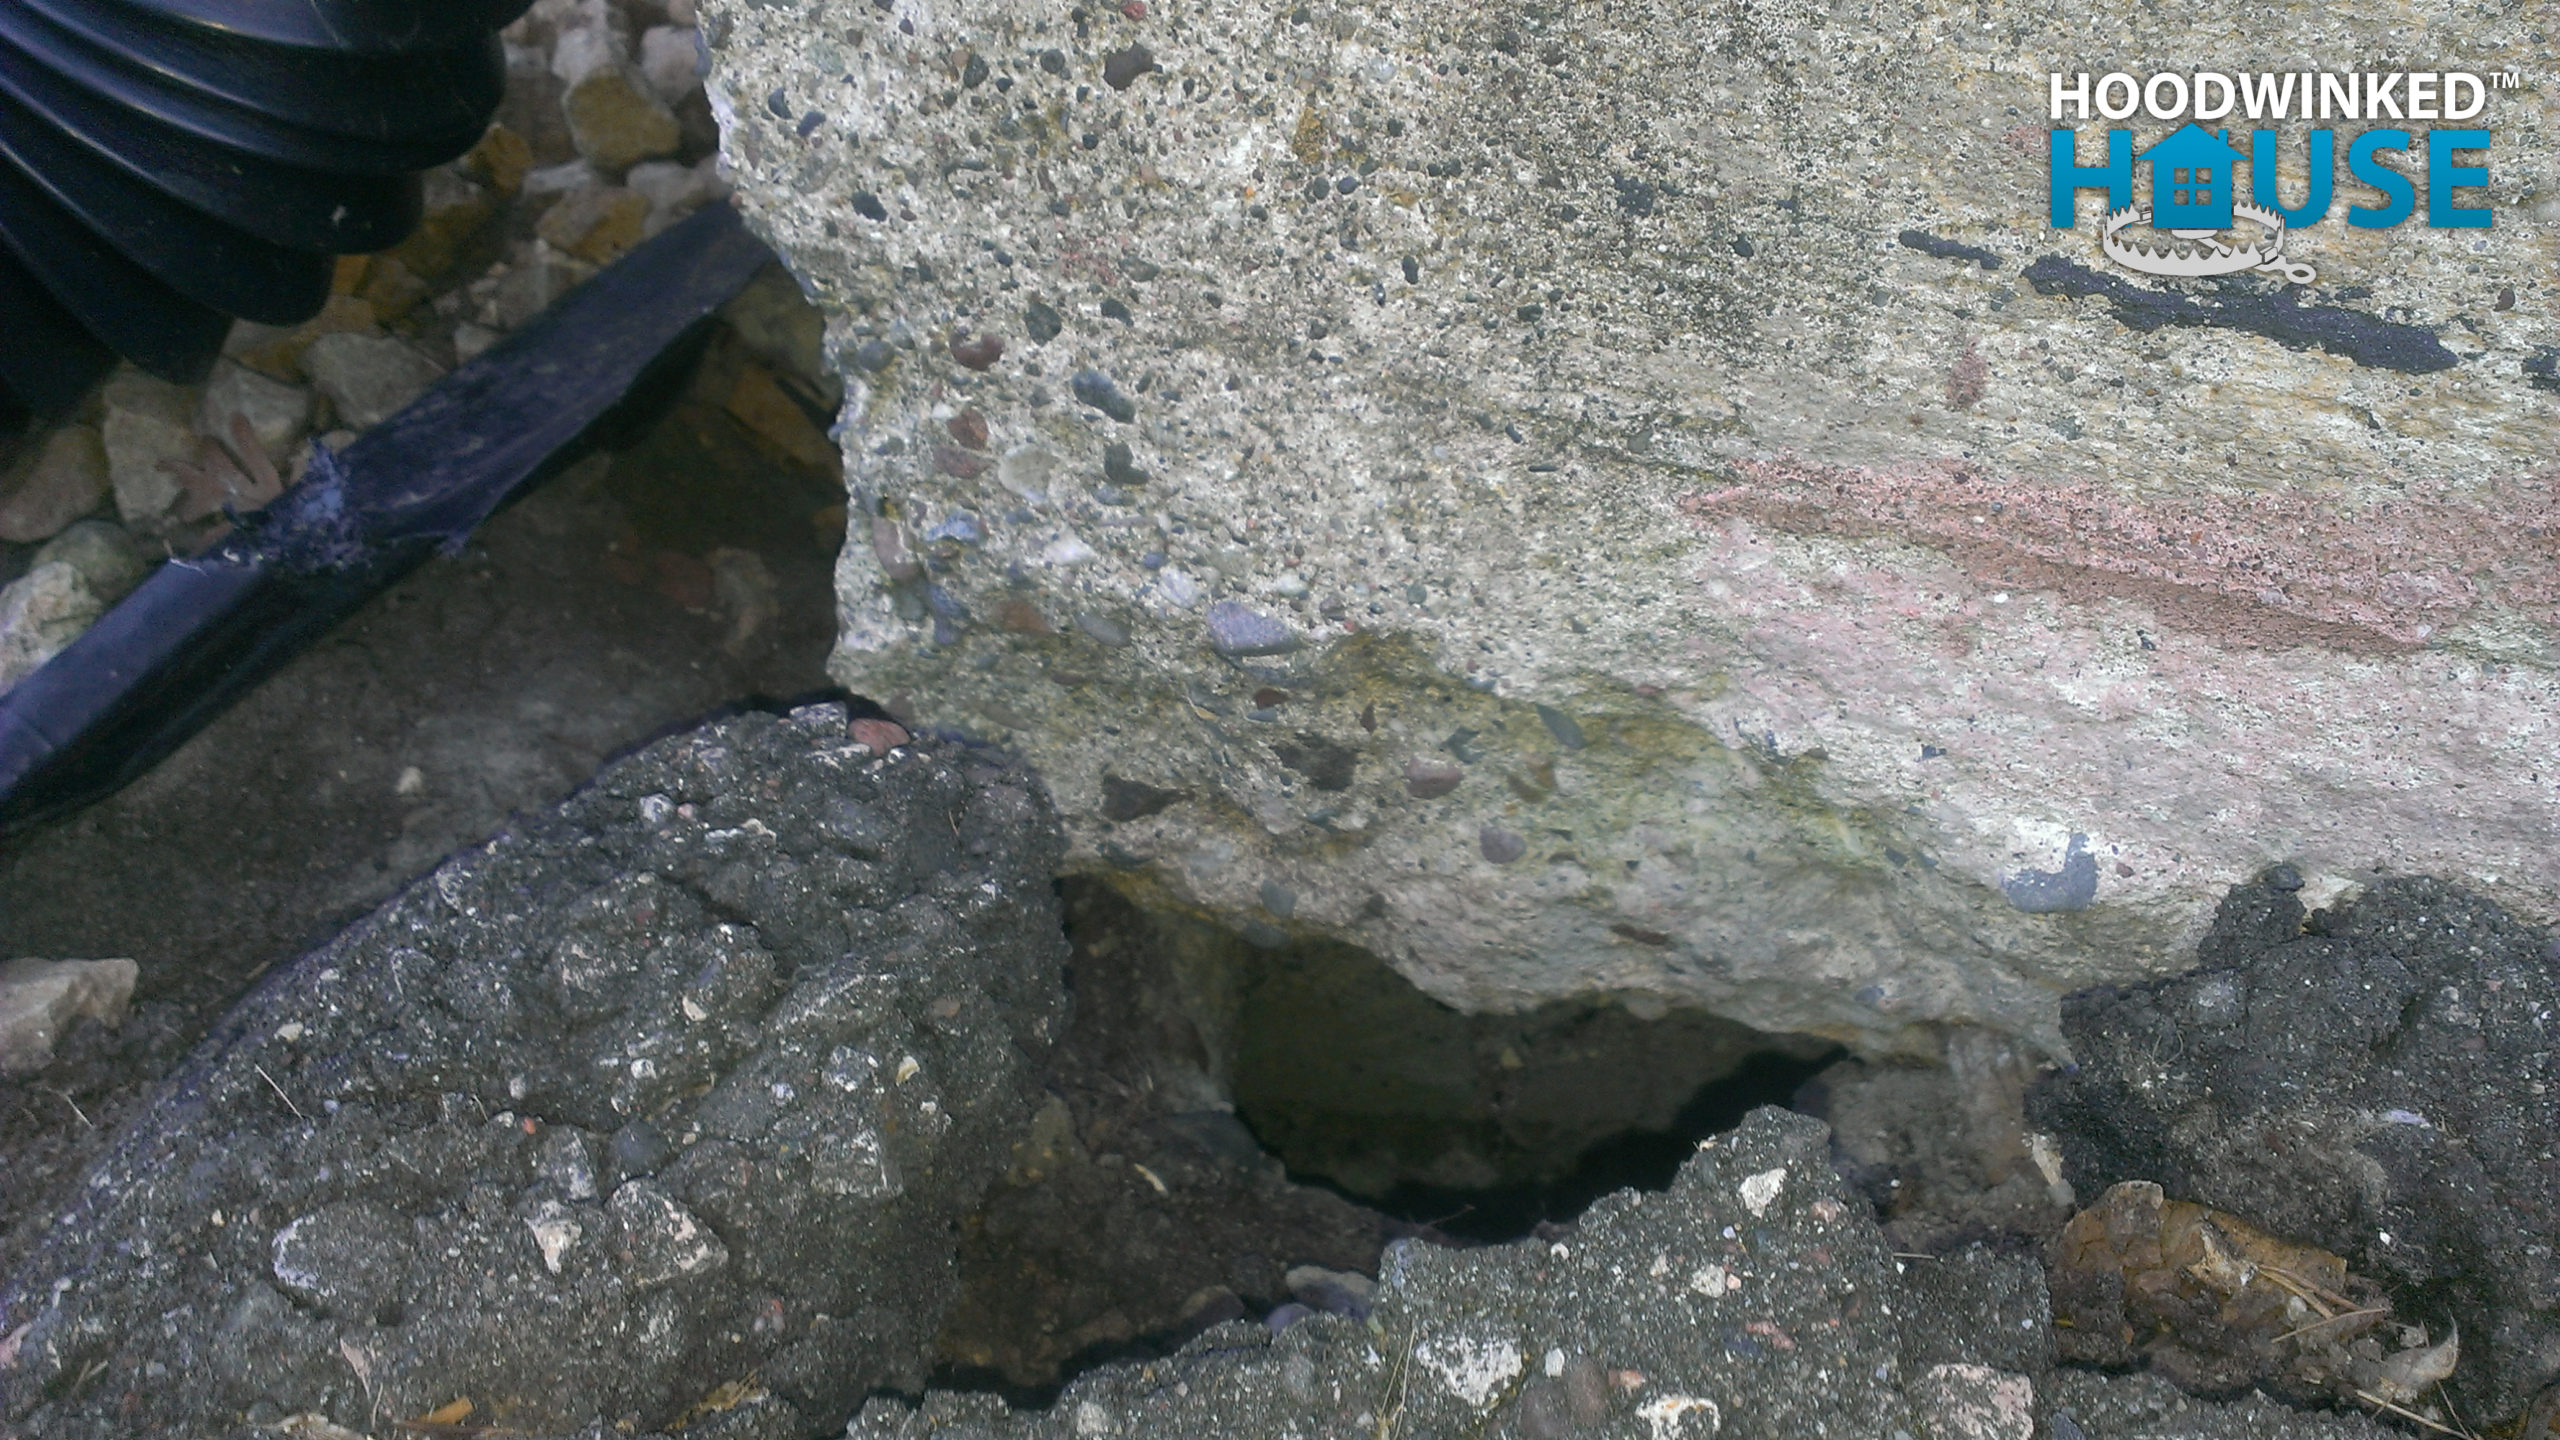
I tried to patch the crack with some concrete, but after dropping a pebble into one of the holes, it was clear that the erosion problem was much bigger than I realized.
I mixed more and more concrete, trying to fill the cavity, but after dumping 20 gallons of concrete into the hole, I knew the problem was too big to patch. The stoop and driveway will probably have to be rebuilt at some point.